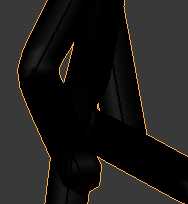
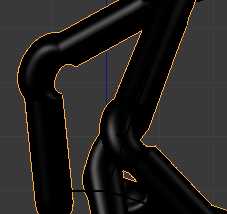
More detail is needed as of why you have to apply the SubSurf modifier to provide a more complete solution. To illustrate the problem you're ramming into, just move the SubSurf modifier up one level in the Stack:
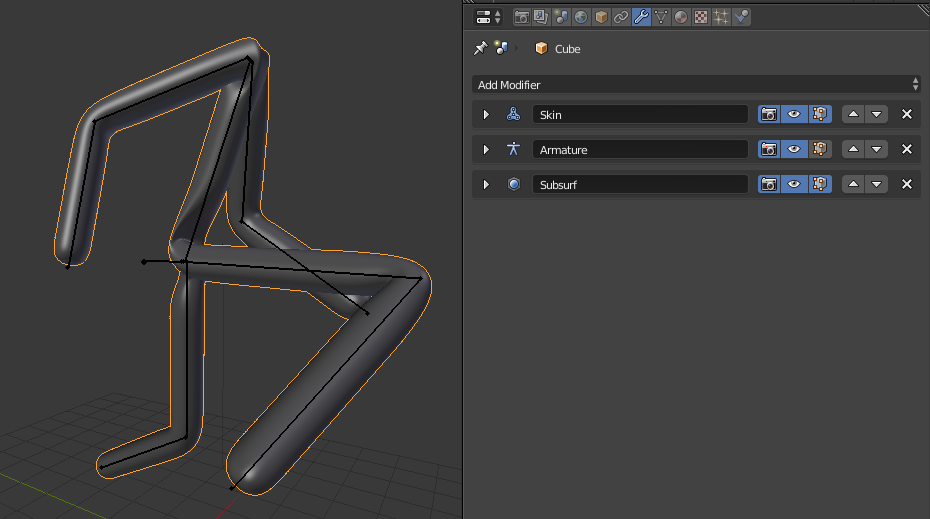
Before:

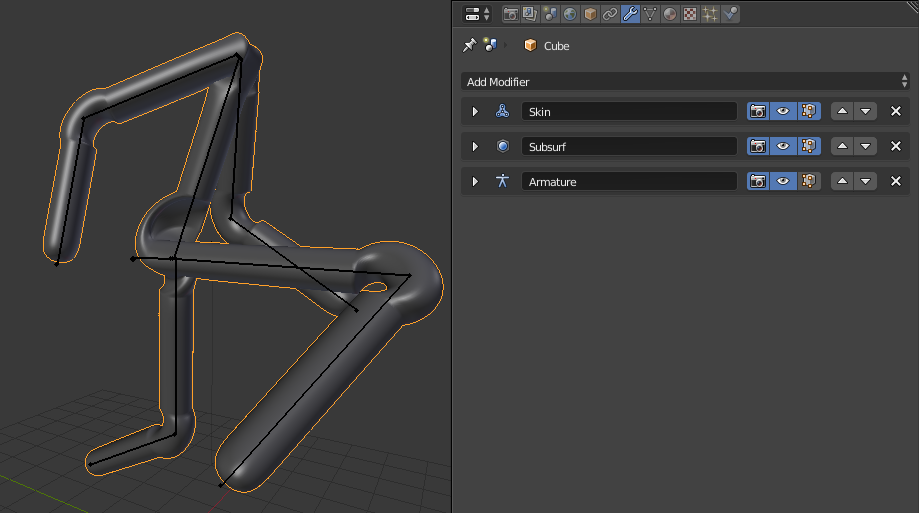
After:

why does this happen?
Remember, applying modifiers has to be in order of their influence on the mesh! In your case that means you'd have to apply the Skin modifier first, then the Armature modifier, then the SubSurf. If you just click on Apply for any modifier in Blender which is not at the top of the stack, internally it is reordered to the top of the stack before it is applied.
All modifiers in Blender work sequentially, one after the other. In your case, your Mesh is Skinned first, then you deform that rough tube mesh using the Armature, then the Subsurf smooths the polygons of the result. Changing the order changes the solution. When you were parenting the Mesh to the Armature, the SubSurf wasn't there yet, so no weights could have been stored for it. That's why the weird deformation happens.
possible solution
- set the Armature to
Rest Position
- Unparent your mesh from the Armature using Alt + P
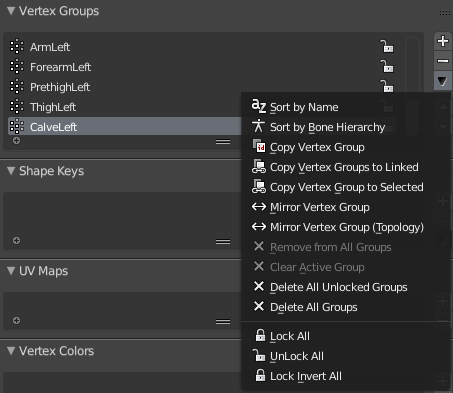
- Remove all existing Vertex Groups from the Mesh. This is done in the Mesh data tab, by clicking on the down arrow to spawn the menu, and choosing
Delete All Groups

- Apply the Skin Modifier
- Apply the SubSurf Modifier
- Re-Parent the Mesh to the Armature using Automatic Weights
The parenting and weighting will be more difficult than before, because there is more vertices to be considered in the equation. You'll see some glitches at the shoulder area when following this procedure too. That's because you were not modelling the mesh in T-Pose, so the weighting has too many possible candidates for the bone in that area.

