1
$\begingroup$

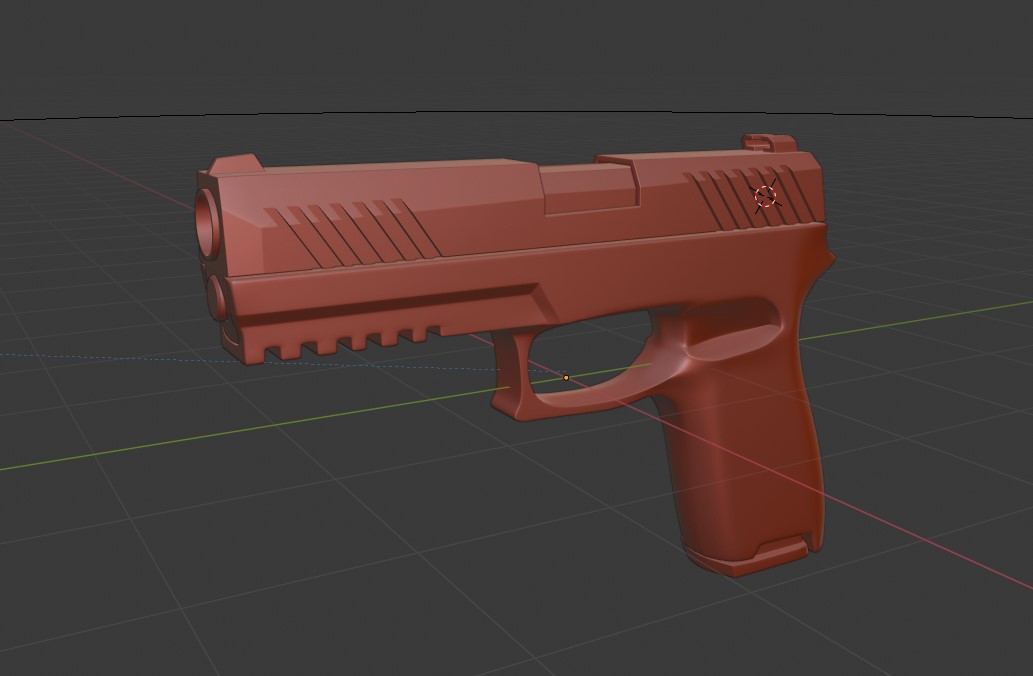
I've modeled a gun. To make the top part I used booleans and a few different bevel modifiers set to different vertex groups. The result is ok if you ask me.

enter image description here

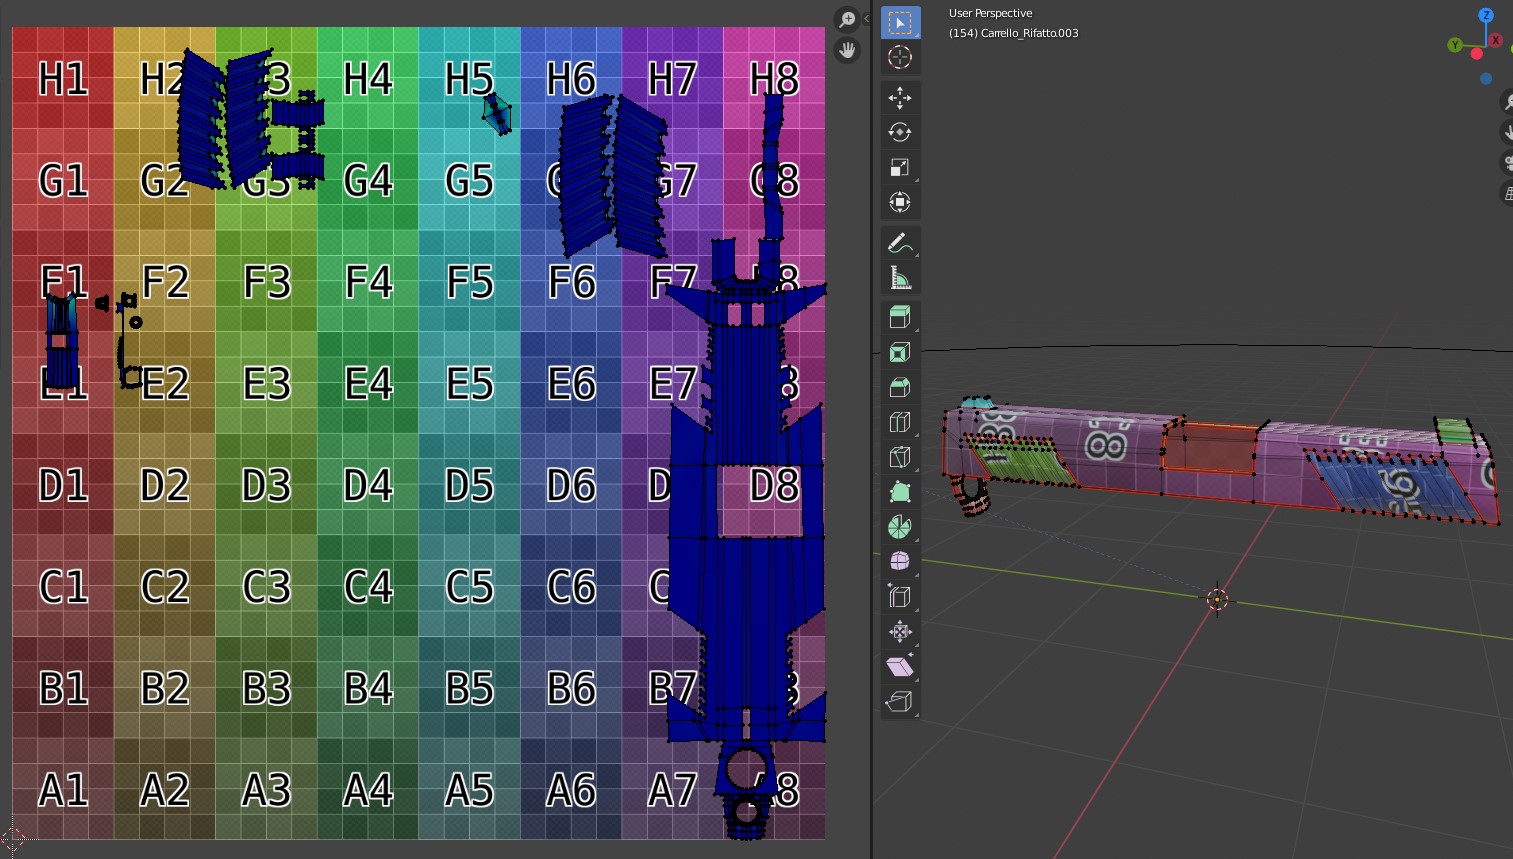
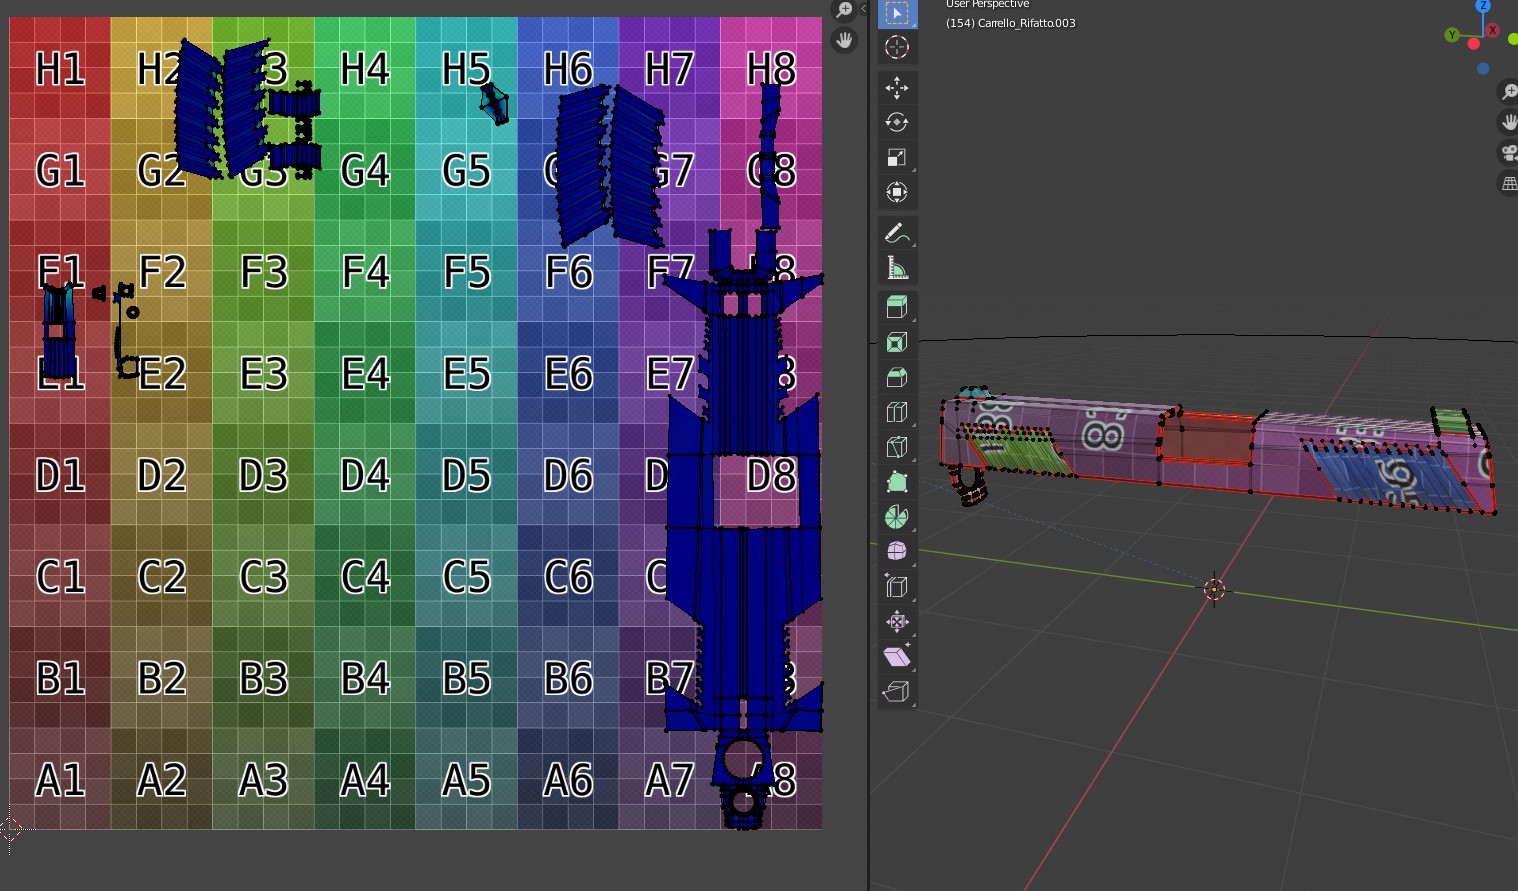
I went on and UV unwrapped it, and it works fine.

enter image description here

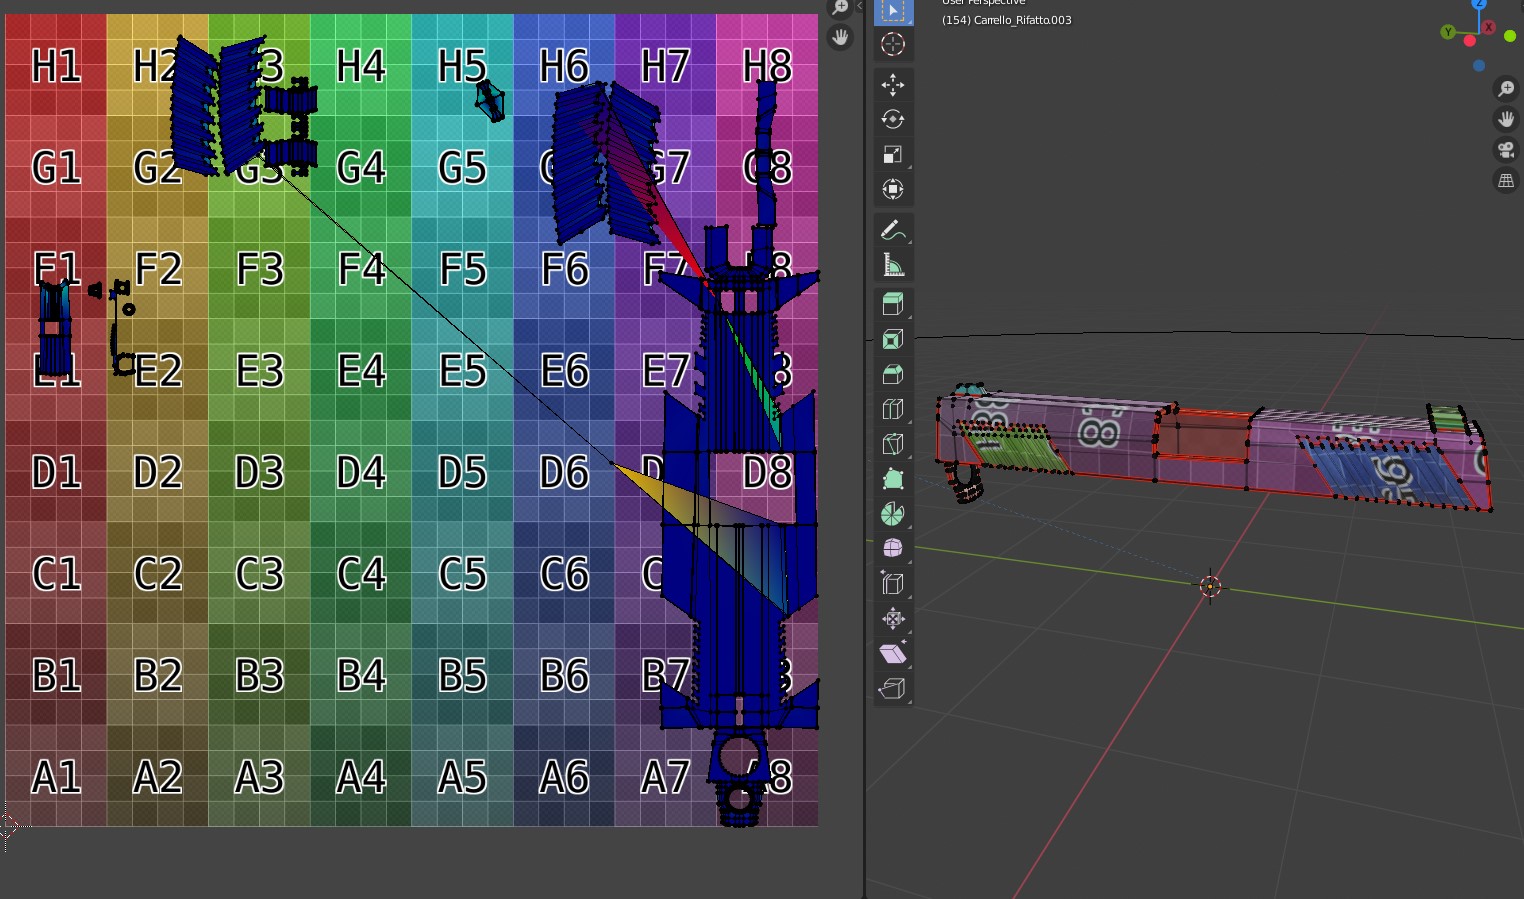
Then, to export the mesh, I applied all the modifiers, with the assumption that it shouldn't really mess with the UVs or anything, from some previous experiences. And yet this happens:

enter image description here

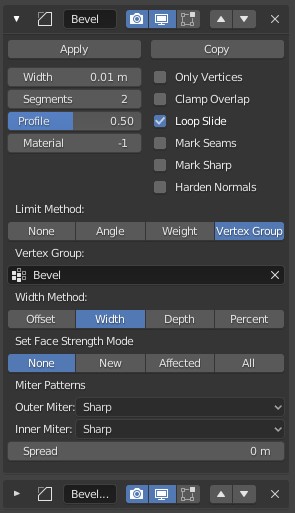
This is with these settings

enter image description here

Strangely enough, the mapping looks fine in Blender, but in Mixer and other application I can see problems with the textures. The thing is, if I turn down the number of segments from 2 to 1, it works fine again. This is with one segment on the bevel, applied:

enter image description here

I've had this problem with another part of the model too, 2 segments make a mess but one is fine. I can live with it being only one segment, although I liked the shading better at 2, but is there a reason why this happens so next time I now what no to do when modeling?

I'll attach the blend file of the mesh so you can check it out if you want https://we.tl/t-gIokOG9fG4

Thank you for the help!

$\endgroup$
4
  • $\begingroup$ Hi. Please use blend-exchange if you want to provide files for us to check. Random file sharing services won't keep them up long enough. $\endgroup$ Commented May 2, 2020 at 12:37
  • $\begingroup$ Does this answer your question? How do I stop the UV map from changing while adding bevels? $\endgroup$ Commented May 2, 2020 at 12:43
  • $\begingroup$ Not really, it doesn't explain why one segment works, but two or more give problems. $\endgroup$
    – Paul
    Commented May 2, 2020 at 13:04
  • 1
    $\begingroup$ It most likely does. The Bevel Modifier adds geometry to your mesh. If you bevel a seam, Blender does its best to generate that new geometry within the seam bounds. This works sometimes, but not always. The solution to your problem is either repairing the UV layout by hand or applying the Bevel Modifier before UV unwrapping. $\endgroup$ Commented May 2, 2020 at 13:17

1 Answer 1

0
$\begingroup$

A simple solution is to:

  1. Pin 'all' the UVs;
  2. Select the messed up ones, unpin them;
  3. Select all the UVs, go to unwrap and the messed up UVs pop back into their correct position.

The pinned UVs kind of act as a guide for the unpinned ones.

$\endgroup$

You must log in to answer this question.

Not the answer you're looking for? Browse other questions tagged .