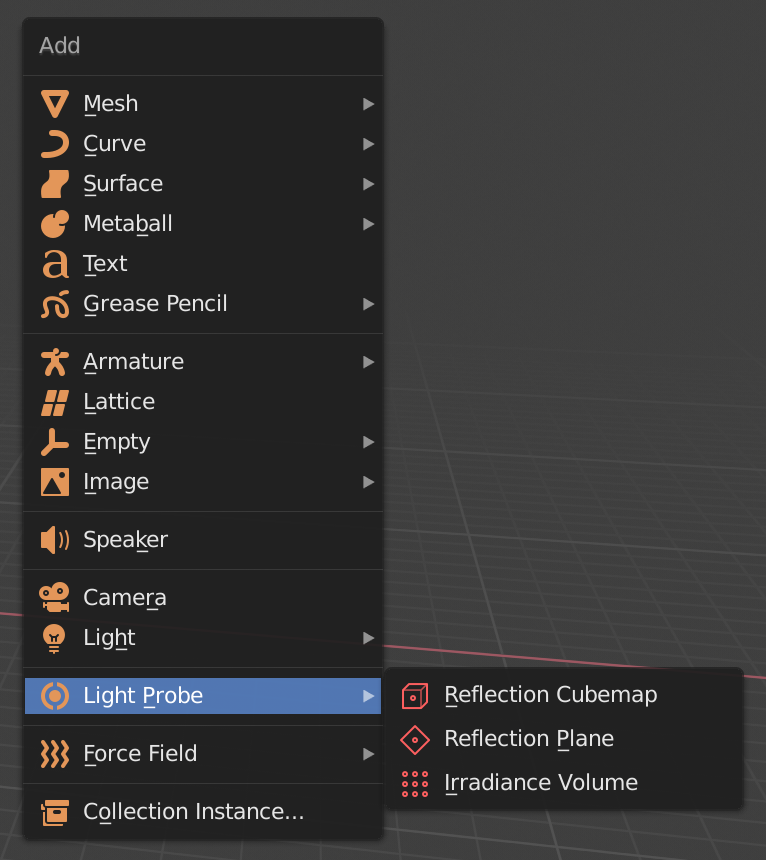
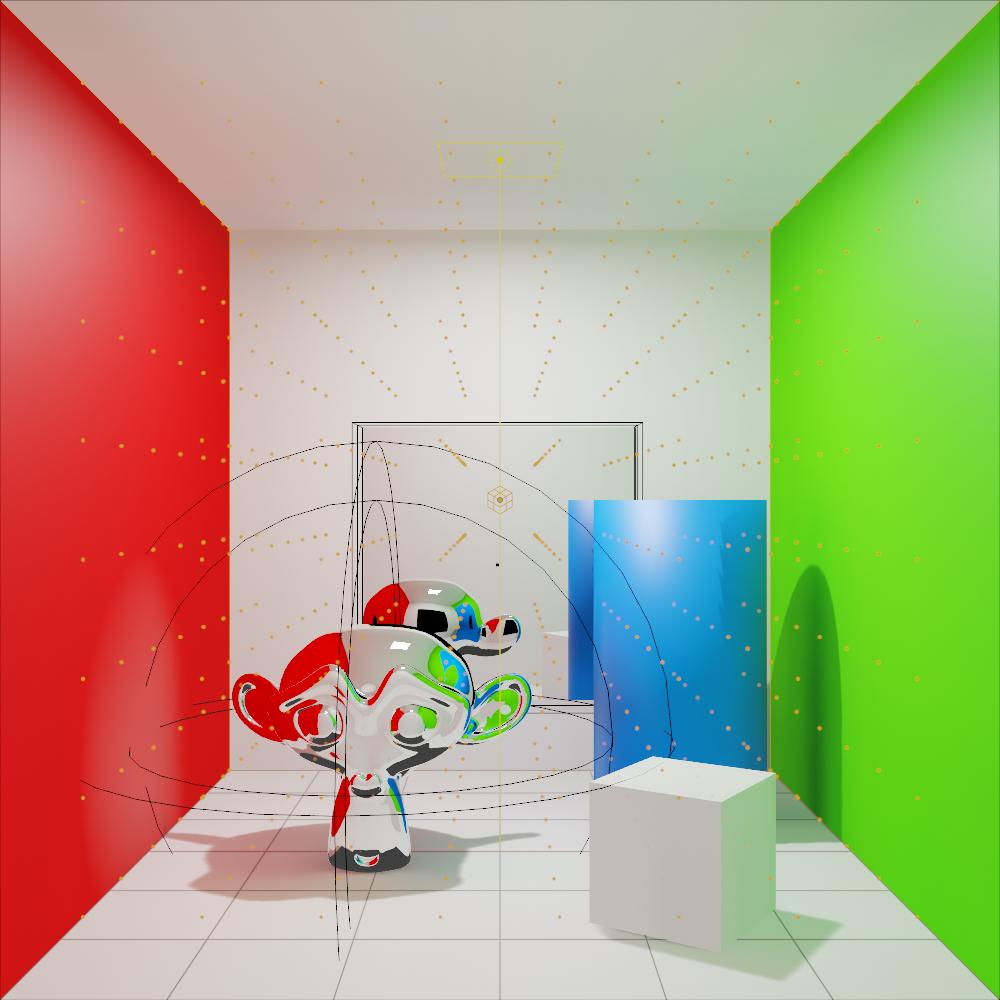
There are three types of Light Probes
- Reflection Cube Map
- Reflection Plane
- Irradiance Volume
Reflection Probes
The two first are, as the name suggests, to calculate reflection maps for reflective surfaces. They may seem useless at first because you can enable Screen Space Reflections in EEVEE render panel, however screen space reflections have limitations. They are very fast to generate, but can only really capture objects that are inside the view frustum, that is currently visible from the active point of view or camera and directly displayed in the viewport, and the sampling quality is not always enough.
These probes provide calculations for more complex and accurate types of reflection through use of a helper object (the probe).
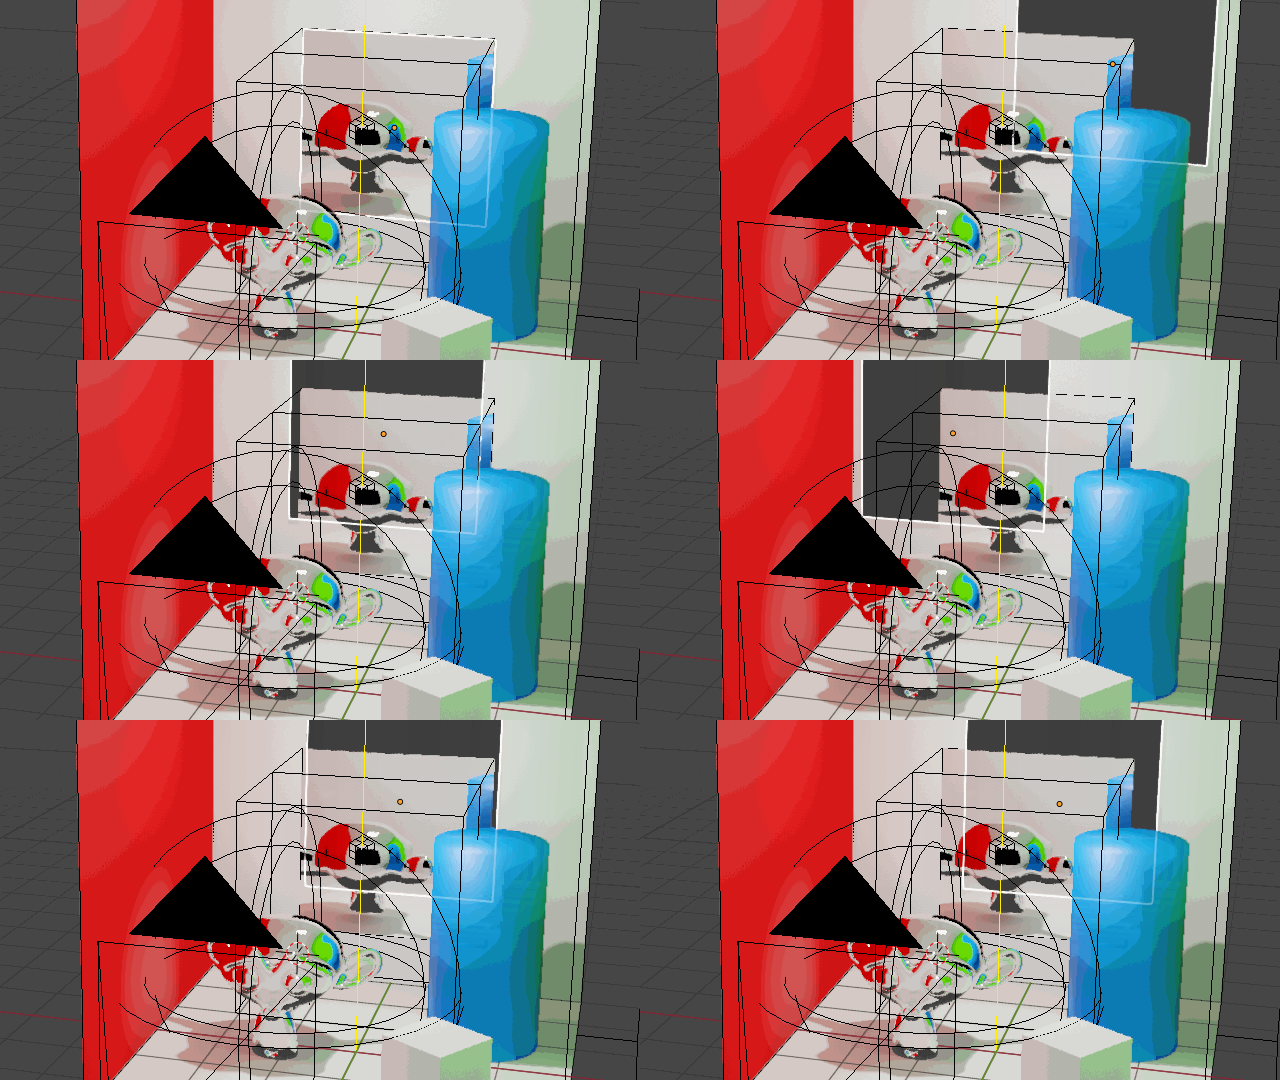
Reflection Plane
Reflection Planes are the most simple ones, suitable for mostly flat surfaces like mirrors, glass panes, floor reflections, or rainy pavements. On more irregular surfaces they will likely generate inadequate results.
It has a clipping distance that will limit the probe reach and limit which objects are visible and included in its generated reflection map. They are relatively cheap in terms of computation and work in real time, not requiring any baking.
Objects with reflective materials that reside within its influence range (the bounding box around it) will be affected by what this plane "sees", benefiting from the probes improved reflection map.

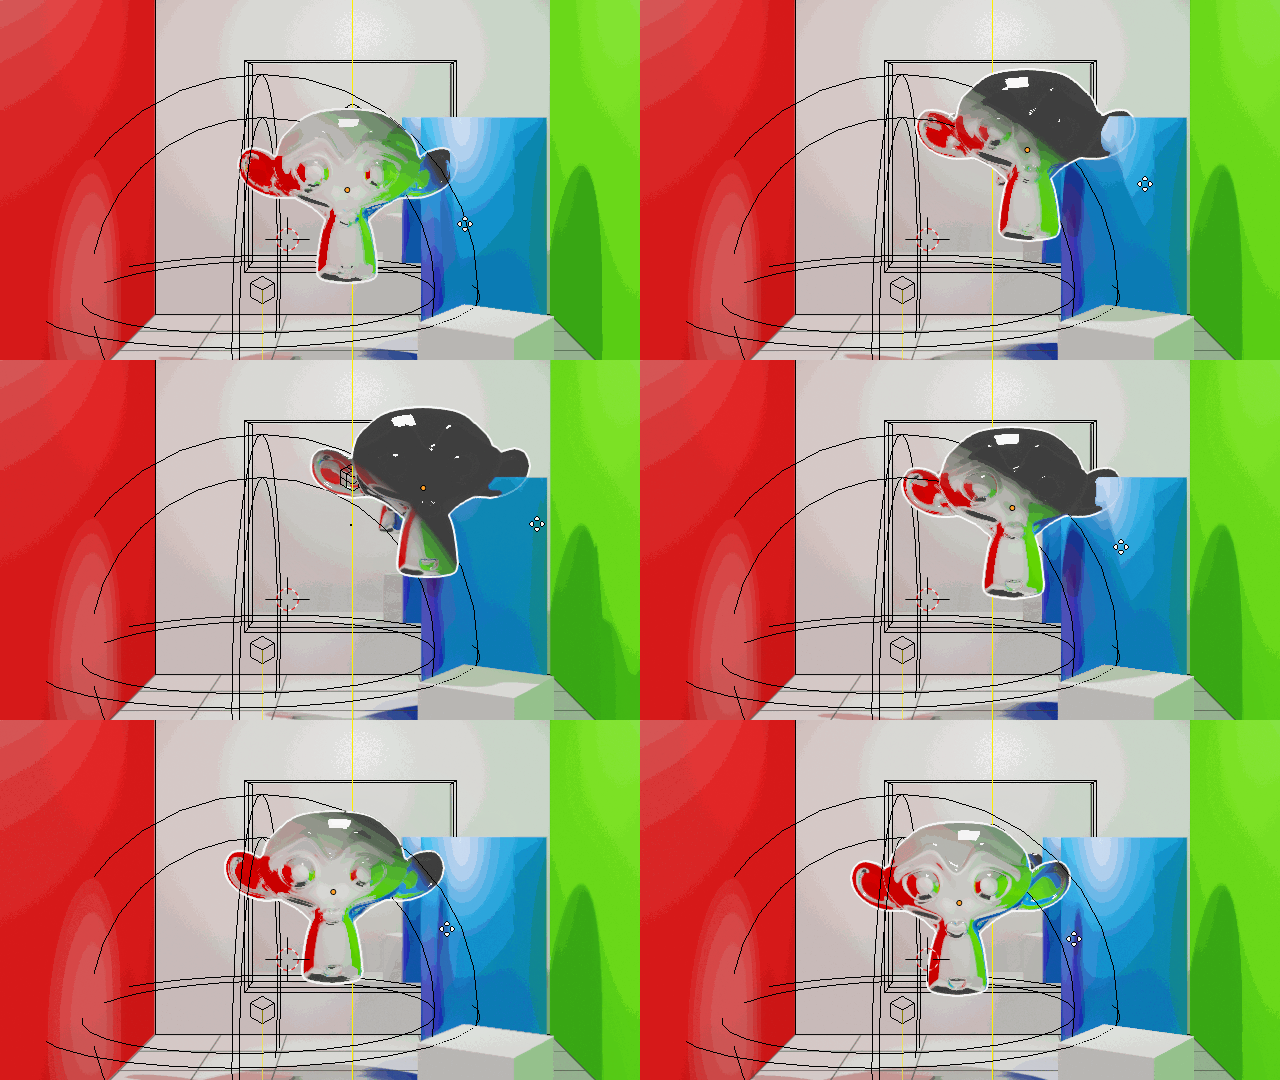
Reflection Cube Map
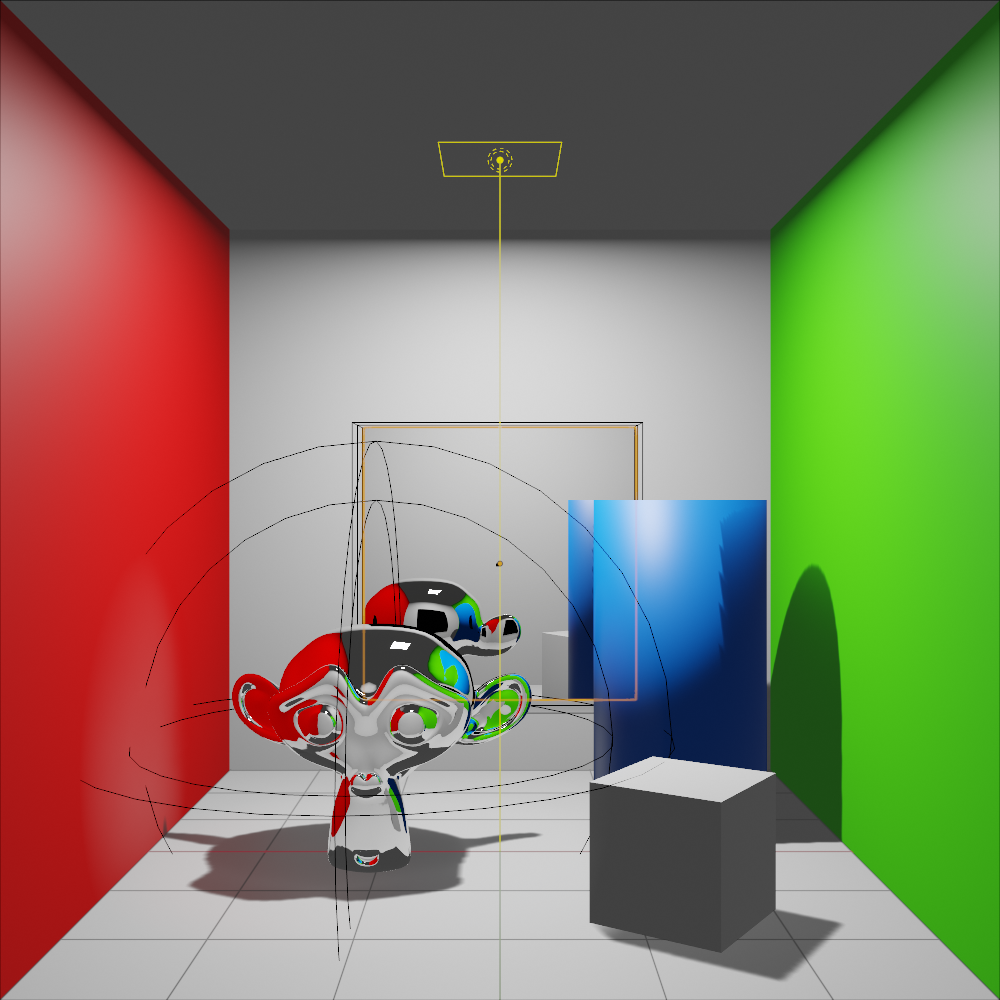
Similar to the Reflection Plane this will generate a more complex reflection map suited for curving shapes. Unlike the plane though this is not a real time process and requires baking, specifically the Bake Cubemap Only option from the EEVEE Render Panel in the Properties Editor.
It also has clipping distances which affect the range of what is visible in reflections and what gets clipped away. Moving a reflective object away from its influence radius also excludes it from it's "effect".
Since it requires baking, it wont update in real time, so if the scene changes it requires manual updating by rebaking.

Irradiance Volume
Irradiance Volume is a different kind of probe, it calculates indirect lighting and shadows rather than reflections. Many real time rasterization engines like EEVEE, although very advanced, can't really calculate indirect lighting by themselves, thus needs help generating and displaying this type of lighting interactions.
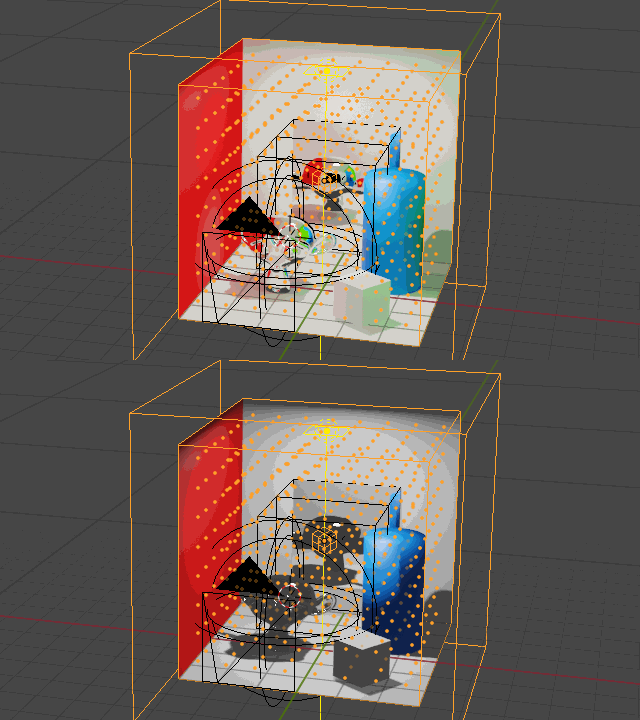
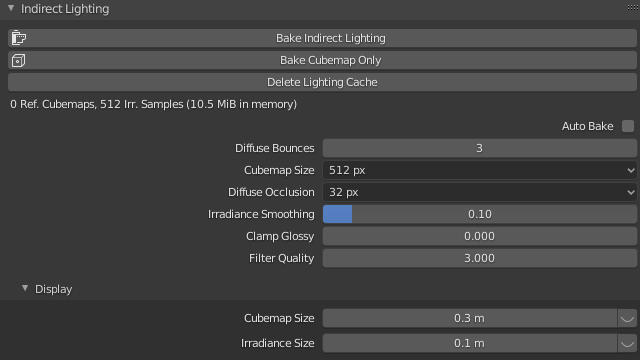
Irradiance Volume preform both these tasks by pre-calculating and storing the indirect lighting information in a grid-like array of points, the resolution of which can be adjusted from its Resolution XYZ in Object Data Properties.
Once again Clipping affects which objects are included for calculation, and everything inside its bounding box gets automatically influenced by the light calculations.

Likewise, since this is potentially heavy calculation that requires baking from the render panel to actually exert its influence. The higher the XYZ resolution the denser the grid, causing heavier the calculation resulting in a longer process, that conversely provides higher quality effects.
Baking supports animations, for scenes that change over time. If the scene changes the baked result must be manually updated by rebaking. Since it is a potentially heavy and long process it is best saved for last, to avoid having redo it many times.

Common workflow:
- Add probe object
- Adjust position
- Scale it up or down so it encompasses all desired parts of the scene
- Adjust clipping distances and grid density as desired
- Bake (from render panel for Cube Maps and Irrandiance Volumes)

These calculations are stored within the Blend file and should be available next time you load it without further delays, so you aren't required to bake again.
Results
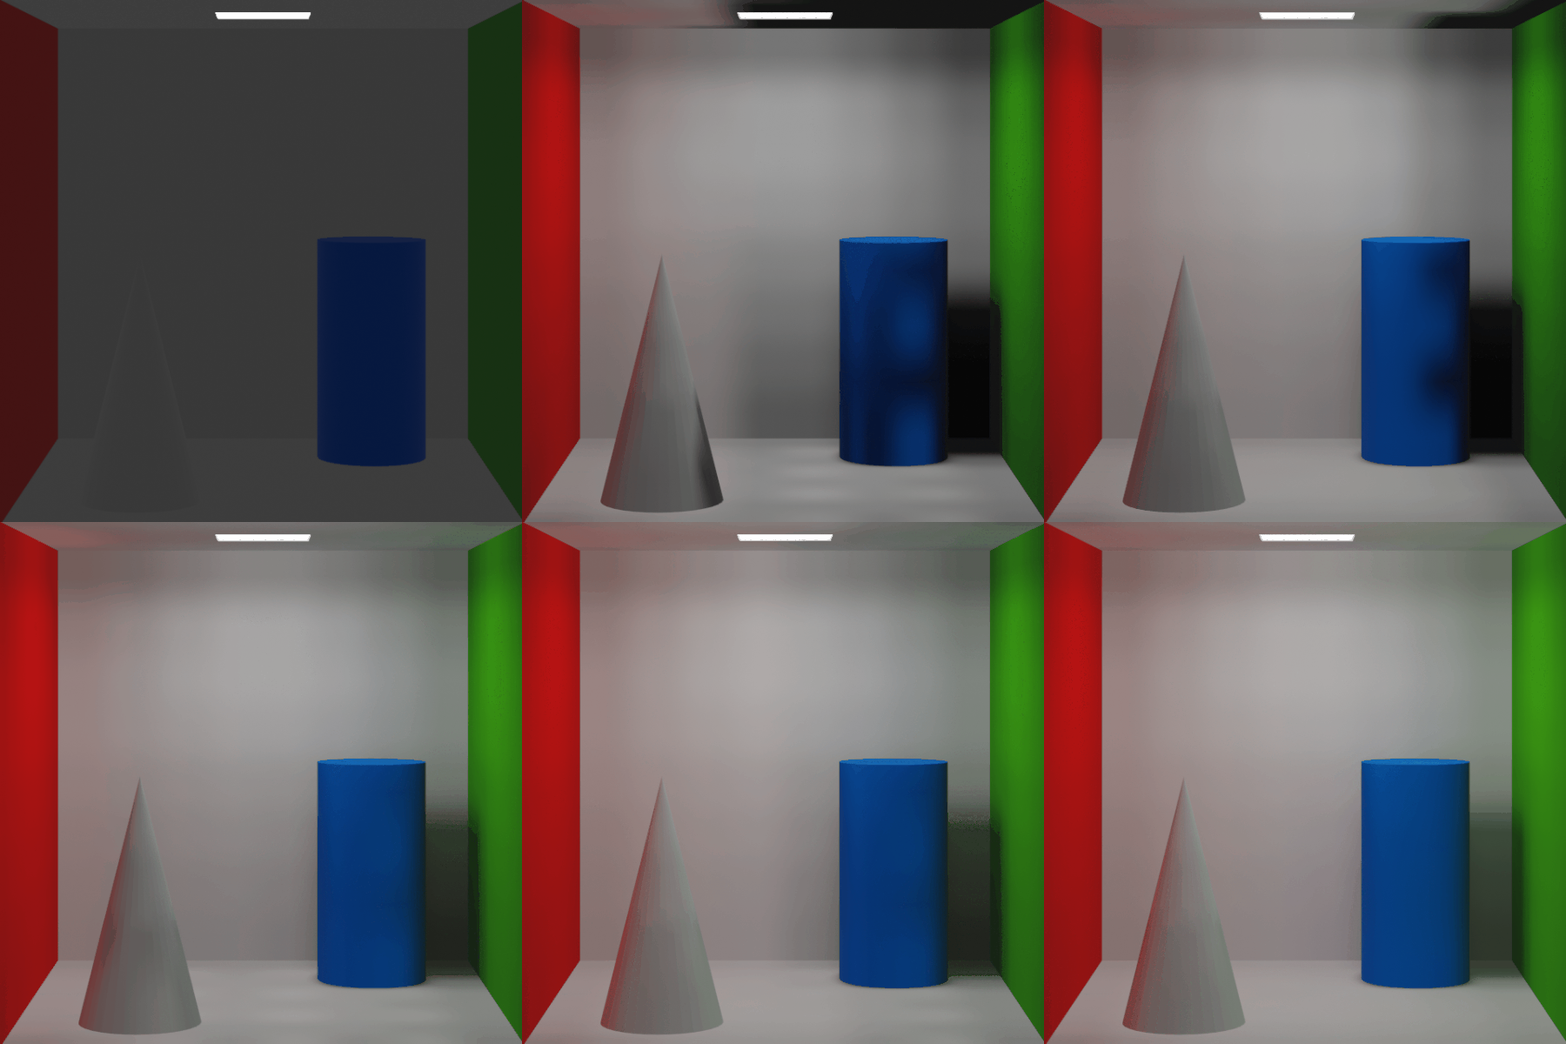
Here are the results of the various bake steps
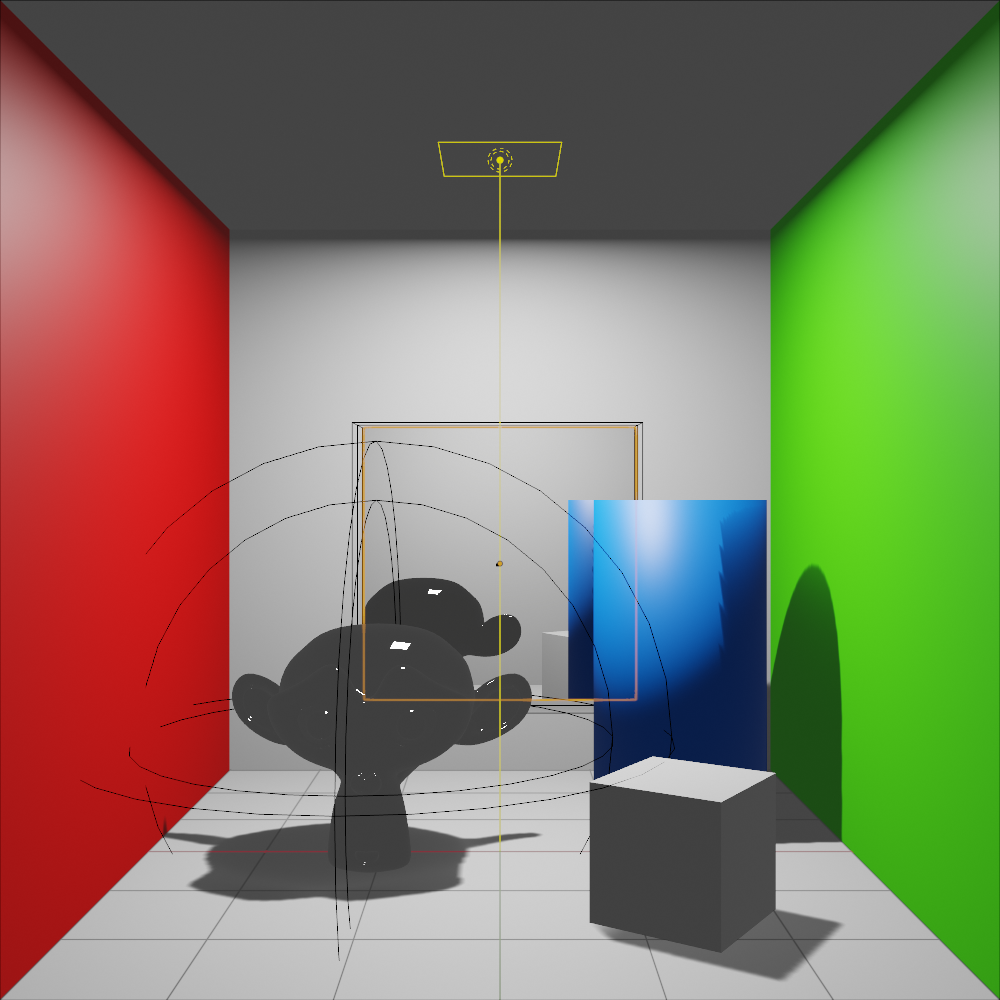
No Bake

Cube Maps only (no indirect lighting, notice the reflections)

Bake indirect lighting (notice the color bleeding, softer lighting, and proximity shadows)

You may use several probes per scene to get denser details where required, but each one consumes additional memory and resources, incurring in performance penalties both on the viewport and during rendering, so use them wisely.

