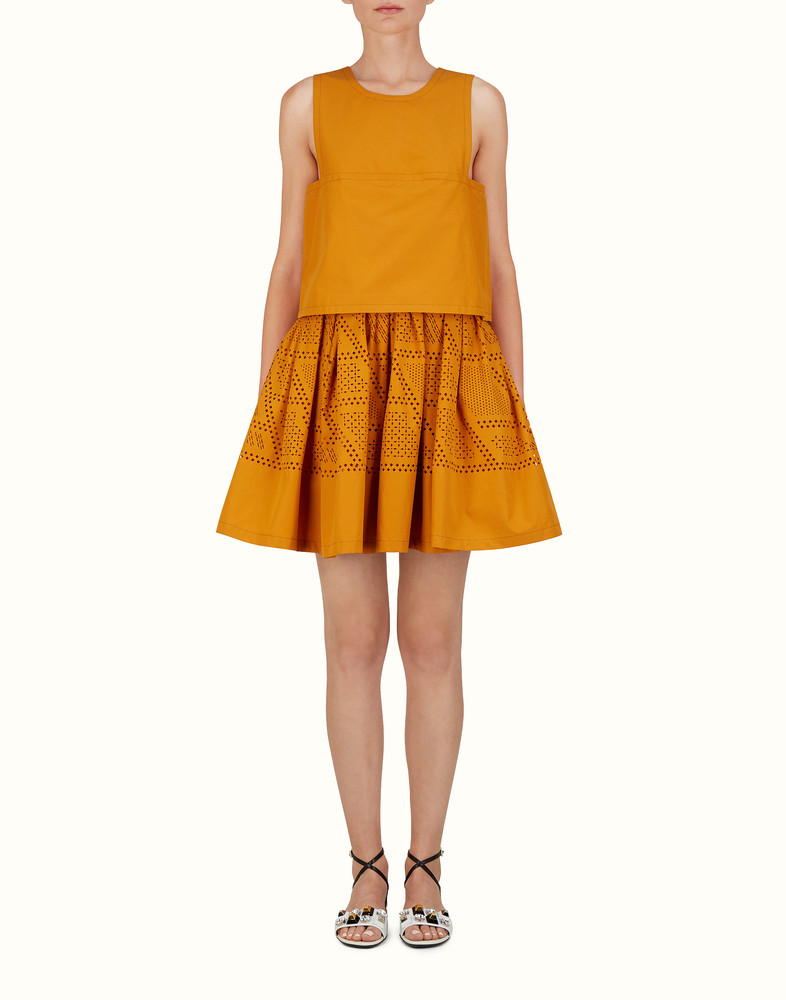
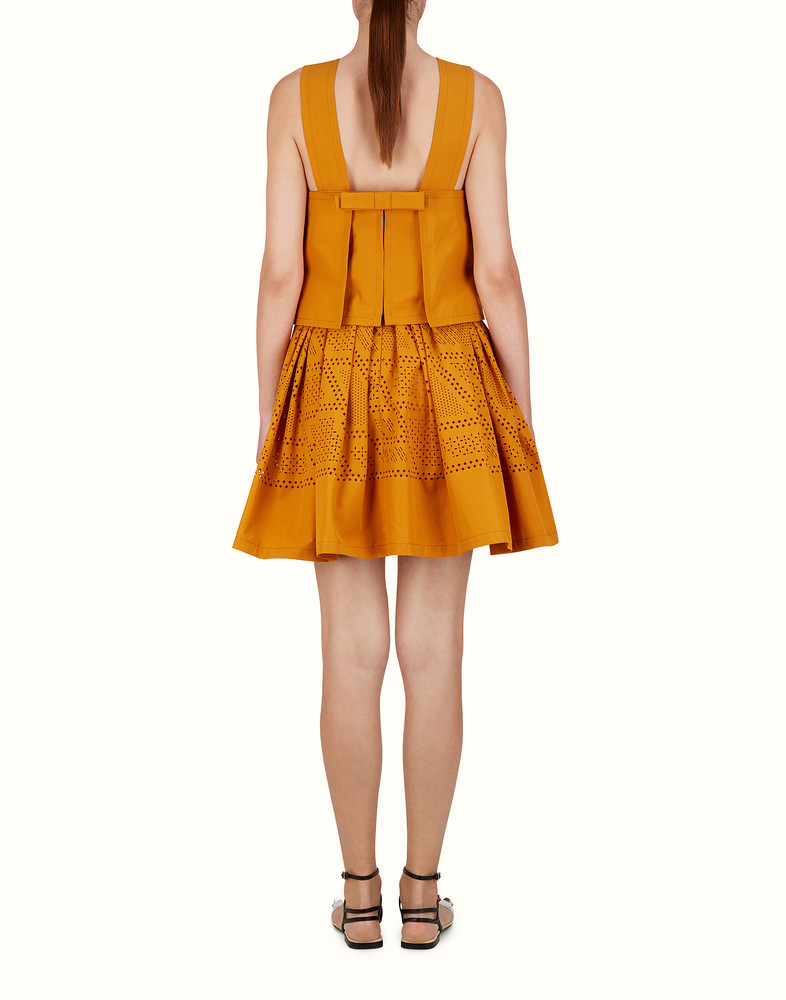
You will need a model human to place the dress on. If you don't have one of these you can use the makehuman blender plugins to bring a human female into your scene.
You will also need to find or make a pattern for the dress, Ideally something that shows where to place the individual pieces on a sheet of cloth for cutting out.
Model the parts of the dress individually as flats pieces of cloth.
Place the parts around the model, you might want to either bend or cut your cloth to for larger pieces of cloth that need to be on more than one side of the model.
In the places where pieces of fabric are sewn together attach each piece of cloth using bridge edge loops in the specials menu (w) then delete faces only using the delete (x) menu. you should now have the segments of cloth attached by edges everywhere the dress will need to be sown.
head to the physics tab and place a cloth modifier on your dress (you may need to add a collision modifier on your human - I can't remember), from the cloth presets menu choose a stiff fabric (leather or denim) enable "Cloth Sowing Springs" and add a sewing force.
now try running the sim (hit play on the animation bar). You might need to turn gravity off and you will probably want to play with the quality settings.
You may also need to scale your dress object or reposition it to get it to sew together correctly.
This first cloth sim is to get the dress to stitch together not to get the final shape exactly right. Once you are happy with the stitching apply the cloth modifier, use "Remove Doubles", "Merge" and "Bridge Edge loops" to remove the edges without faces. Either mark the areas where the seams are supposed to be as hard edges or add geometry if you want those seems to be visible.
Now you are ready to do a second cloth sim, this time we want to apply it to only parts of the mesh which don't contact the body closely and need to fold realistically. This time choose cotton or silk as your preset and run the new sim.
Hope that helps


