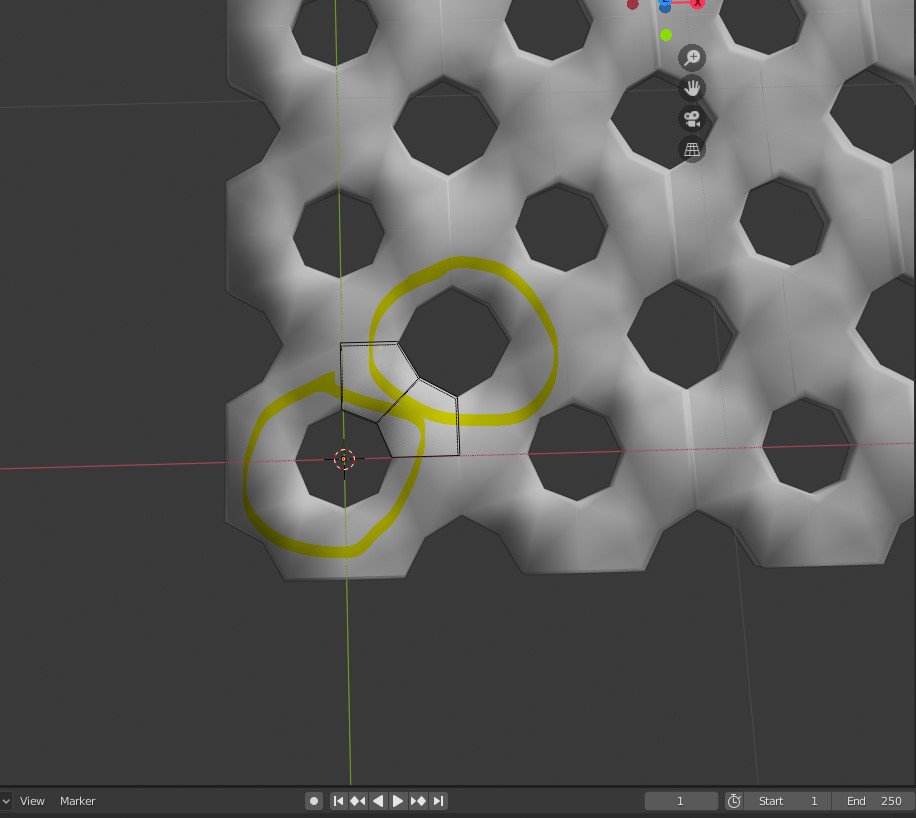
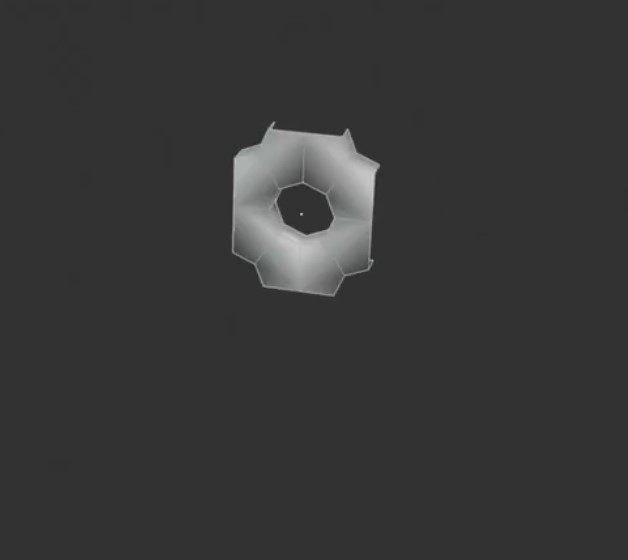
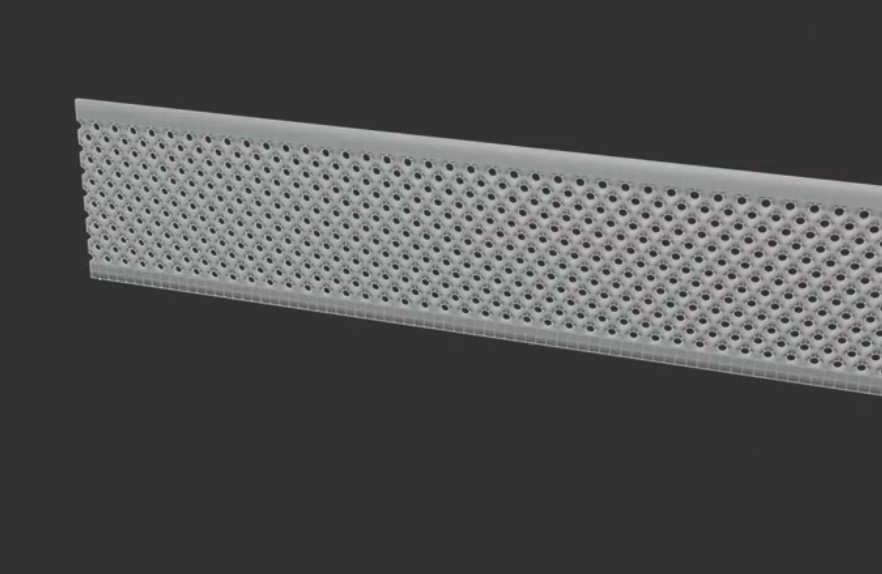
I'm trying to replicate a speaker mesh from a timelapse video. How can I make these holes equal in size? The images below are from the video.Is there an alternative way to do it?
2 Answers
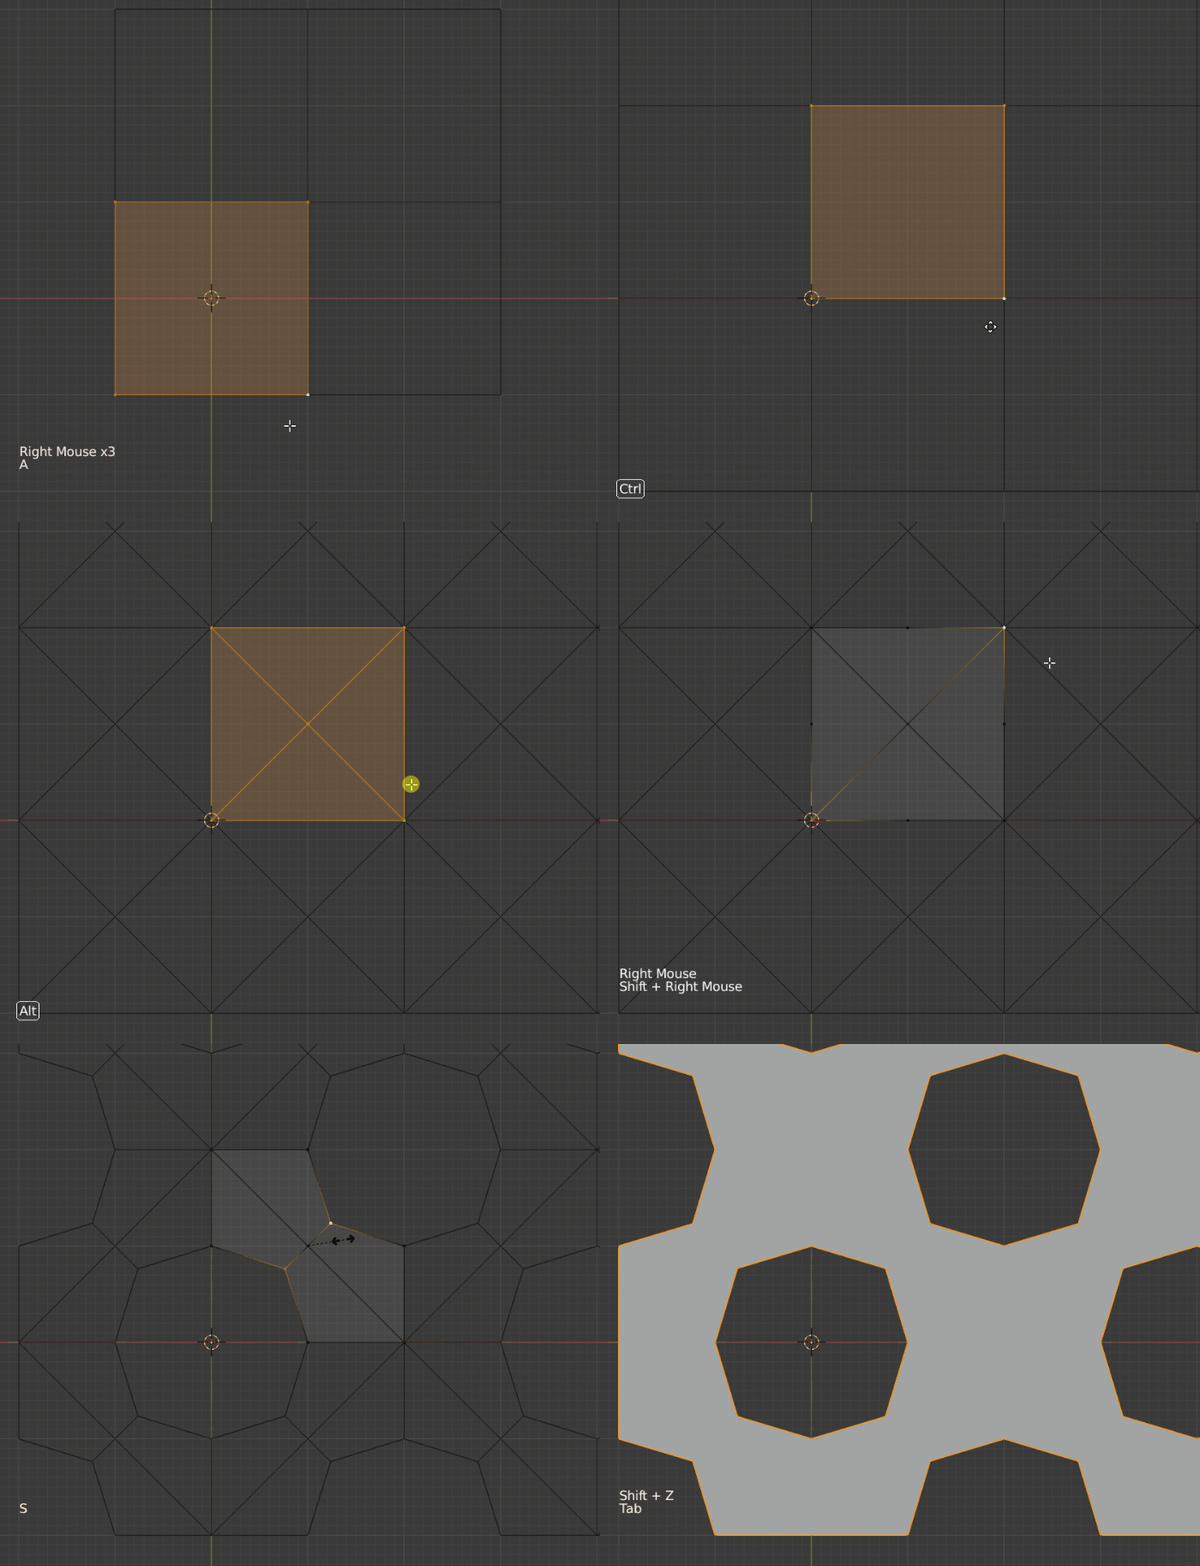
You can start with a simple plane.
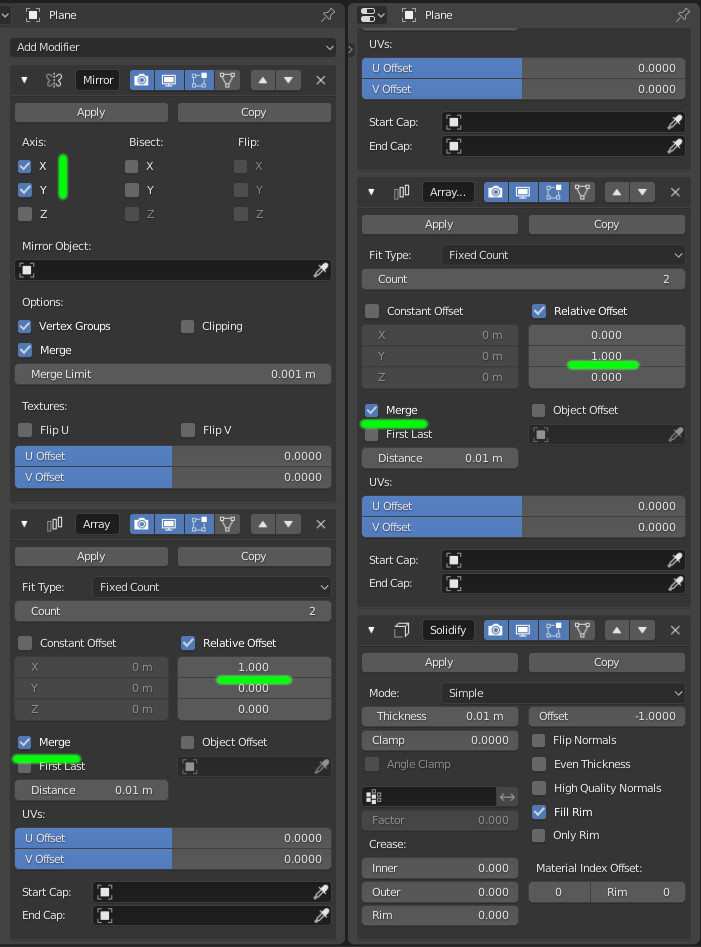
First set modifiers to it:
- Mirror on X and Y
- Array on X (merge option checked)
- Array on Y (merge option checked)
In edit mode grab the plane to set the origin point to bottom left.
Poke face CtrlF then choose 'poke'.
Select the outer edges.
Subdivide them W then choose 'subdivide'.
Select the bottom left and upper right corner.
Scale them down using S.
The modifiers:
-
$\begingroup$ Thank you. Just one more thing, how can I add the border without applying the modifiers? $\endgroup$– KevinCommented Feb 22, 2020 at 15:52
-
$\begingroup$ @Kevin, with the solidify modifier (not indicated in the text part, but you can see it in the image: this is the last modifier set, on bottom right). $\endgroup$– lemonCommented Feb 22, 2020 at 15:54
-
$\begingroup$ I mean the border on the top and bottom.As shown in this photo i.sstatic.net/pXNP2.jpg $\endgroup$– KevinCommented Feb 22, 2020 at 16:17
-
1$\begingroup$ That can be something like this (have added start/end caps objects to the first array and added a mirror instead of solidify for the thickness) <img src="https://blend-exchange.giantcowfilms.com/embedImage.png?bid=xa82syMB" /> But at some step, probably, you'll have to finalize the mesh applying the modifiers. $\endgroup$– lemonCommented Feb 22, 2020 at 16:30
-
1$\begingroup$ Used the same method to make the border without leaving half circles on both sides :D Thanks again for helping me out i.imgur.com/ybDYuCH.jpg $\endgroup$– KevinCommented Feb 23, 2020 at 8:29
Using the "Create Pattern" function that comes along with the TexTools add-on you can create the base for the pattern the following way:
- Go in top orthographic view and make sure you are in Object Mode
- Press Shift+A and select "Create Pattern"
- Select the Diamond pattern and set the "Size" to "2", leave "Scale" at 1.0
- Go in Edit Mode and cut the square once in each direction, loop cut or subdivide do the trick
- Switch to face selection and select all faces A
- Press I to inset faces and scale it to about half the original size
- Press X and delete the "Faces"
- Go in Object Mode and apply all modifiers, either by applying one at a time or using an add-on
- Back to Edit Mode, select all but the needed part in the center area
- Delete the unneeded parts X Faces
- Again in Object Mode, add 2 Array modifiers, one for x and one for y direction
- Adjust the count to get the wanted result
- You can apply a solidify modifier to get the thickness if needed
- Smile
Here a visual step through:
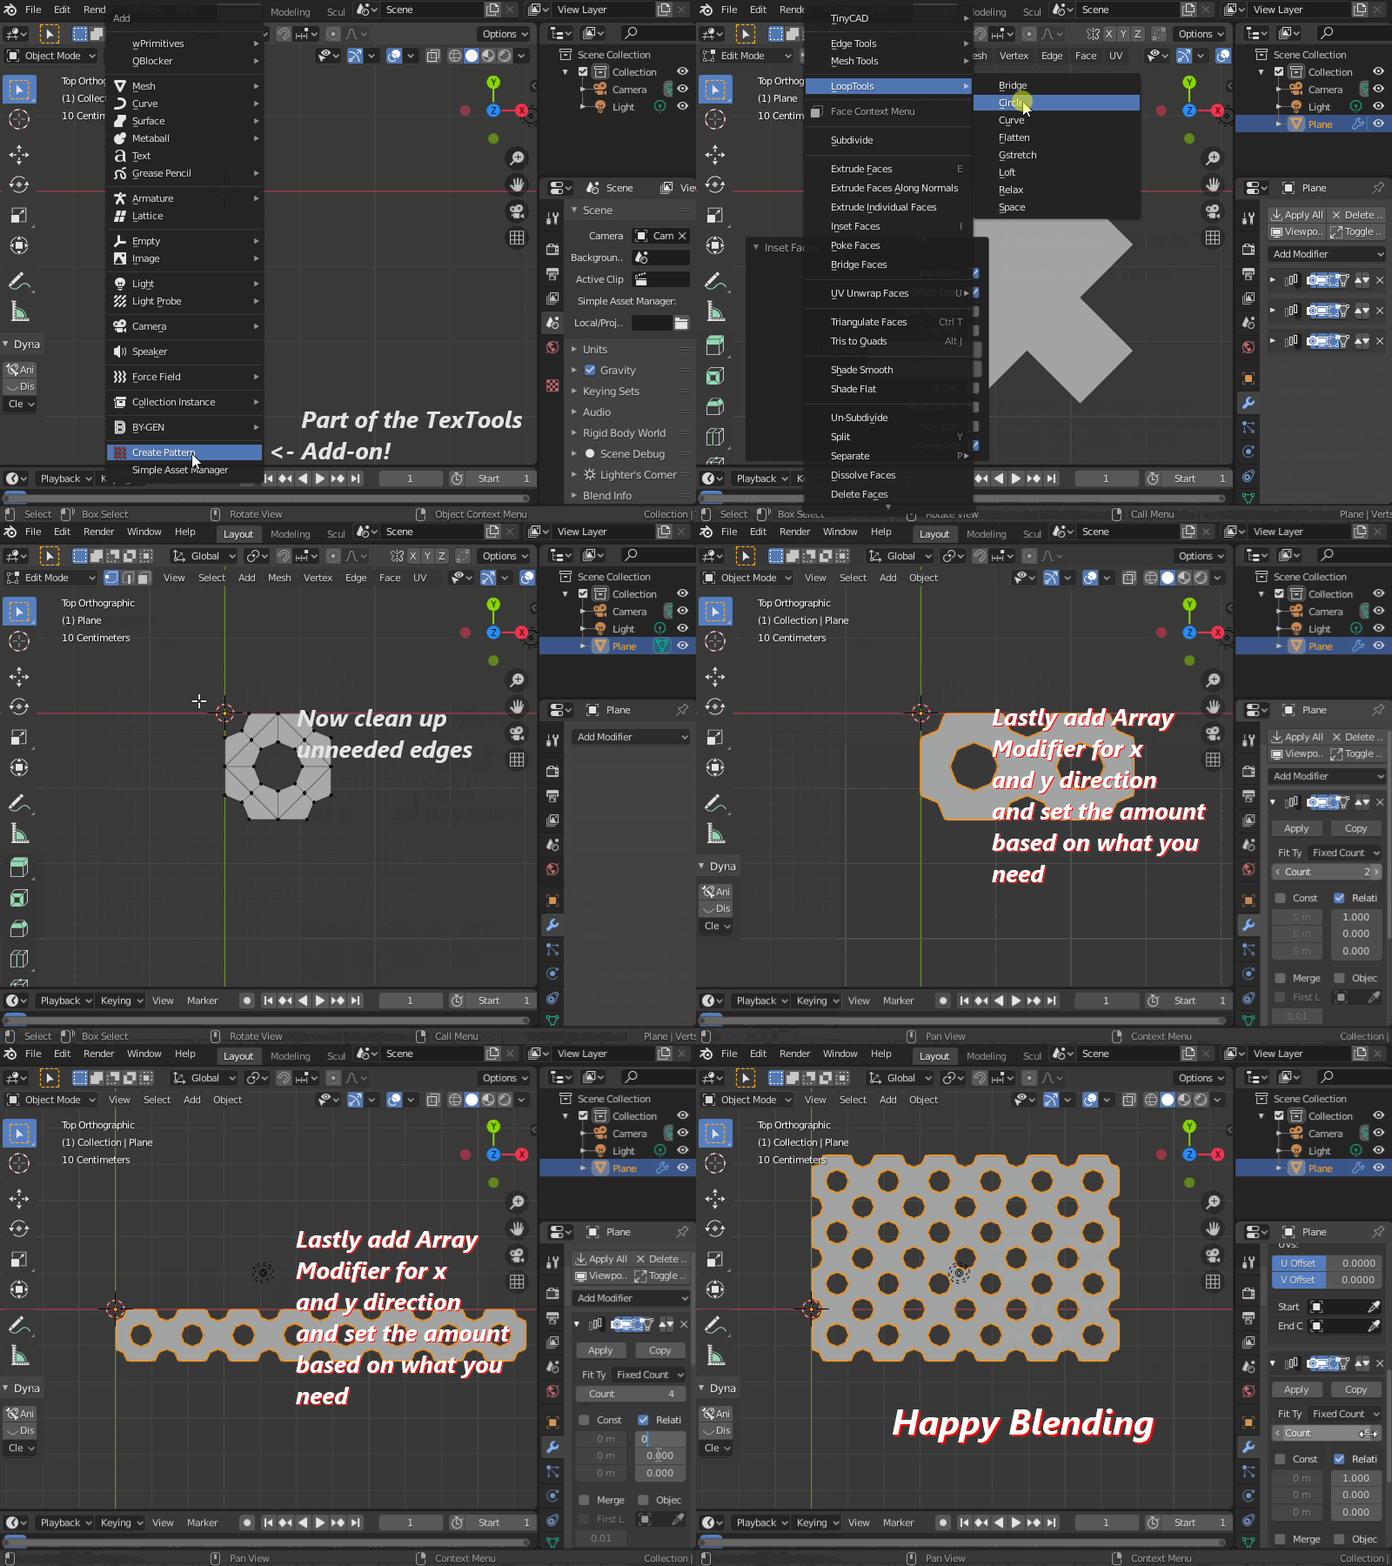 (excuse the squeezed side, reduces the size to stay in upload limit)
Once you have the size needed you can apply the modifiers again and work on the border, but that should not be a problem i'm sure.

