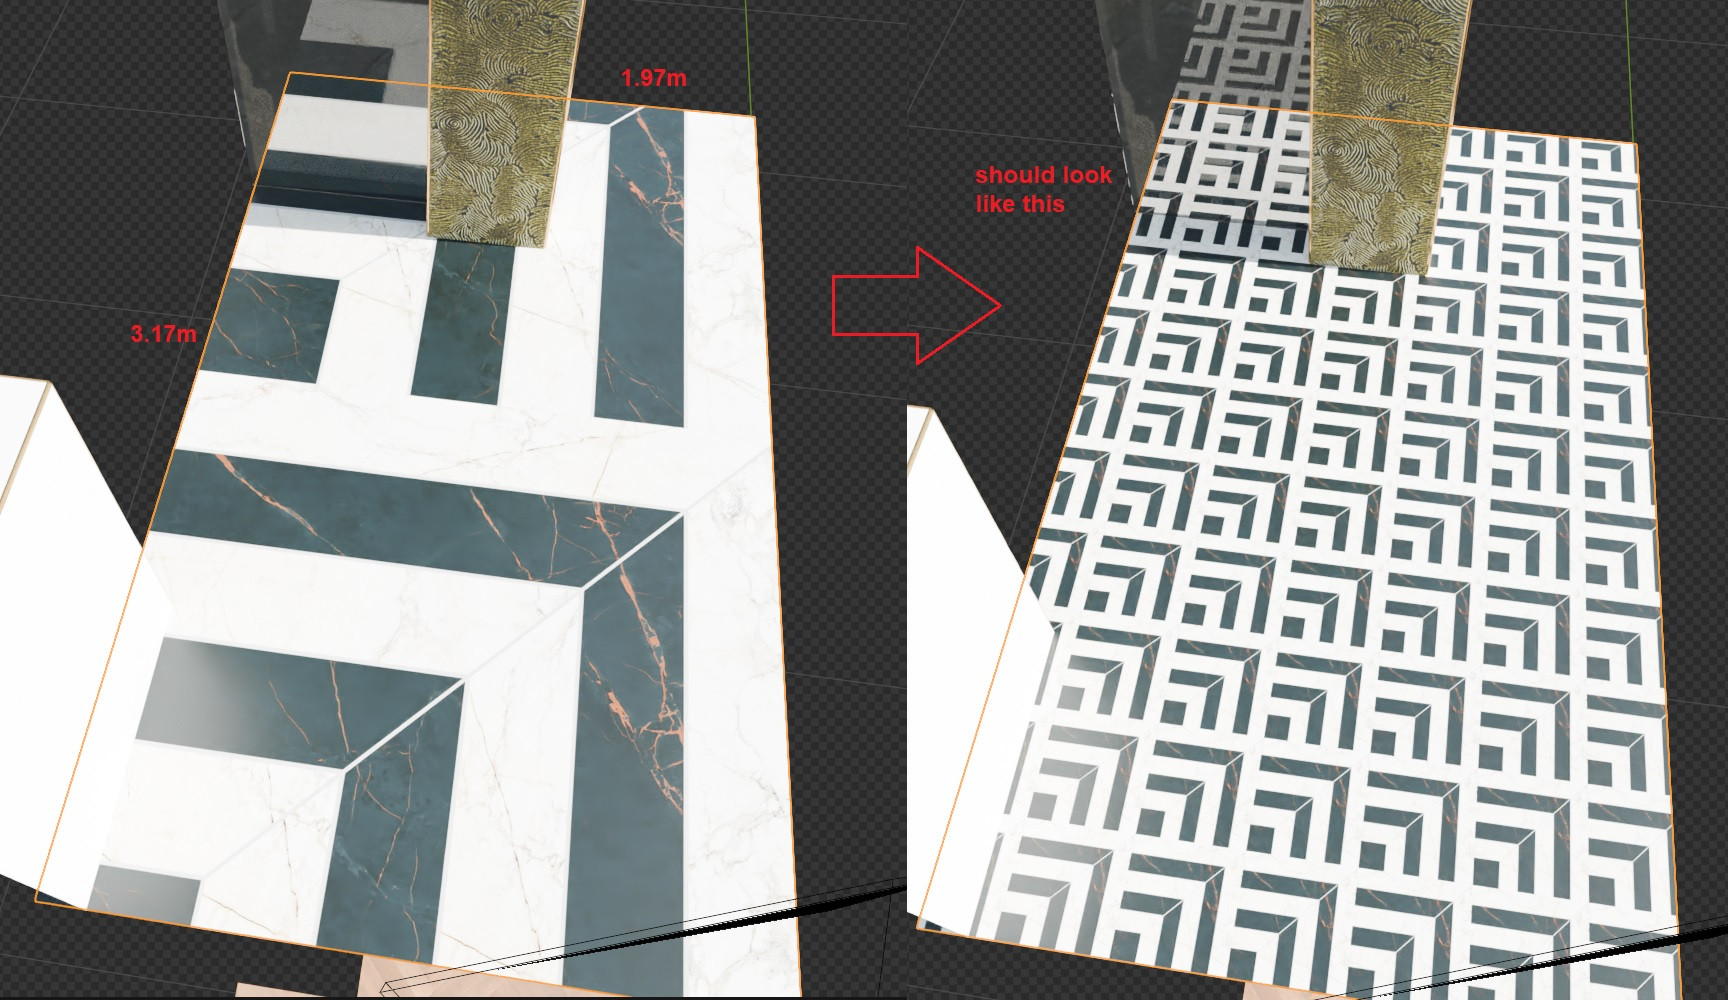
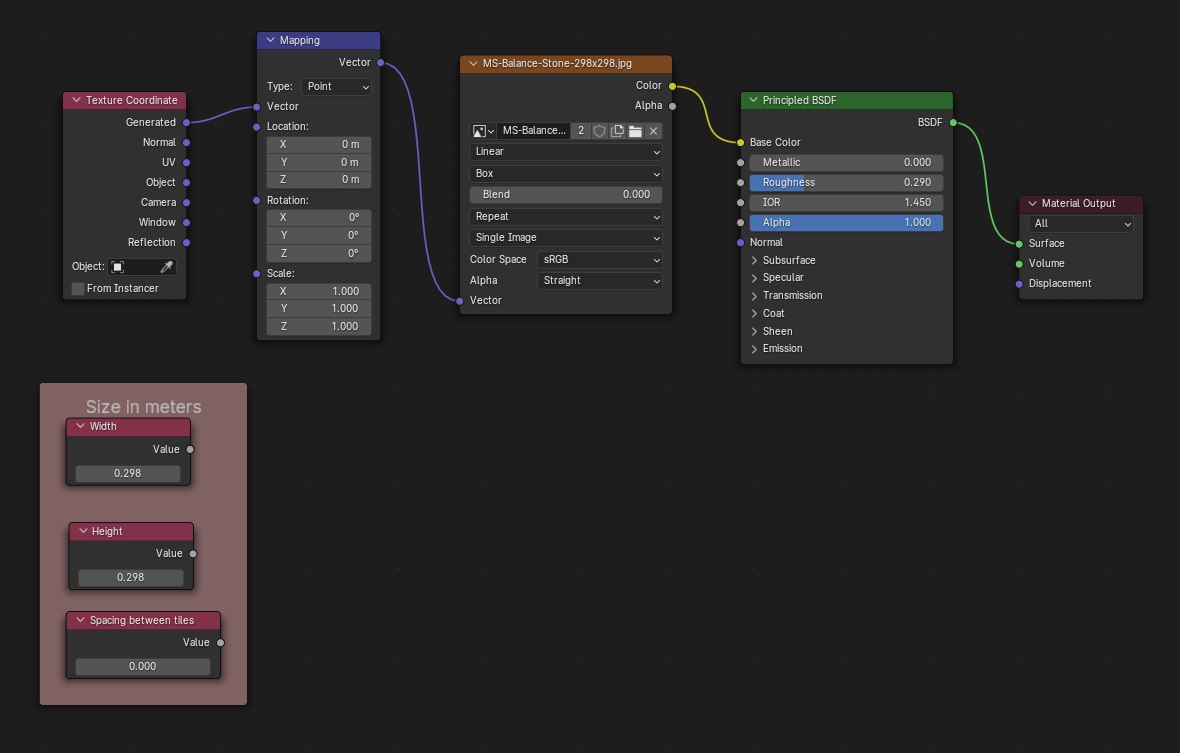
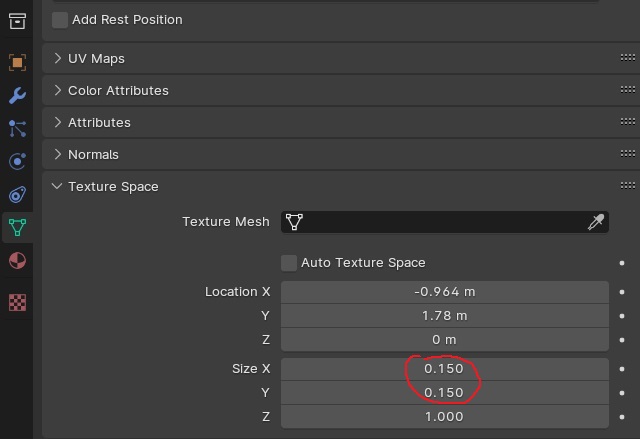
//EDIT: At the bottom you will find a file with a reworked version, using a brick texture, adding some settings to play with including the use of rectangular tiles and two different textures if needed, also random rotation in 90° steps. Still quite complex setup, so I'll just leave it quite undocumented.
To get the tiles real world size is actually quite simple. If your floor has its scale applied and you use the Object output of the Texture coordinate node, you can simply set the Scale with a Mapping node to 1/(tile size). If you want the size to be including spacing, then it is 1/(tile size + spacing).
Problematic it will be if your tile texture only contains the tile design without spacing and you want to be changing the spacing as well. Then all gets a bit complicated and I actually don't know where to start explaining because I've worked a while on it with a lot of trial and error. So first of all I will maybe just present my node tree:
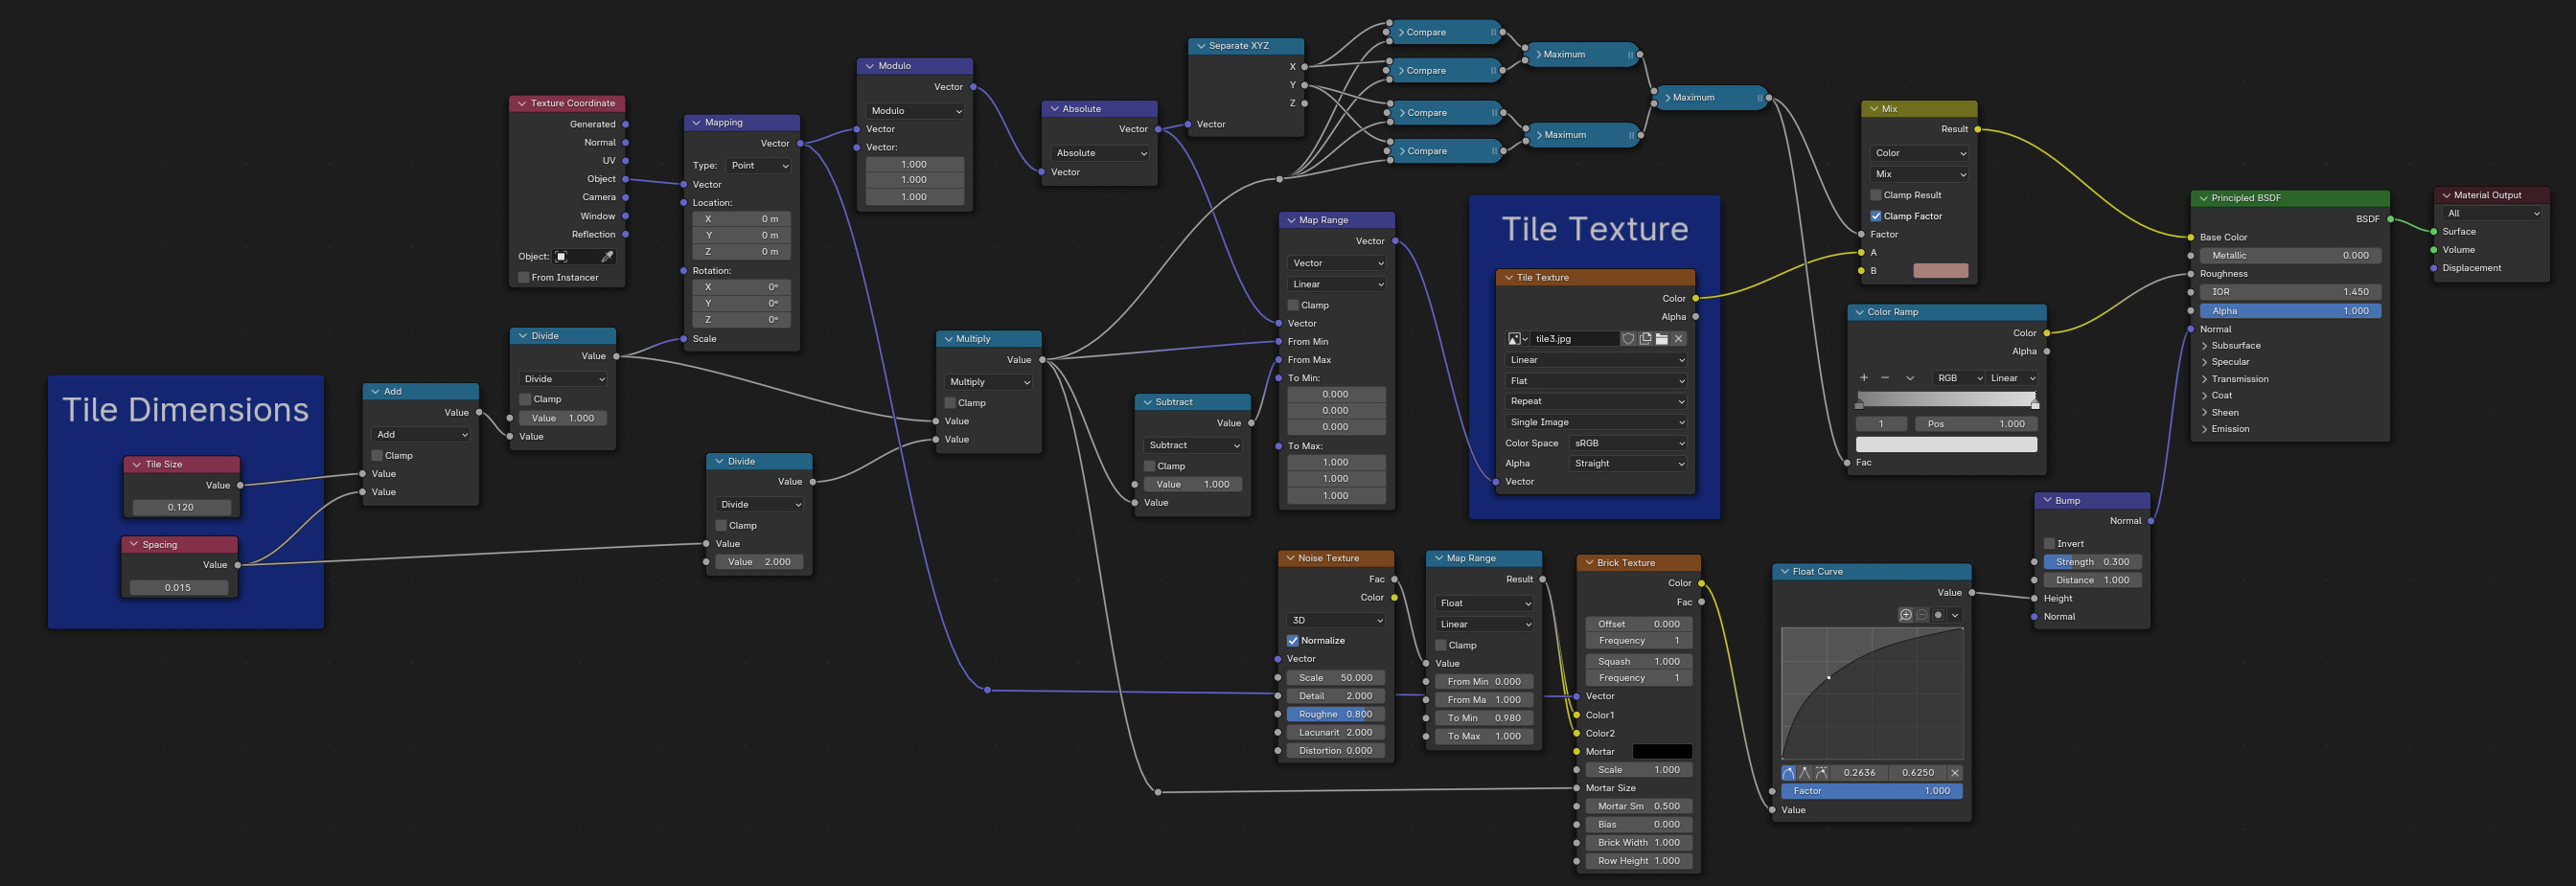
Prominently showing in blue are the main features: there you can enter the tile size of (square) tiles and the spacing between them. The other blue frame is the Image Texture node where you can load your tile image.
The most complicated part (for me at least) was getting the texture coordinates to be scaled to the size of tile + spacing, while I wanted the tile image to be scaled to just the tile size, so that nothing gets cut off by the spacing part. Therefore the Map Range node converts the coordinates at From Min 0 + spacing/2 (relative to scale) and From Max 1 - spacing/2 (relative to scale) unto To Min 0 and To Max 1.
To have the tiles not only in the top right area of the floor I needed a Modulo to make the negative part positive. Then the X and Y values are converted into a black and white grid to separate tile texture from spacing, which I use in a Mix Color node where I give a color to the spacing.
Then I took a Brick Texture node and used some of the coordinate settings there as well to create some bump to make the floor not looking so completely flat. A bit noise in the Color inputs to give some bump on the tiles so they are not fully smooth and the Mortar is black. I also used the Brick Texture so I can smoothen the transition from mortar to tile a bit. And I used some masking for the roughness.
Another thing: the origin of the object determines where the bottom left corner of the tile is (or actually the bottom left of half the mortar) when the Mapping node is set to Location 0/0/0. If you want the origin to be where the center of the tile is, you can set the Location to 0.5/0.5/0 (the Z does not matter really).
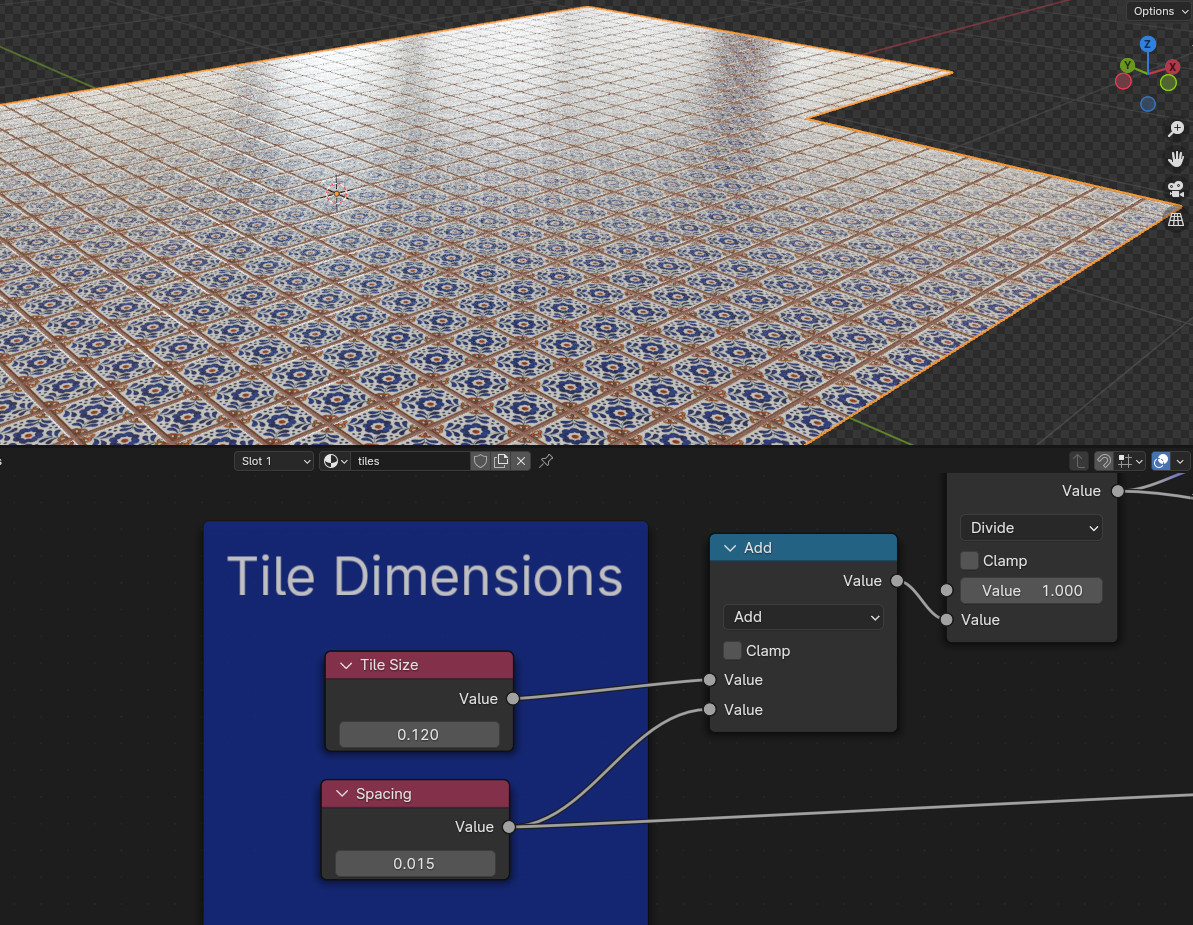
I know this is quite incomprehensible but I wanted to present at least something to you, at the end of this answer there will be the file to have a closer look. Now some examples, I can easily choose now for example one tile with a size of 120 mm or 0.12 m and a spacing of 15 mm:
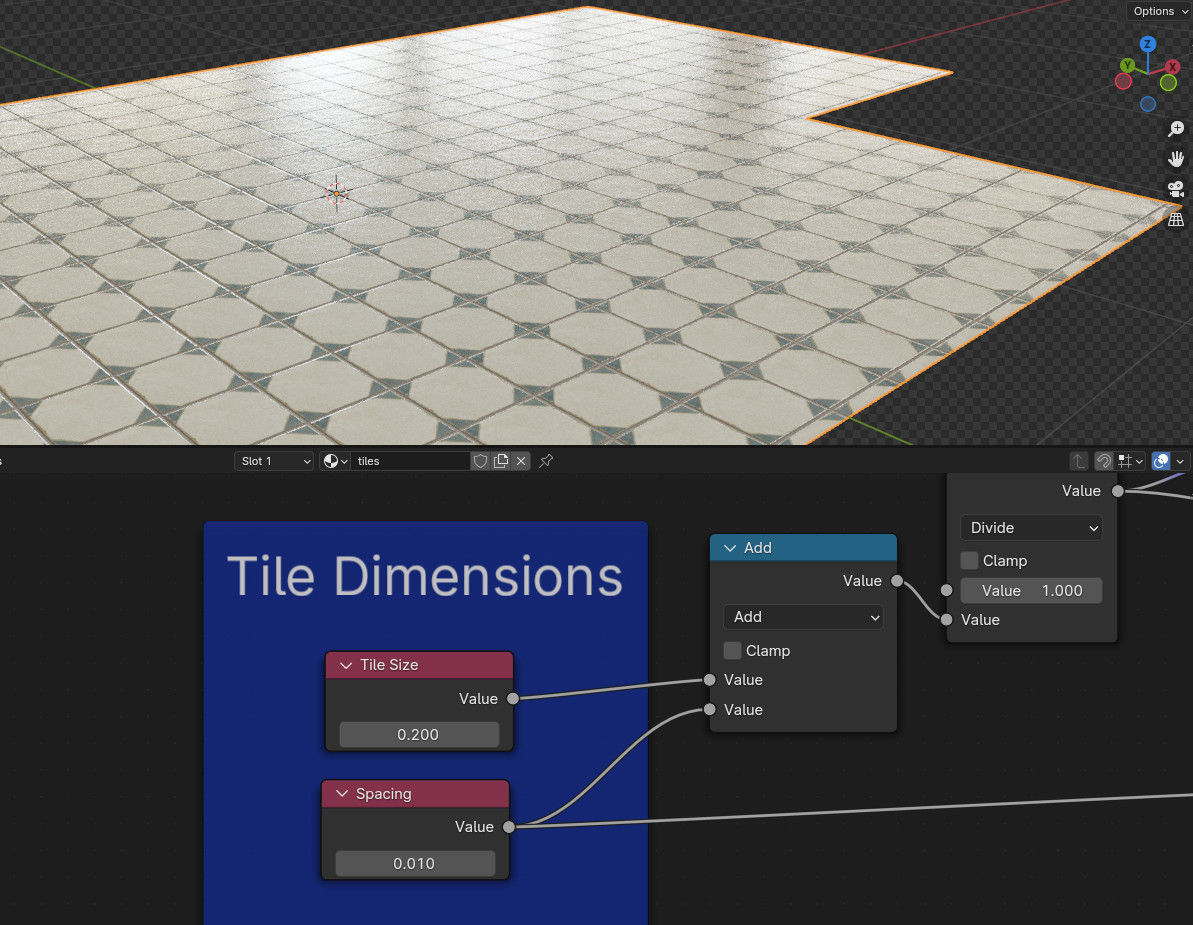
Then I switch the image texture to a different tile and make it 200 mm with a spacing of 10 mm (and change the mortar color):
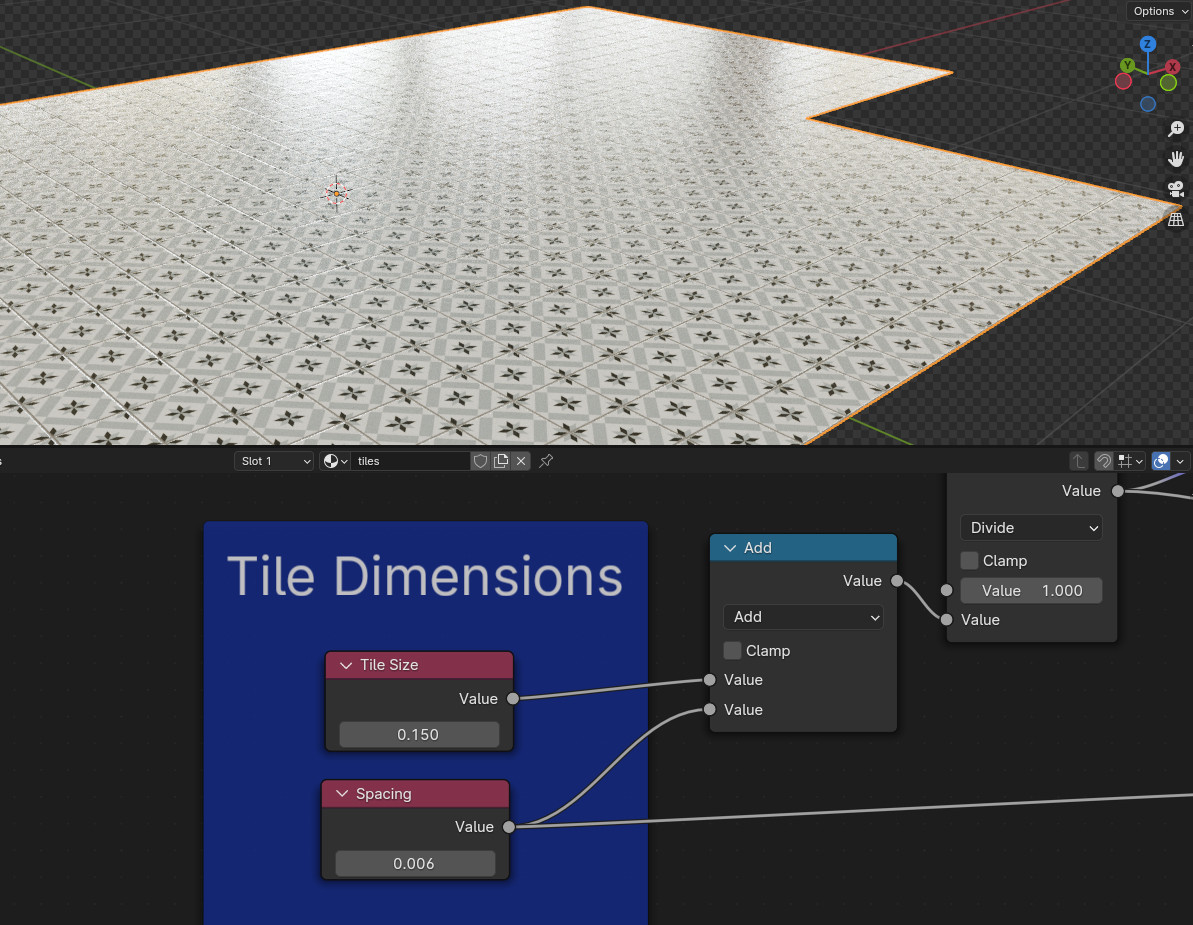
And a quick third example, new tile, new sizes 150 mm with 6 mm spacing and another mortar color (but by the way, the slightly yellowish tint on all tiles comes from the HDRI which I used for the environment):
The old setup:

New version: In the section "Tile Setup", apart from being able to set the size for X and Y (no matter if they are square, "portrait" or "landscape") you can also shift the X and Y position in case you need to move them on the floor and also give them a random orientation by rotating randomly in 90° steps. Since the shader nodegroups have no checkbox input you have to set 0 to disable rotation or values > 0 to have rotation.
The "Tile Textures" part is simply two Image Texture nodes where you can upload two images as tiles if you want a checkerboard tiliing. Of course you can simply use only one of them in the following "Texture1" and "Texture2" inputs, or leave one empty or both empty to use colors instead.
The "Tile Compositor" is where it all comes together. There the setup is combined with the textures to create the floor tiles. Apart from using two textures you could as mention before simply use one for both or one or two colors. You can also set the Roughness for tiles and mortar and Bump strength. There is an option to have some noise bump for the tiles as well to make them not too perfectly flat and smooth.
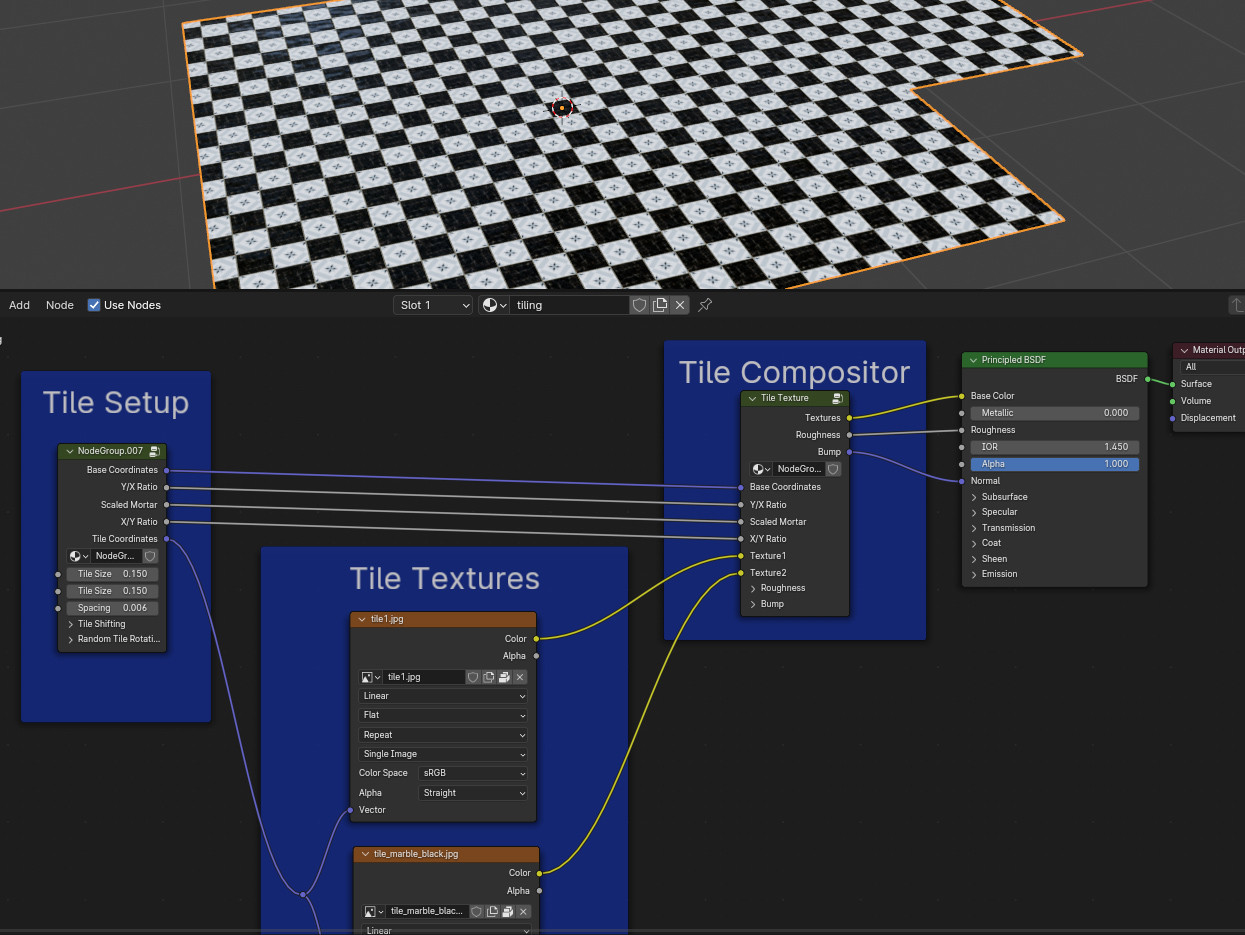
And here is the new file:

