0
$\begingroup$

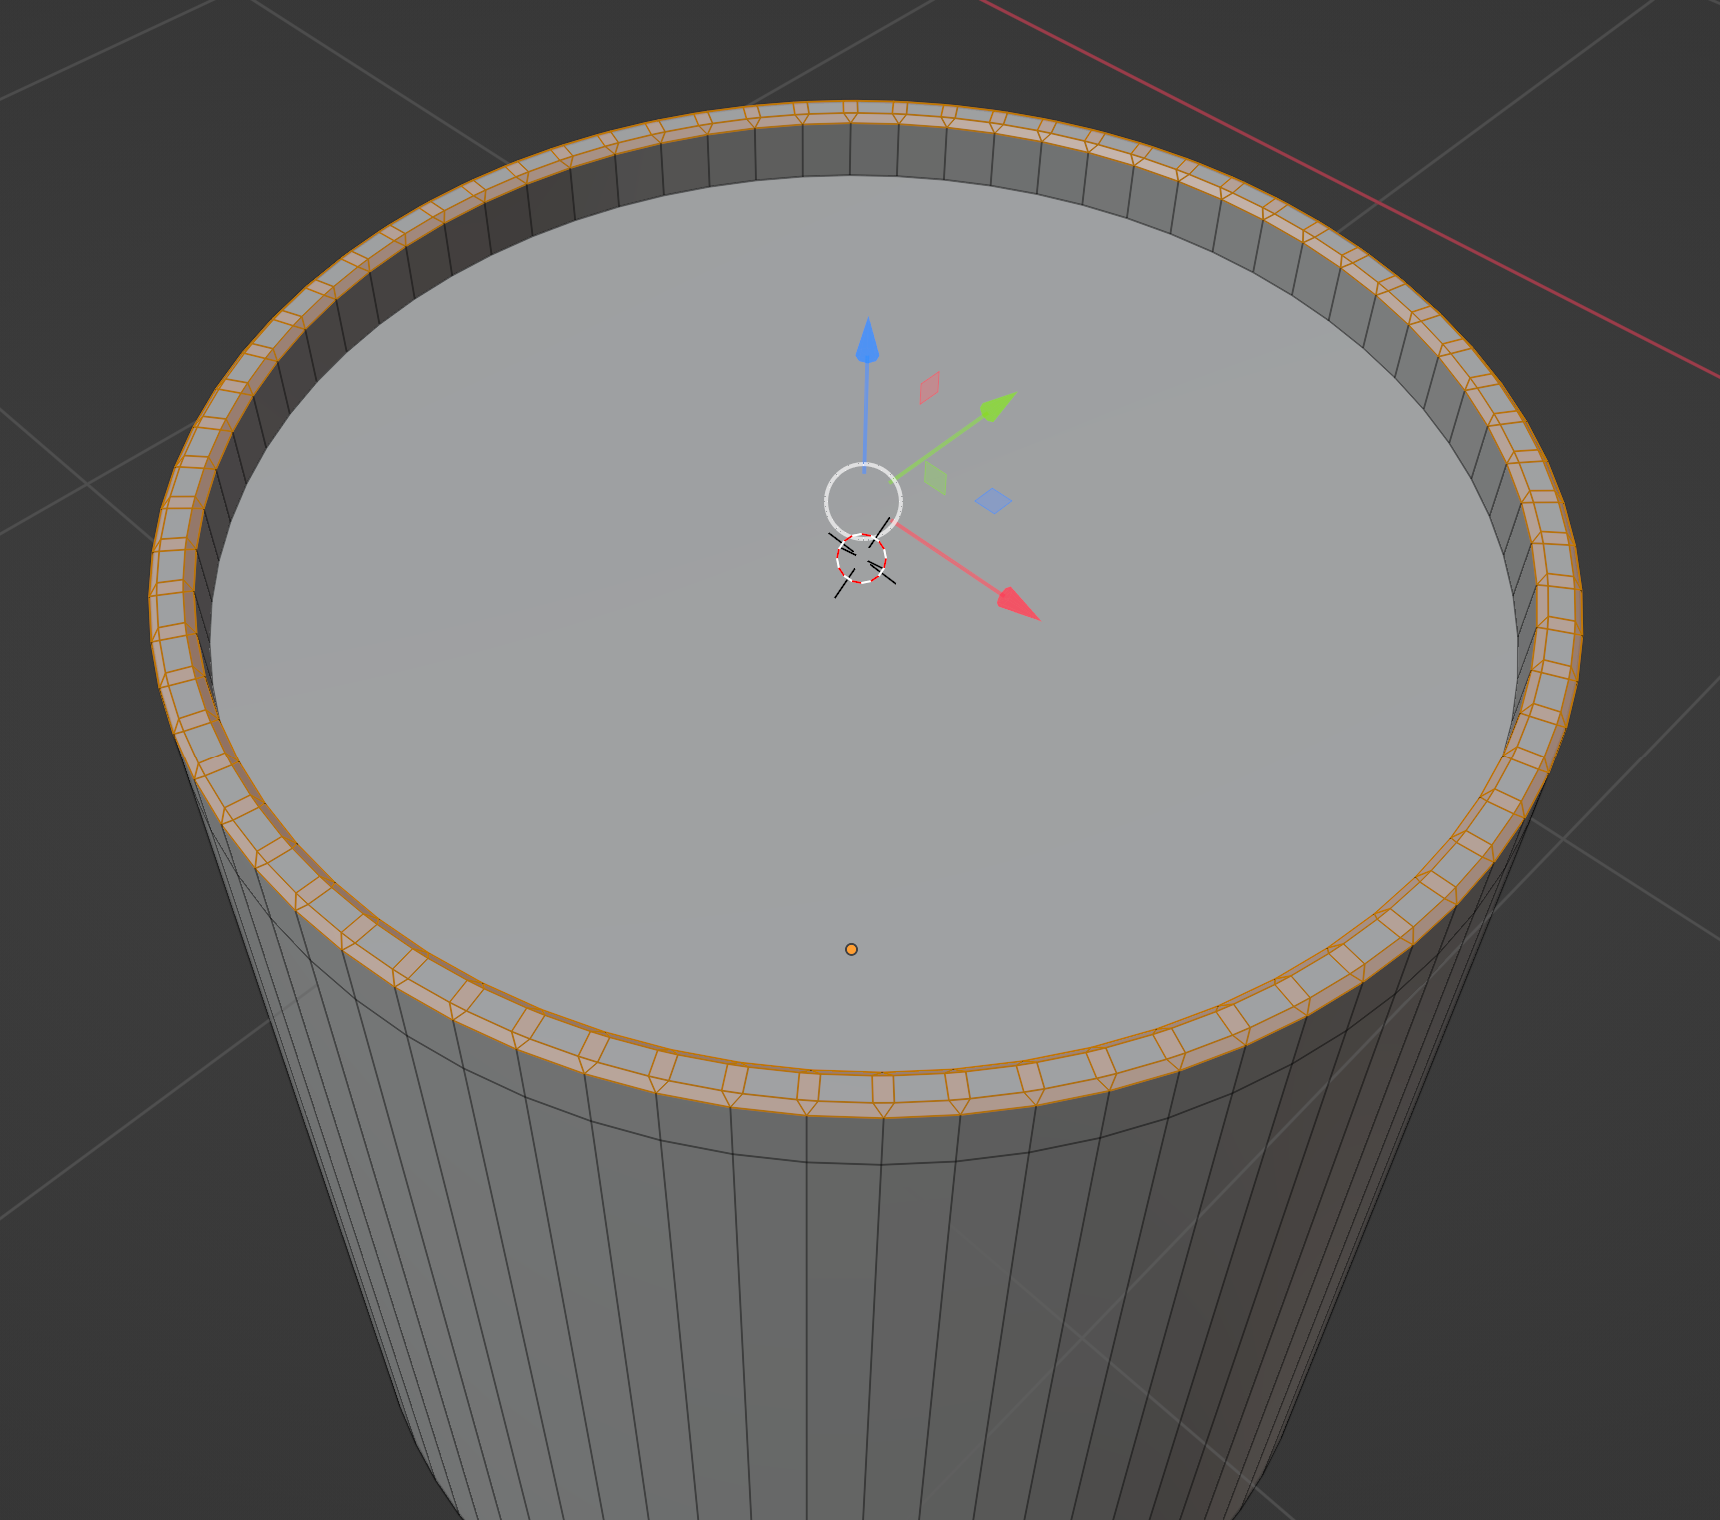
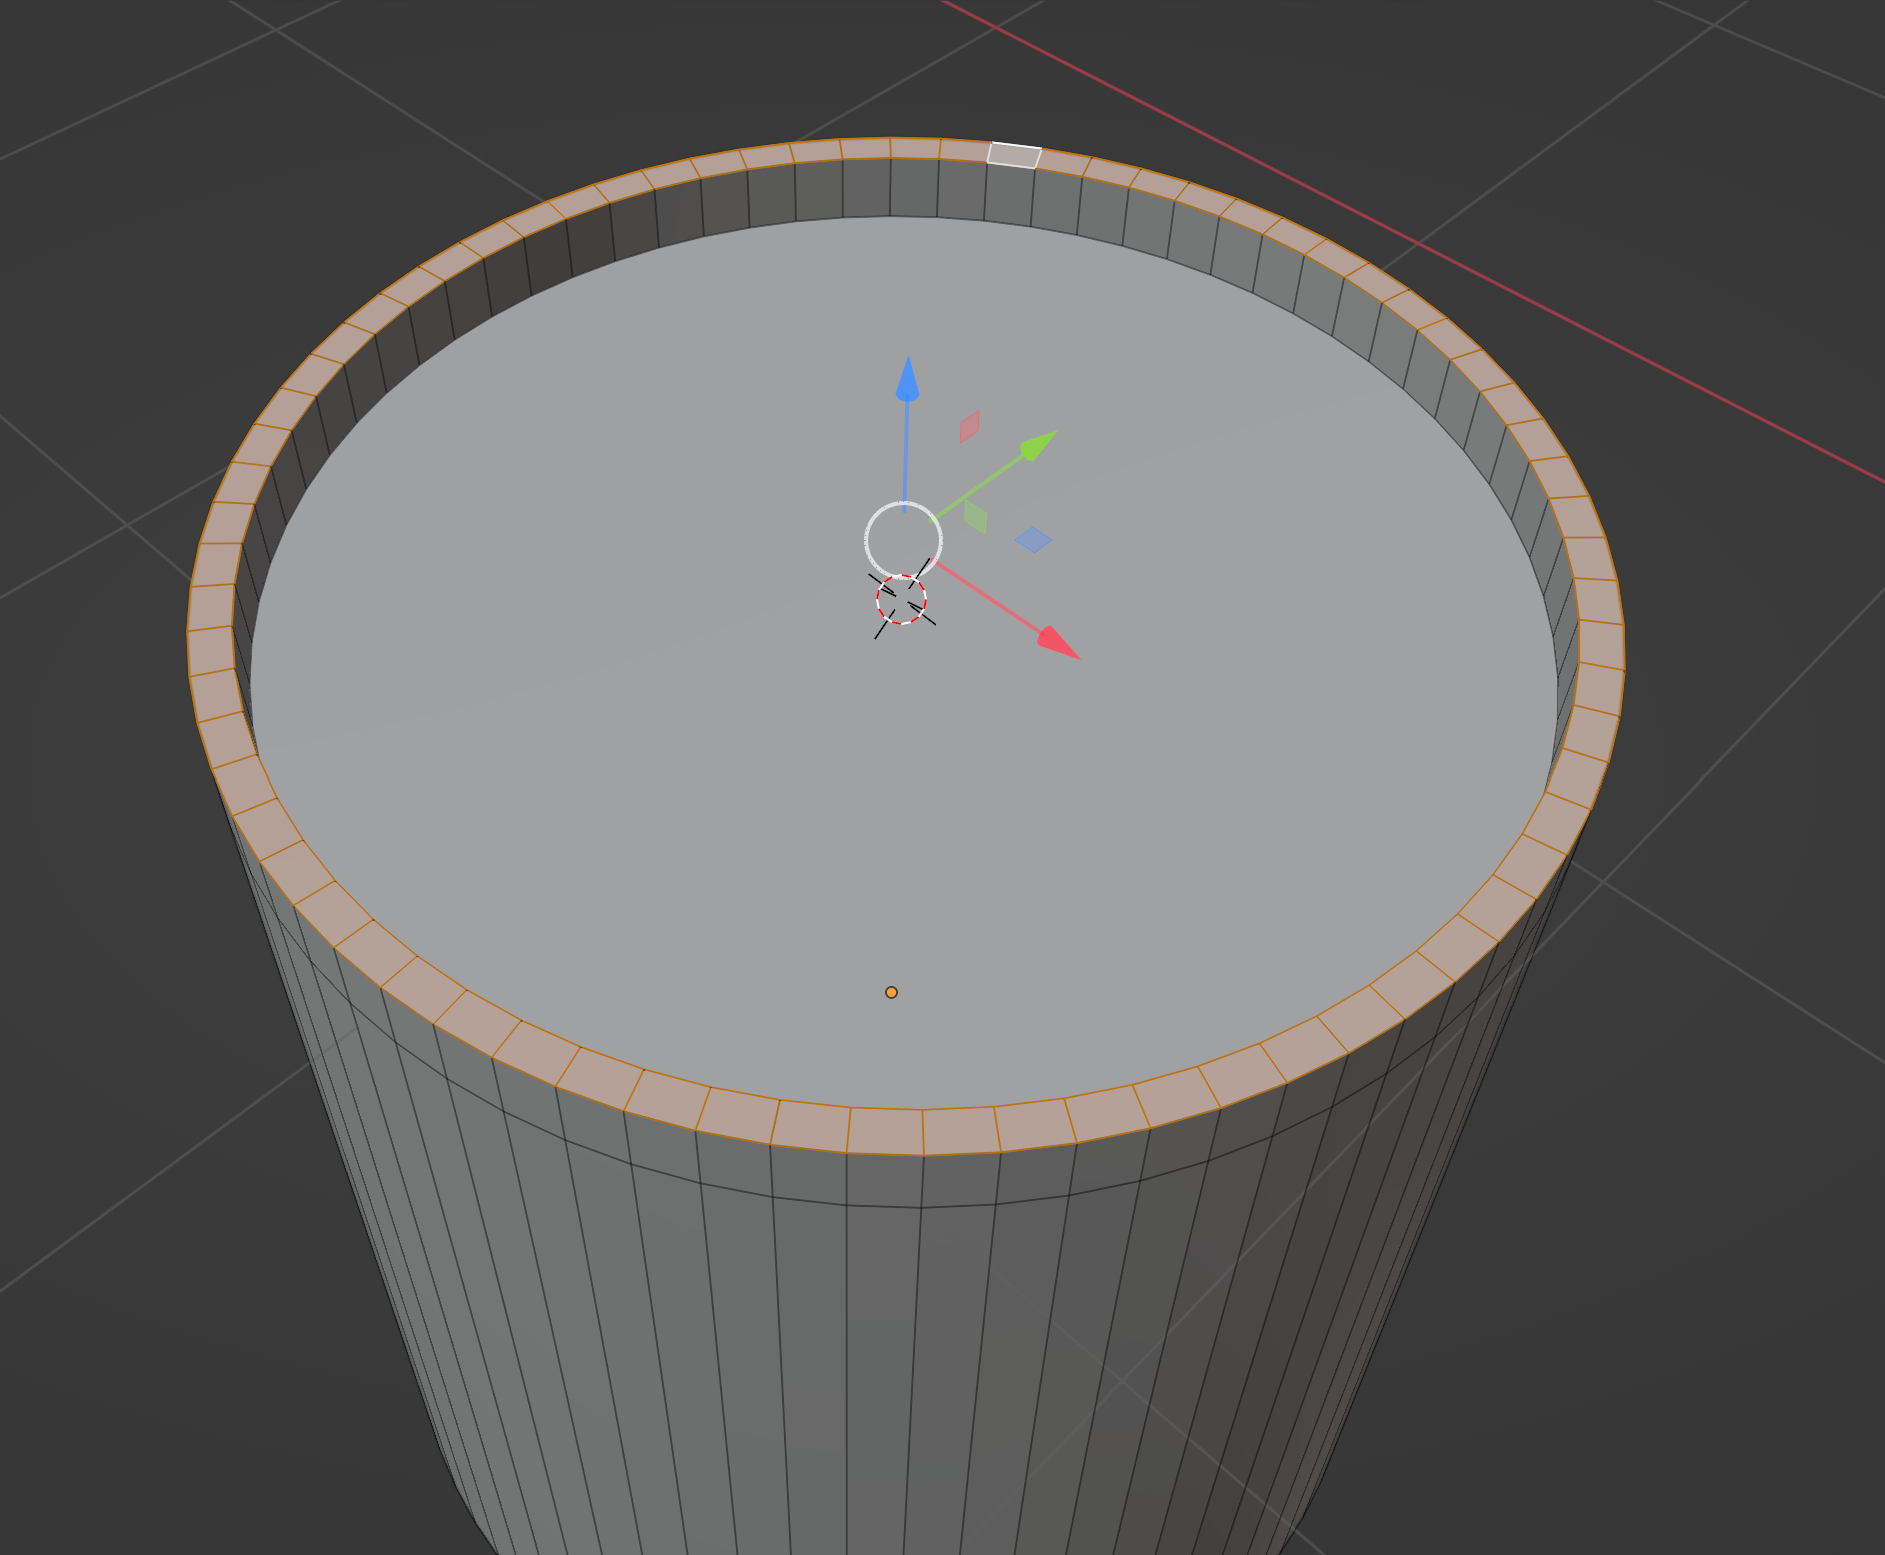
I have made a ring lip around the top of a cylinder. I want to make each top face of the ring (the selected faces) be beveled to make a bumpy ridge around the ring. selected ring faces
I tried beveling (CTR + B) and it beveled the inside and outside edges of the ring as I wanted, but the inside edges WITHIN the ring are not beveling.

beveled ring faces

The effect I'm looking for is for all selected rectangles and triangles in the beveled image above to be "inversed" (pretty sure that isn't the right terminology...) to be indented into the ring.

This is a model that will be 3D printed when it's completed.

$\endgroup$
4
  • $\begingroup$ Seems normal to me. In order to have a bevel with an angle, there must be an angle break between the surfaces being beveled. If the angle is 180 degrees (flat surface) the bevel will also stay in the flat surface. I am not sure what you try to achieve, but if you want some kind of dents then you have to have some kind of angle break there. $\endgroup$
    – radoo
    Commented Jan 3, 2023 at 7:53
  • $\begingroup$ Yes! That's what I want is dents where those 180 degree edges are. So the bevel tool is correct, I guess it's just not doing exactly what I want. So what do you mean by angle break? How can I add that on all those interior edges? $\endgroup$ Commented Jan 3, 2023 at 8:13
  • 1
    $\begingroup$ Use inset on individual faces instead. Ths is why there are different tools in the toolset, some are better suited for different purposes then other. $\endgroup$
    – radoo
    Commented Jan 3, 2023 at 8:51
  • $\begingroup$ Ahh, yes the Inset tool is new to me, and it looks like that's exactly what I'm looking for. $\endgroup$ Commented Jan 7, 2023 at 14:47

3 Answers 3

2
$\begingroup$

This is a good job for the very underrated Inset tool:

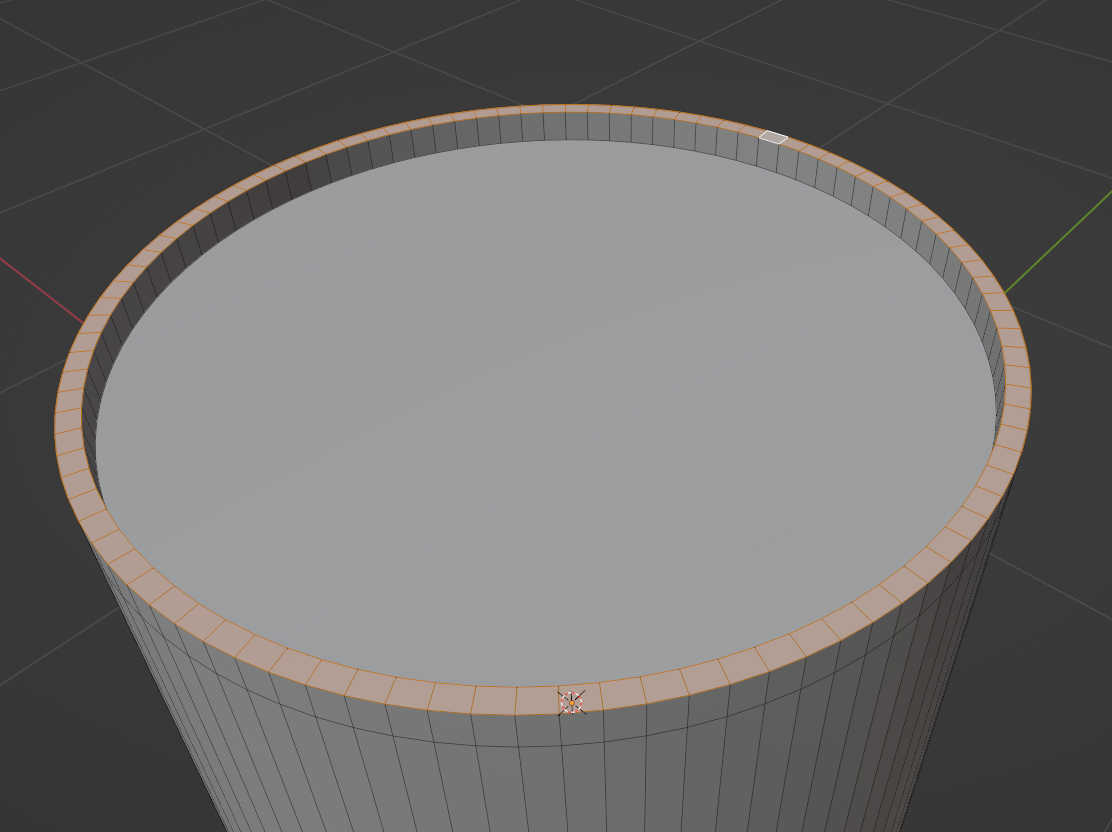
  1. Select the top row of faces.

select faces

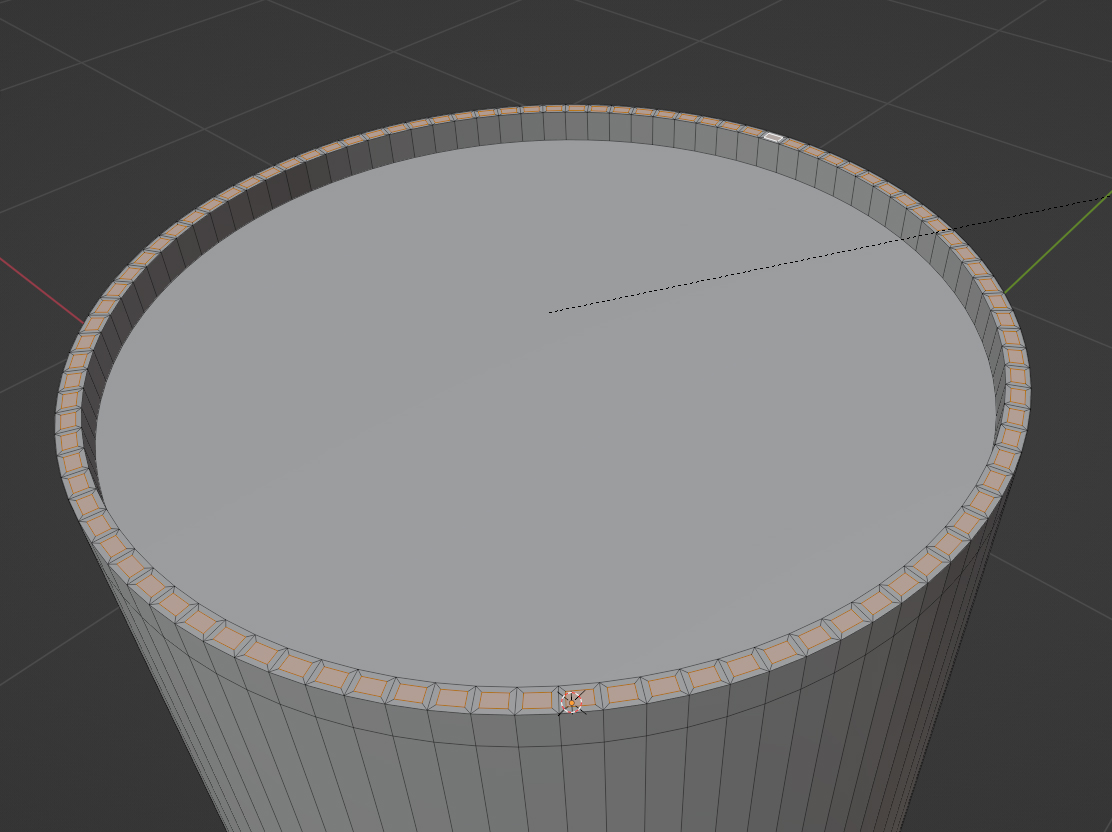
  1. Hit I to start insetting the faces, hit I again to inset them individually (if not already enabled). Do that until the inset is as far as you want it, but do not yet confirm the insetting with LMB or Return.

insetting faces individually

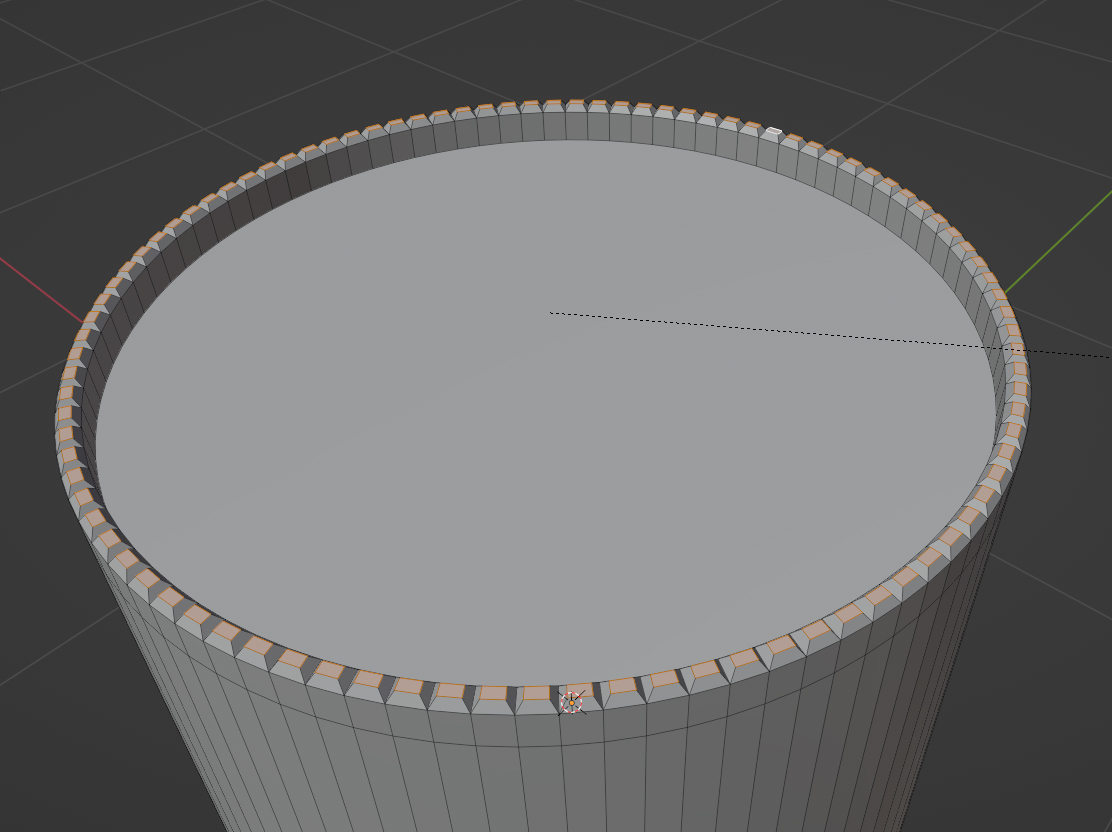
  1. Now hold the Ctrl key to move the inset faces up (or down), which the tool refers to as Depth. Releasing the key lets you further adjust the inset size. When you like the result, confirm with LMB or Return.

tweak inset depth

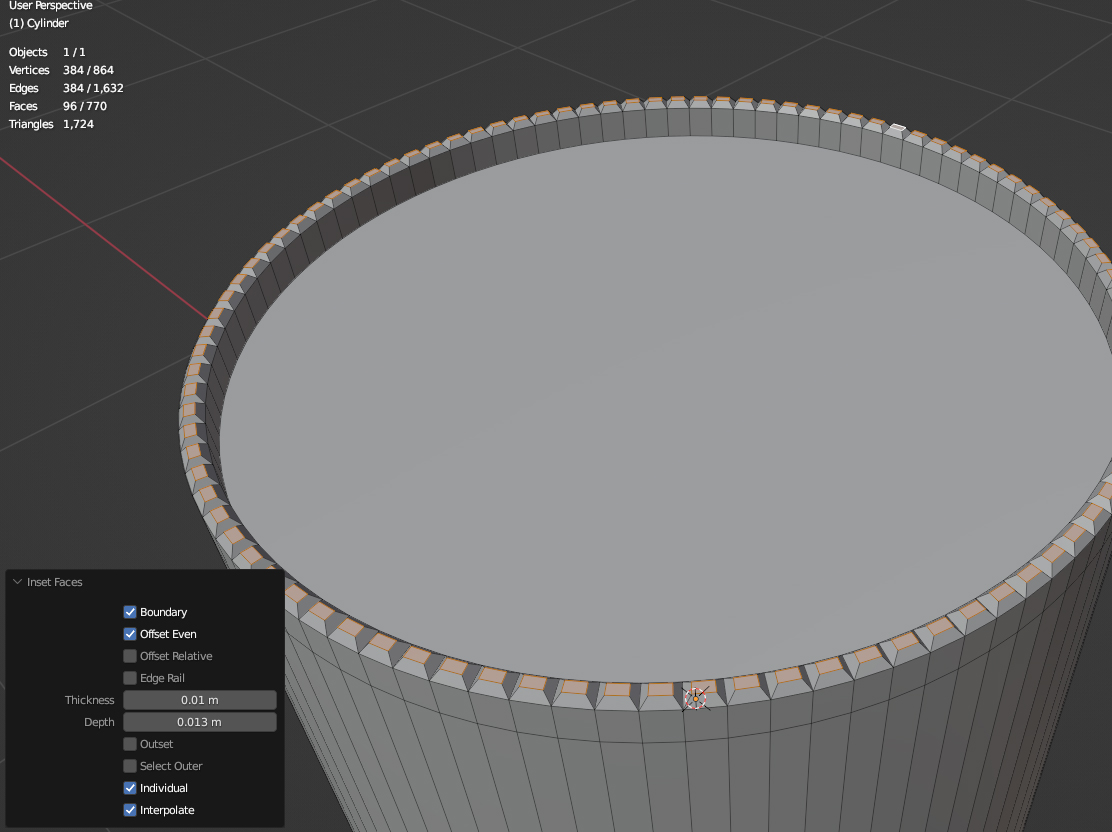
  1. Alternatively, you can simply just inset the faces individually (step 2) and confirm it, then with the inset faces still selected just hit G, Z to move them up slightly. The Depth however also works in the normal direction of the faces no matter how the cylinder is rotated (eventually not aligned to any axis). Just insetting and moving up afterwards works better if you want to enter a value for the inset size, because tweaking will no longer work after entering a value. But after confirming the change you can always enter specific values in the tool options menu that appears on the bottom left (or which can be brought up with F9 as Robin pointed out).

tool options

$\endgroup$
3
  • $\begingroup$ Maybe I should delete mine..yours is more complete. But different enough.. let it go. $\endgroup$
    – Robin Betts
    Commented Jan 3, 2023 at 10:13
  • $\begingroup$ @RobinBetts I'd leave it there as well, doesn't matter. I'm sometimes even surprised about questioners preferring one of two different solutions over the other, when I would think the other is a better method or a more correct answer... $\endgroup$ Commented Jan 3, 2023 at 10:19
  • $\begingroup$ Awesome answer, thank you very much! That's exactly what I'm looking for, especially knowing all the keyboard shortcuts. $\endgroup$ Commented Jan 7, 2023 at 14:50
1
$\begingroup$

Here is a possible solution:

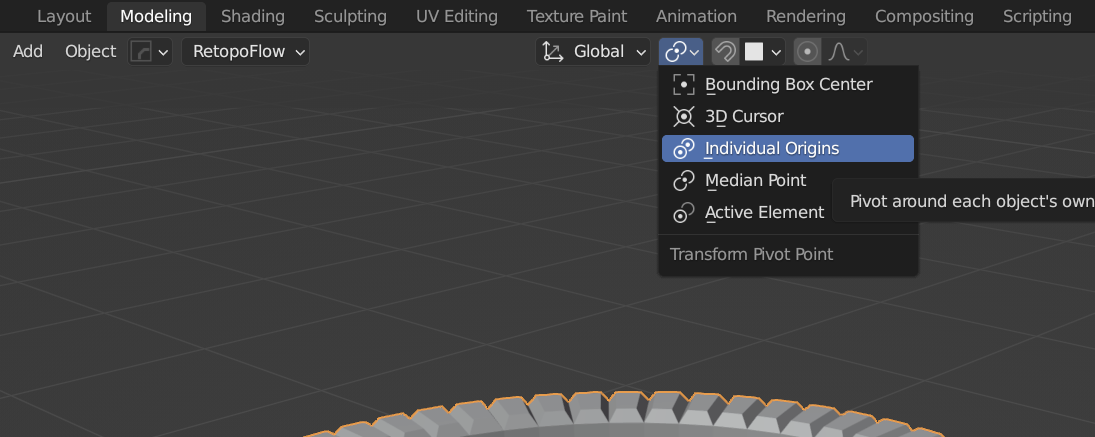
If you want to modify the scale of individual faces you can do it by changing the pivot point of the transformation to individual origins. enter image description here

Please let me know if this is what you wanted.

$\endgroup$
1
  • $\begingroup$ You mention the Inset tool in the comments under the question - but maybe it would be best for a proper answer to explain it here as well, instead of letting others with the same problem have to read all the comments. A download of a finished result also doesn't really tell anybody how to do something similar but maybe with a different shape than a cylinder. So maybe you could elaborate more on your answer? $\endgroup$ Commented Jan 3, 2023 at 10:28
1
$\begingroup$

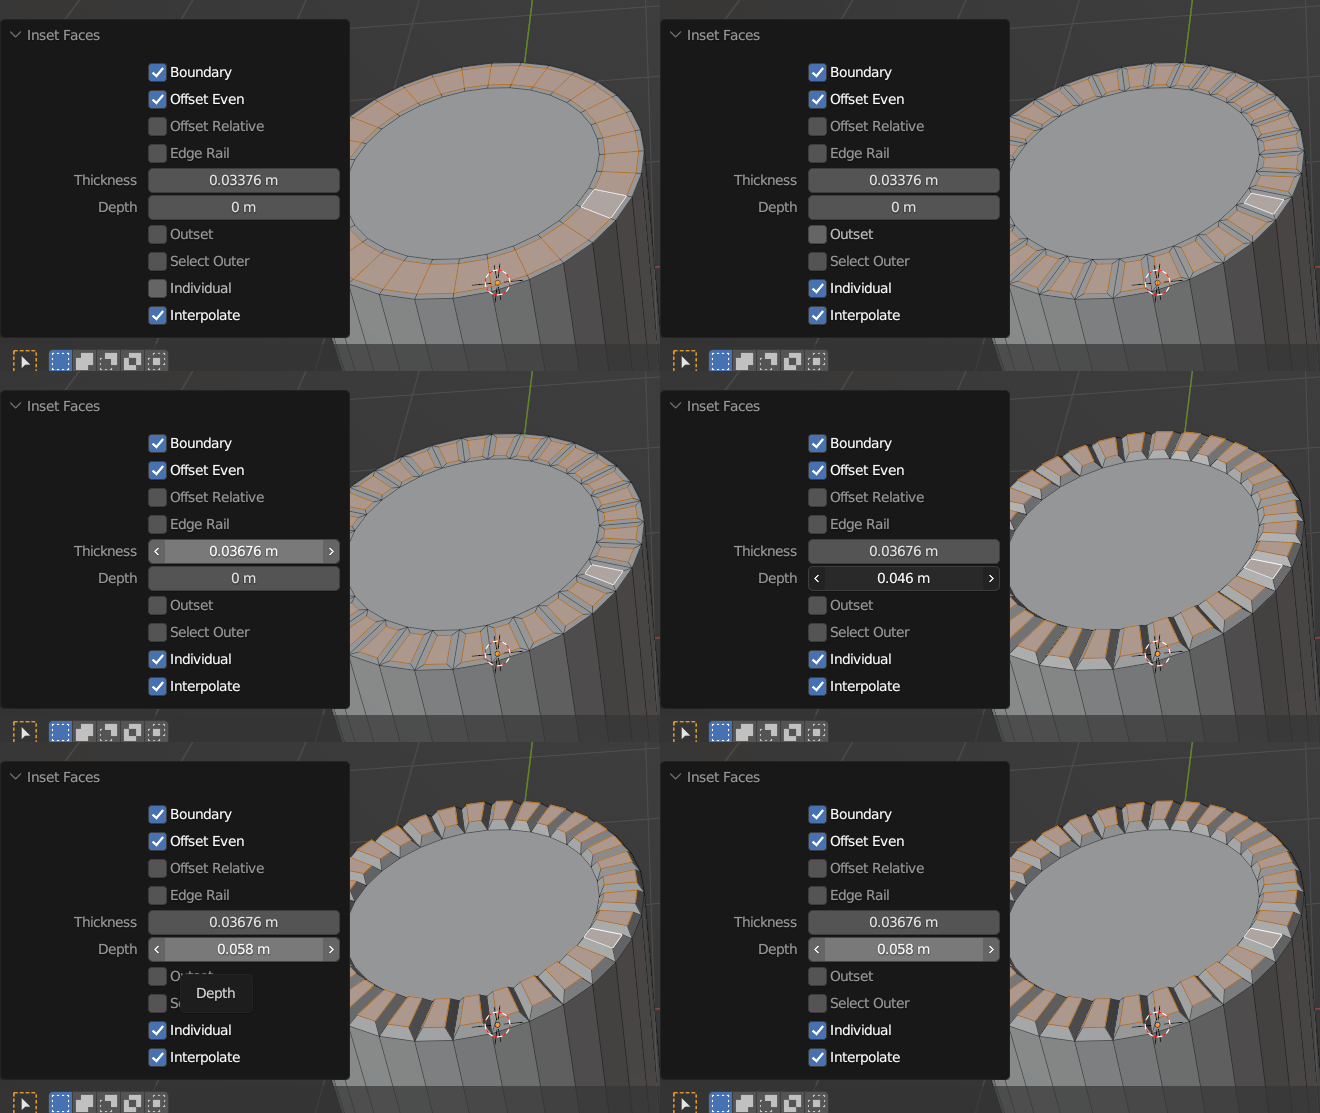
The I Inset tool may contain all the settings you need, in its F9 'Adjust Last Operation' panel:

enter image description here

.. 'Individual','Thickness' and 'Depth'. But it's a one-shot.. you may wind up going back to radoo's method to tweak to exactly where you want to go.

$\endgroup$
2
  • $\begingroup$ Oh man, I'm again too slow... :D I just explained how you can do that also "on the fly" without the options. $\endgroup$ Commented Jan 3, 2023 at 9:59
  • $\begingroup$ Sorry, @GordonBrinkmann ... hate it when that happens.. I get my fair share of those :) $\endgroup$
    – Robin Betts
    Commented Jan 3, 2023 at 10:03

You must log in to answer this question.

Not the answer you're looking for? Browse other questions tagged .