Crazy ass nobs. I get the ideal to buy a 3d printer knowing nothing about them. After a lot of searching/reading I get the thing going and feeling a little respectable until I take on this project for my girls. It's a butterfly and as you can see it's a little on the complicated side. But still, I figure out how to get it into Blender and manage to get it exported to Simplify3d and printed. The girls love it. Feeling a little smug I make the fatal mistake of suggesting that the edges would look better rounded off. Always quit when you're ahead.
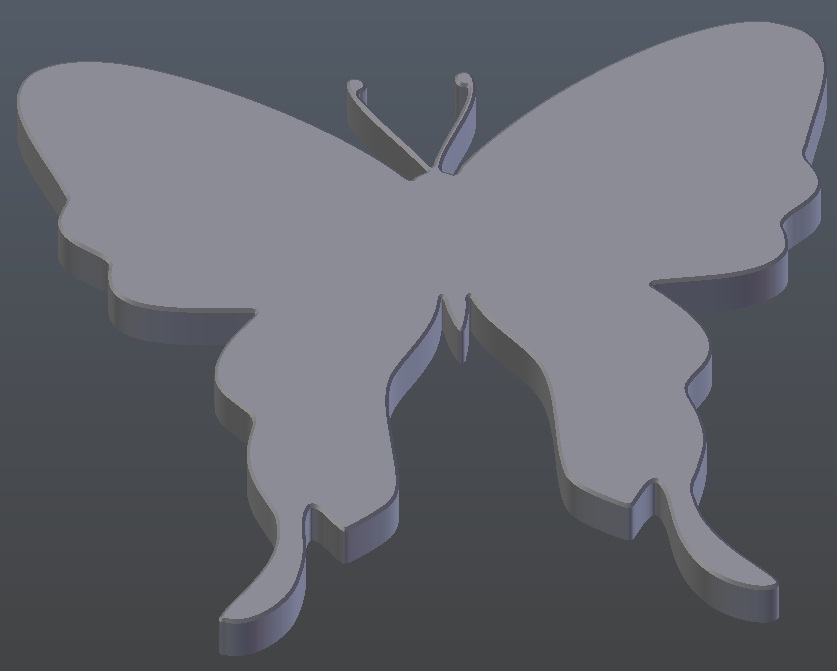
So this is what I started with.
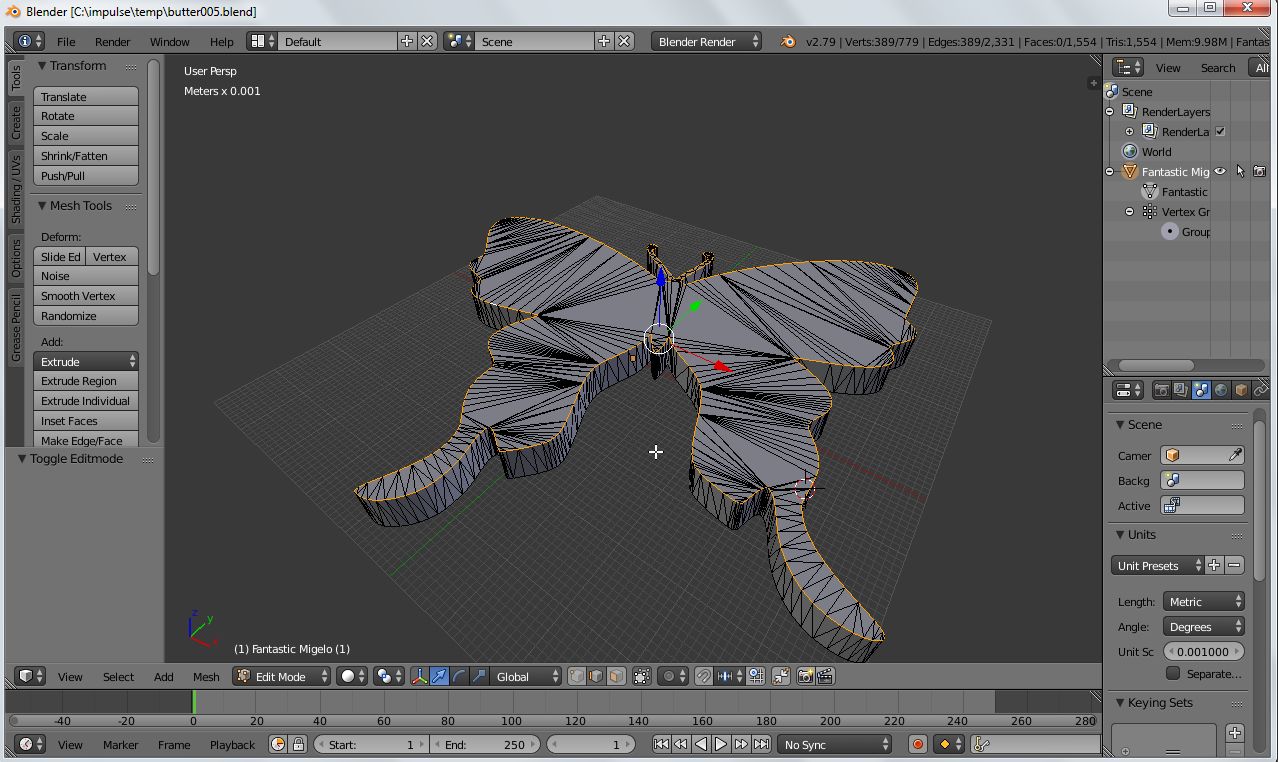
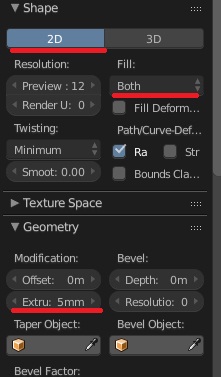
After a lot of hair pulling I figure out how to get the top edge selected. You'd a been laughing your butt of if you'd a seen me right clicking on one edge at a time until I learned the easy way. Anyways things were looking good until I laid the bevel on it.
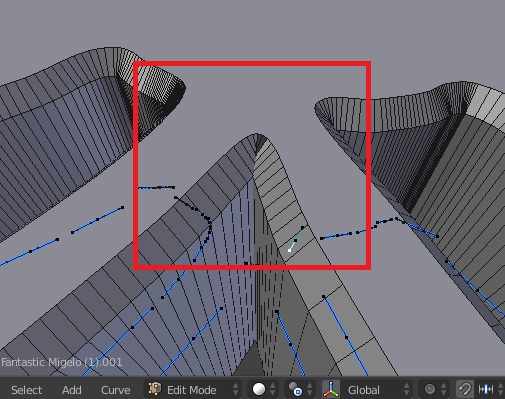
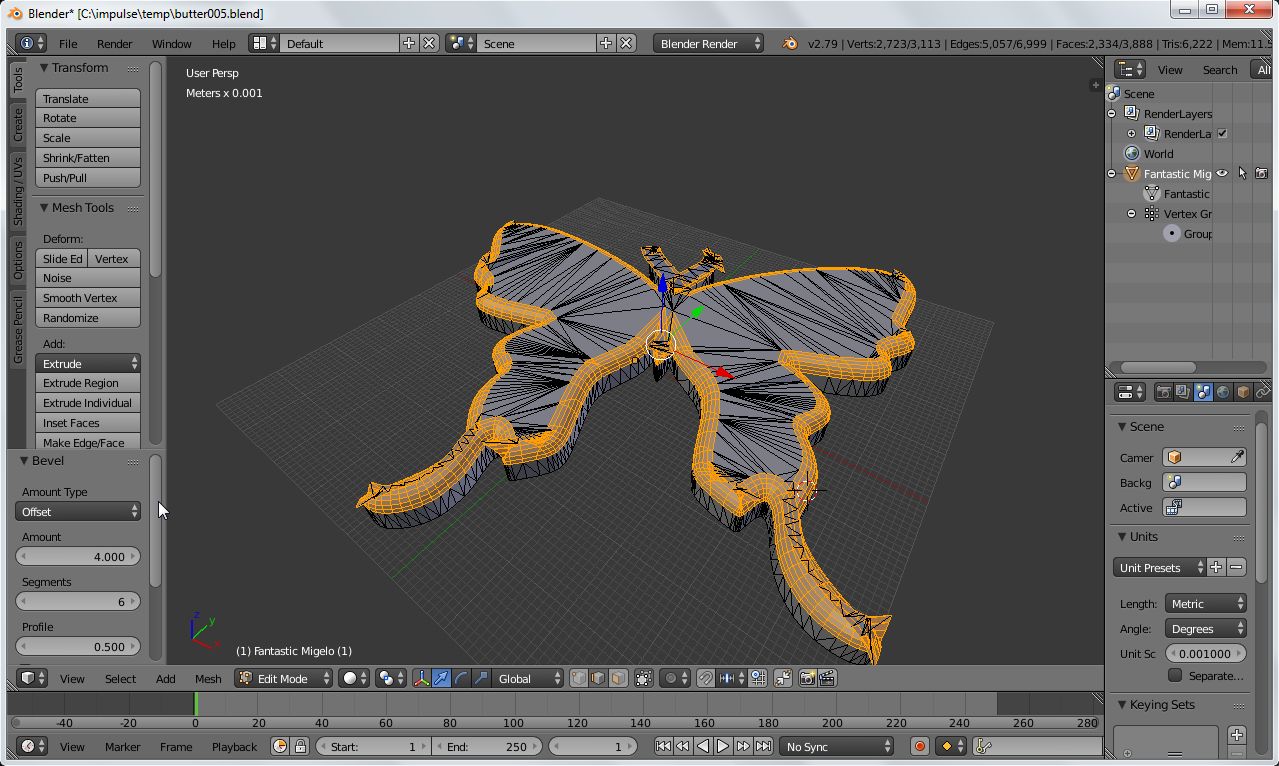 Closeup of antennas.
 As you can see on all the narrow areas the bevel overlaps on itself. After more searching/reading/hair pulling I discover something called "Clamp Overlap"
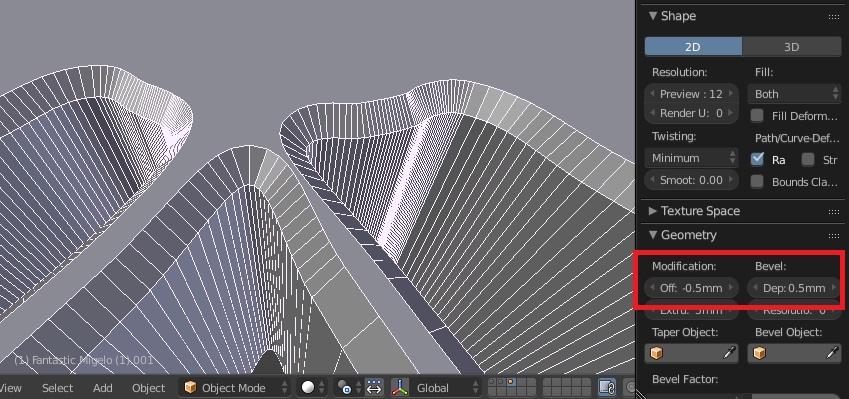
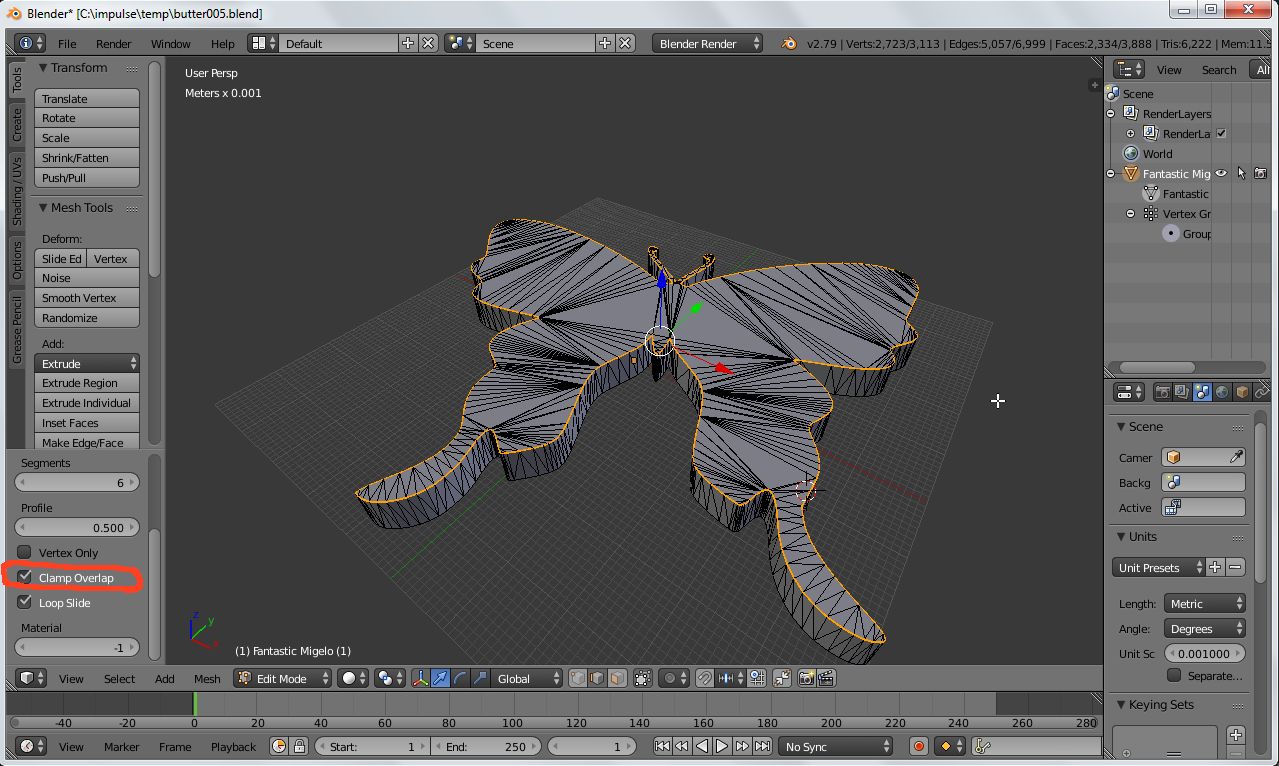 I didn't think it was working at first as it looks pretty much like what I started with until I zoom in. It seems to be working correctly, The antenna are so small Clamp Overlap is restricting it to a tiny size.
So I do more searching/reading/hair pulling and this time come up totally null which is why I came here lol. Does anyone know of a way to round off the corners? Like is there a mod or a secondary step I can use to get rid of the overlap without reducing the size? I've played with the modifiers in the "Object Mode" with no success but it is an option if anyone knows a trick. Even though it does the bottom also I can make it thicker to start with and then slice it in half. And if in the end the antenna and the wing tips aren't as thick as the rest it would probably be ok.
And exporting to another program would be an option. Only thing is it would probably have to be in .stl format as .obj gets it standing strait up in Simplify instead of laying flat for some reason.
Any help would be most appreciated. The wife is riding me a little about it now. :(
Edited to upload file, 2.7, already has edges selected as in picture above.


