1
$\begingroup$

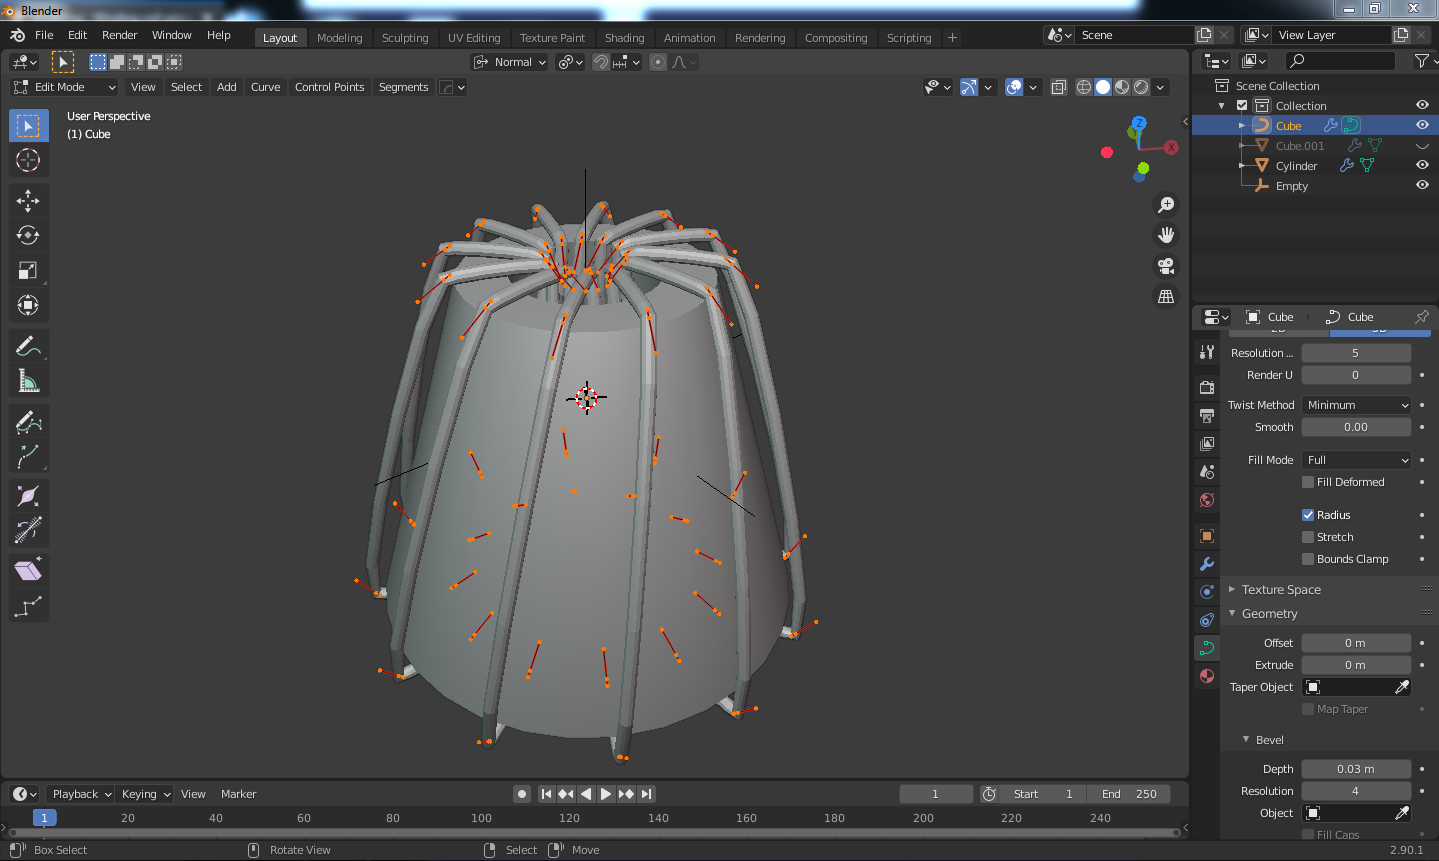
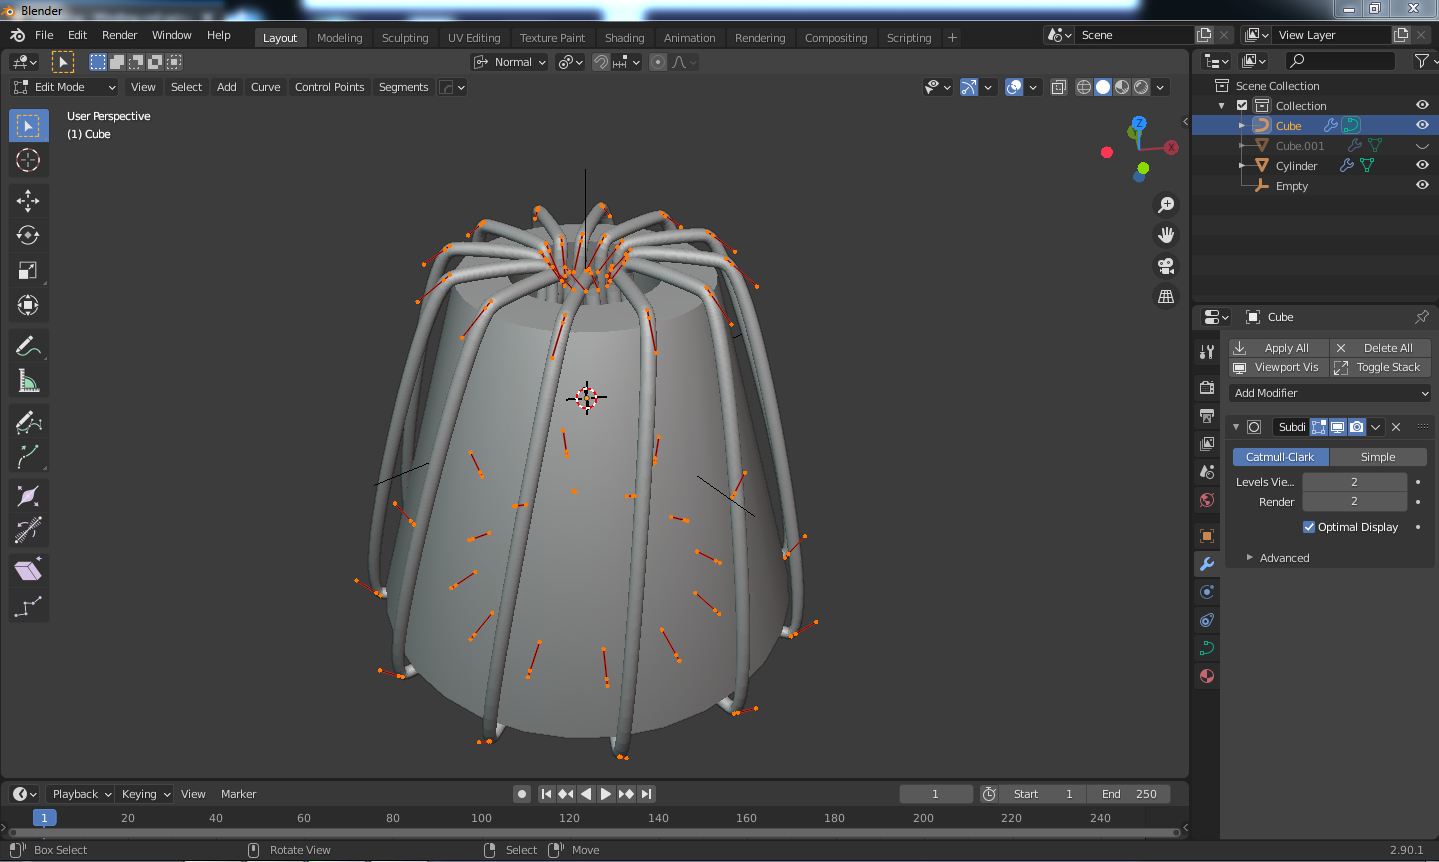
I'm trying to wind a continues coil around an conical object.

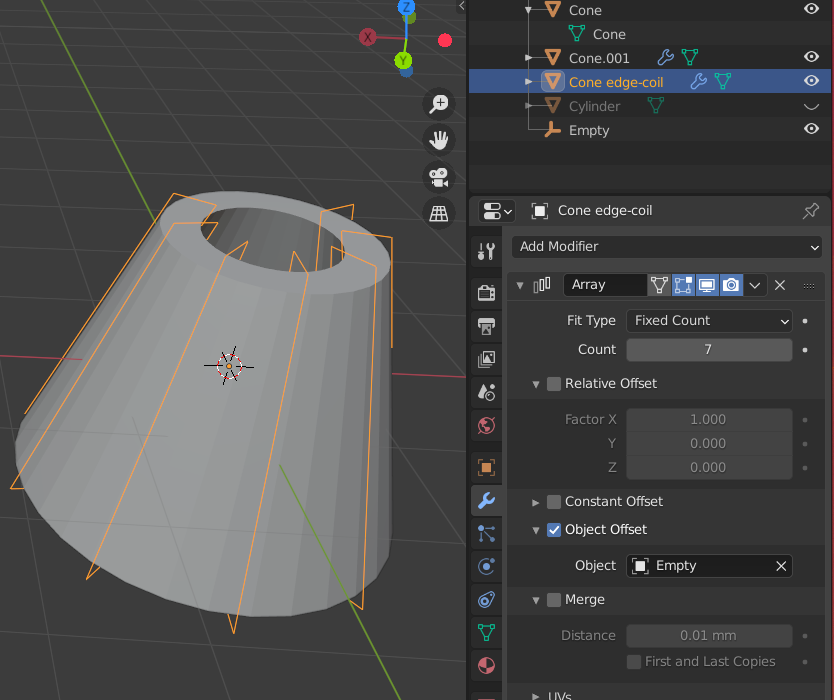
I duplicated an edge loop of the conical shape to get the Coil loop size and angle correct and used an array modifier but I'm not sure how to connect all the loops together to make it a connected and continuous wire coil spiral.

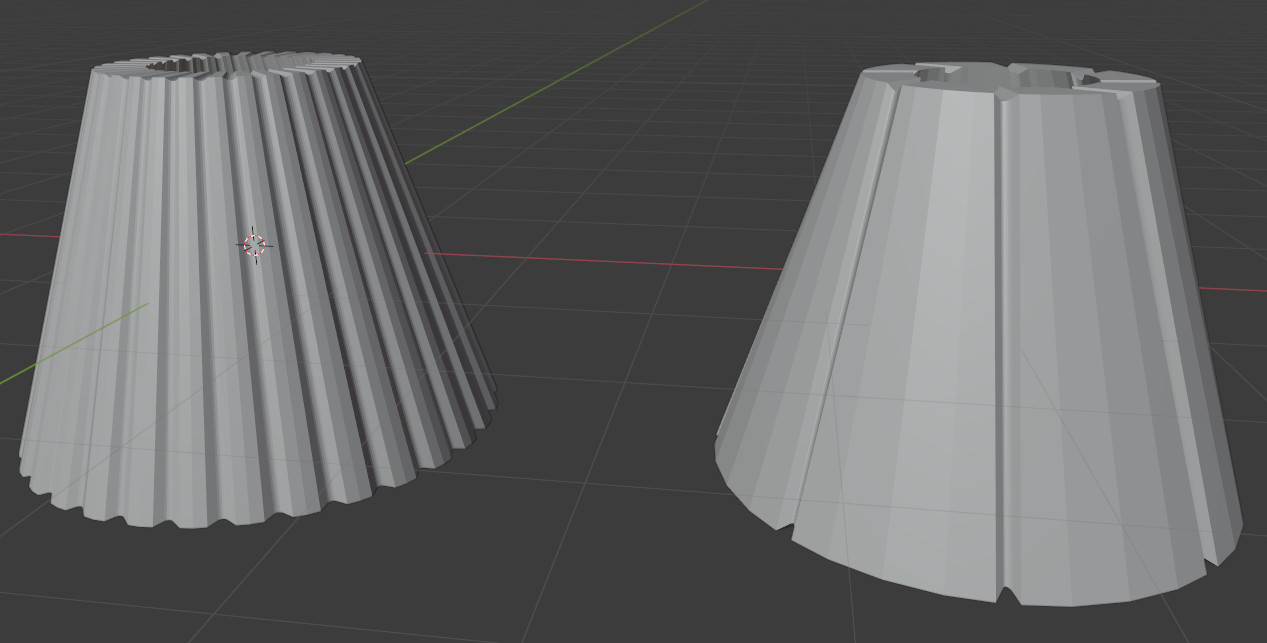
Conical

I was trying to follow How would I go about creating a Toroidal coil?

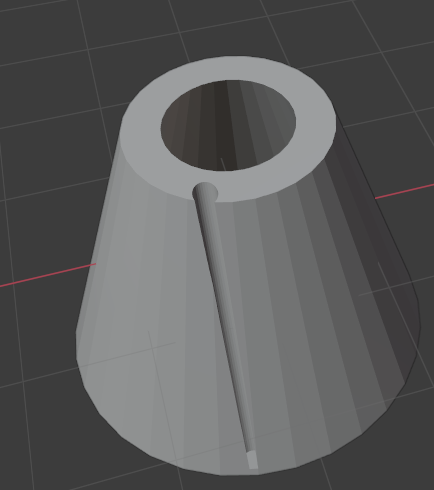
Note: I plan on using a boolean difference operator to make a indentation on both the inside and outside of the conical shape so that the coil/wire can be placed snugly when this is 3D printed.

The image below shows one side of the Conical shape with an indent place for the wire to go

Conical shape with indent place for wire

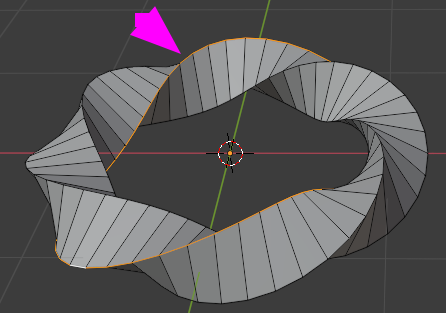
One thought was to see how the twisted torus creates it's edge loops (since it loops the inside and outside edges) and somehow apply that to the cone shape.

Twisted torus loop

$\endgroup$
2
  • $\begingroup$ do you have a real life reference of this object? $\endgroup$ Commented Nov 13, 2020 at 7:19
  • 1
    $\begingroup$ @MichaelBenDavid that's the thing I haven't been able to find one at the moment. But the wiring would look like this just the shape would be in a conical form instead of toroidal. i.sstatic.net/OvR22.png $\endgroup$
    – Rick T
    Commented Nov 13, 2020 at 7:25

2 Answers 2

3
$\begingroup$

You can avoid using a boolean modifier.

enter image description here

Say your cylinder is made with 32 steps and you want the coil 8 turns (if not the case adjust the values to your need).

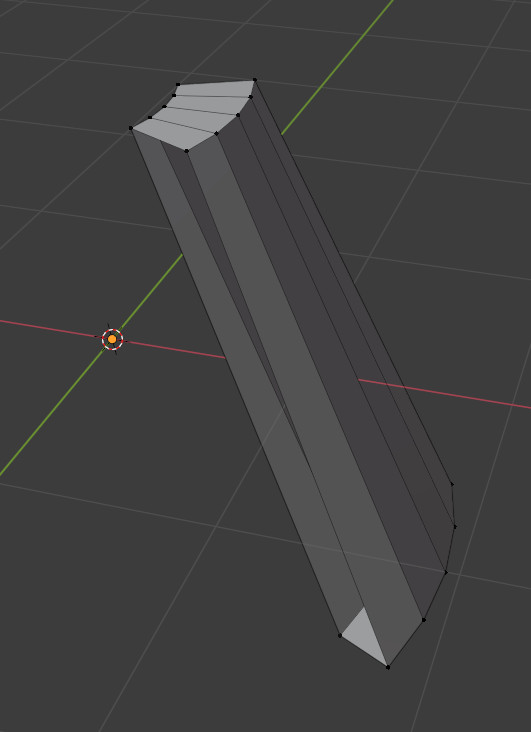
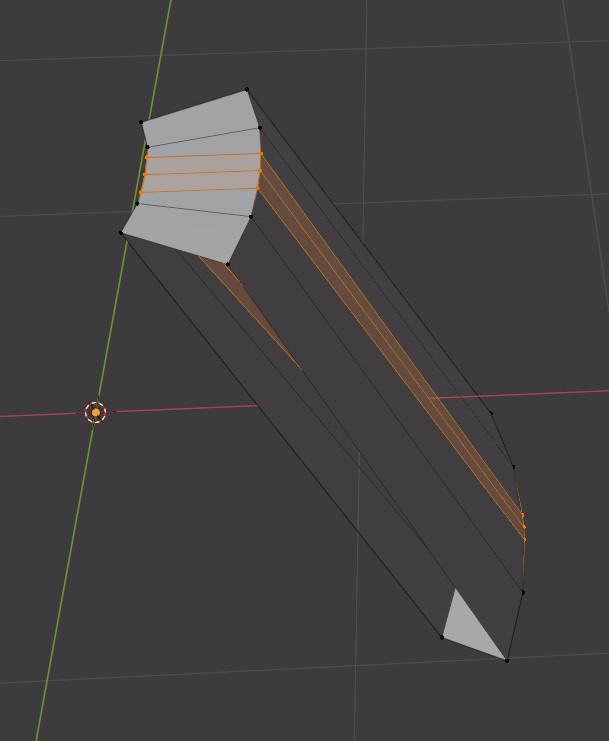
Start keeping 1/8 of the cylinder:

enter image description here

Bevel (or not as it depends on the size you want) the center loop:

enter image description here

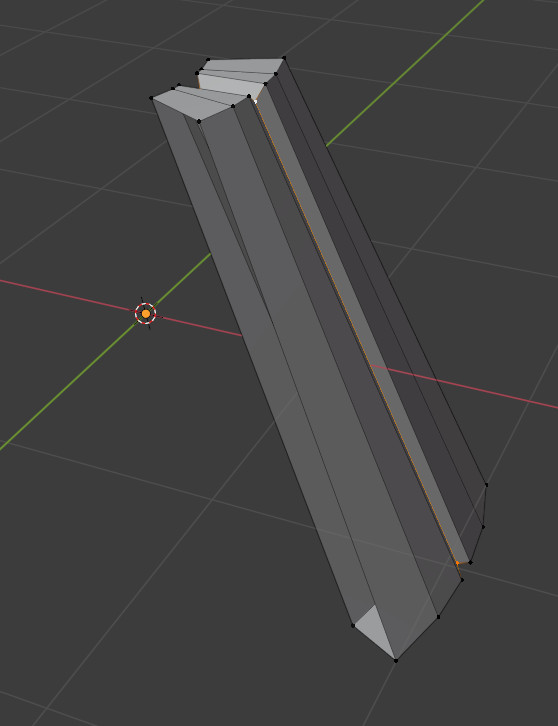
Adjust the center part to make a crease:

enter image description here

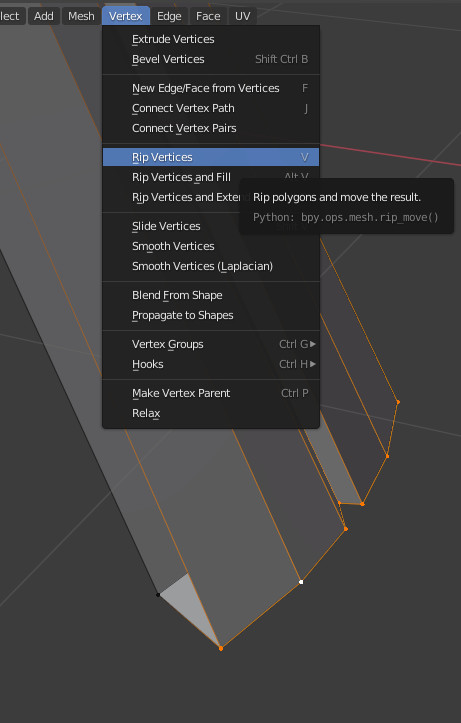
Rip the bottom:

enter image description here

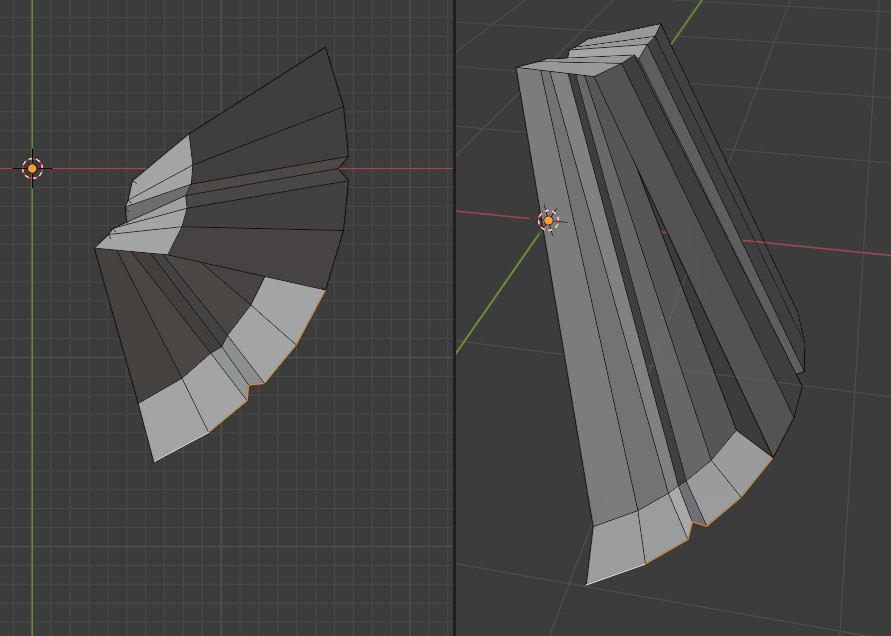
Rotate 1/8 = 45° the bottom part and adjust the other parts:

enter image description here

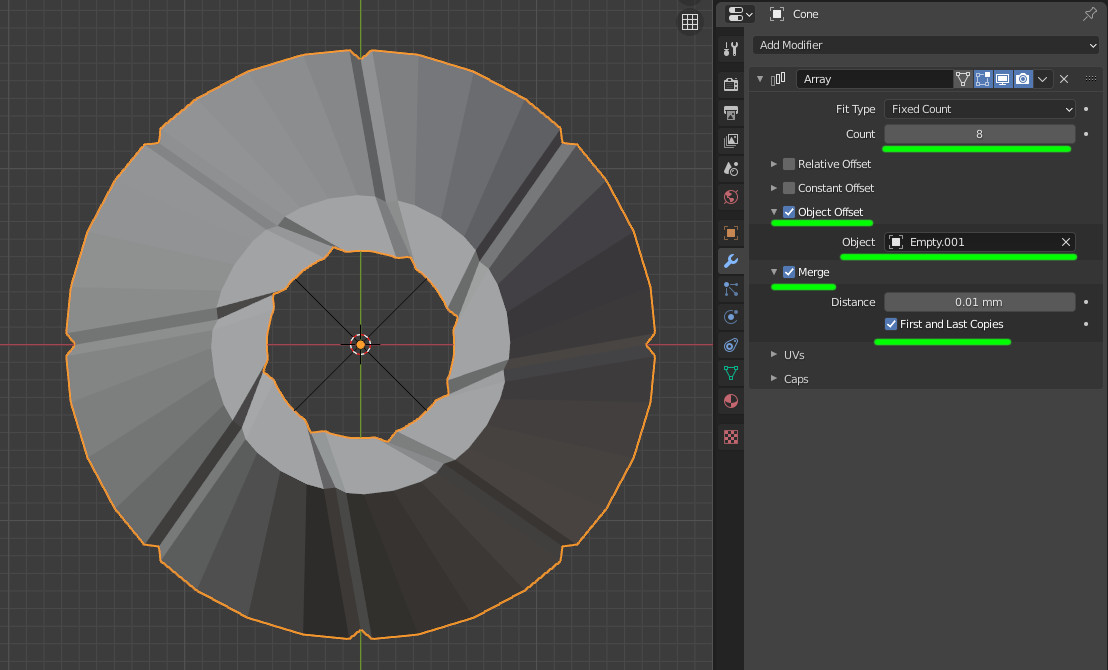
Add an array modifier based on object offset. This object is an empty placed at the center and rotated 45°. Activate the merge options:

enter image description here

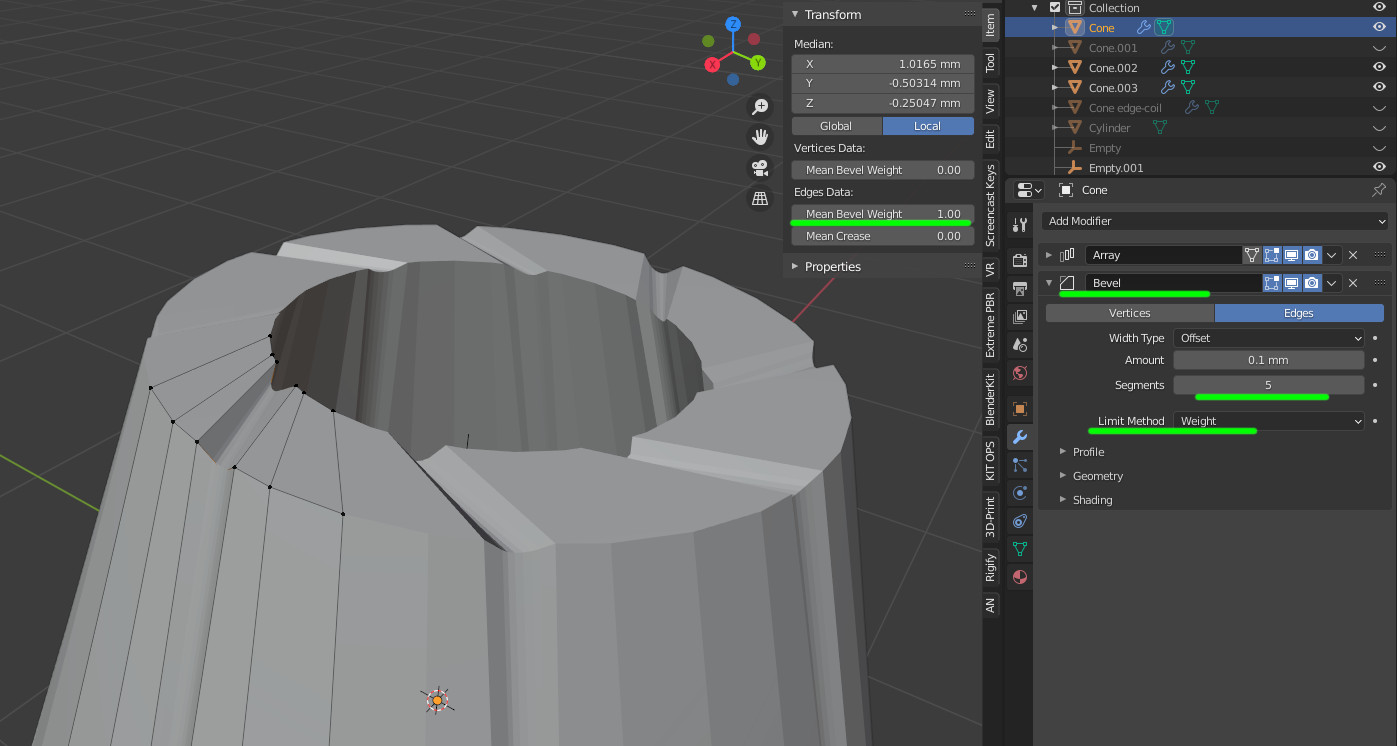
To make the crease round, mark the center part with bevel crease and use a bevel modifier:

enter image description here

$\endgroup$
3
  • $\begingroup$ That was very useful and gave me another way of looking at it, but the indentations weren't continuous which it needs to be for the wires to be placed / fit snugly in when it's 3D printed. $\endgroup$
    – Rick T
    Commented Nov 13, 2020 at 13:41
  • $\begingroup$ What do you mean by "not continuous"? $\endgroup$
    – lemon
    Commented Nov 13, 2020 at 13:48
  • 1
    $\begingroup$ sorry my fault I just did a xray and it is continuous and one less modifier to use thanks! $\endgroup$
    – Rick T
    Commented Nov 13, 2020 at 13:52
2
$\begingroup$

here some steps to create this:

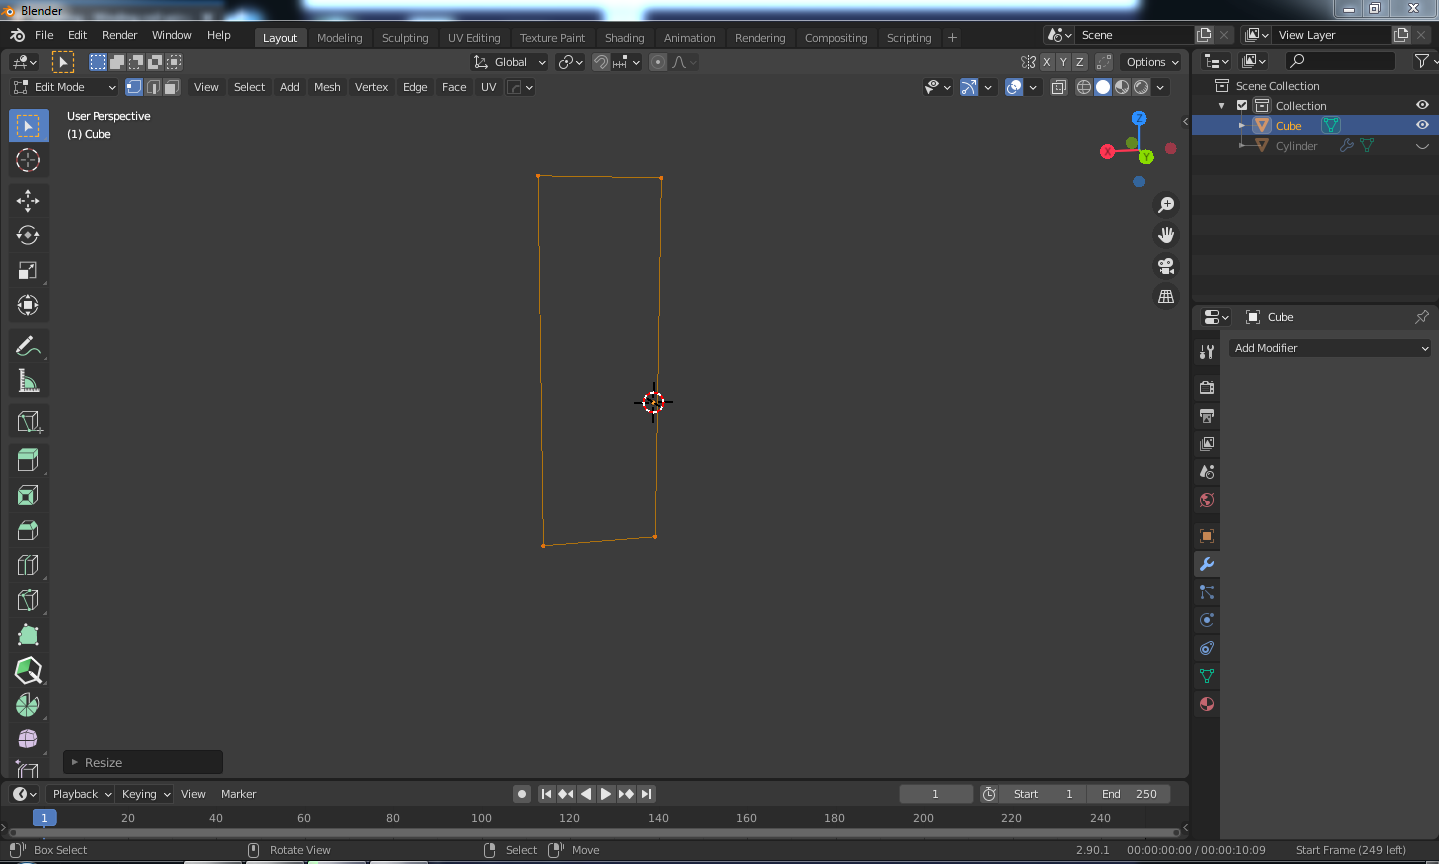
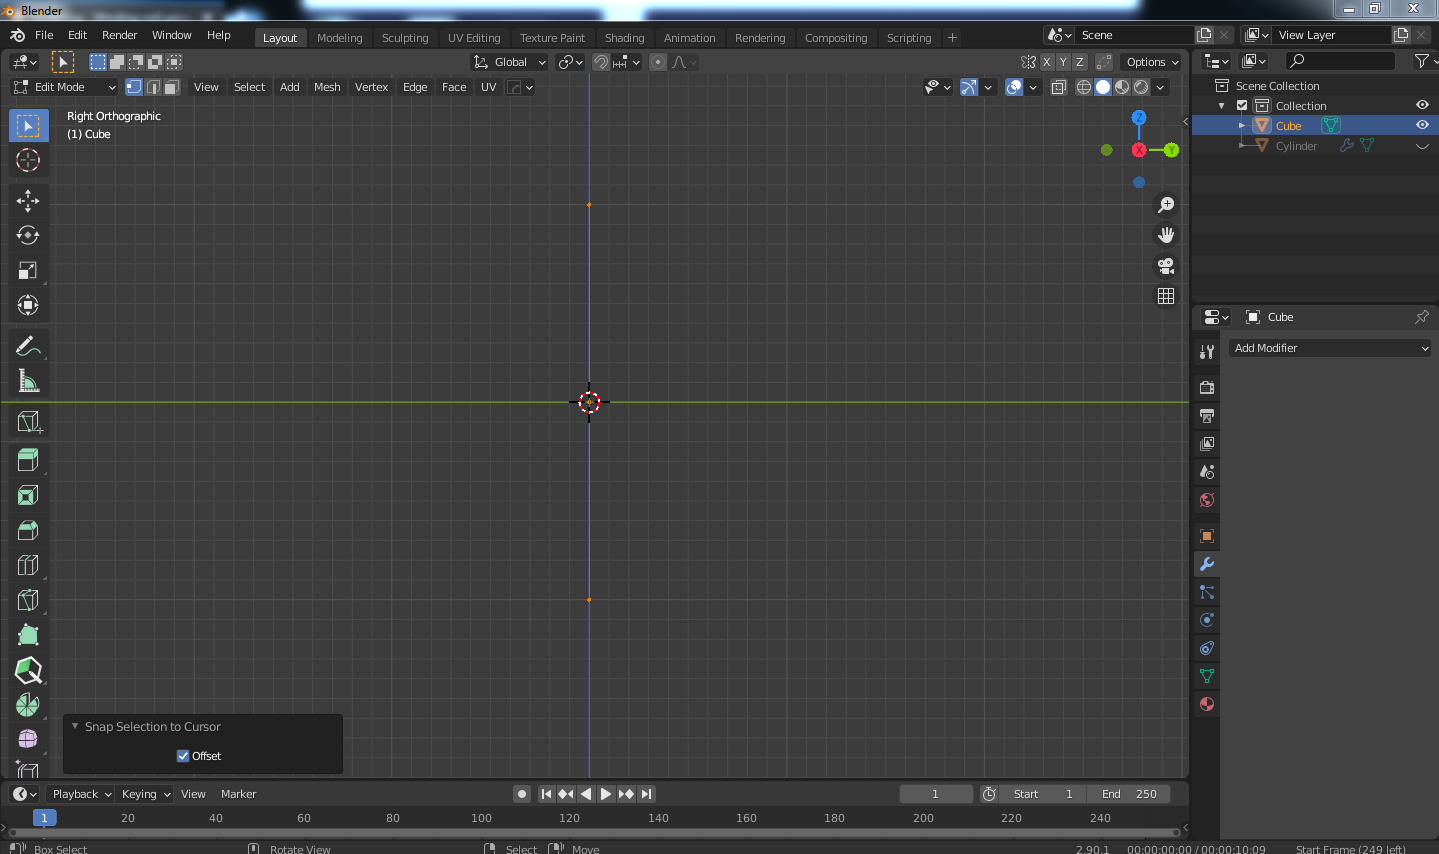
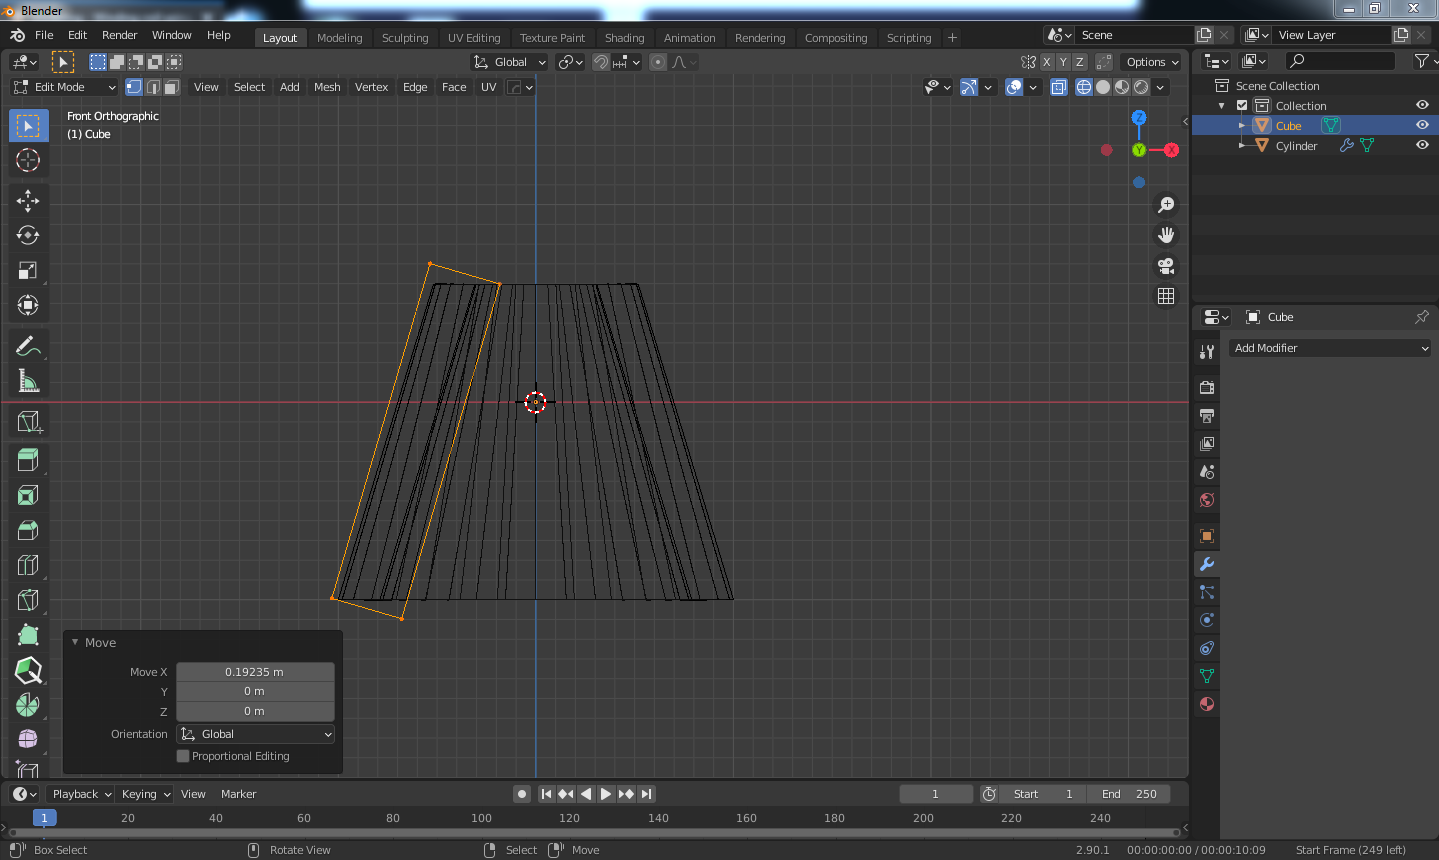
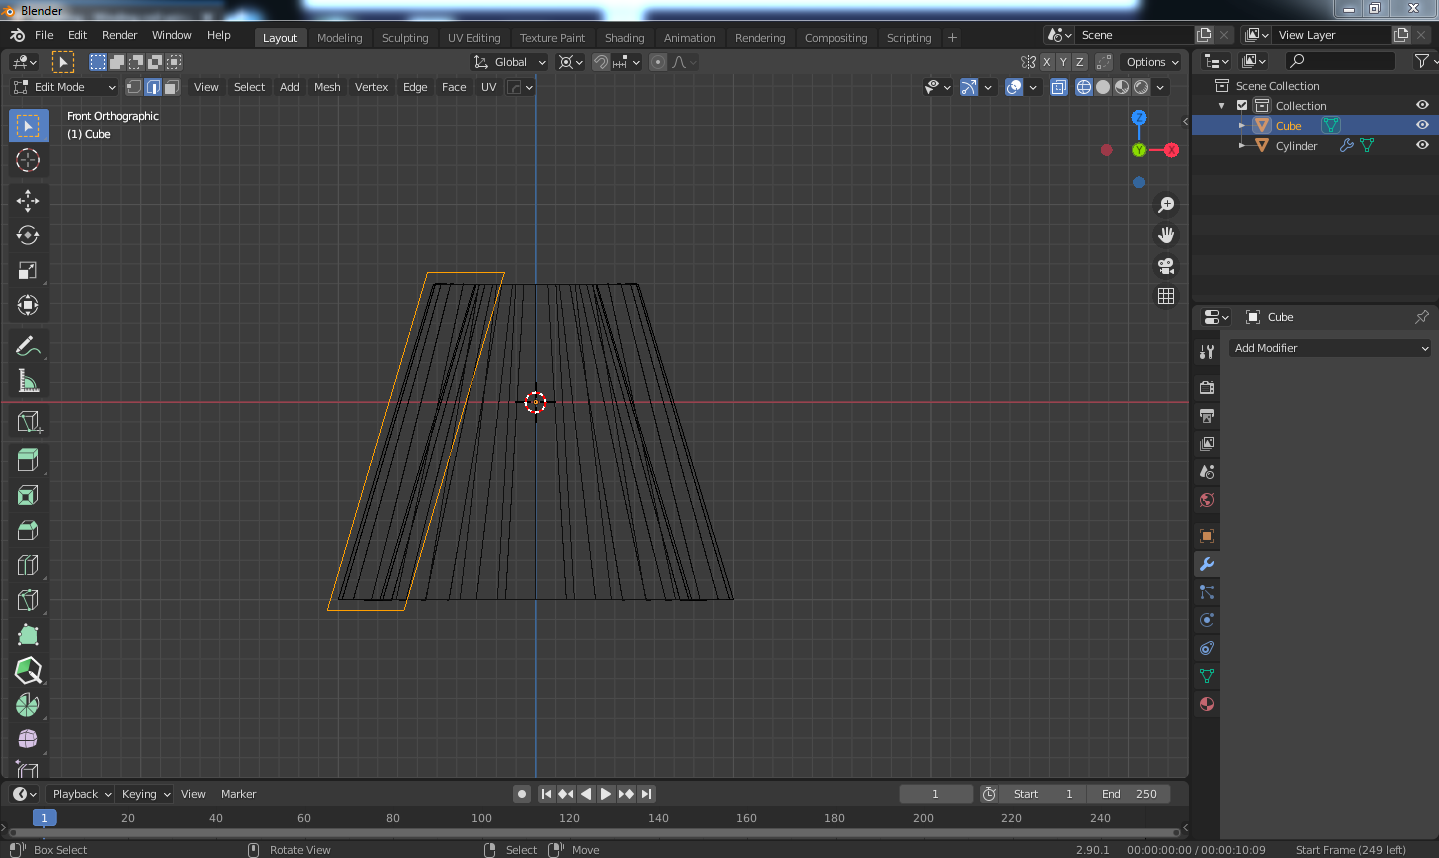
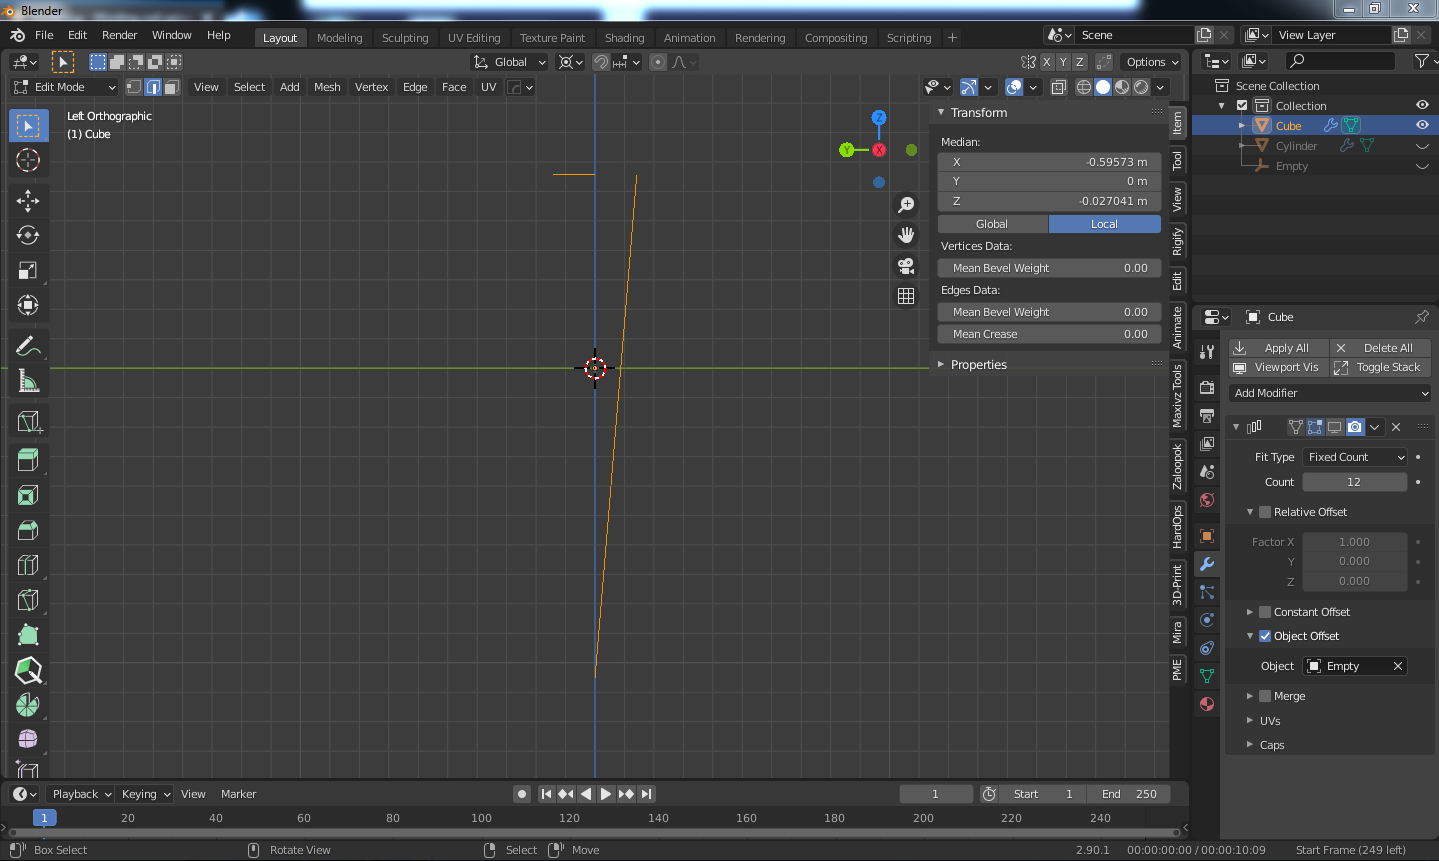
  1. add a plane rotate, and select the face and press x and select only faces, then scale in the x and z axis to get a rectangle, and press shift+s and select snap to cursor offset, the cursor has to be placed in the scene`s origin, then move all the edges to the cylinder created to the x axis, and then use the shear tool to shear it to x axis to fit it more according the cylinder shape... enter image description here enter image description here enter image description here enter image description here
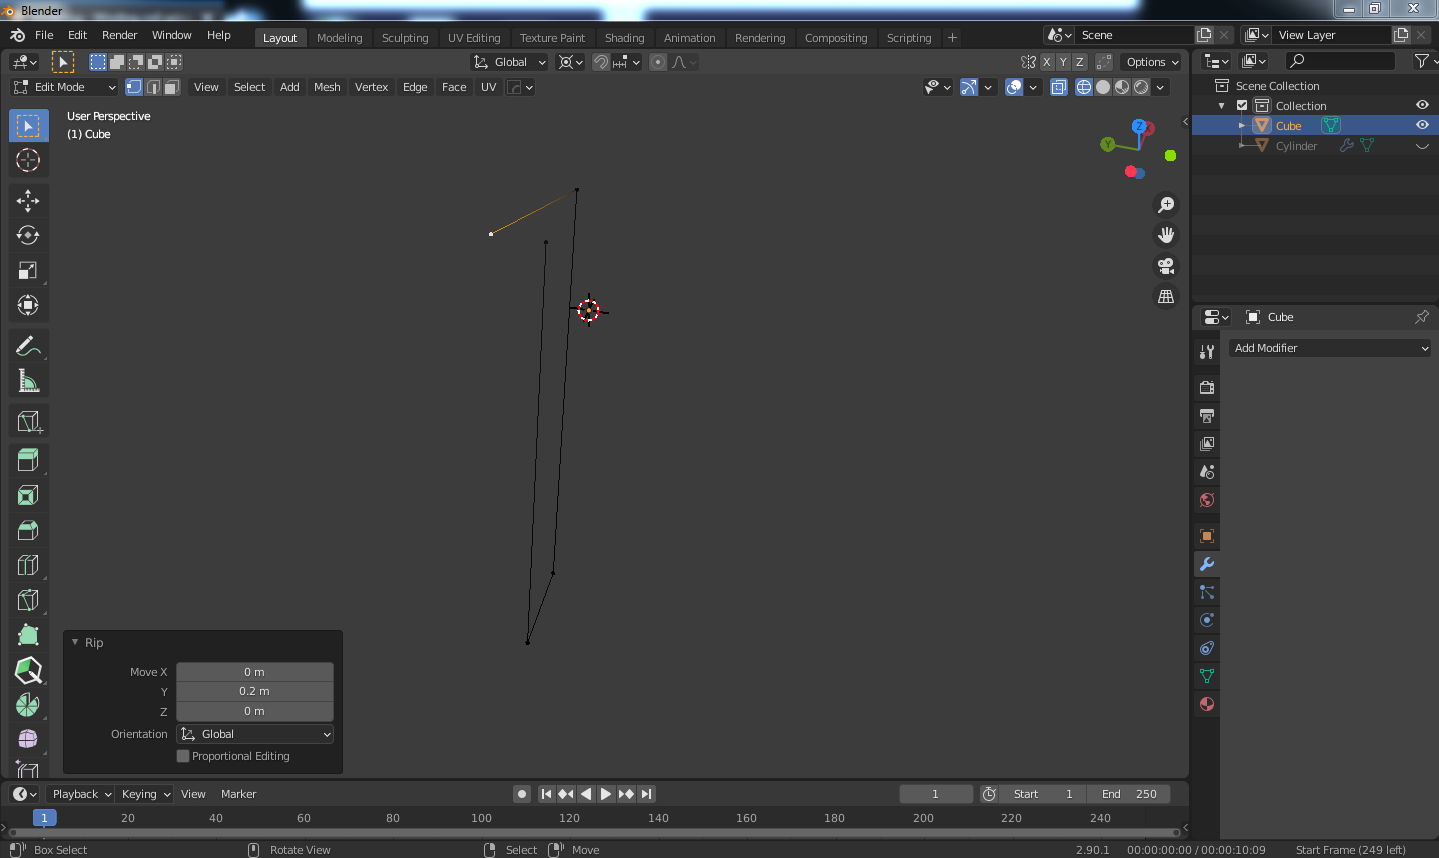
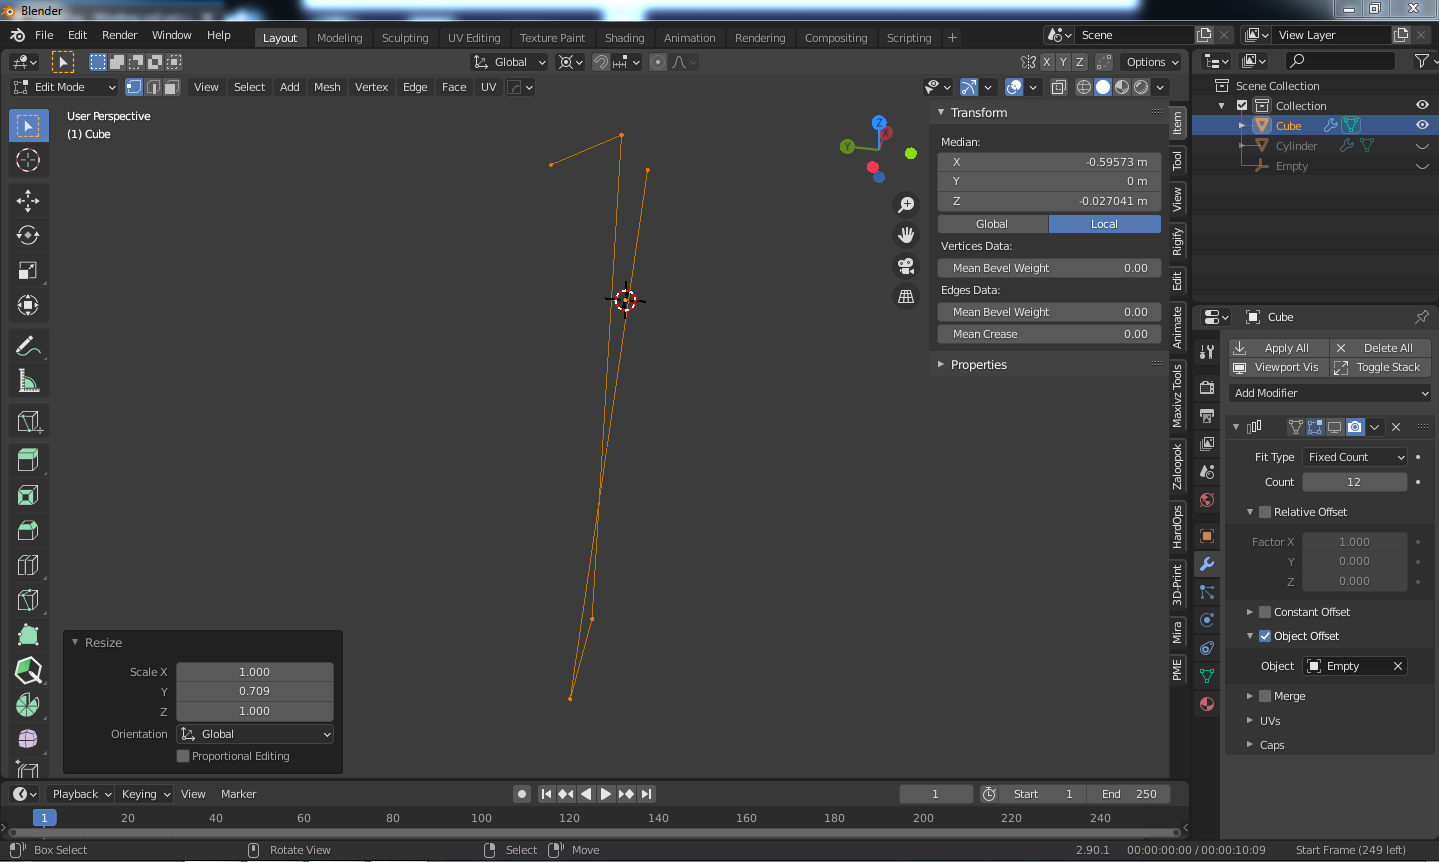
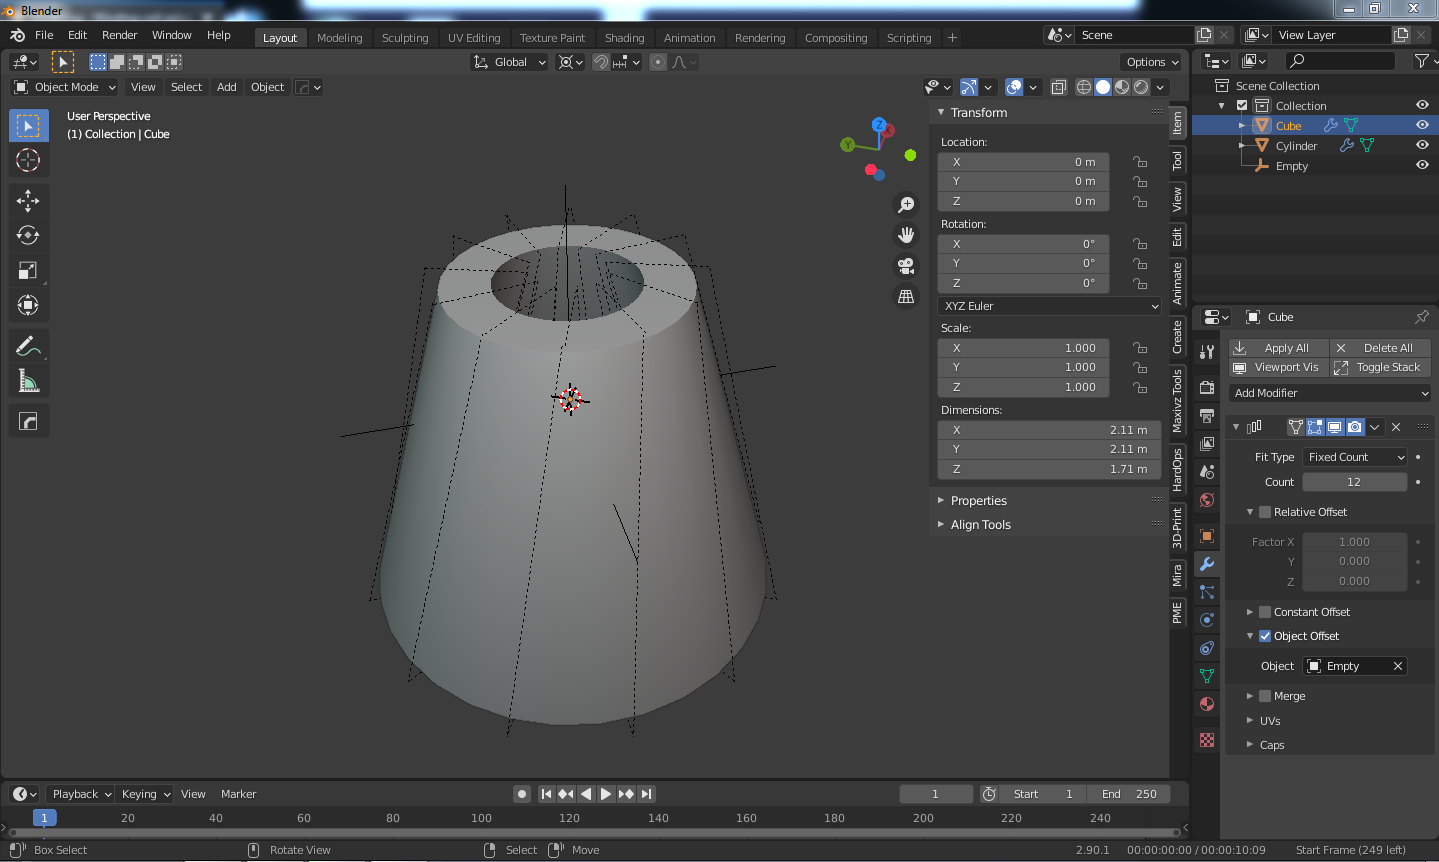
  2. select one of the upper vertices and press v to rip it and move for example to 0.2 to the y axis, and then select the other vertex near of that one and move it 0.2 as well to opposite side in the y axis... enter image description here enter image description here enter image description here 3.add a array modifier to this object and add 12 counts for this case, and the set it to object offset, and enable merge option, also go to edit mode and scale the edges in the y axis if needed, and then add an empty and then rotate it to 360/12 in this case (do it in the transform panel, press N for that) enter image description here
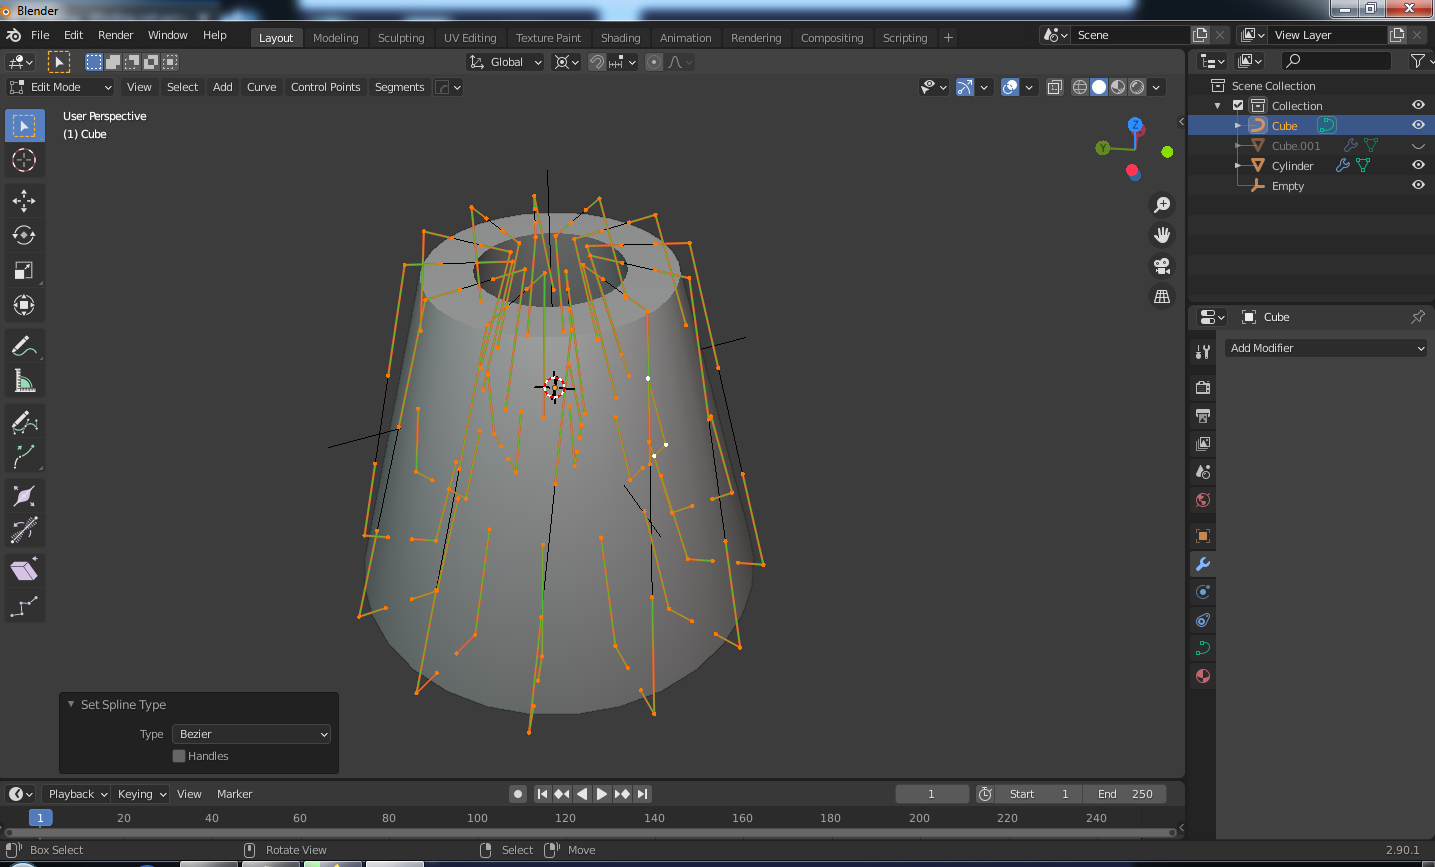
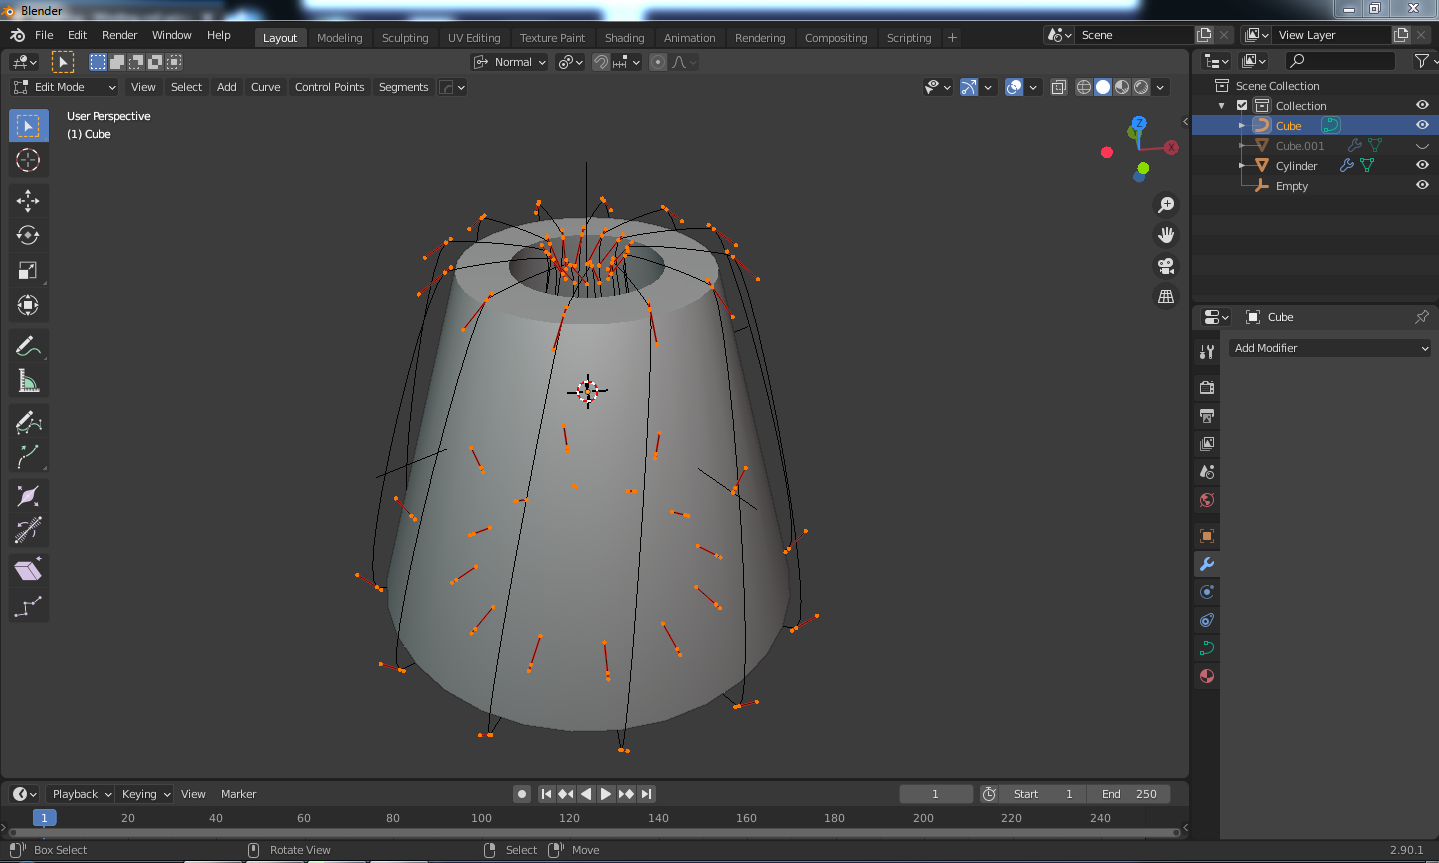
  3. in object mode, select the coil object, and press alt+c and select curve from mesh/text, then go to edit mode and select all the points, go to curve options and change the spline type to bezier, and then press V and select automatic, and then press again and select free, and then set the pivot point to individual origins and orientation to normal, and then scale the handles a bit in the z axis... enter image description here enter image description here enter image description here
  4. go to the curve properties, and add some depth in bevel option and decrease the resolution to 5 and then add a surface subdivision modifier, and then go to object mode and press W and select shade smooth. enter image description here
$\endgroup$

You must log in to answer this question.

Not the answer you're looking for? Browse other questions tagged .