1
$\begingroup$

I modelled a very simple beginners version of a rabbit ear (improvement proposals for better implementation welcome). rabbit ear model I managed to create a curve from the root to the tip of the ear by applying a Curve Modifier and using a Path I deformed in Edit Mode. This is what I have: Blend file.
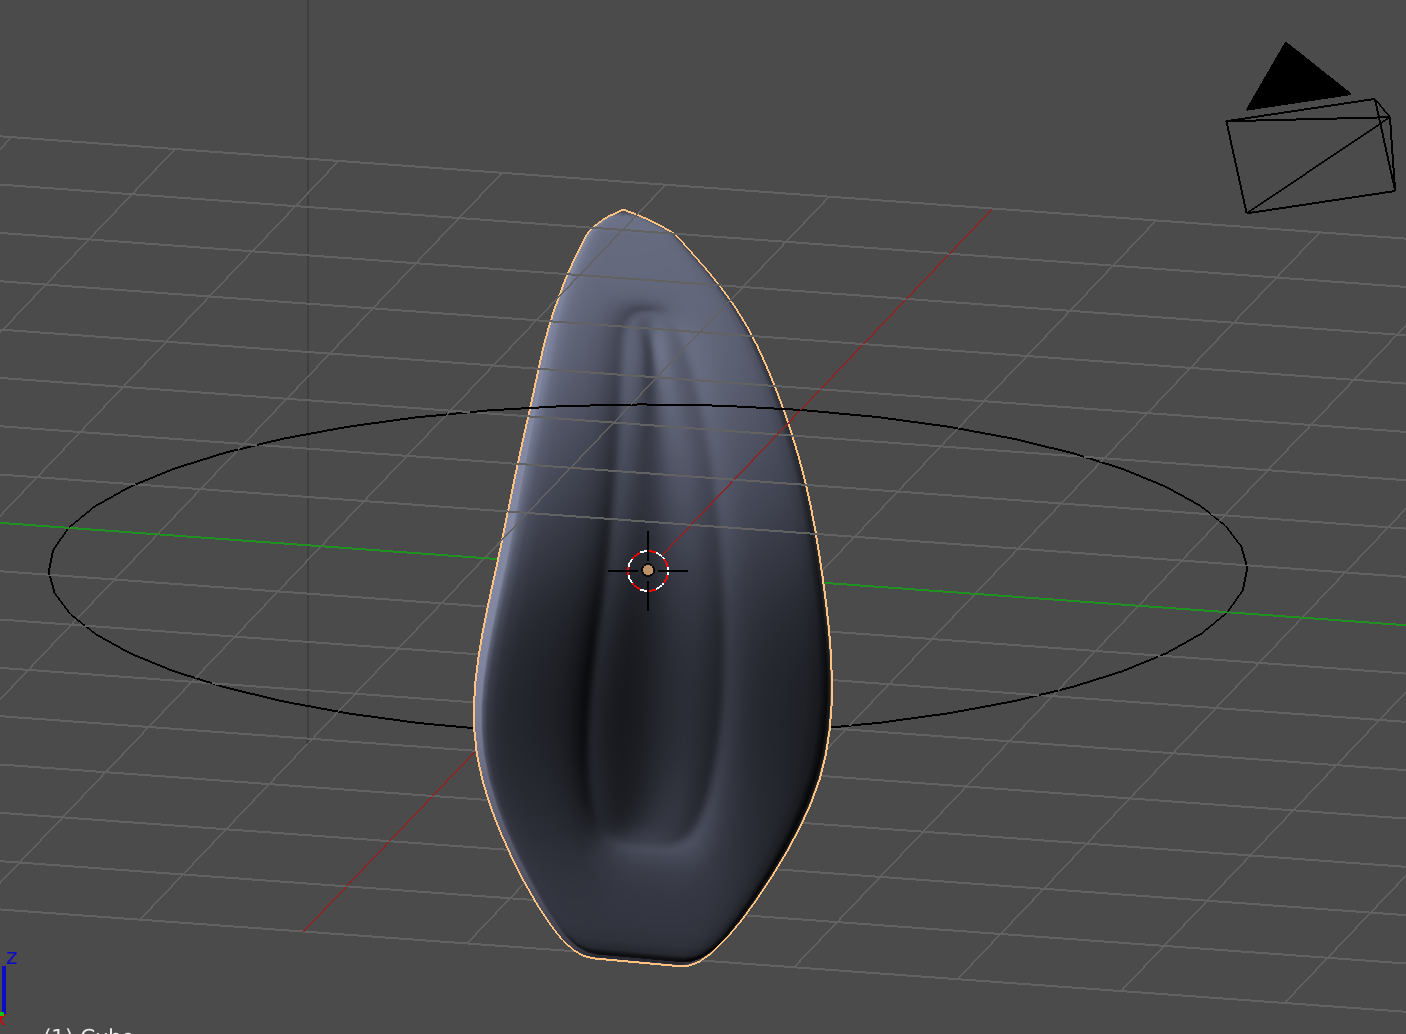
Now I want to create a curvature at the root of the ear to buldge the lower part like here (but not that extreme). I made a Vertex Group (earRoot) for all the bottom vertices and wanted to place them onto a (circle) Path using the Curve Modifier. But I have several problems:

  • Whenever I assign the Vertex Group to the Curve Modifier the lower part of the ear gets displaced from the rest of the ear and totally twisted
  • If I do not use the Vertex Group I also do not find the correct axis/settings/position to deform the ear like I wish.
  • I also tried to set the origin of the ear to the bottom with no effect.

Any help appreciated.

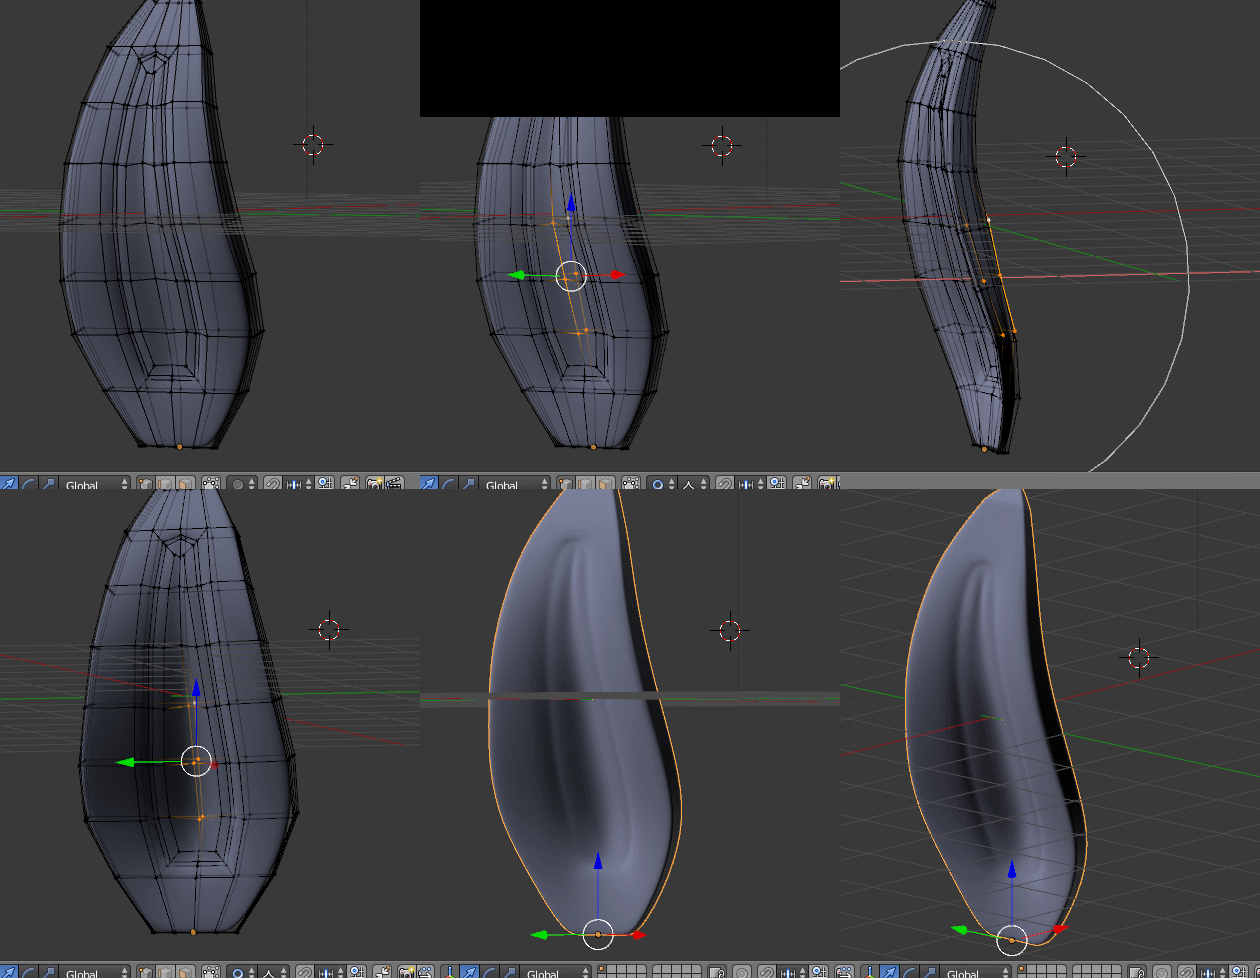
[EDIT:] The answers from @cegaton and @MikeMoore already helped perfectly to achieve the desired end result and I understand it is lot easier and simpler to do proportional editing here. But I'd still love to understand the correct usage of the Curve Modifier for this purpose (assuming it is even possible) - and what I did wrong (learning purposes).

$\endgroup$
0

2 Answers 2

3
$\begingroup$

It would be a lot easier to model what you want directly without modifiers. Use proportional editing.

enter image description here

$\endgroup$
3
$\begingroup$

I agree that it would be easier to just model this regularly, instead of using curve based modifiers.

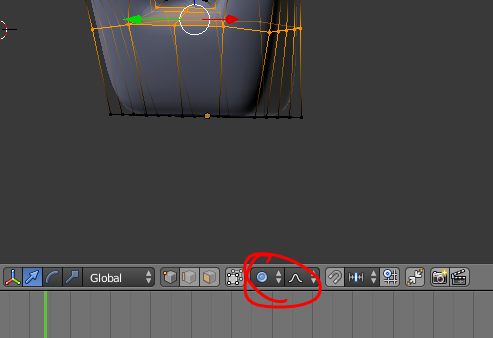
In edit mode, click on this button to enable proportional editing mode: enter image description here

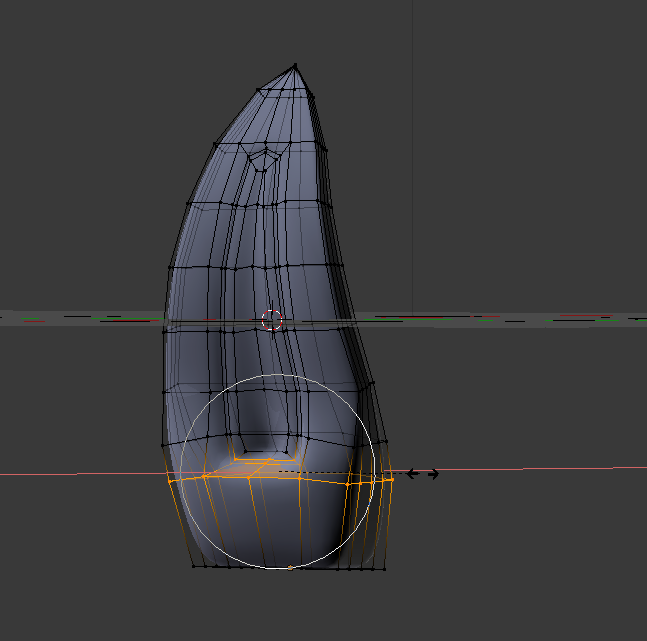
Proportional editing mode allows you to effect all vertexes surrounding the ones you have selected with the change you're making, for example, in this picture I am selecting the highlighted vertices, hitting S to scale, and then hitting X to lock the scaling to the X axis of your ear.

enter image description here

Also, please flip your vertices! All your faces are inside out, to do this, simply select your whole mesh in edit mode by hitting A (this deselects anything you have selected currently before selecting everything), then hit W, and hit the "Flip Normals" button.

An even easier way to flip faces is to just hit CTRL+N, which tells blender to decide which faces it thinks should be flipped automatically. Not always reliable, but in this case it works just fine.

Please feel free to ask any more questions about what I've said here. :)

MikeMoore

$\endgroup$
2
  • 1
    $\begingroup$ thanks a lot for your detailed explanation and additional advice.. To be honest I tried to achieve what I wanted by using proportional editing before, but it seems I was not patient enough to find the right vertices to select and the right tool/transform operation combination :-) I have one question: How did you recognize the vertices are flipped? I already did "Recalculate: Normals" from Toolbar, but will also do "Flip Direction" now. Thx again $\endgroup$
    – ho.s
    Commented Sep 18, 2017 at 11:00
  • $\begingroup$ They get that funny darkened gray color when they're backwards. $\endgroup$
    – MikeMoore
    Commented Sep 20, 2017 at 16:41

You must log in to answer this question.

Not the answer you're looking for? Browse other questions tagged .