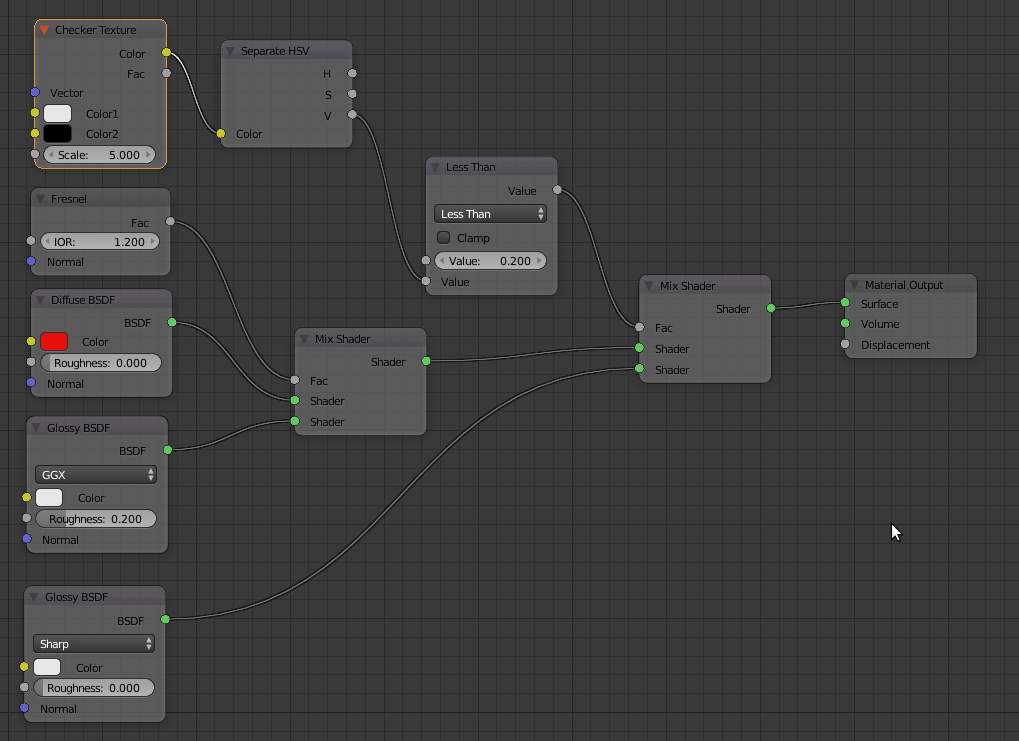
The problem appears to be that you're trying to apply techniques common to older raytracing software like Blender Internal to a physically-based rendering engine - cycles in this case.
It's a real problem if you come from a world of specular maps, shadow maps, bump maps, displacement maps and so on.
Some of these maps are simply there to help the fake the look of objects in the real world. Indeed, I use maps in my own ubershader which allow me to include metals, paints, glass and even holdouts all in a single (albeit complicated) map image.
It's really hard to wrap your head around physically-based rendering, but once it clicks, you won't want to go back to the old methods.
For basic specularity the following:
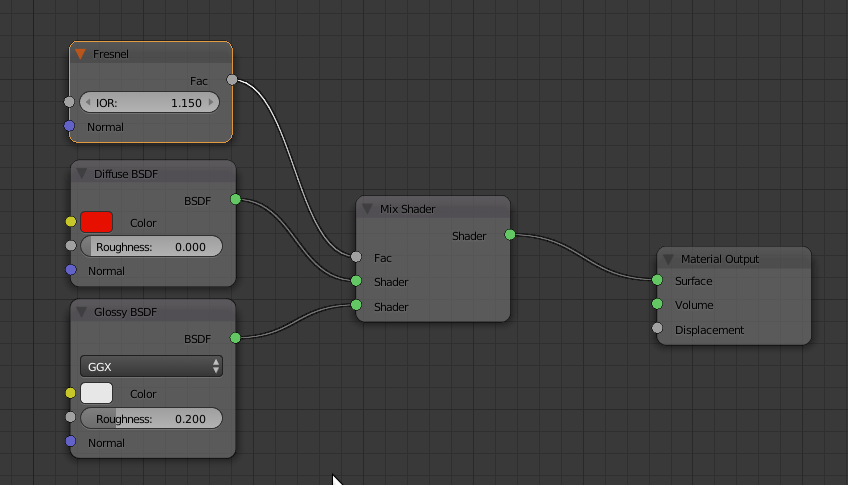
- The two shaders - diffuse (also called albedo) which is your colour and only the colours.
- A mix shader to make sure that the light leaving the scene does not exceed the amount of light entering it.
- A fresnel node to keep the mix looking as it should.
Try a setup like this:

and experiment with the IOR value in the fresnel node: values below 1 are not physically accurate and values above 2 are getting outside of a reasonable range too - but you can use them if you like the effect!
That's really all there is to it. You can feed the colour input of the diffuse node with your image and let Cycles do the rest.
If you're doing metallic objects, remember that they don't have any colour of their own (by and large) and get everything from their environment. There are a few exceptions like gold, but metals are so hard that pretty much all light bounces right off them. There are also fresnel effects for a very few metals such that the fringe around the object (a sphere is great for experimenting on) changes colour.
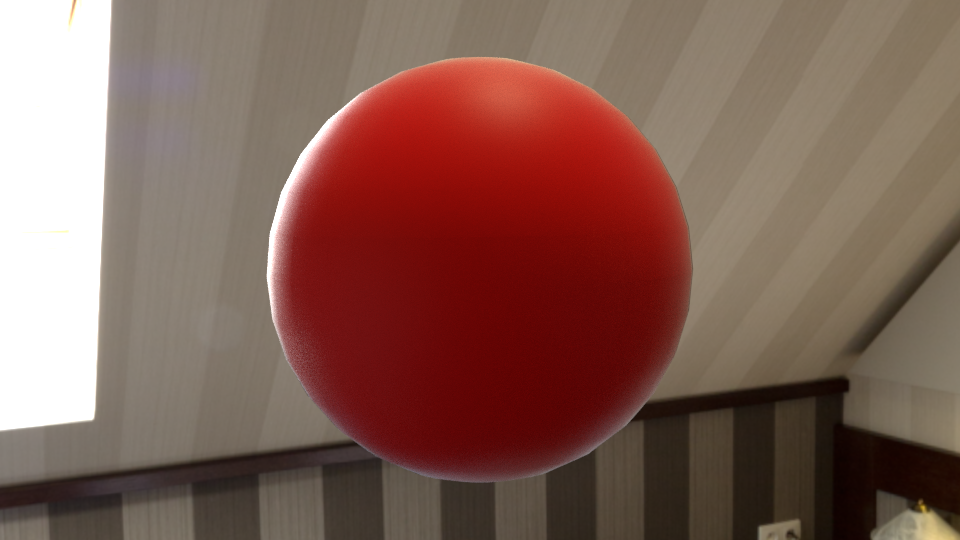
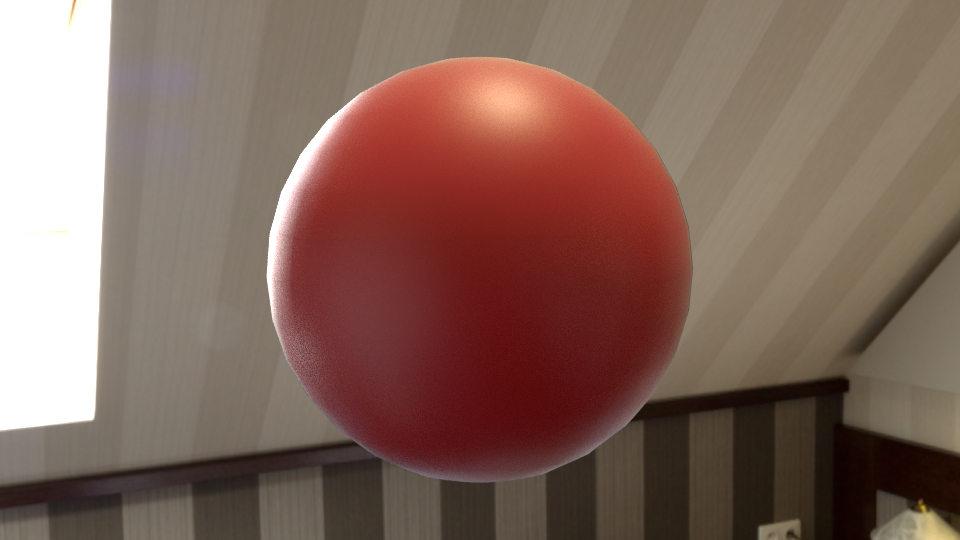
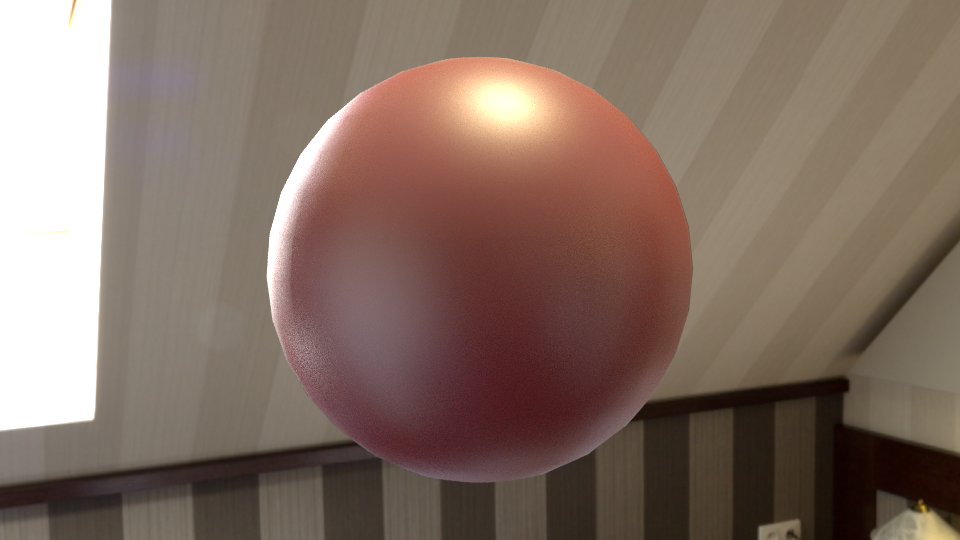
You can see these effects here. An IOR of 1.25 gives a nice effect (and is reasonable for objects like this but as we push it higher you can see how the light appears to creep around the edges. When I push it to ridiculous levels (5 in the example) you can see the entire surface looks unreal.


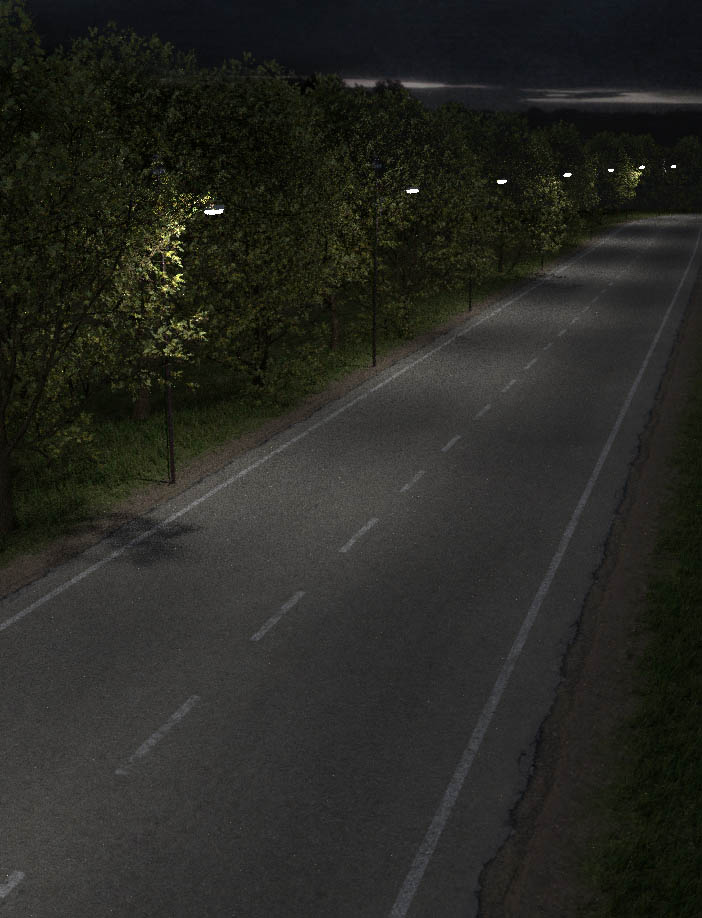
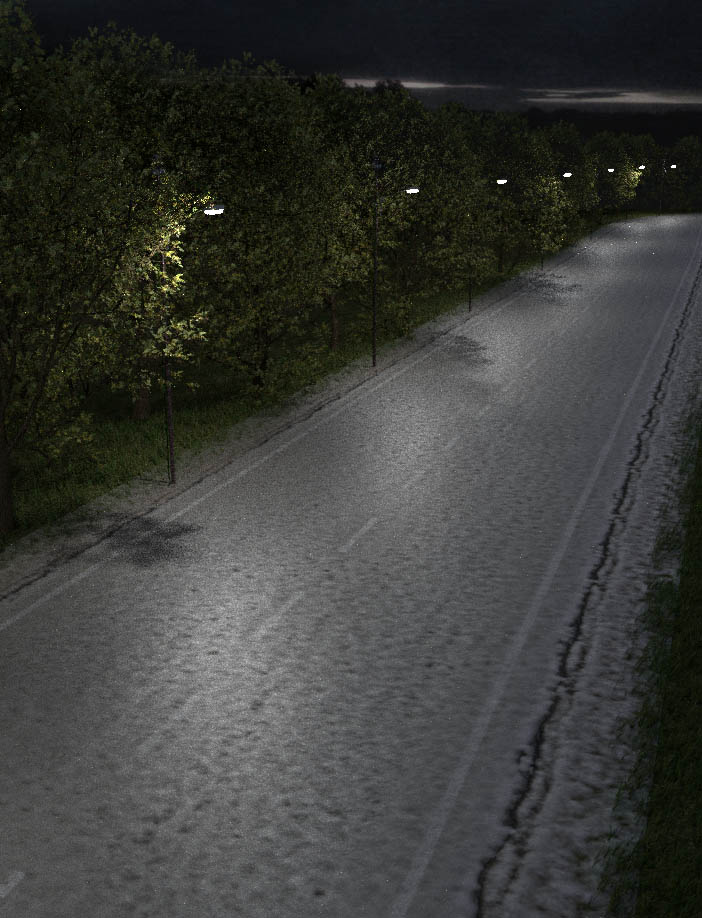
One area where you might want to use a specular map (or at least, the equivalent) is where you have a wet surface such as a road with puddles. The puddles are reflective and the road is a dielectric (a fancy word for non-metal).
I get around this using the fact that the colour in real-life is limited so that no colour should be darker than 20% or brighter than 80% (0.2 to 0.8 in your Cycles engine.)
This allows you to cheat by putting areas of 100% white or 100% black on the image and then filtering using a value node to switch to a different shader group.
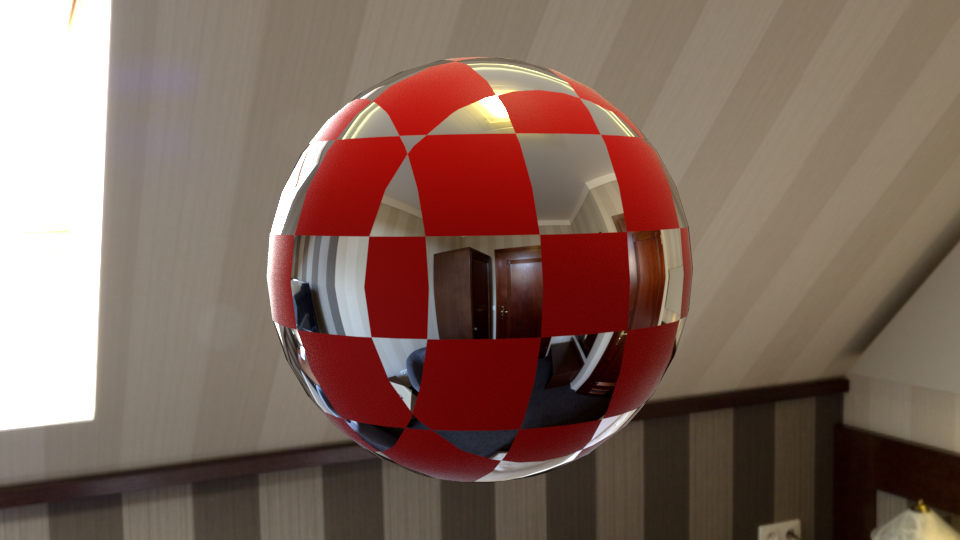
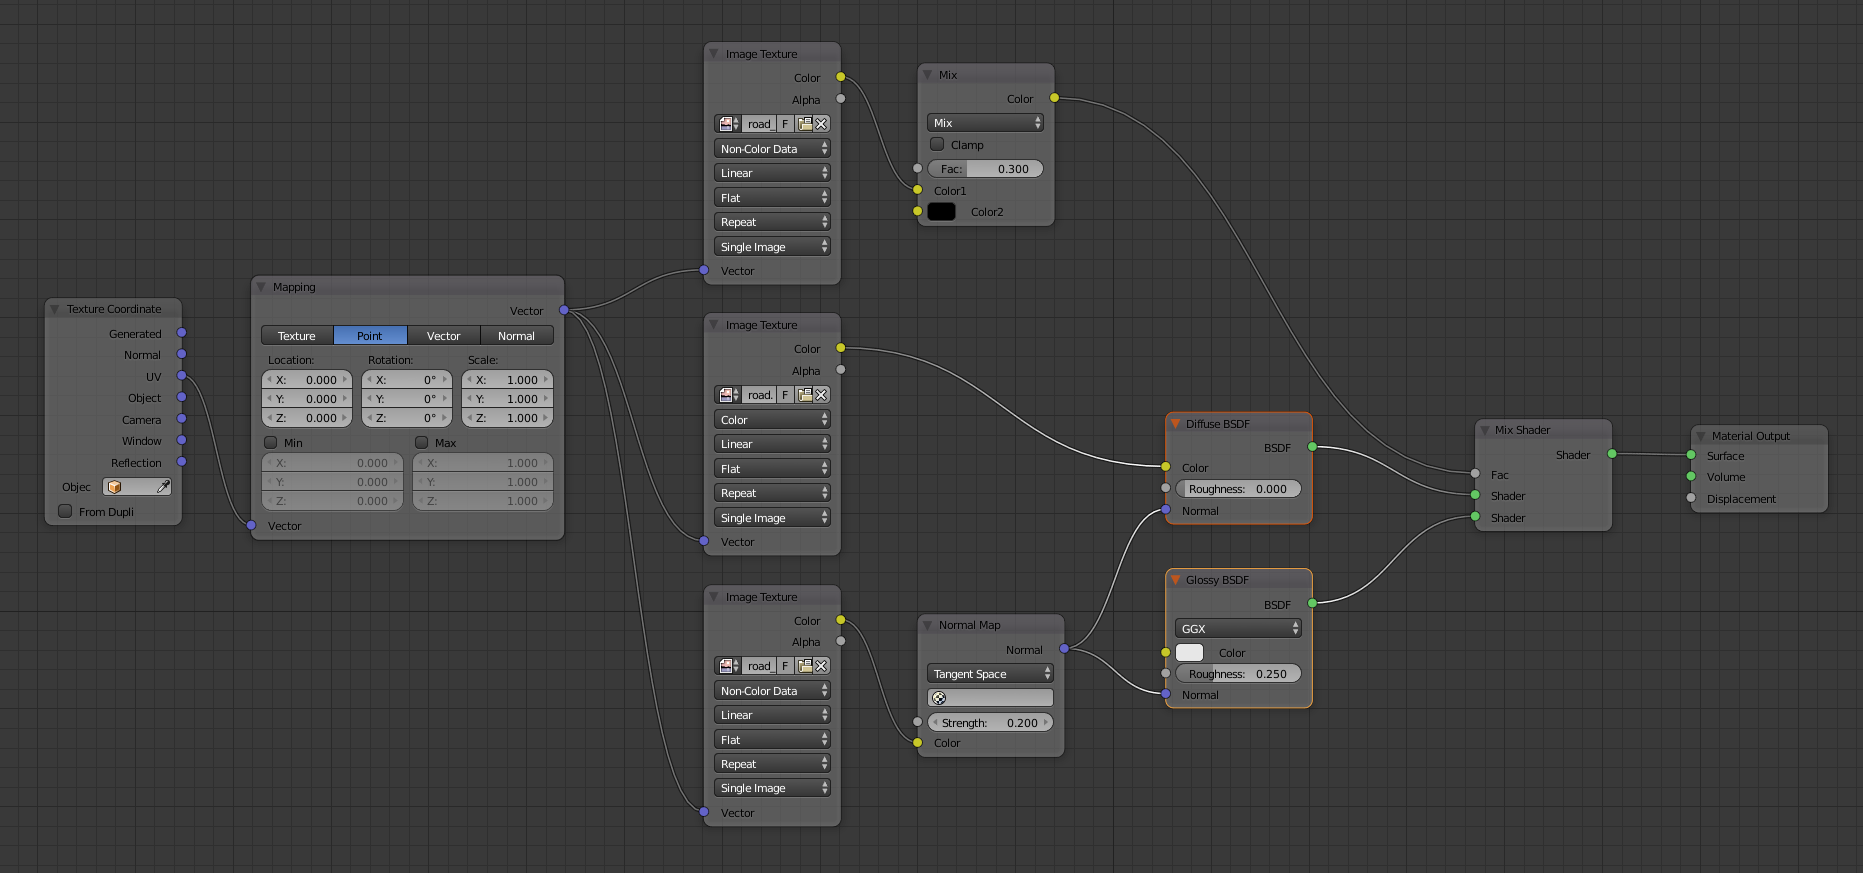
Here's a simple node setup - not that where I've used a chequer texture to make the effect visible, you'd plug in your albedo/specular map and area that's 100% black or very dark using these values, gets the glossy treatment. I left the fresnel out of this to keep the node setup cleaner.

and the result:
