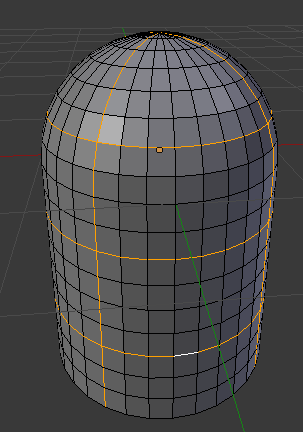
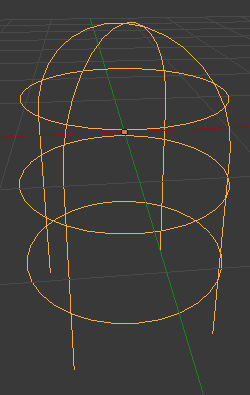
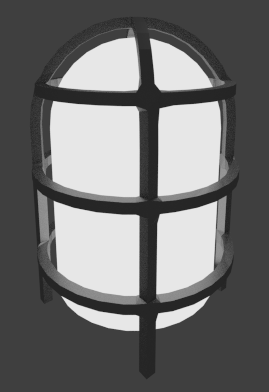
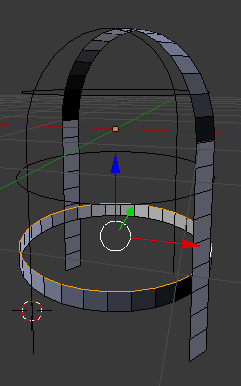
One method would be to select all the edges you want to form the cage and duplicate them to provide the framework for the cage. Go into edit mode and choose Edge Select mode. You should be able to use the Edge Loops select tool to make the selection simpler as you can simply click one edge and Blender will extend the selection around the mesh (hold Shift-Alt and right-click to select).

Once selected, duplicate with Shift-D, Esc and then (without changing the selection) use Separate By Selection (press P and select Selection) to separate the duplicated edges to a new mesh. Come out of Edit mode and hide the old mesh (right-click the original object and H) so it doesn't get in the way.

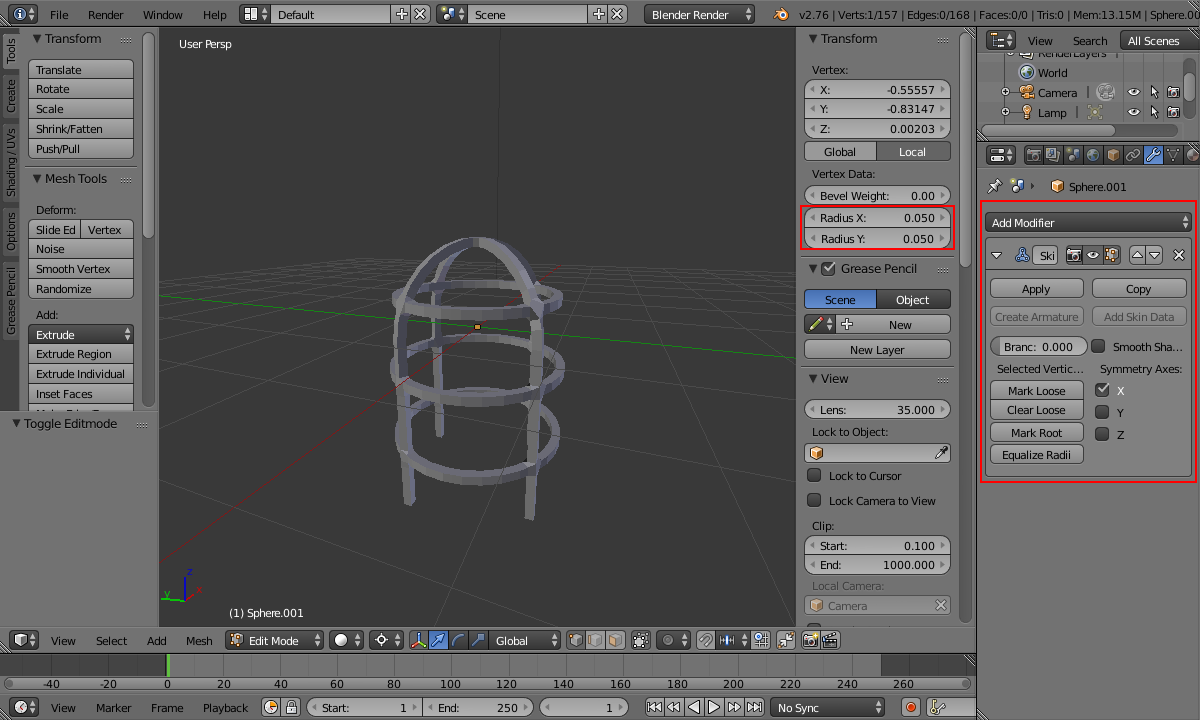
To turn the duplicated edges into the frame you can simply add a Skin modifier to the new mesh to form the bars around the edges (you may need to Apply Scale first (Ctrl-A, 'Scale') to ensure the skin is uniformly scaled). Set the radius of each vertex in the properties panel to set the size (select all with A first so as to affect them all). If you have strange artifacts on some of the vertices then you might need to Remove Doubles first (doubled vertexes will cause the skin to behave strangely).

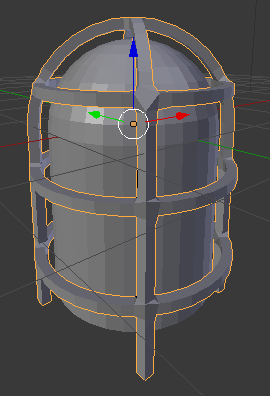
Unhide the original mesh with Alt-H and scale and position the cage as desired.

Add suitable materials and you're done.

Alternatively, to add flat faces - as in the original question - you could select each section of the separated cage (eg, an edge Up the side, over the top, and down the other side - or a loop) using the Edge Select mode and extrude it out in the relevant direction. However, the Skin modifier effectively does all this for you.

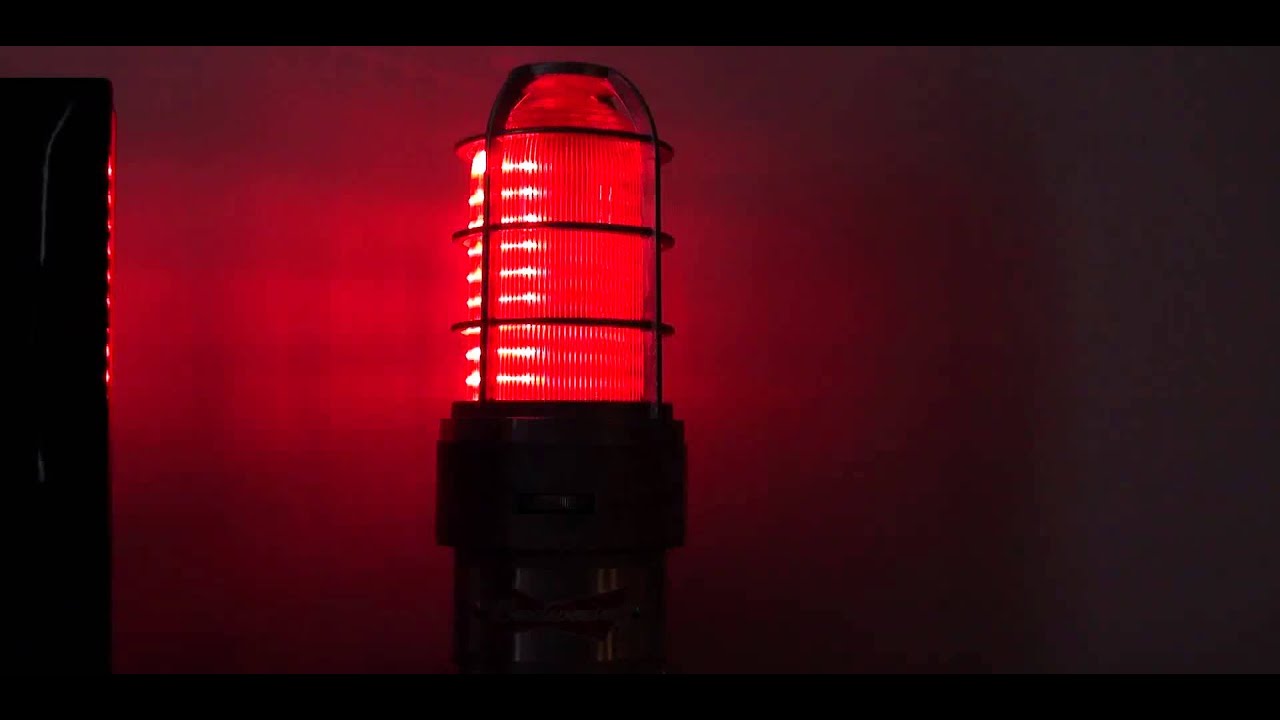 Now, when i try to extrude the faces around the sirene, i get this:
 The faces are getting smaller around the top of the sphere, as expected
But how can i make these faces the same width all over the sirene?
