15
$\begingroup$

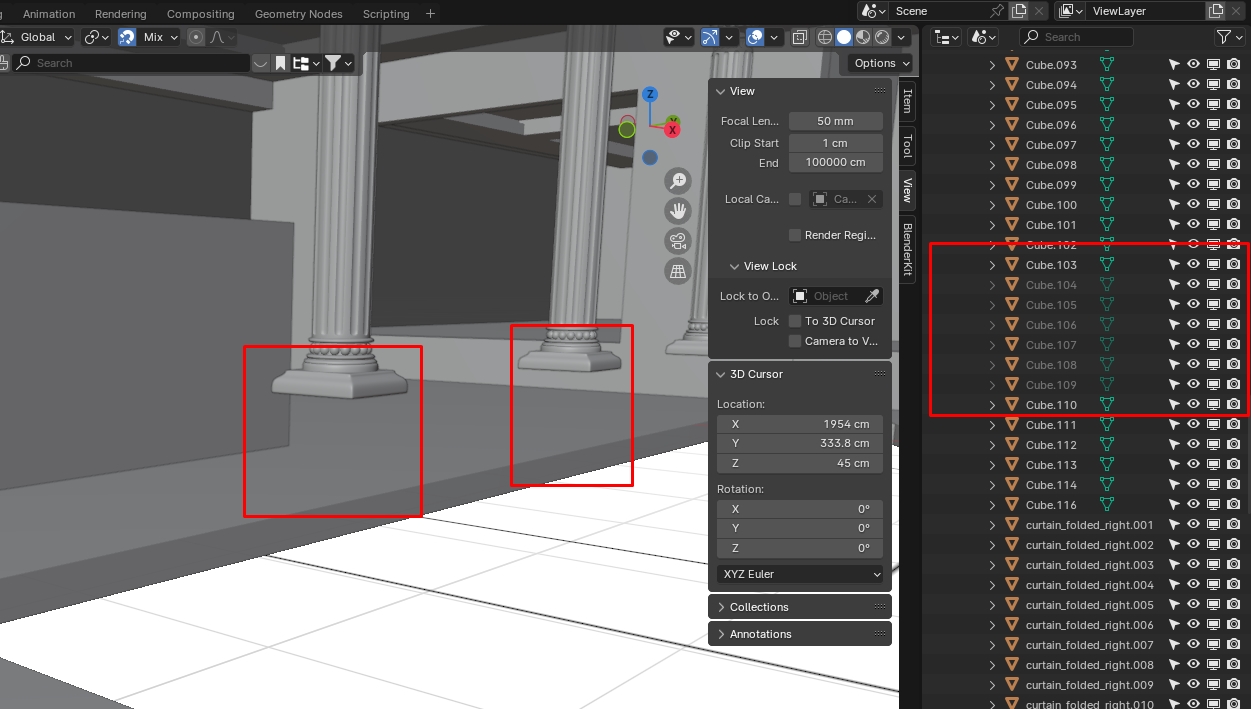
Hi I am having a very similar problem when objects are visible on Outliner but not in Default view. I tried in '3D View Full' and they appear. Not seeing any issue with layers as working on single layer. Please suggest a stepwise process to fix this problem. I searched on net and nothing really helped.

thanks PK

$\endgroup$
5
  • 3
    $\begingroup$ welcome to the site. You might want to take the tour, and review the help pages. In questions such as the one you have asked, it can be invaluable to those who would wish to help if you upload one or more screenshots (of the whole screen, not just the object), and if you upload a copy of your ~.blend file to a site like Blend-Exchange and edit a link to the file into your question. $\endgroup$
    – brasshat
    Commented Apr 21, 2016 at 9:28
  • 1
    $\begingroup$ Without more info, answering this will turn into a guessing game. There are multiple reasons why an object might not be visible, but we know nothing about your scene. Please add images that show how your objects are set up. It could be an issue with materials, layers, local view, clipping, normals, visiblililty disabled on oultilner, etc... $\endgroup$
    – user1853
    Commented Apr 21, 2016 at 13:51
  • $\begingroup$ Lad this might be the answer to your problem. blender.stackexchange.com/questions/111995/… $\endgroup$
    – Ranakade
    Commented Jul 2, 2018 at 1:59
  • $\begingroup$ Hi facing the same problem please suggest. vimeo.com/manage/videos/544134953 $\endgroup$ Commented May 2, 2021 at 2:33
  • $\begingroup$ Detailed review of possible reasons: blender.stackexchange.com/questions/67490/… $\endgroup$
    – tdhster
    Commented Jul 31, 2021 at 14:00

15 Answers 15

40
$\begingroup$

Might have set View - Local toggle.

If so, go to View > Local View > Toggle Local View, or shortcut key Numpad /.

$\endgroup$
4
  • 1
    $\begingroup$ In blender 2.81 (and probably 2.80) this option is under view > local view > toggle local view or numpad / $\endgroup$ Commented Feb 1, 2020 at 7:27
  • $\begingroup$ Thank you! This fixed this issue for me $\endgroup$ Commented Jan 20, 2021 at 10:16
  • $\begingroup$ Hi facing the same problem please suggest. vimeo.com/manage/videos/544134953 $\endgroup$ Commented May 2, 2021 at 2:33
  • $\begingroup$ Ah, wonderful. I've been scratching my head over this for an hour ;p. $\endgroup$
    – Robinson
    Commented Sep 17 at 20:03
9
$\begingroup$

I don't know if it's the same problem, I had a similar strange behaviour and I fixed it transforming the timeline in a 3D window and deleting the previous 3D window. It fixed my problem. Hope it helps.

$\endgroup$
1
  • 3
    $\begingroup$ not the best solution, but a good thing to try if you have no idea what happened! $\endgroup$
    – rien333
    Commented Sep 19, 2017 at 21:20
7
$\begingroup$

My first guess in this is that the "clipping distance" is not properly set for the object you are trying to model. The parameters of the clipping distance define the depth of field of the camera used to display your work in the 3D viewport; "start" is the distance of the closest object that the camera can see, with (as I recall) a default vale of .100 blender units, and "end" is the furthest distance you can see, with a default of (I think, again) 1000 blender units. So, if the default values are not changed, and you are modeling where all or part of the object are beyond the "end" clipping distance, the object will be in the outliner, as it is in the scene, but since it is beyond the clipping distance "end" parameter, it will not be visible in the viewport.

To see the clipping distance values, open the Properties shelf in the 3D viewport N, and if it is not already expanded, expanded the "view" panel of the properties shelf. At the bottom of the panel are two boxes under "clip", one labeled "start", the other labeled "end". To change the closest clipping distance, change the value in the "start" input box: a smaller value makes the clip start distance closer; a larger value makes the start distance further away. To change the furthest clip distance, change the value in the "end" box.

$\endgroup$
3
$\begingroup$

i had the same problem but i just found the solution.

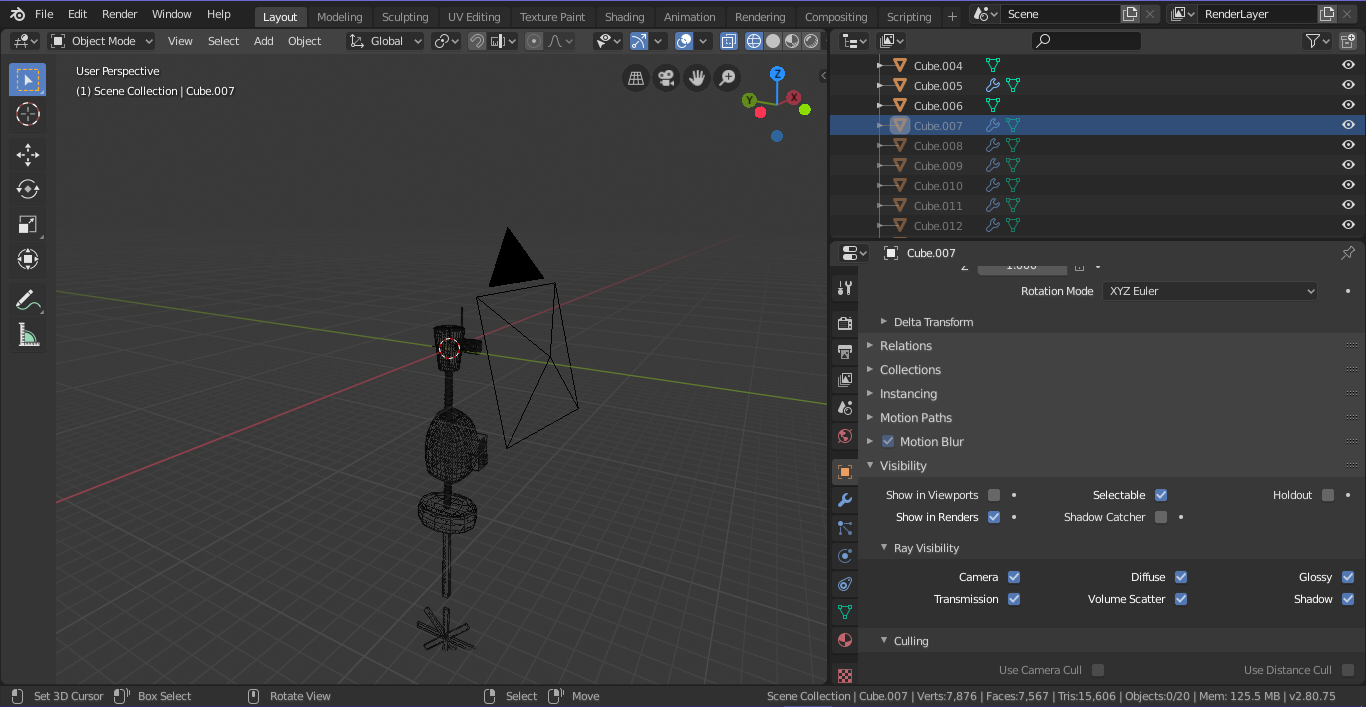
For some reason the objects had deactivated the option "Show in viewports", to fix it you got to select the object you want in the outliner, then go to the Object tab and go down to the Visibility box and there you will find "Show in viewports".

Here's an image that shows it:

enter image description here

$\endgroup$
2
  • $\begingroup$ This did it for me. I just imported a 2.79 project into 2.80, and I think every object that was invisible when I imported got cleared as 'show in viewports' for some reason. Bug? $\endgroup$ Commented Oct 6, 2019 at 22:36
  • $\begingroup$ Holy &$&!!, this is the answer. I just struggled with this for the last two hours. @JoshuaHyatt is right. These were objects hidden when I moved from 2.79 to 2.82. How in the world does alt+H not take care of this. Super super frustrating. $\endgroup$
    – Jake Mabey
    Commented Jul 4, 2020 at 21:07
2
$\begingroup$

Another way to hide objects in the 3d view is setting a "view clipping border". It will hide anything in the 3d view outside of the rectangular border. You can set or unset it by pressing Alt+B in the 3d view.

$\endgroup$
2
$\begingroup$

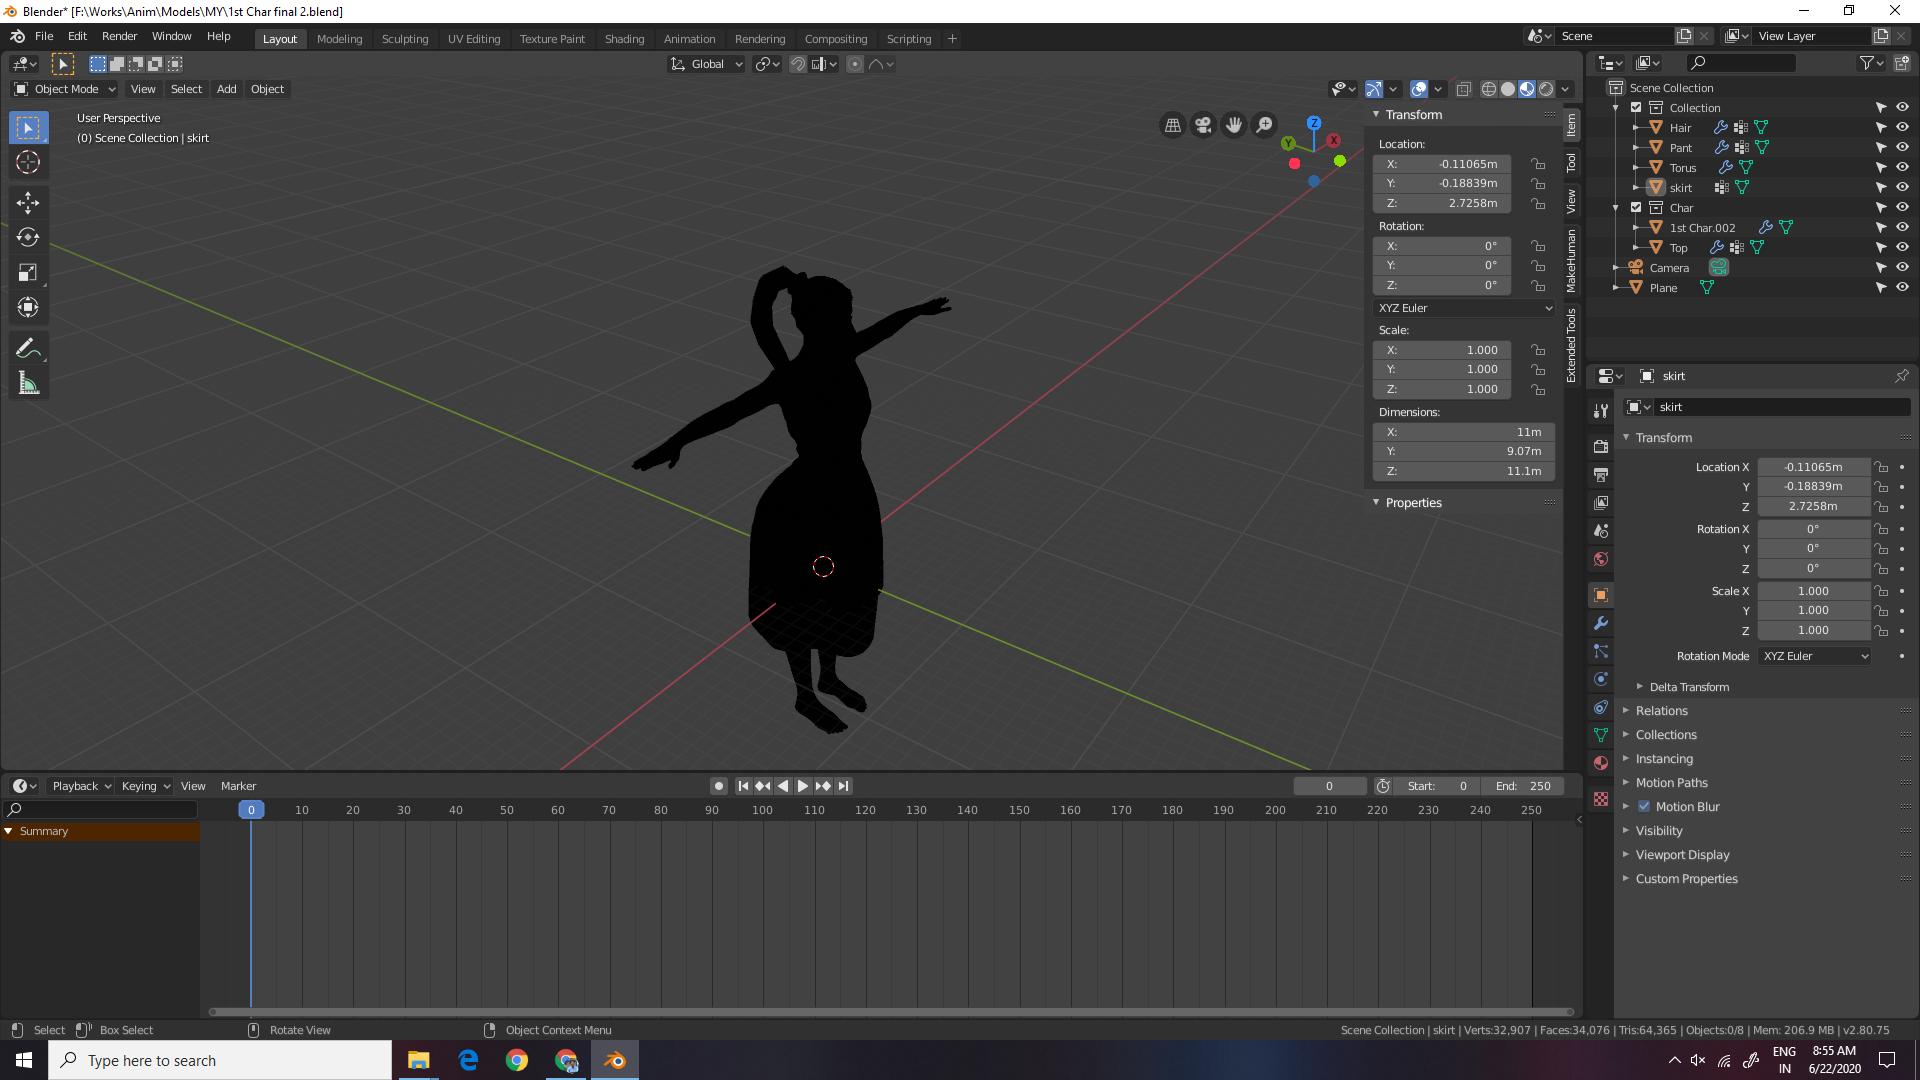
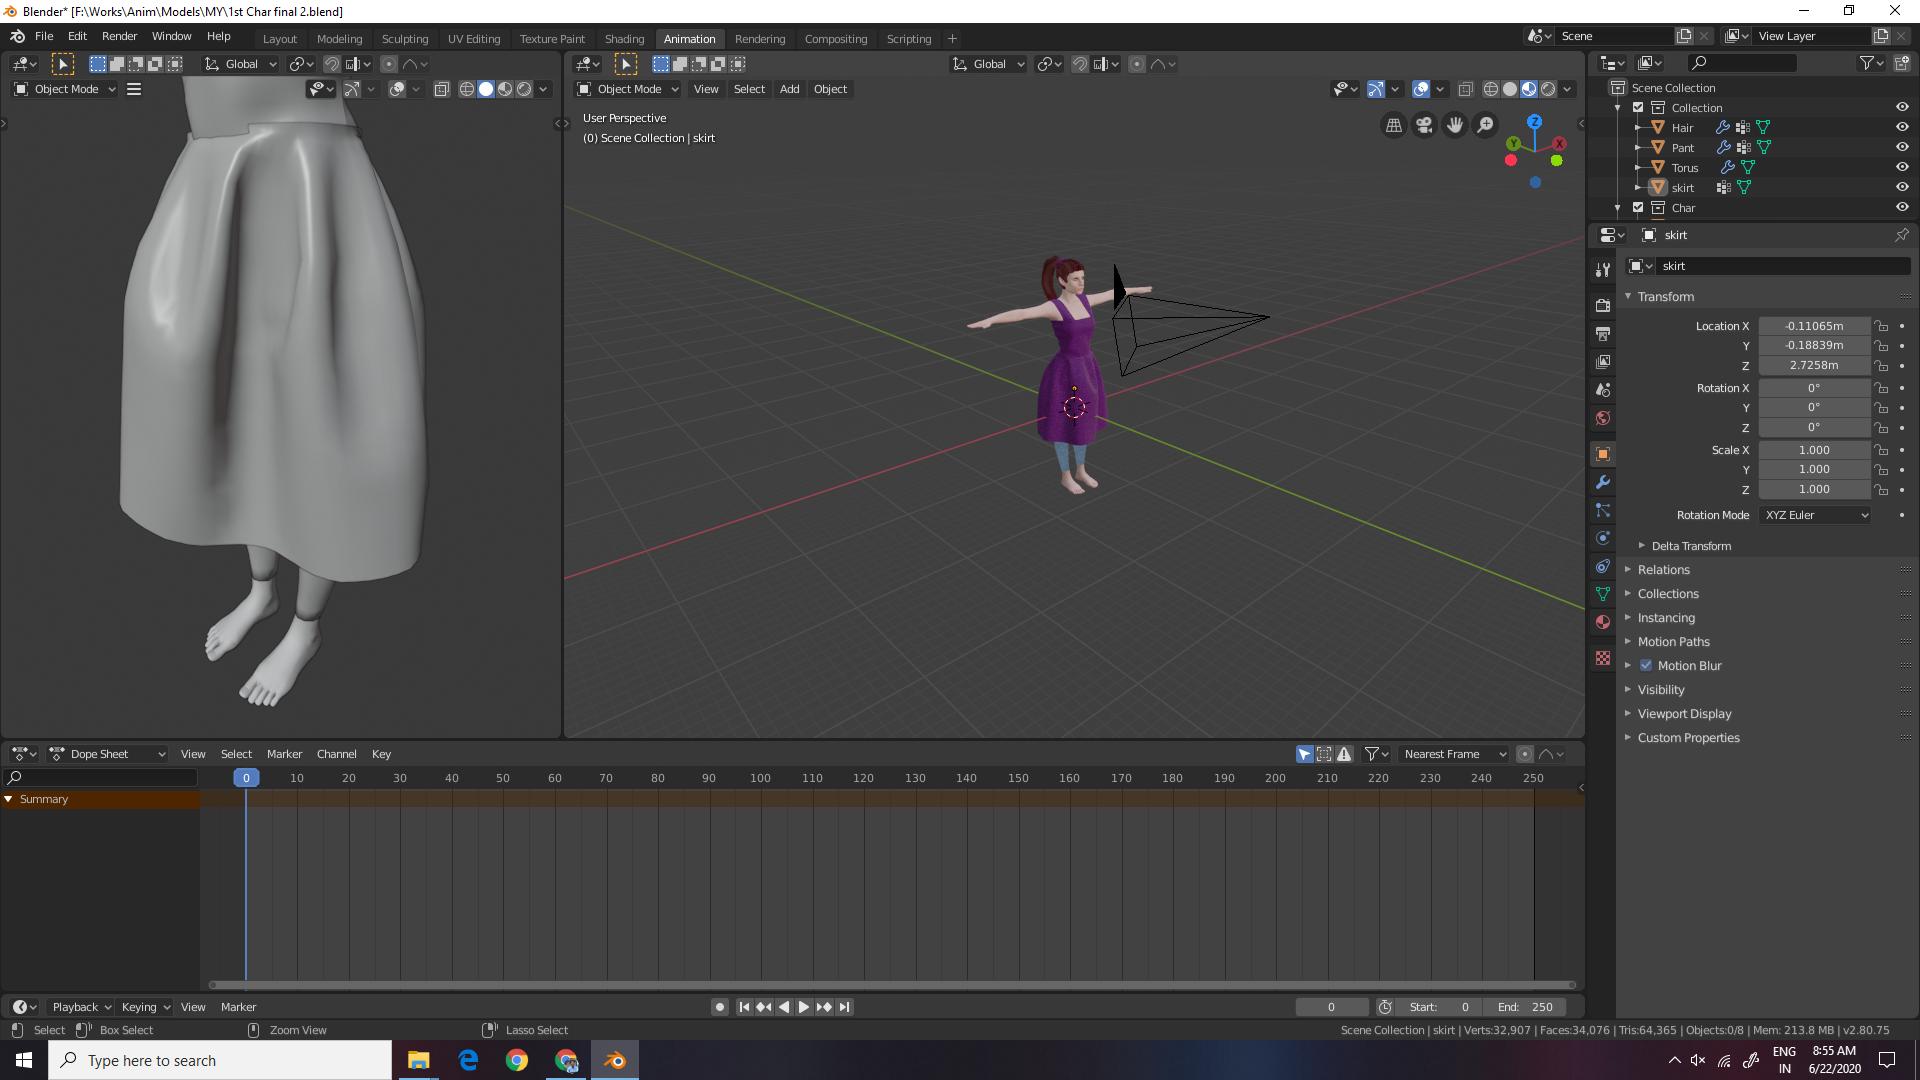
I also had this same problem. But when changed my active workspace from "Layout" to "Animation". IT WAS FIXEDenter image description here

enter image description here

$\endgroup$
0
1
$\begingroup$

Another item might help you.

I'm not positive this 1st step is necessary, but I'm not at a Blender instance to verify so use it anyway.

In the 3D viewport A until all of the items in your outliner show that they are highlighted.

Then Numpad .

This should bring your current view to the bounding box of whatever is in your scene.

Then if things are still out of clipping range I would recommend using brasshat's solution to fix it.

$\endgroup$
1
$\begingroup$

Select your object in the Outliner or scene collection where you actually see the object names as a list.

Select the "object" tab on the toolbar below this it should look like an orange square.

Then you get several tabs within the object tab. You want to switch the necessary ticks on in "viewport display" such as "texture" and possibly "in front".

Then click the tab two below this called "visibility" and check "show in viewports" and "selectable" you probably want "show in renders" toothat should do the job!

$\endgroup$
1
0
$\begingroup$

I found another cause for disappearing objects in object mode. I was moving mesh objects from one armature to another, working on armature custom properties and collada export settings. Using ctl-p without checking Modifiers. After a few of these switches, the armature modifiers starting piling up, linked to armatures long since rejected. My mesh disappeared. Delete the unneeded modifiers, objects reappear.

$\endgroup$
0
$\begingroup$

I have had this (sort of) sometimes when importing a file - it sets the object origin to (0,0,0), but the actual mesh structure is located somewhere else. You can view it by selecting in the outliner and zooming to it using the numpad '.' in the 3d window, but then the main scene vanishes (and vis versa). If you R click on it and select Set Origin / Origin to Centre of Mass then you can move the object using transform to where everything else is.

$\endgroup$
0
$\begingroup$

In the Outliner, all my objects seemed to be visible, but I could not see them in 3D Viewport. After a long time, in the Outliner, I tried to uncheck and check again the box Exclude from View Layer and everything appeared.

$\endgroup$
0
$\begingroup$

Missing objects

All the visibility toggles are on, but still objects are not appearing in viewport.

I tried to restart Blender, PC it is doesn't solve the issue.

Object that are not showing up on viewport appearing darker in outliner, and non of unhiding / unisolating helped.

Easiest way to fix I found it select each object from outliner and press right mouse button, copy and than paste. It solved for me, but I have to make sure to delete the not appearing copies, otherwise sometimes later they may pop up as duplicates.

$\endgroup$
0
$\begingroup$

Select the object in the Outliner that you were working on (or was selected) when the problem occurred then press /.

$\endgroup$
-1
$\begingroup$

I had the same problem, then i check the layers, click on the first one, the object appears in outline mode, then press "Z", ...

$\endgroup$
-1
$\begingroup$

I was trying to align two objects by their origins, I've set both origins To Geometry, then selected both objects and tried to align them on X and Y axis by pressing S, X, 0 and S, X, 0.

I don't know if the hot keys were wrong or they changed from the version of the tutorial but everything disappeared. Then I understood that objects just collapsed in only one point, so I was able to see them in the Outliner and in 3D viewport actually. I thought it was the origin point, but it was my objects scaled down to one point.

$\endgroup$

You must log in to answer this question.

Not the answer you're looking for? Browse other questions tagged .