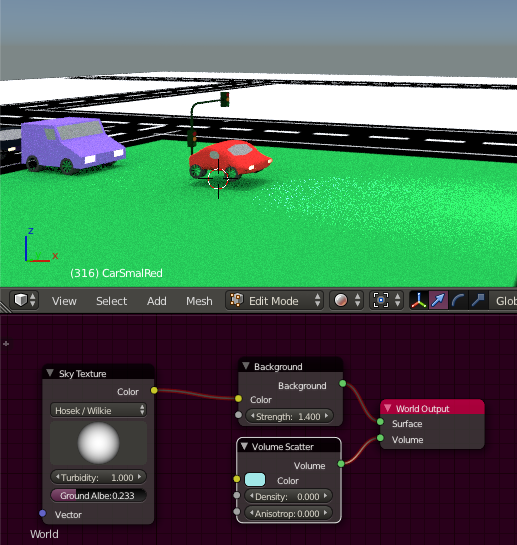
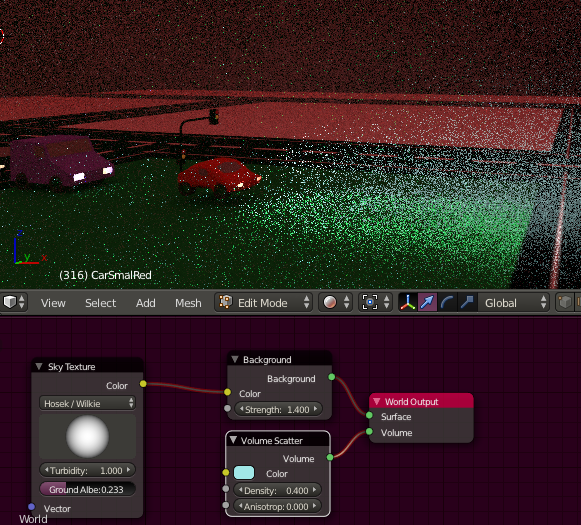
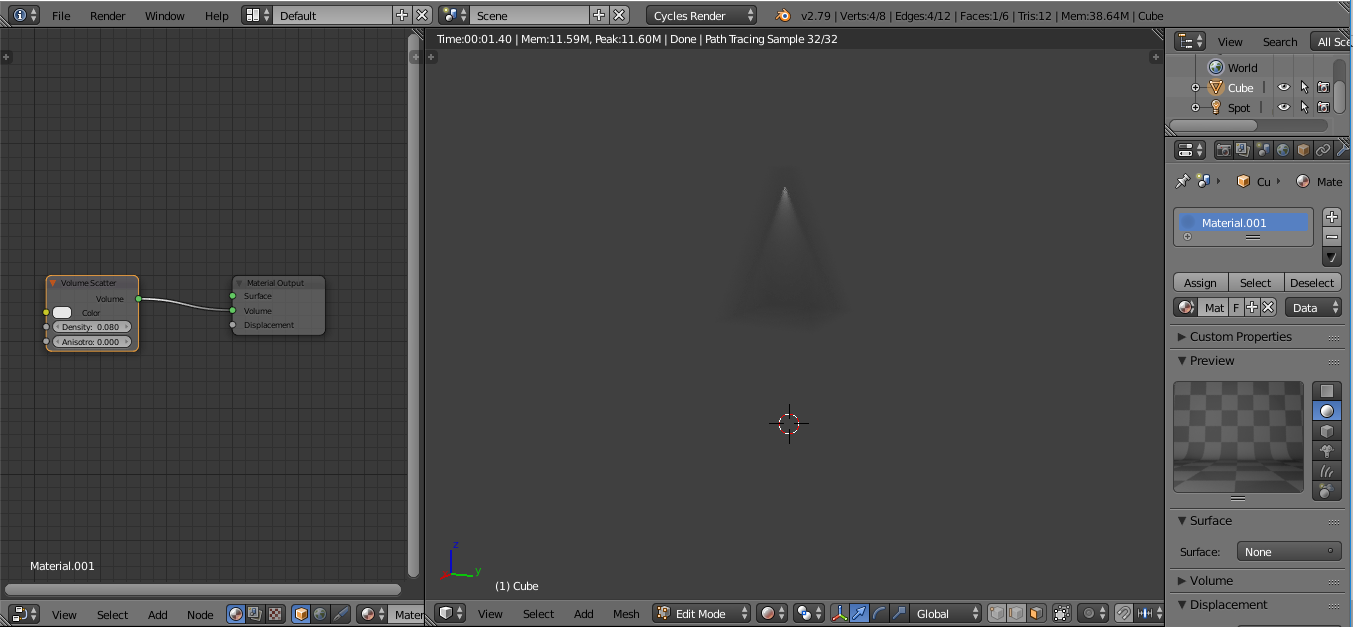
Even though this question was asked some time ago, I feel like I need to share a way I have found that simplifies this process a ton and gets the effect I feel you want.
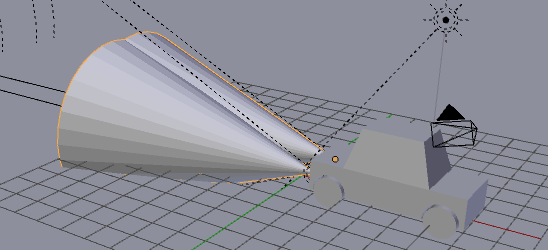
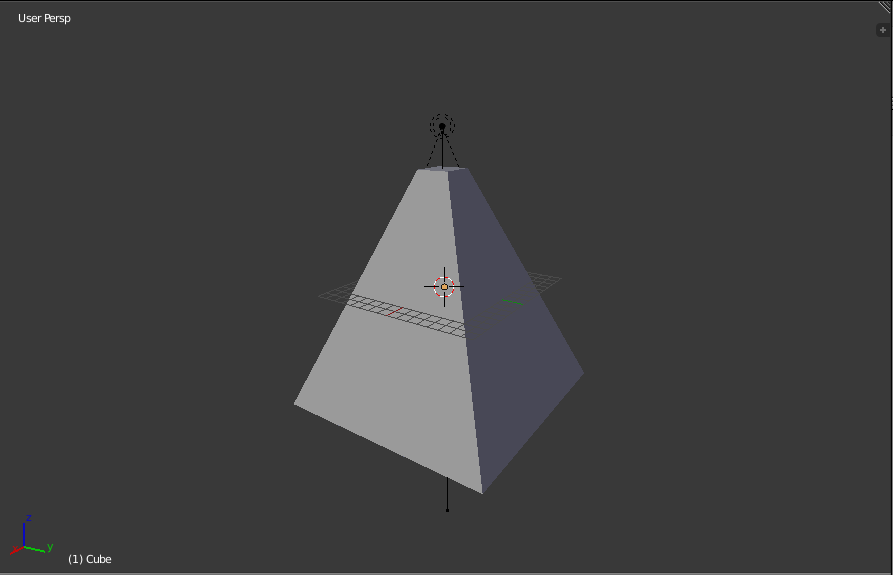
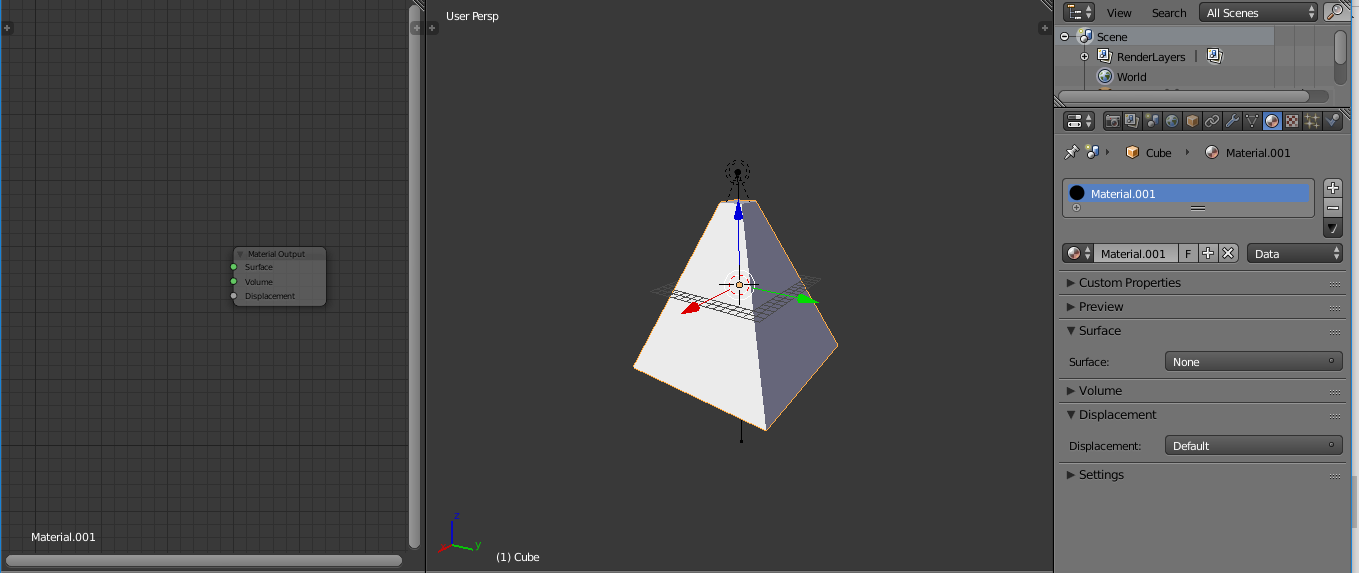
I first created a spot lamp (in place of your headlights) and created a cube (but you can use any solid mesh). I scaled the cube way up so that it covered up most of the spot lamp. Then I scaled the top and bottom so that it fit the cone of light better.

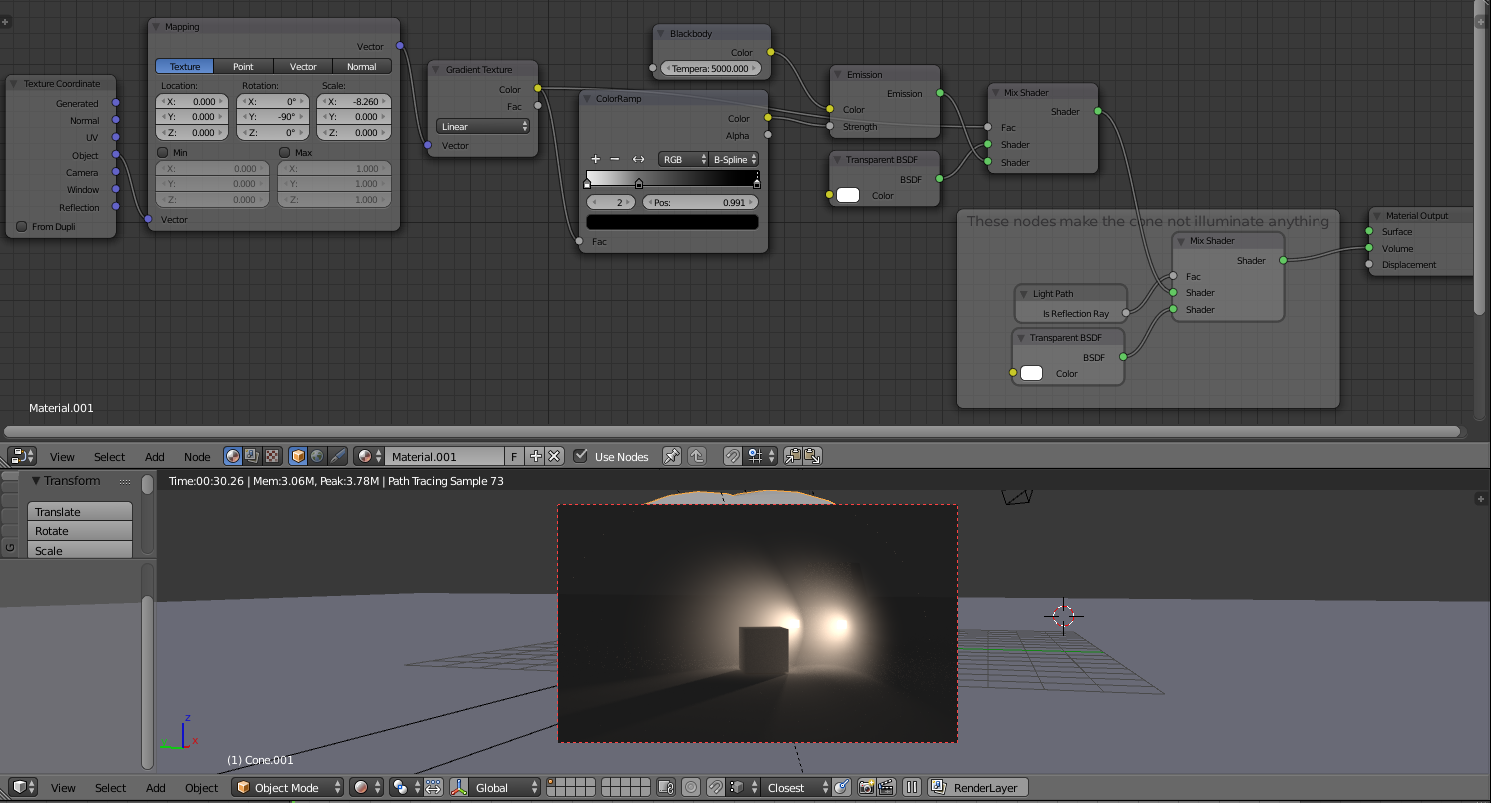
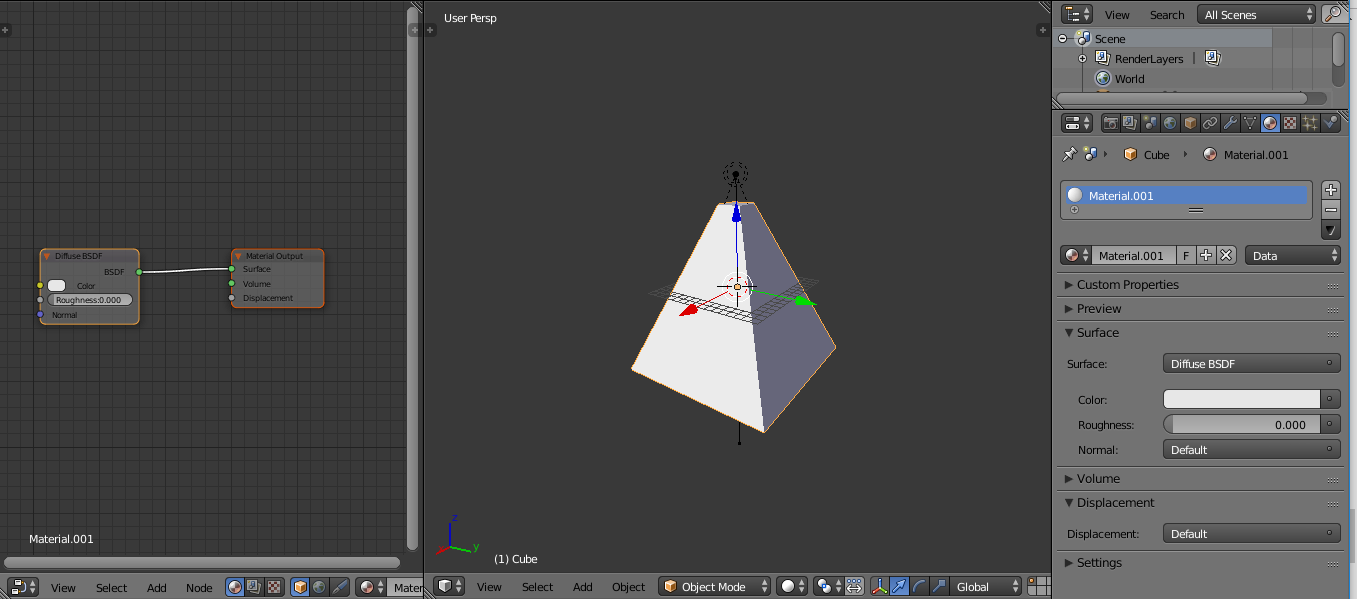
Then I created a new 'page' and made it a node editor. I then gave the cube a new material and clicked the "use nodes" button.

Next I deleted the Diffuse Shader so that just the Material Output node remained.

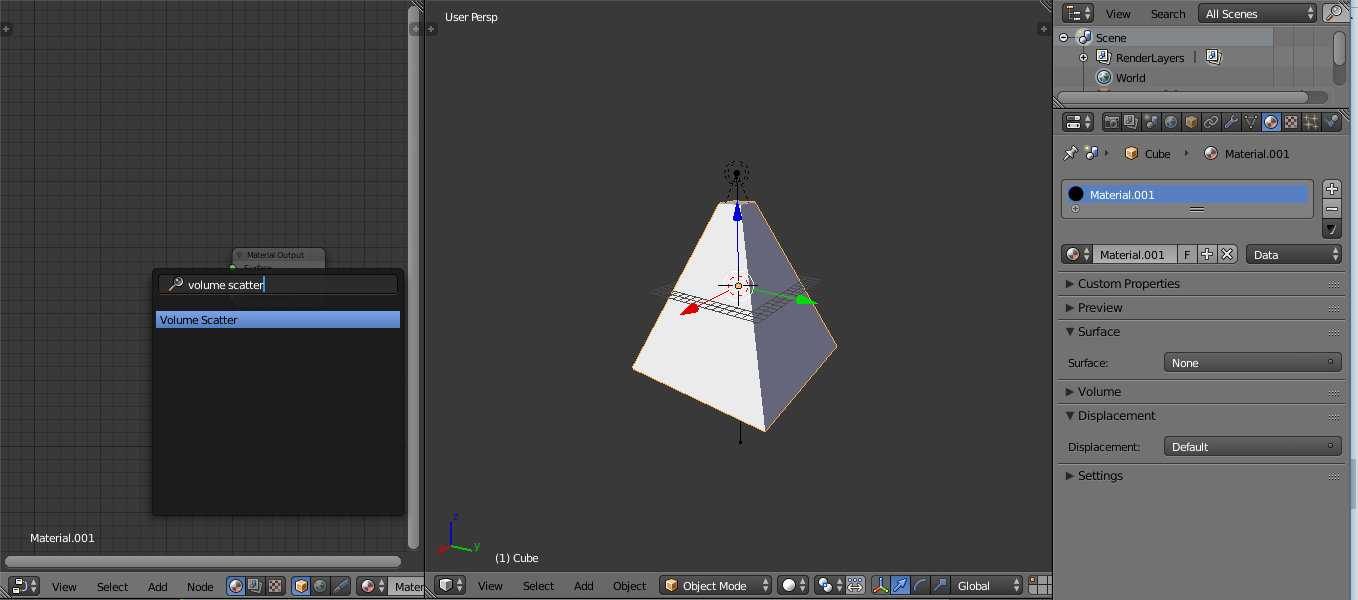
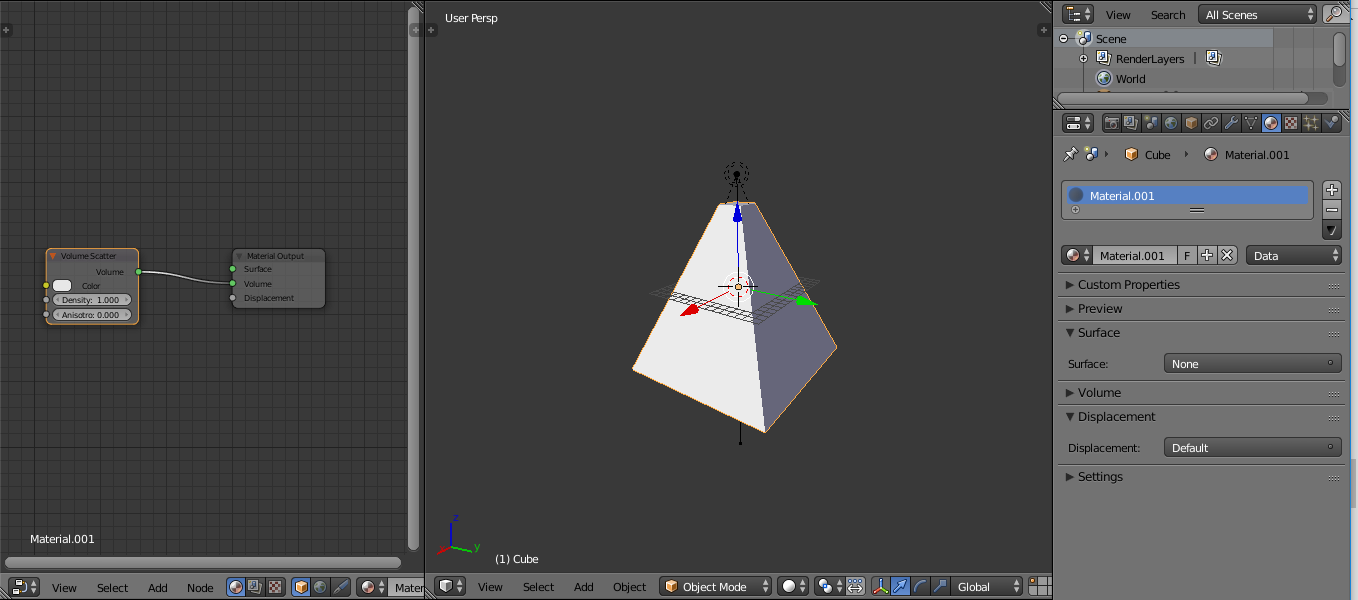
Finally, you add a Volume Scatter node by pressing Shift+A and searching for "volume scatter". Once that is in, connect the Volume output on the Volume Scatter node to the Volume input on the Material Output node.


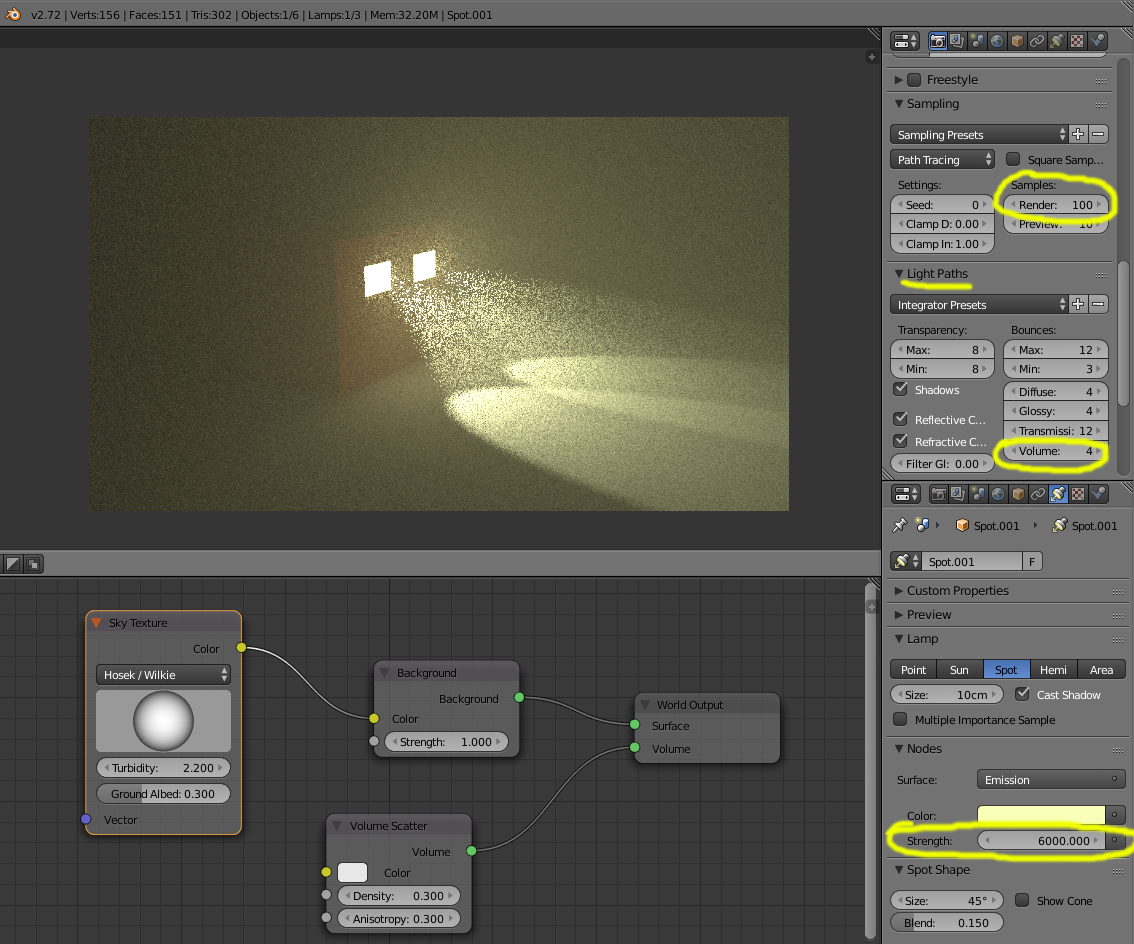
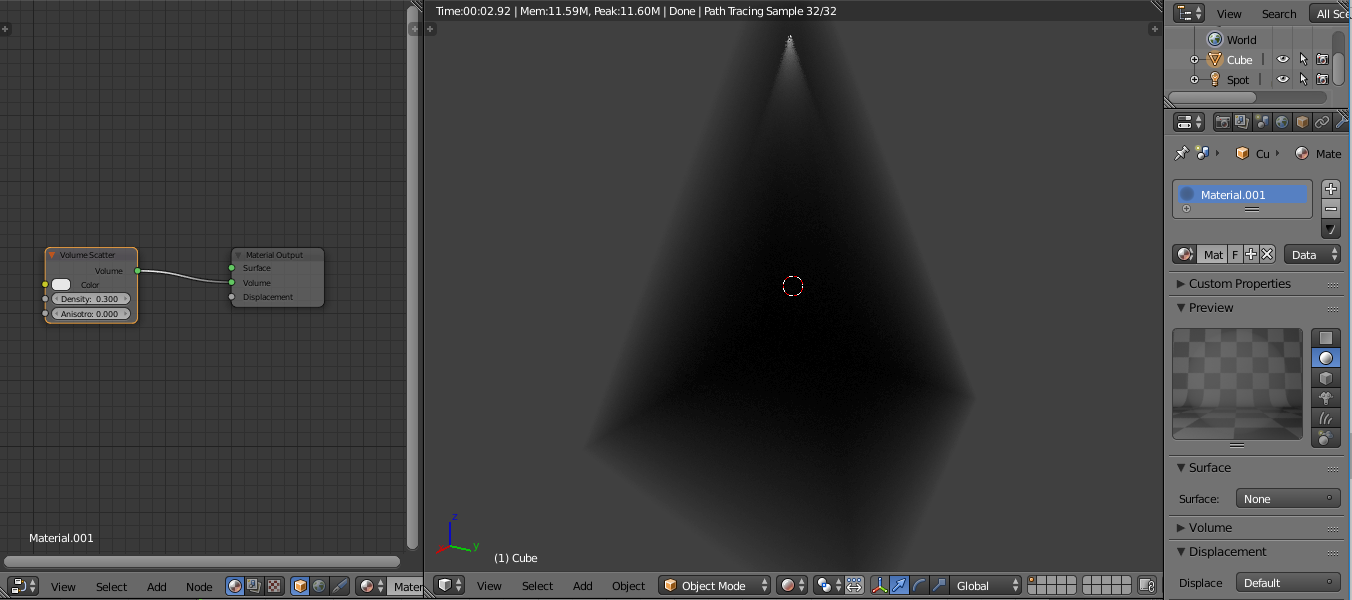
And you're done! You can play with the density to your liking. I usually bring it down from 1 to .3 or lower.
This is a pretty big setup so I brought the brightness of the spot lamp to 200. Unless your cars are absolutely massive, this should be more than enough to give that light cone effect.
 The light near the top of the render is the spot lamp.
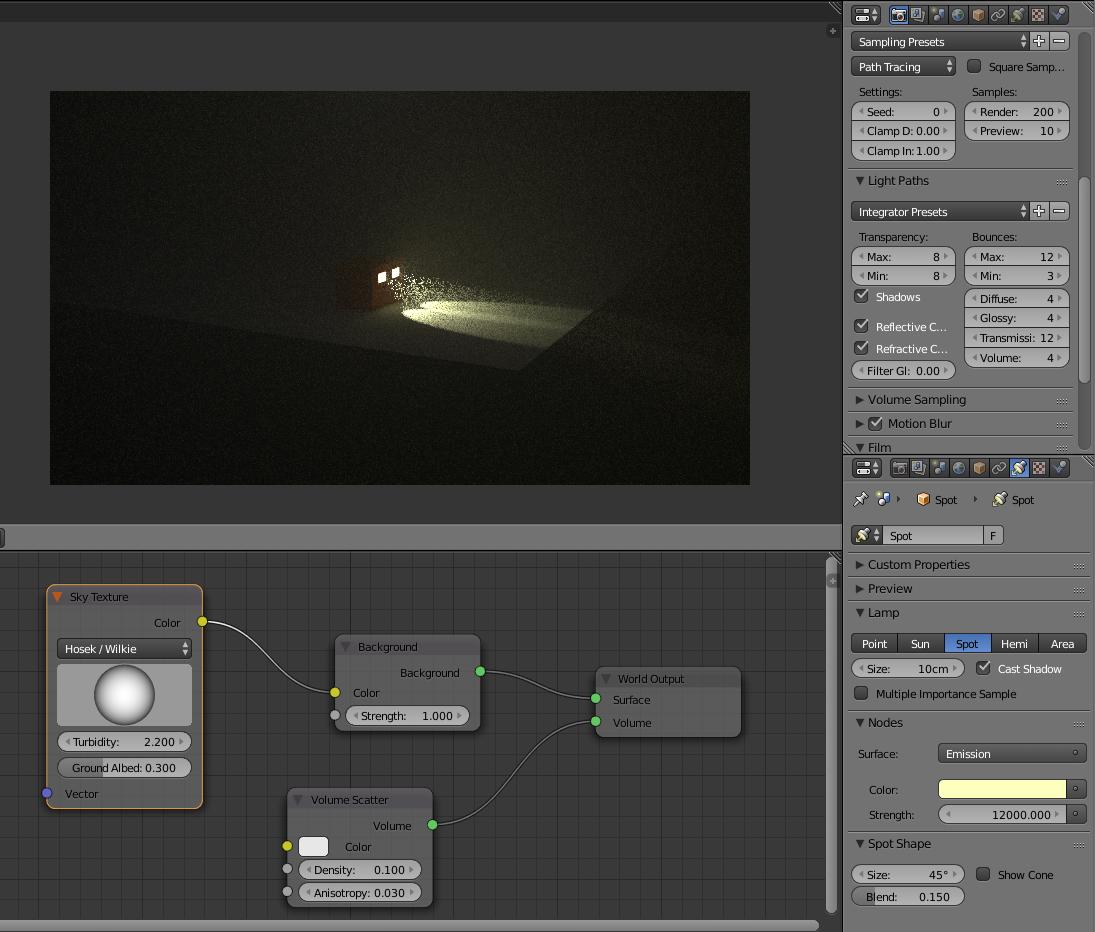
These are the settings that I would have if I were doing what you are/were doing: density at .08 and shape the cone around where the light actually shines so that you don't get that foggy look.

Congrats, you've just created a light cone in Cycles Render!
