0
$\begingroup$

I've asked this for a square sticker effect 2 years ago, but now I'm making a sticker for another Rubik's Cube that isn't in the shape of a square. Each sticker is shaped oddly.

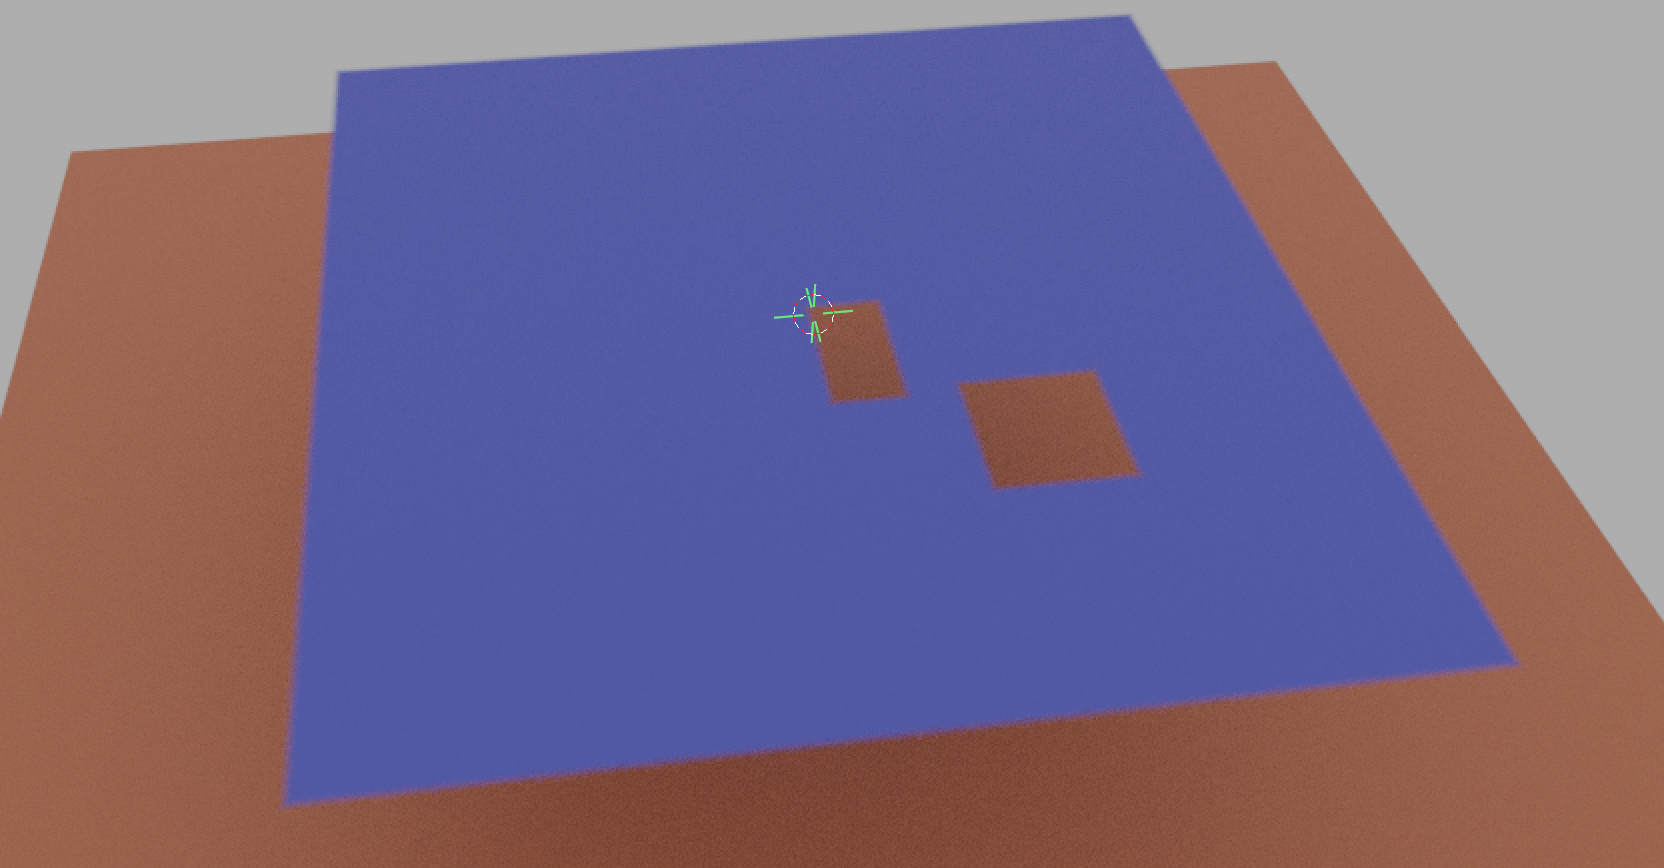
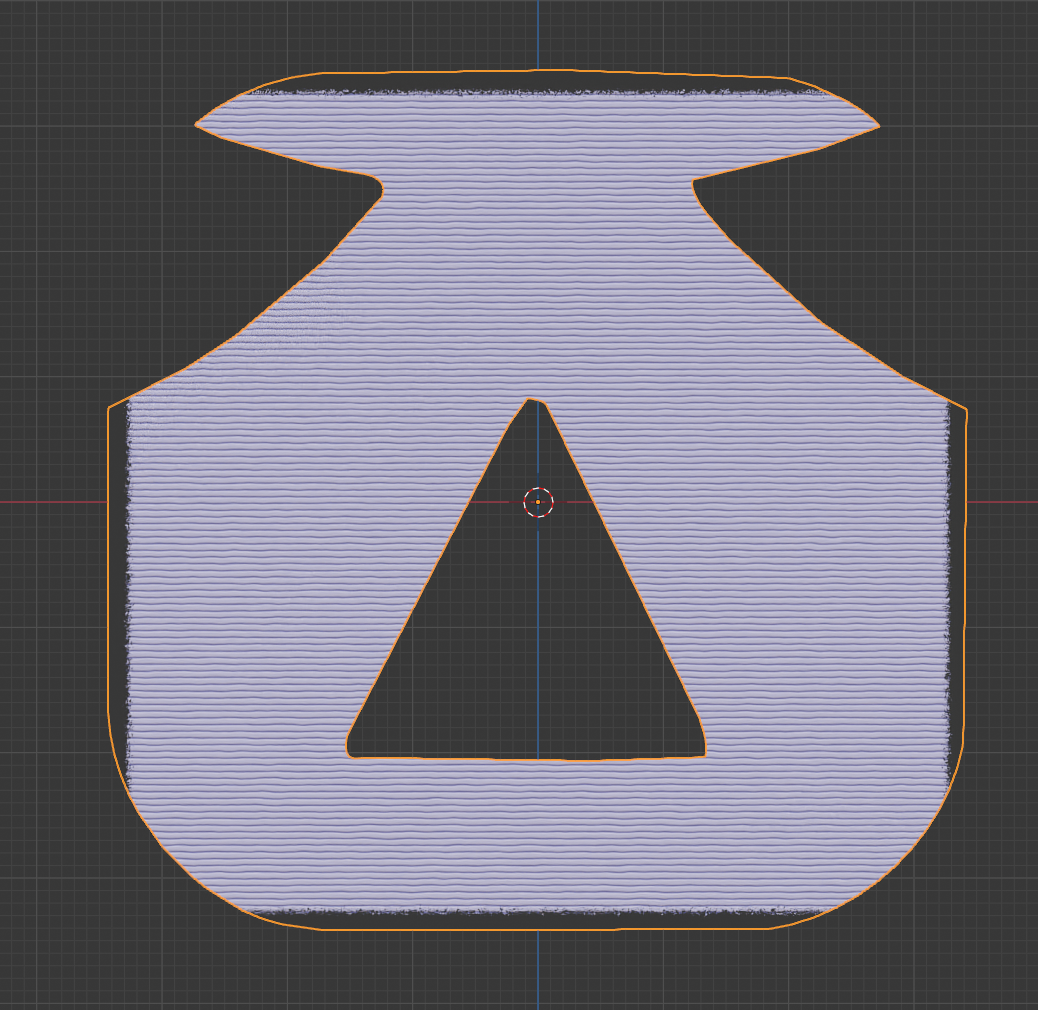
I've tried this on a sticker, and you can see that the effect only works on the far outer edges but none of the other edges. Is there a trick to make the effect work for all edges?

My post 2 years ago for simple plain just if you needed to see it, but now my stickers are oddly shaped. (plane edge wear)

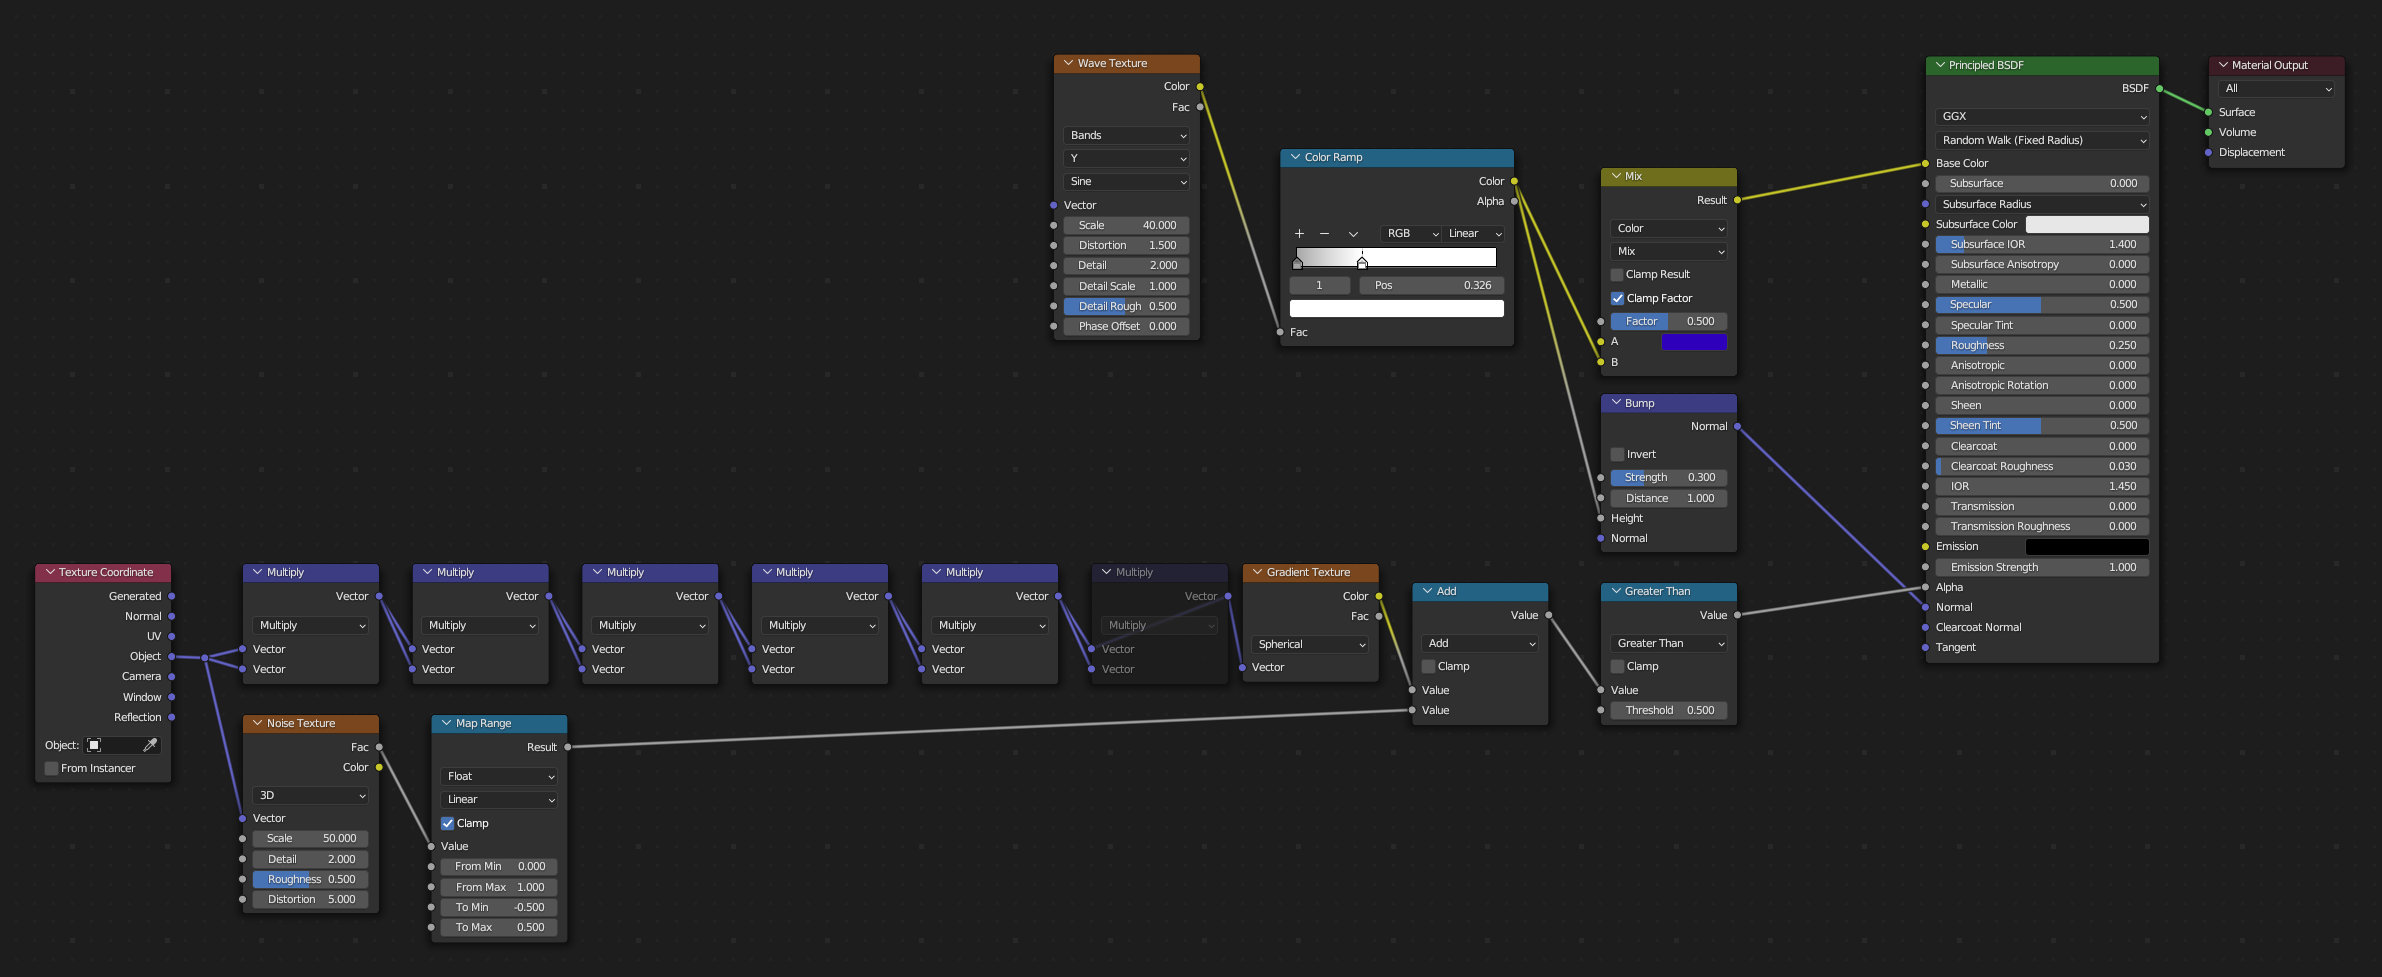
If you have a better shader node setup that would help, then I'll go that route. The only part I need to keep is the horizontal lines because the stickers are UV printed on the cube.

enter image description here enter image description here

$\endgroup$
7
  • 1
    $\begingroup$ Does this answer your question? blender.stackexchange.com/questions/267087/… $\endgroup$ Commented Jul 24 at 14:43
  • $\begingroup$ The Link in Duarte Farrajota Ramos comment should work nicely for actual mesh objects. The dot Product and Bevel approach is a very good method to get edgewear that you can control in a precise way. Have a look at this tutorial for more informations: youtu.be/Aa8gf1pwb4E?si=j-420NfadrYCBklf But your Object is a simple plane with an Alpha texture as it seams. As far as i know, there is no geometry approach that would work for you. You have to try to combine the Alpha mask with the edge wear mask of the dot product approach or any other edge wear approach. $\endgroup$
    – Marius
    Commented Jul 24 at 19:13
  • $\begingroup$ @Marius I may have chosen my words poorly. I'm designing a Rubik's cube with UV-printed "stickers." The cube is placed in a printer that prints directly onto the side facing up. When magnifying a UV-printed cube, I notice blurred edges and print lines. I'm trying to recreate that effect, thinking an alpha method would work for the plane converted from an SVG file. $\endgroup$ Commented Jul 25 at 17:18
  • $\begingroup$ I'm sorry, I don't quite understand what you explained there (i know what a Rubiks cube is but the rest is unclear). Can You share some additional images or a link to a Video? Can you share the blender file? $\endgroup$
    – Marius
    Commented Jul 26 at 18:49
  • $\begingroup$ @Marius oh yes, I hope this may help because I also keep calling it stickers, but It's nothing to remove due to it being printed on the cube. Here is the link to an actual cube I have. shorturl.at/VGTu6 Now on their site they printed the entire face. Here is a link ibb.co/album/v4vRhx to an up close image of that print, and you can see when I turn the layer the edge is dotted because that's where the printing stopped. I want to recreate that, and I kinda did, but here is an old Halloween cube to show the stickers I'm making will be like that in a way. shorturl.at/cLoGH $\endgroup$ Commented Jul 26 at 23:36

1 Answer 1

1
$\begingroup$

There are several approaches to your issue which is kind of complex actually. normally you would use a dot product bevel approach (youtu.be/Aa8gf1pwb4E?si=j-420NfadrYCBklf) but because your sticker is 2d this will not work. I can give you a solution but for it to work you will have to create some additonal geometry which could be hard to do if your plane has bad topology.
You have to Inset your faces (select all vertices in the edit mode and press "i". The distance between your new and the old vertices will determine the size of your edge wear. after insetting create a vertex group with the new geometry, this will help with selecting afterwards.

Next follow the steps of this Post: It there a way to do edge detection on plane? Please use the second answer that begins like this: "I believe this isn't possible at present without adding additional geometry to indicate the "edgeiness"."

Now you can use this node group to create the edge wear:
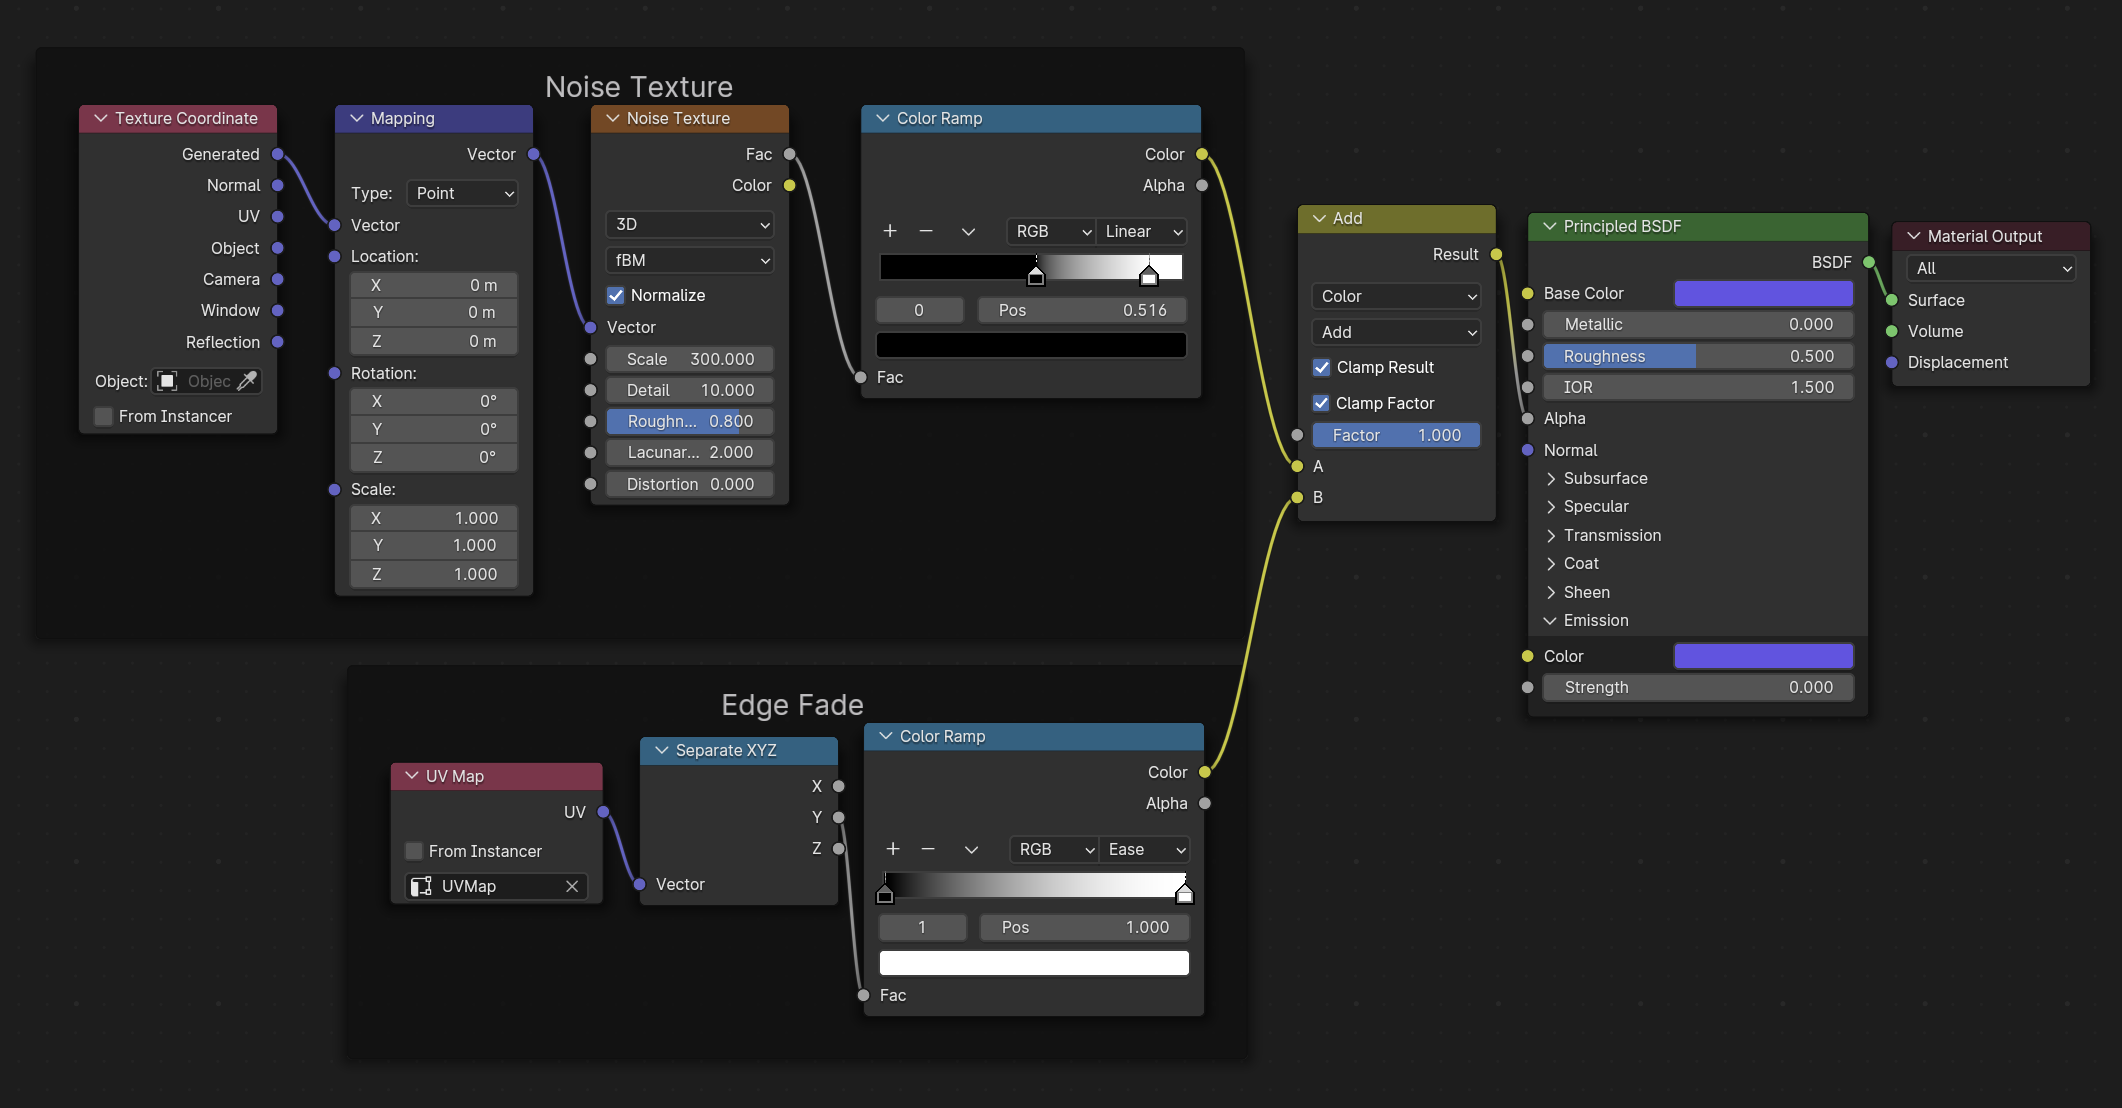
enter image description here

This will give you an effect like this:
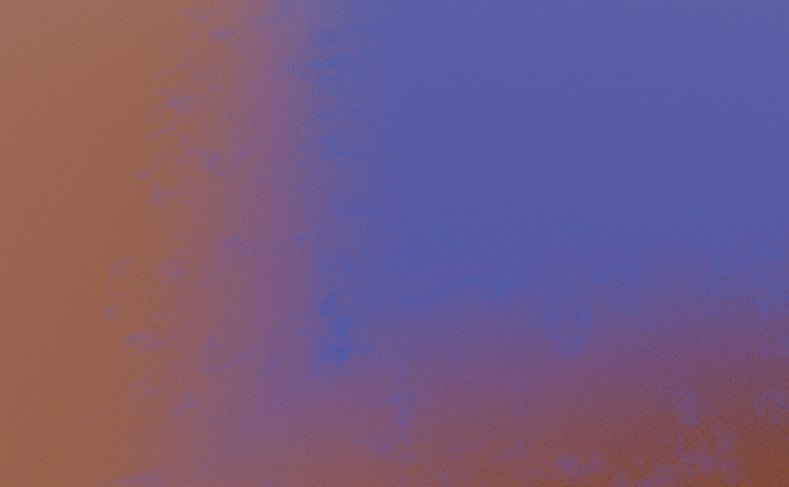
enter image description here enter image description here

I attached the blender file if you want to have look at it:

This is not a perfect solution to your problem but the best i can offer you right now.

Here is an example on your File: enter image description here
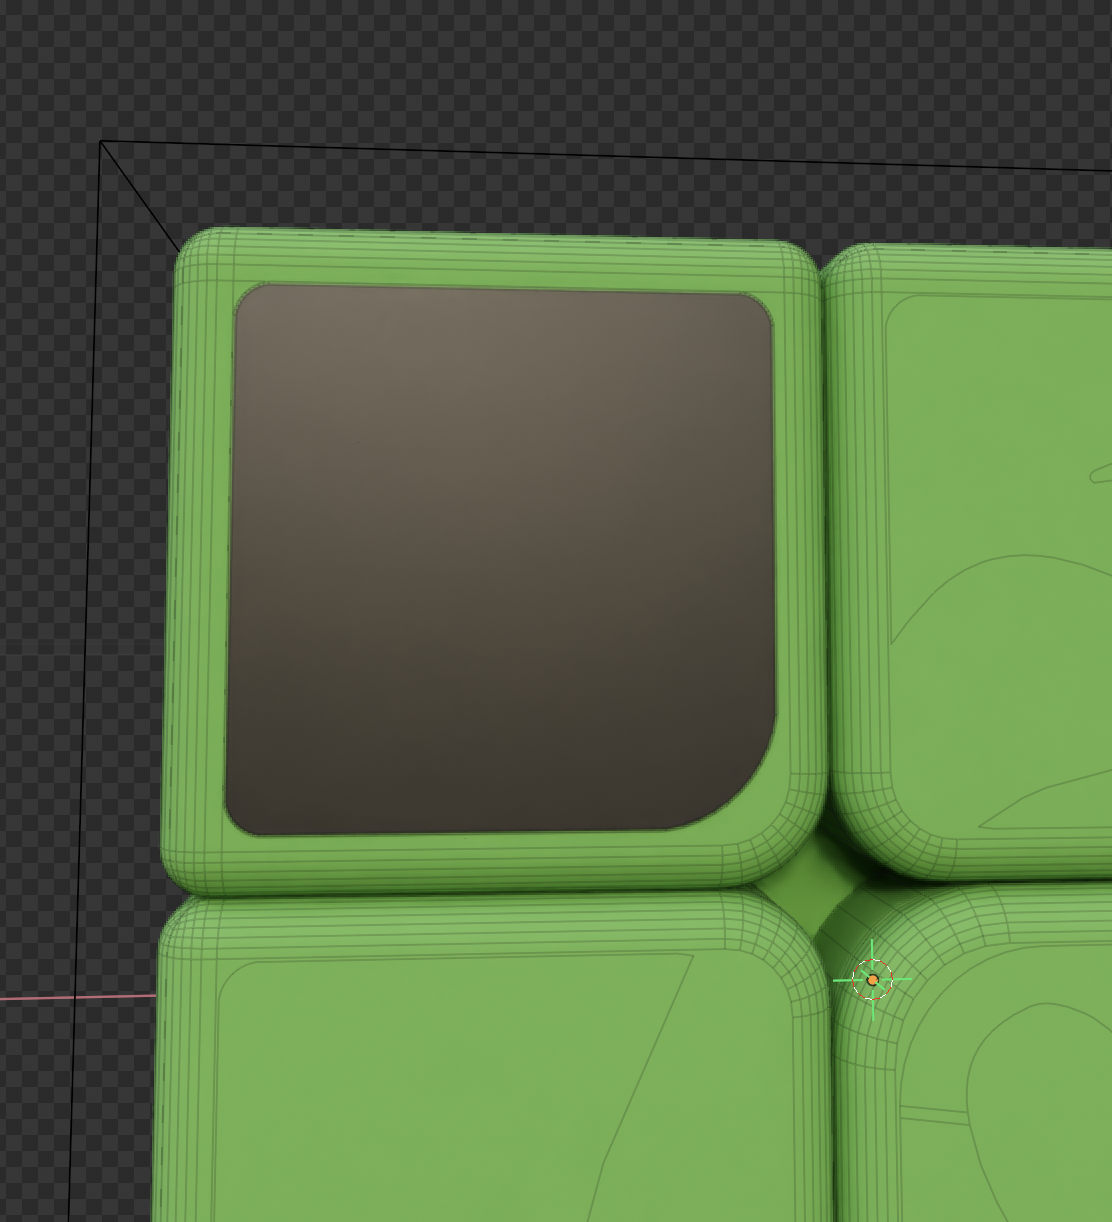
enter image description here

Please be aware, to change the positions of all vertices. In my picture you can see that the other stickers are transparent. That's because i have only changed the location of the vertices of one sticker.

I also refined the texture to include an edge feather for the noise to prevent the noise being cut of at the edge. enter image description here
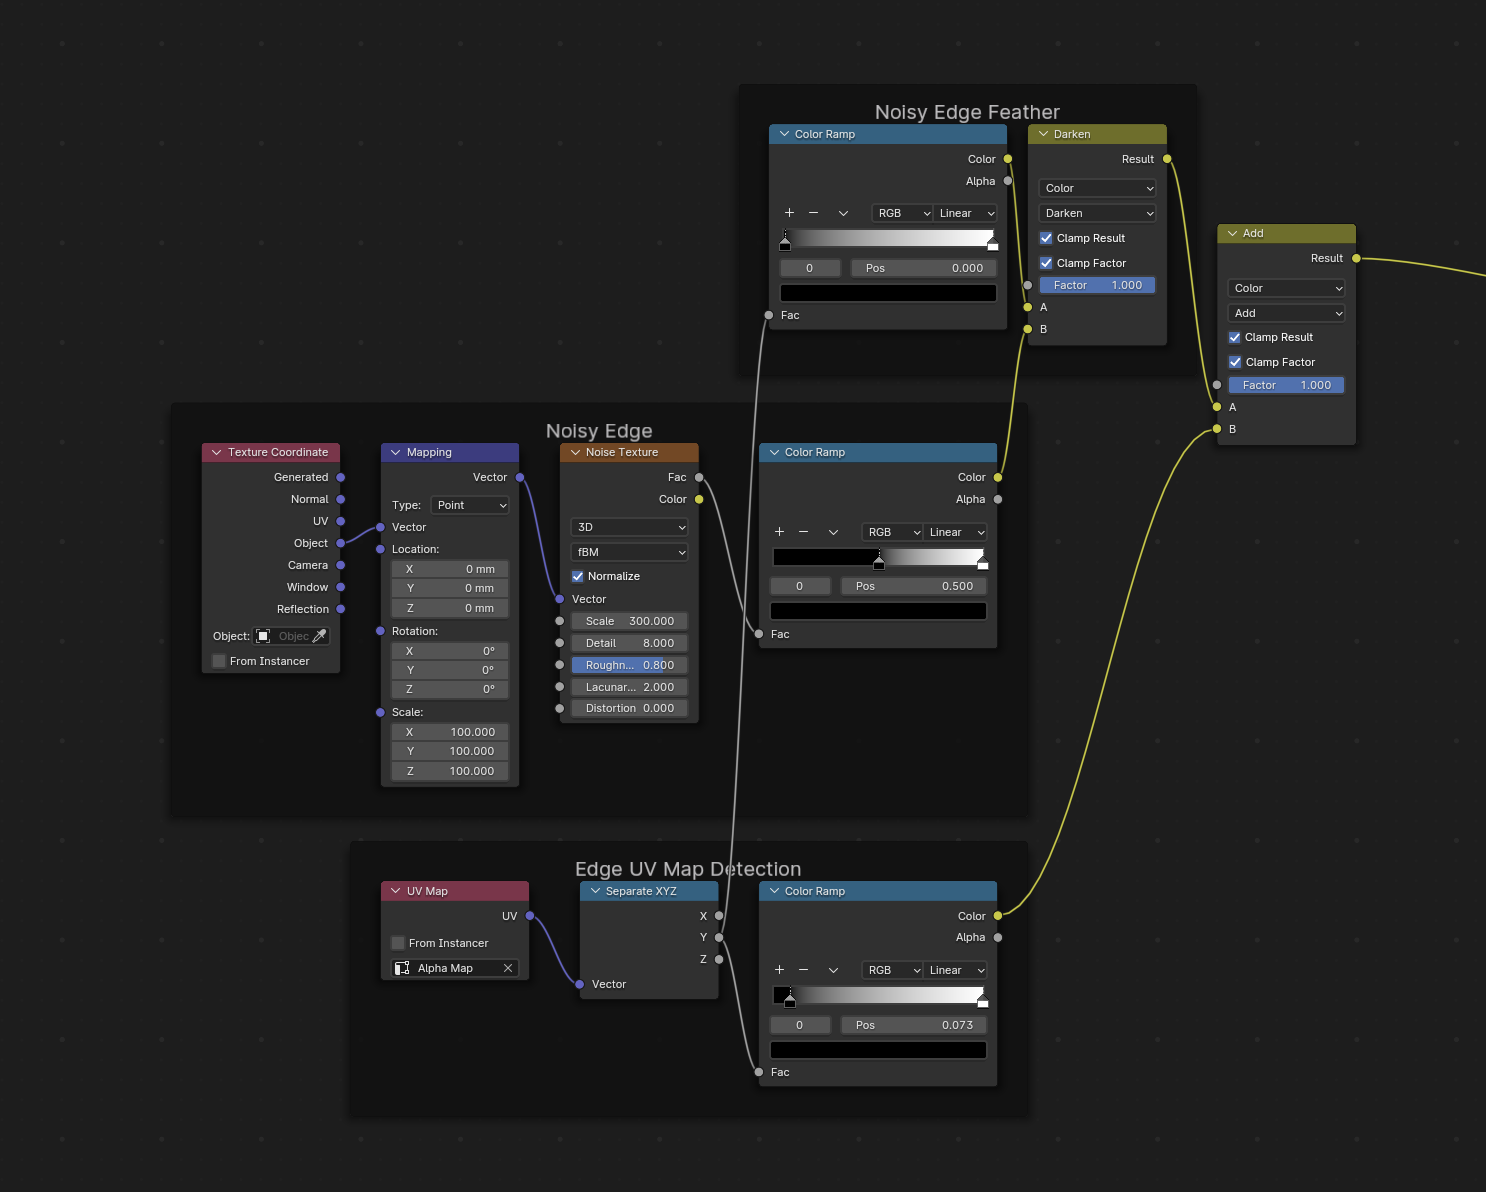
Here is the Blend file:

$\endgroup$
6
  • $\begingroup$ I'm not sure how that could work for me because the square cutouts would be the sticker shape I'm needing. I hope I can upload my file in the comment. Here is the whole cube with the stickers I'm working with. <img src="https://blend-exchange.com/embedImage.png?bid=jJwxmsNO" /> I will keep looking at your links and steps, thank you. I'm dealing with covid right now, so I'm not able to get on the computer much. $\endgroup$ Commented Jul 28 at 21:04
  • $\begingroup$ It works perfectly. the cut outs in my plane represent things like the eyes of your ghost. the plane itself represents one of the 9 Stickers per side. $\endgroup$
    – Marius
    Commented Jul 30 at 11:11
  • $\begingroup$ i updated my answer with the edge wear applied to your file $\endgroup$
    – Marius
    Commented Jul 30 at 11:19
  • $\begingroup$ I would recommend you to changer the title of your question to something like "edge wear for 2d Planes" to make it clear that you are talking about a flat 2d Object. this will make easier to find for people with a similar question. :) At least change it from ware to wear $\endgroup$
    – Marius
    Commented Jul 30 at 14:39
  • $\begingroup$ Thank you but I did test it out and it worked great. I did notice that I actually didn't have to make 9 different textures. I split up each sticker's UV's along the Y axis just like the link tutorial said, and when I checked the process I noticed all 9 separate objects using the same material worked. I kinda wonder if it may have something to do with the UV Map node you used called "Alpha Map", all mine are called the default "UVMap". $\endgroup$ Commented Aug 5 at 3:28

You must log in to answer this question.

Not the answer you're looking for? Browse other questions tagged .