I've been following some tutorials, and I've noticed several different ways to apply overall bumpiness to an object. So, first of all, what is the difference between plugging a procedural texture straight into the displacement in the material output verses plugging the same texture into the normal of a shader? Next, what is the purpose of using a bump node, when you can just plug the same texture straight into the displacement/normal? Thank you for your help.
-
1$\begingroup$ The normal of shader is usefull when different shaders of material have different bumpiness - like something rough with smooth glossy coating on top - then the diffuse shader will have bump but the glossy shader will not. $\endgroup$– Jaroslav Jerryno NovotnyCommented Apr 25, 2015 at 19:28
-
2$\begingroup$ Related: What is the difference between the displace socket and a bump map? $\endgroup$– Greg ZaalCommented Apr 28, 2015 at 13:05
3 Answers
Short answer: Use the bump node and just forget that displacement output is even there.
Long answer: Several years ago, Cycles was very young. Being open source and a much desired project, many people were using it and writing tutorials with it before it was anywhere near feature complete. Back then, it didn't have per-shader normals. What it did have was an experimental displacement feature. This displacement feature came with a function to offset the object normal based on the displacement map. This can be used to adjust the normal for fine detail in the disp map that couldn't be represented with actual geometry. You can also use it for bump mapping by just disabling the vertex displace part entirely. Since there was no other bump mapping support and the displacement didn't work 100% right (and still doesn't) the default behavior was bump-only. So people just used it as a bump map socket, and made tutorials as such.
Some while later, Cycles got per-shader normals. These could support 3D vectors, allowing true normal map support. Being 3D and per-shader, you could also do more complicated effects with them, like smooth gloss over a rough surface, or combining normal and bump maps. In order to support grayscale bumpmaps with this new glorious system, the bump node was created which could take grayscale heightmaps and convert them into normal vectors like a normal map would output. It's not that different from the various "create normal map" filters for Photoshop, GIMP, etc.
Fast forward to today: Per-shader normals work pretty well, you can use them for bump and normal mapping, and any combo of the two. The displacement socket is still there, and it is still normally locked in "bump-only" mode. (devs are waiting for opensubdiv to go with it before finishing up that feature, as I recall). If you want actual displacement or that cool displacement w/fine detail bump, you can enable experimental features, then go to the mesh panel and change the displacement type to "true" or "both". But normally it is set to "bump" which is pretty much the same as the bump node, but with less flexibility. And there's a chance the displacement output might change behavior in a future release.
So there's no real reason to use it. Or, almost no real reason. Since the displacement-bump effect works on the actual object normal rather than the normal used to evaluate a shader, the results of the bump show up in the normal pass, which isn't true of the per-shader normals. And as mentioned, there's the experimental actual displacement. If you don't care about those, though, just ignore that output.
-
$\begingroup$ This makes a lot more sense. Thank you for your detailed answer! $\endgroup$ Commented Apr 27, 2015 at 20:22
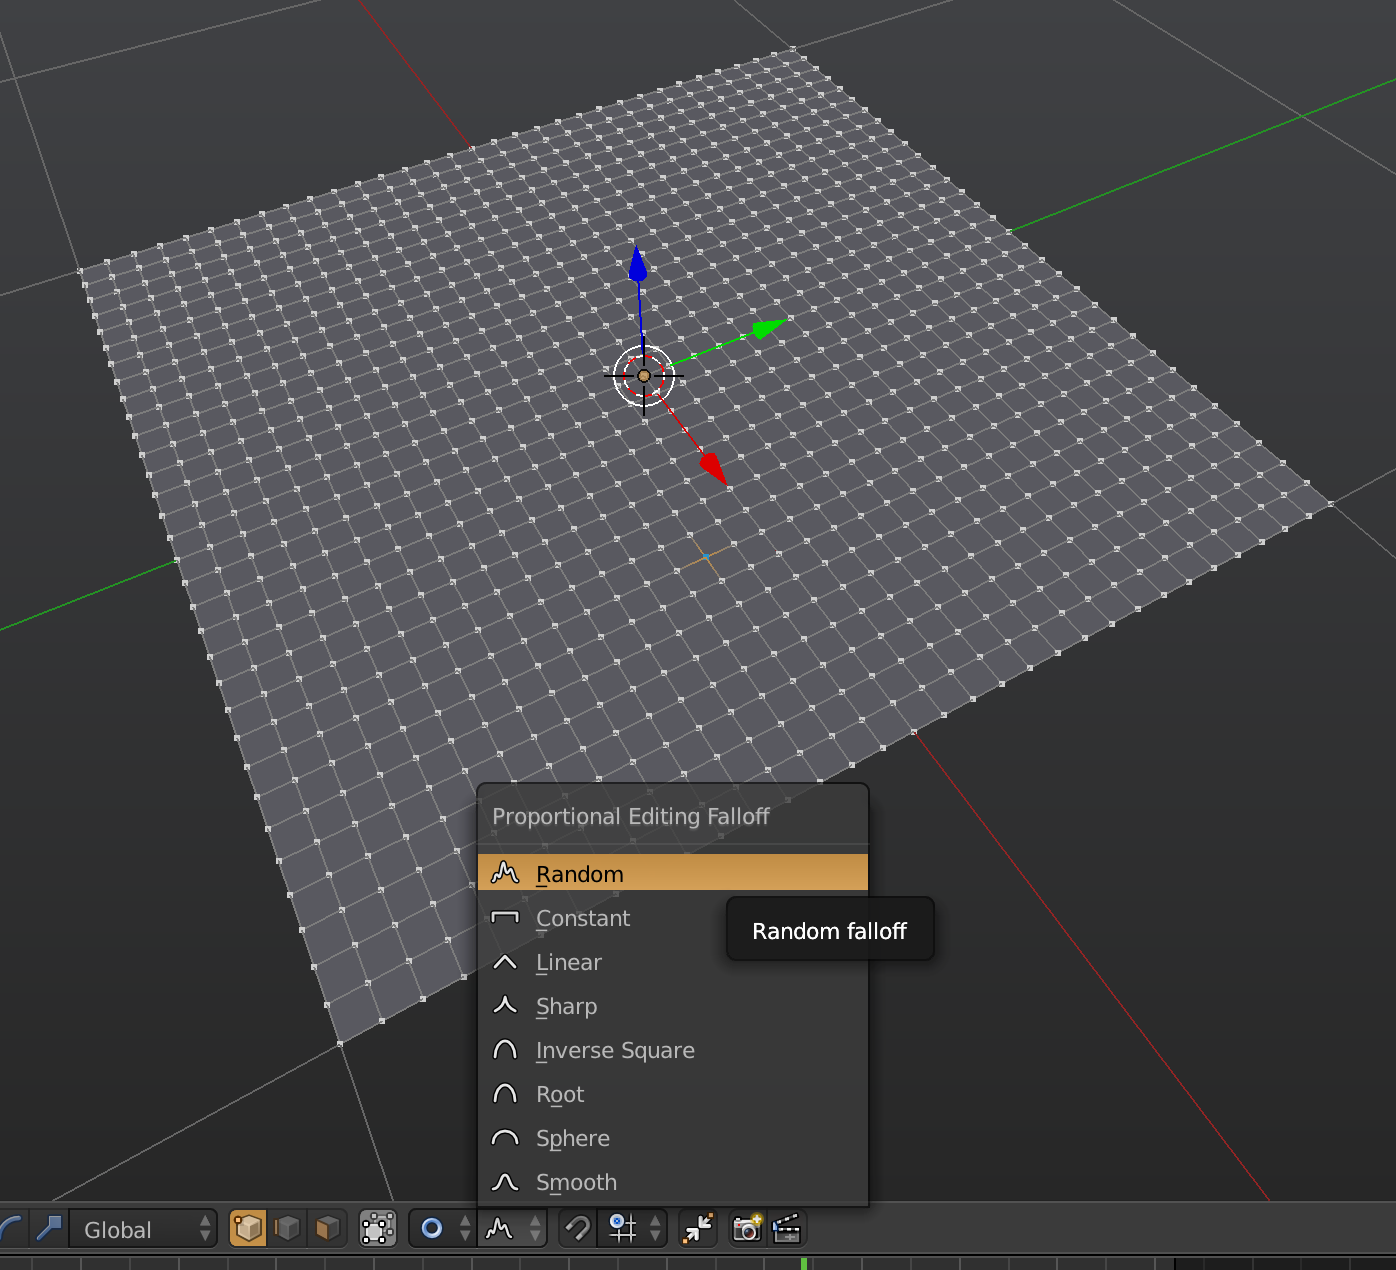
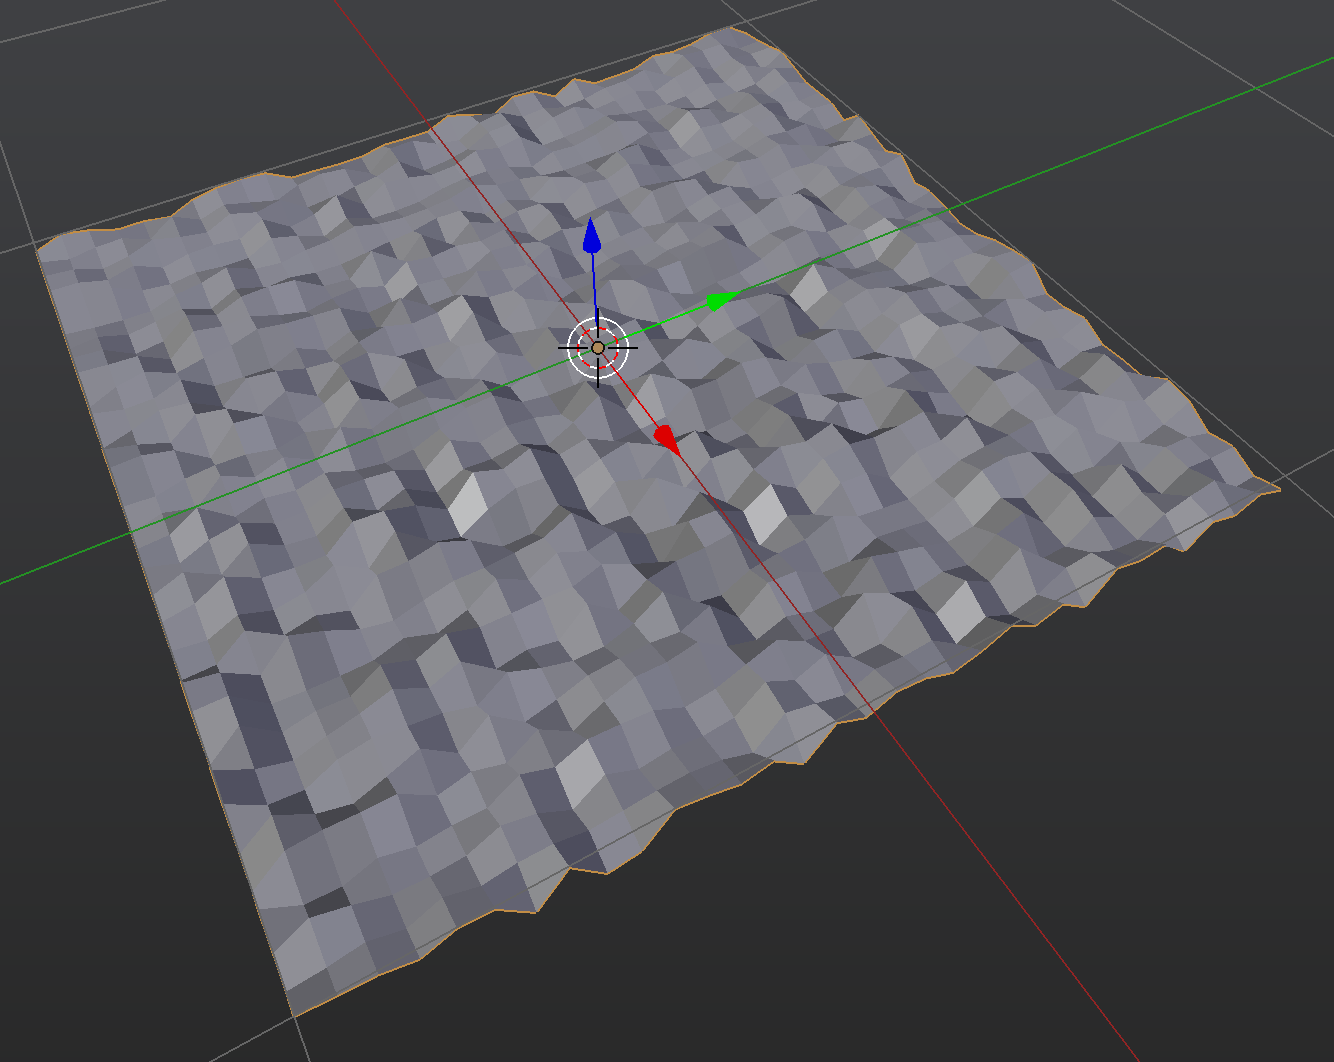
This answer only adresses the overall question, but I still feel it has some relevance. An approach I sometimes use when I want a material surface to appear bumpy, is to toggle on Proportional Editing, then set the Proportional Editing Falloff to Random, increase the Proportional size (just scroll) and then just translate/rotate/scale a single vertex in the mesh.


Usually a bump texture would be plugged into the "height" input of the "bump" node. For a normal map you'll use the "normal map" node. I believe this is considered the right way of using this textures. I don't know much about the "Displacement"socket of the "material output". Just like with the "bump" node you use a black and white texture. I think it produces the same effect as the "height" of the "bump" node and it can also physically change the mesh as if a displacement modifier is used (maybe you have to subdivide the mesh), but I usually stay away from that socket and use a bump node.
