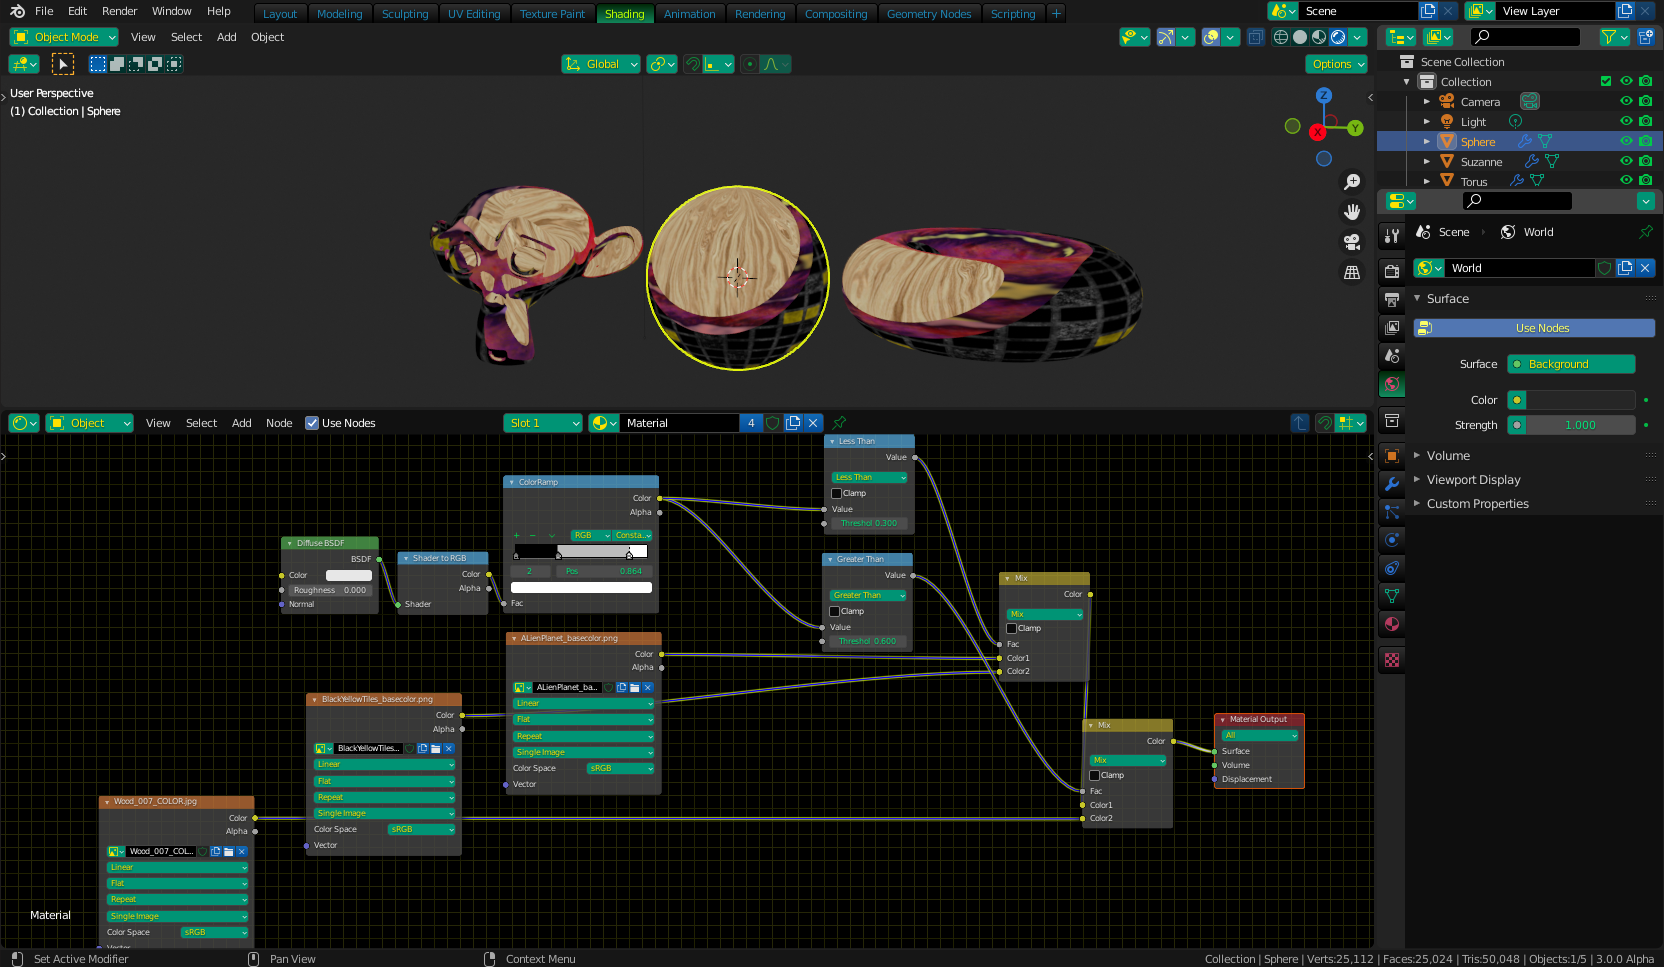
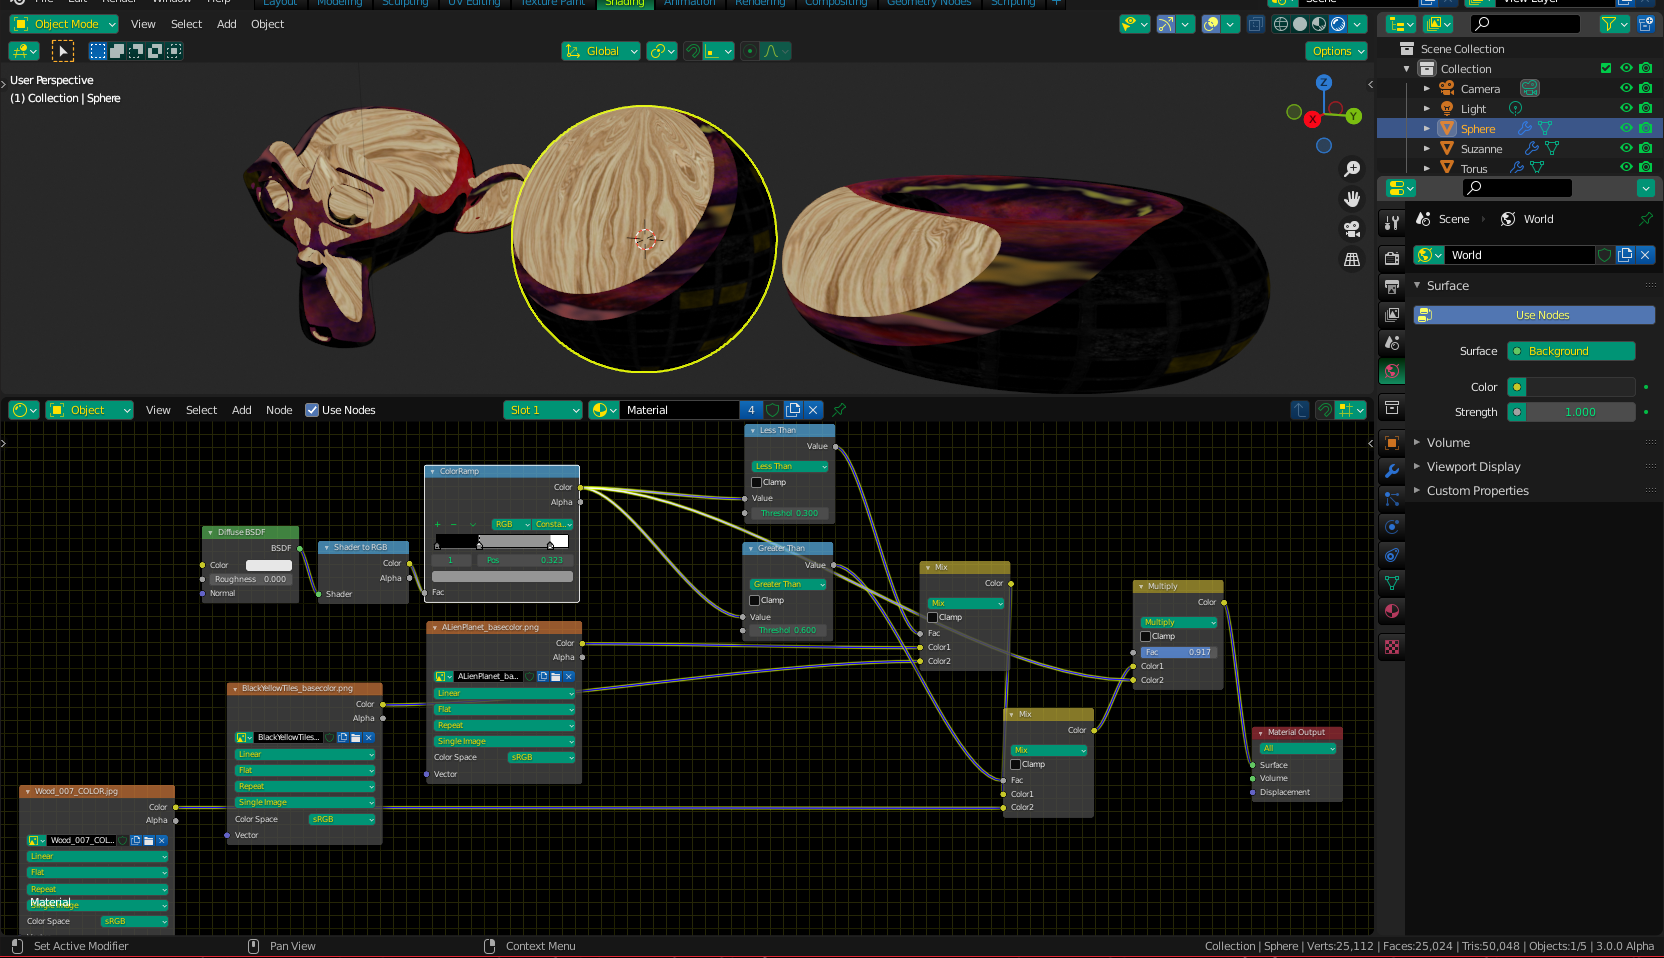
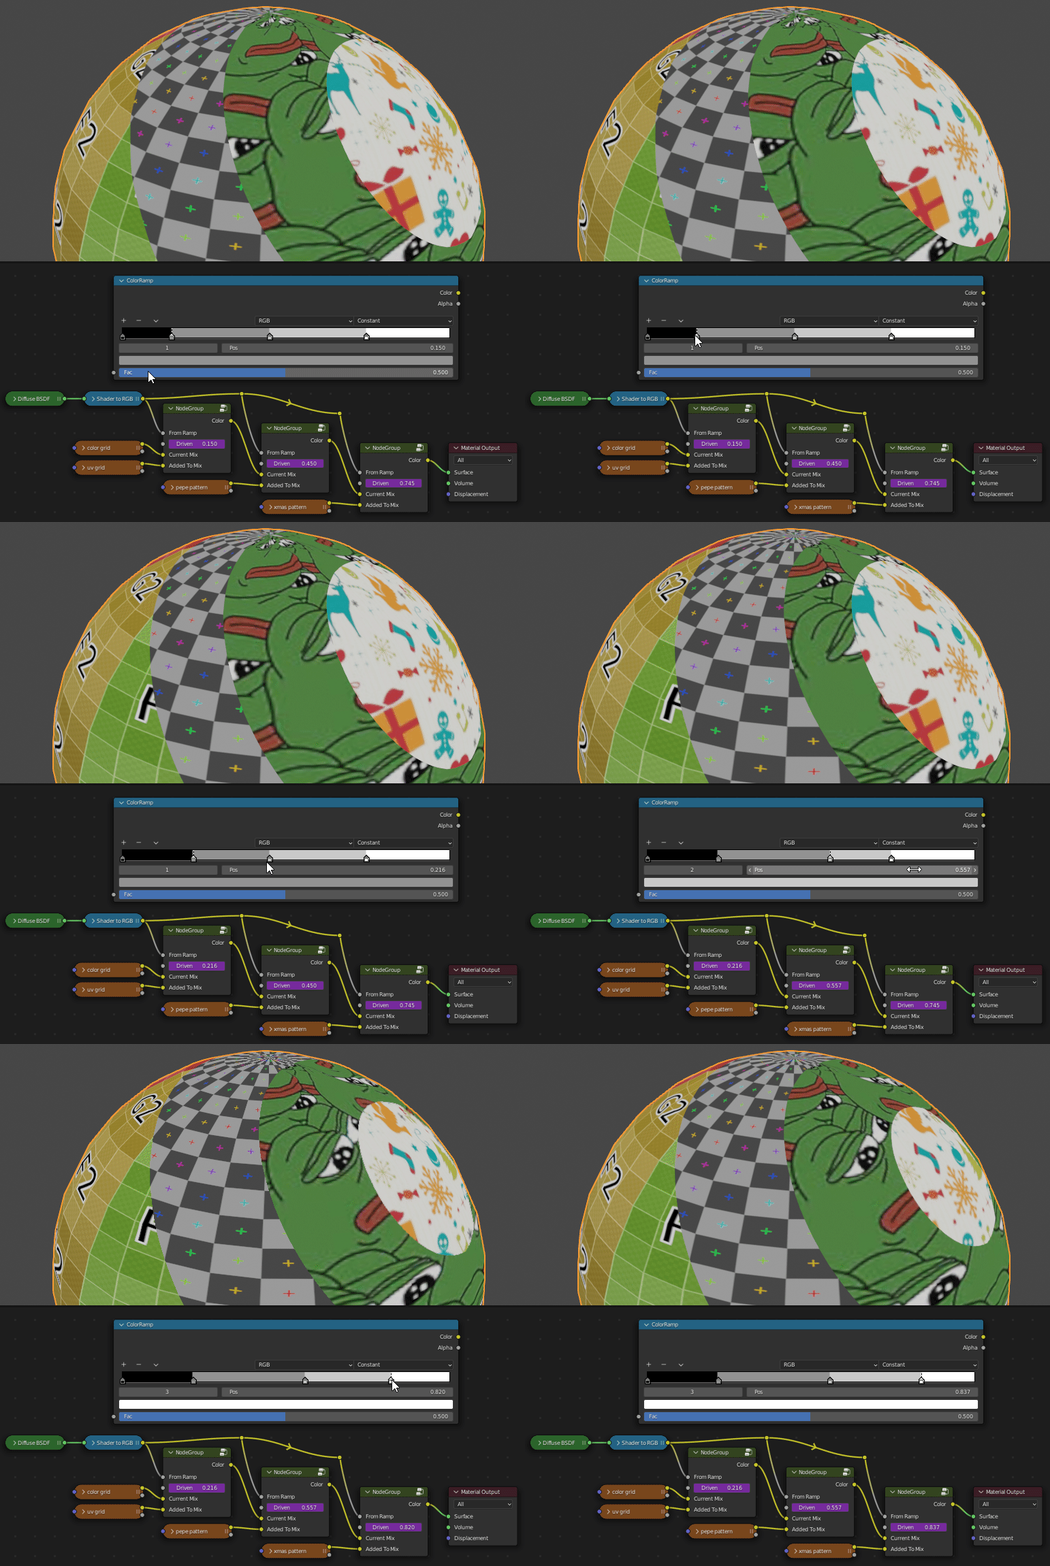
I'm looking for screenshots of node setup that's similar to this tutorial [8:20 into the video]: https://youtu.be/E3zHGD8V2IY?list=PLwv43wkNGxP230lPFcW5t9Yu9AtShPU_Z&t=501
What's an ILM Map: Basically you're using the RGBA as separate maps to read either as light limiters [Colors] or inline drawings [Alpha]. In my case, I'm looking to use ILM Map in this way: Red limits ramp image #1's visibility while lit only; green limits ramp image #2's visibility both lit and unlit [when I paint it near black it permanently unlit though]; blue limits ramp image #3's location while unlit only [like color three is right after 2 in a color ramp]/But in the video blue is treated differently, and thus have nodes I'm not looking for using it. Would help to control #3 like a color ramp slider to know how soon after #2 but wouldn't know if it's really possible.
What do I mean by ramp image? Basically the textures are treated like color ramps, using the same but different colored UVs to represent 3 levels of shadows like seen in Anime with characters having 3 shadows. The thing is that I need to paint the ILM map to limit what I want per color, especially for the third occlusion shadow.
NodeCeption: I can't seem to figure out the right mix node and math and whatnot for them, especially the third image, which needs to appear only when unlit, aka, the third color in the color ramp. I'm at the brink of discovery, but just need a little fix to get to the next level in this anime shading experience.
Hope to hear from someone who has an idea soon! Thank you
PS: I saw this tutorial here but it's heavily dated on how to make texture ramp, but maybe an updated version of it linking each to their respective ILM maps could be possible? Would help a lot to see them in screenshots. Still new to Blender. Is a Toon Ramp material with image textures possible?


