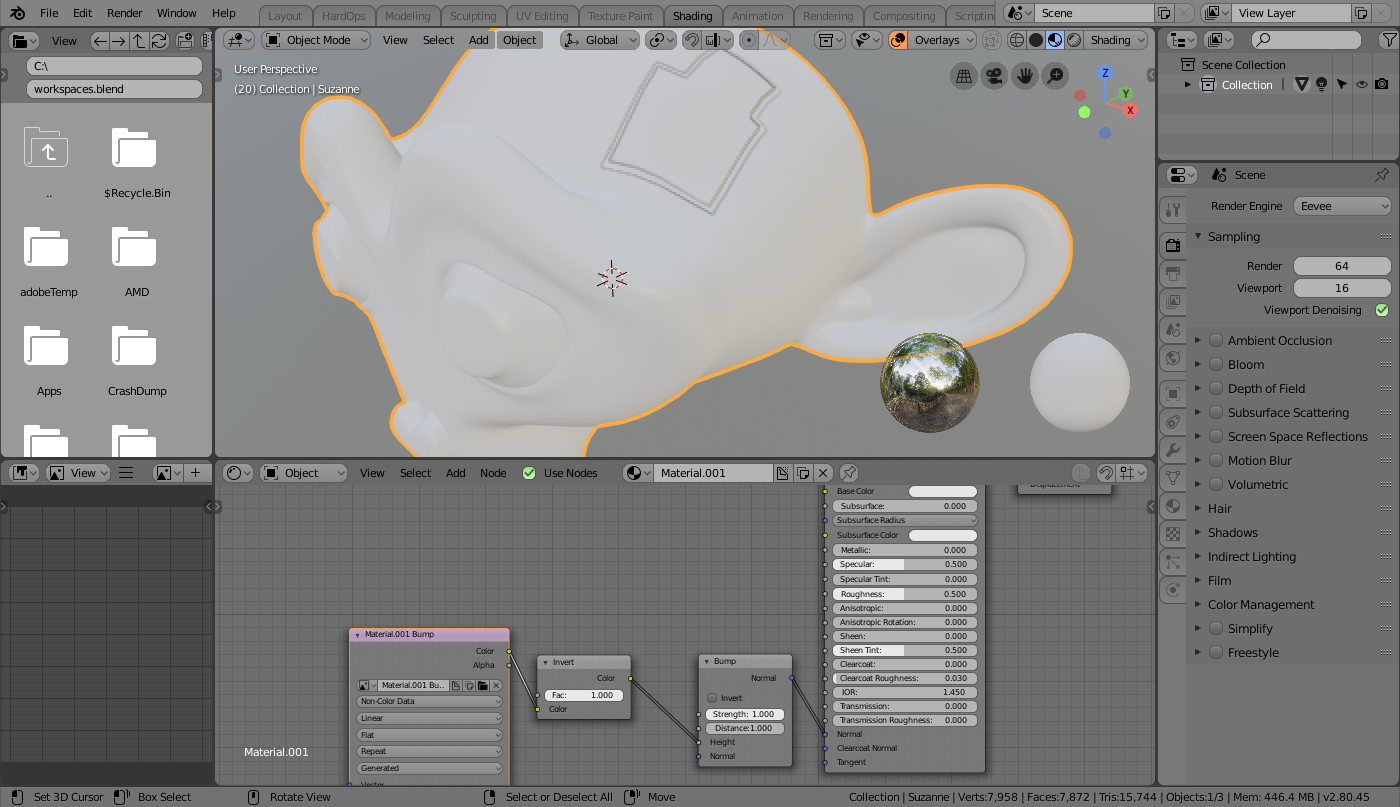
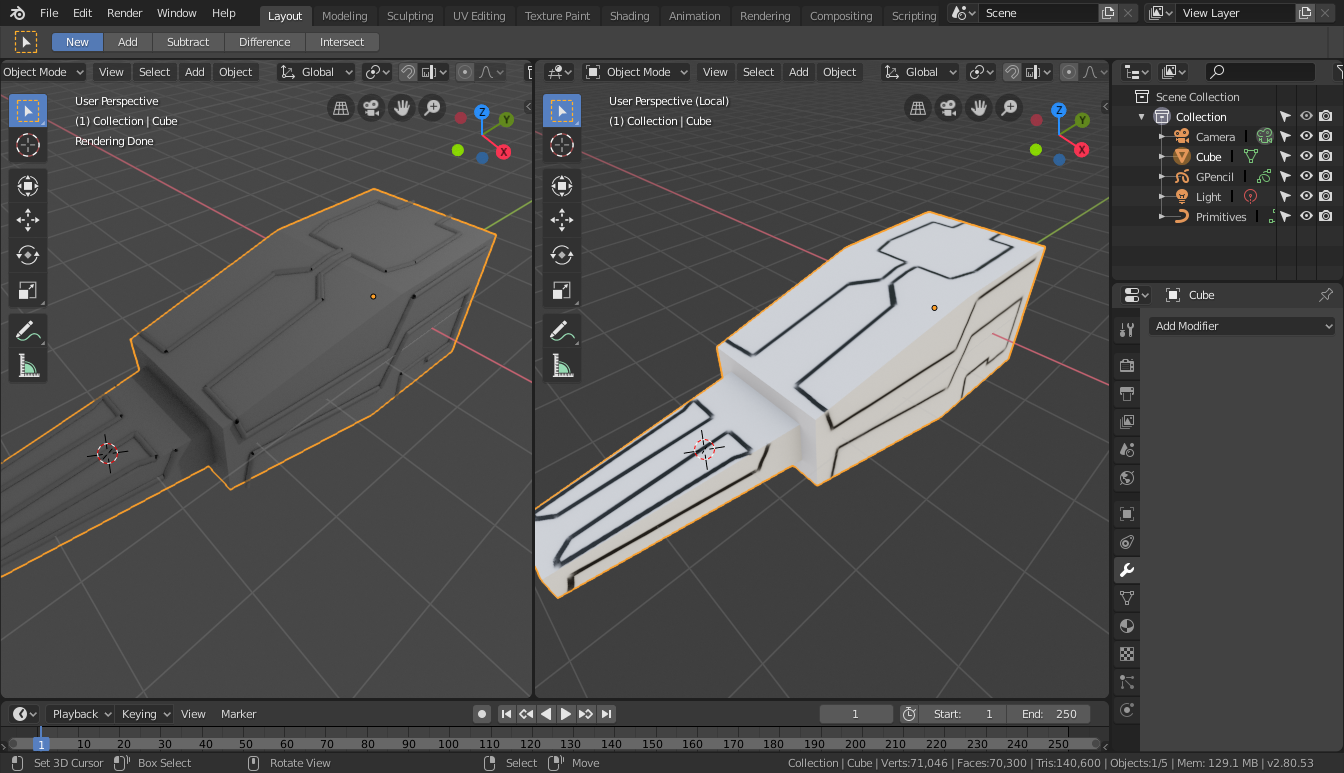
Not that this is preferable, but at least you can make something happen with bump if you want.
First we set up our object to paint, and set up a 4k image texture to the Bump slot of our object, checking the box to use Float.
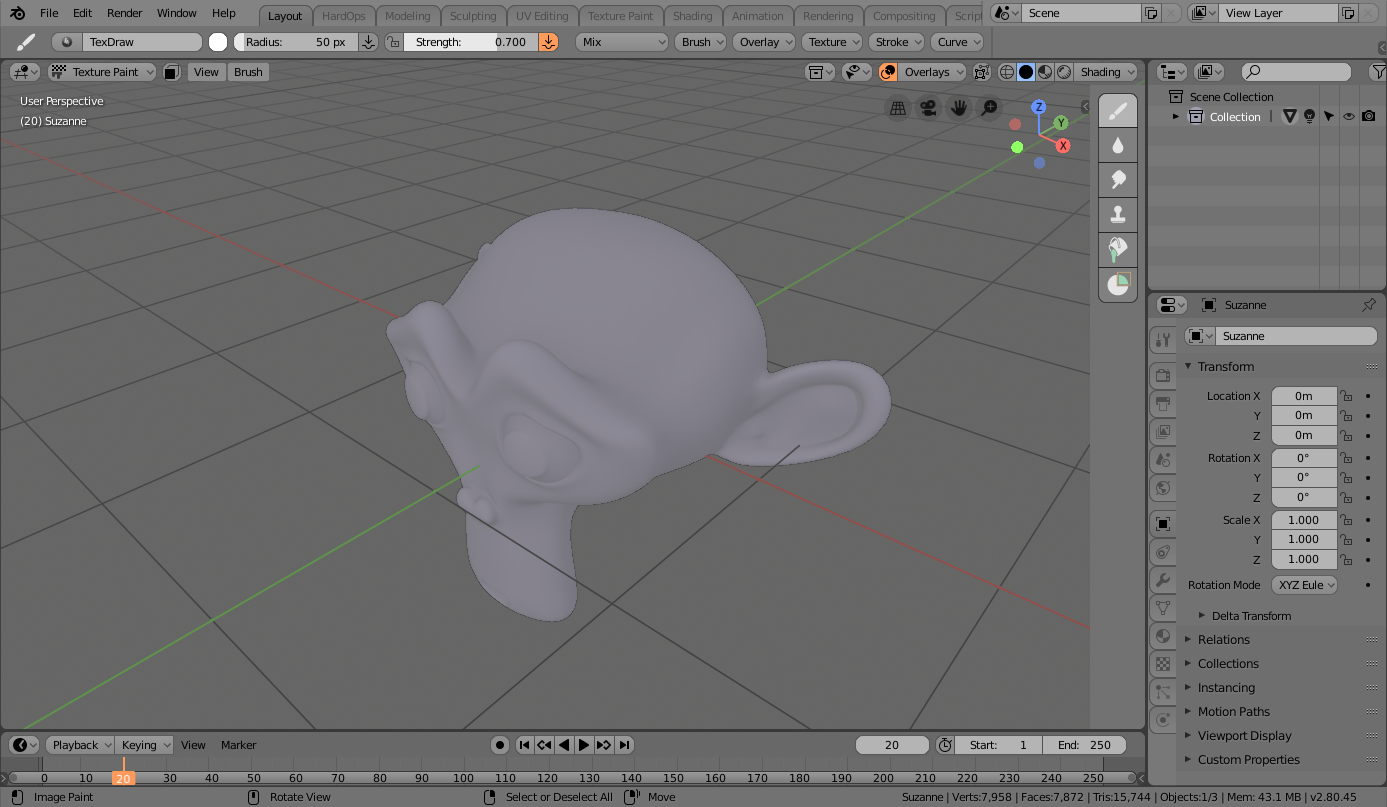 Next we turn on Face select masking so that we can make a selection while in texture paint.
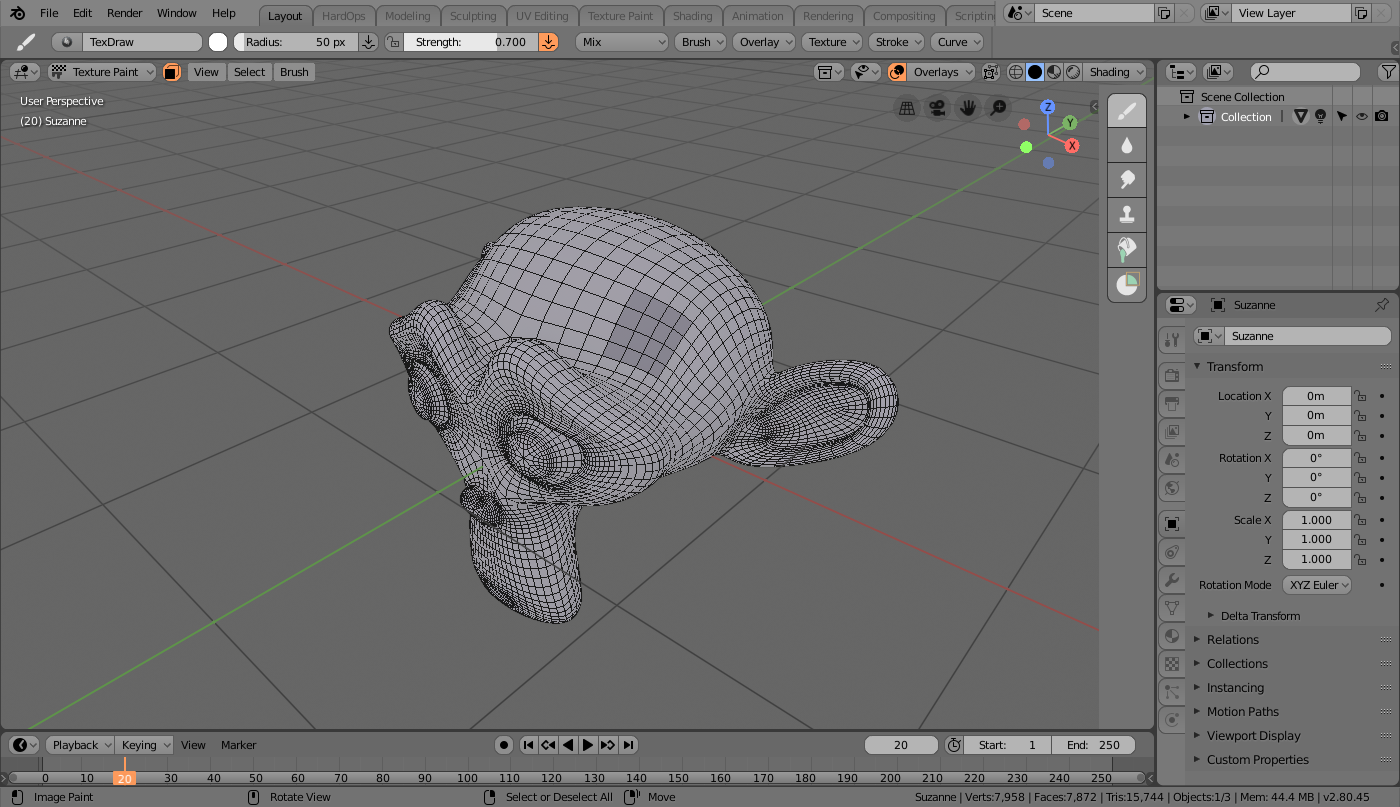 Next we use View>Align to View>Top to get our object view to the top of the selection so we can make as straight a curve as possible.
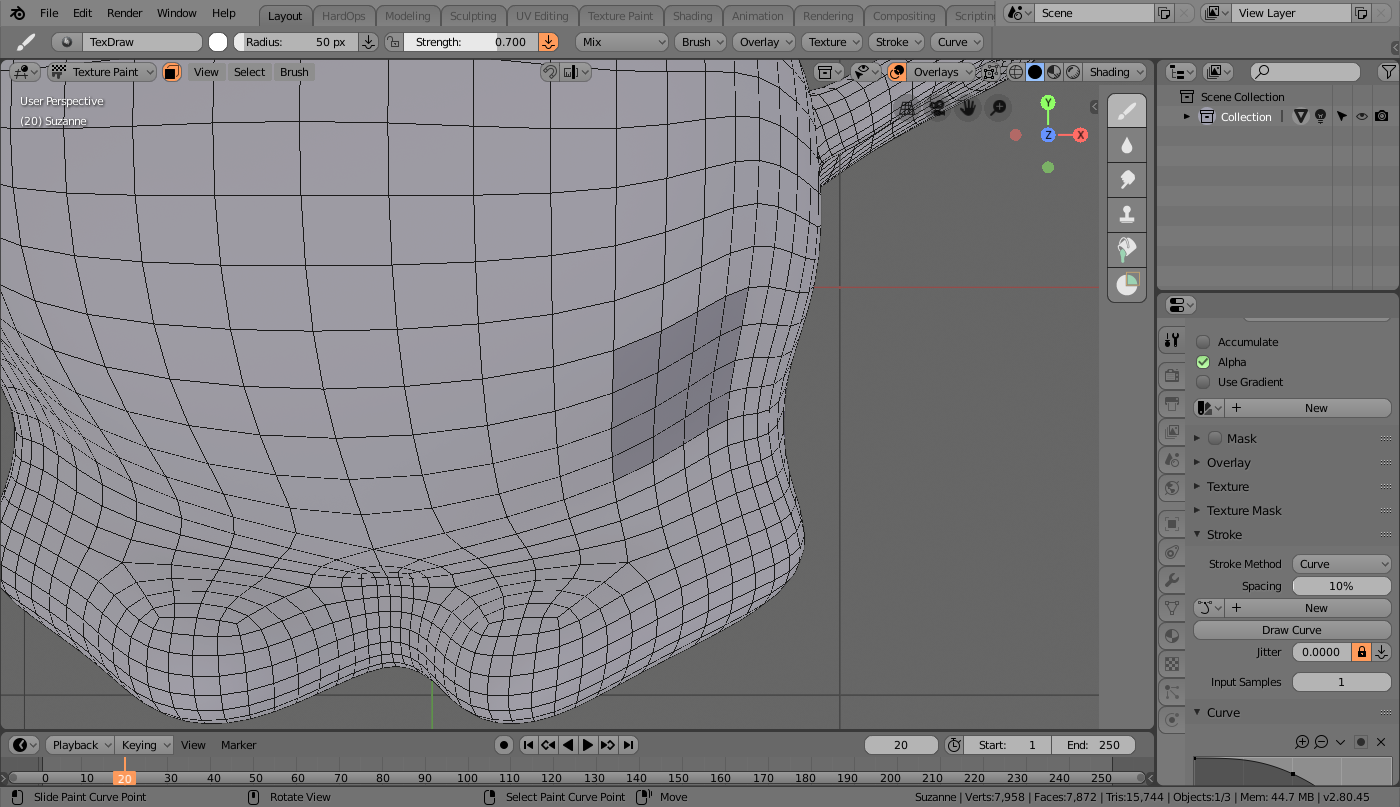 After setting stroke method to 'Curve', use ctrl-click to set points along the features you want from view, making sure to follow the curve of the underlying wireframe as reference.
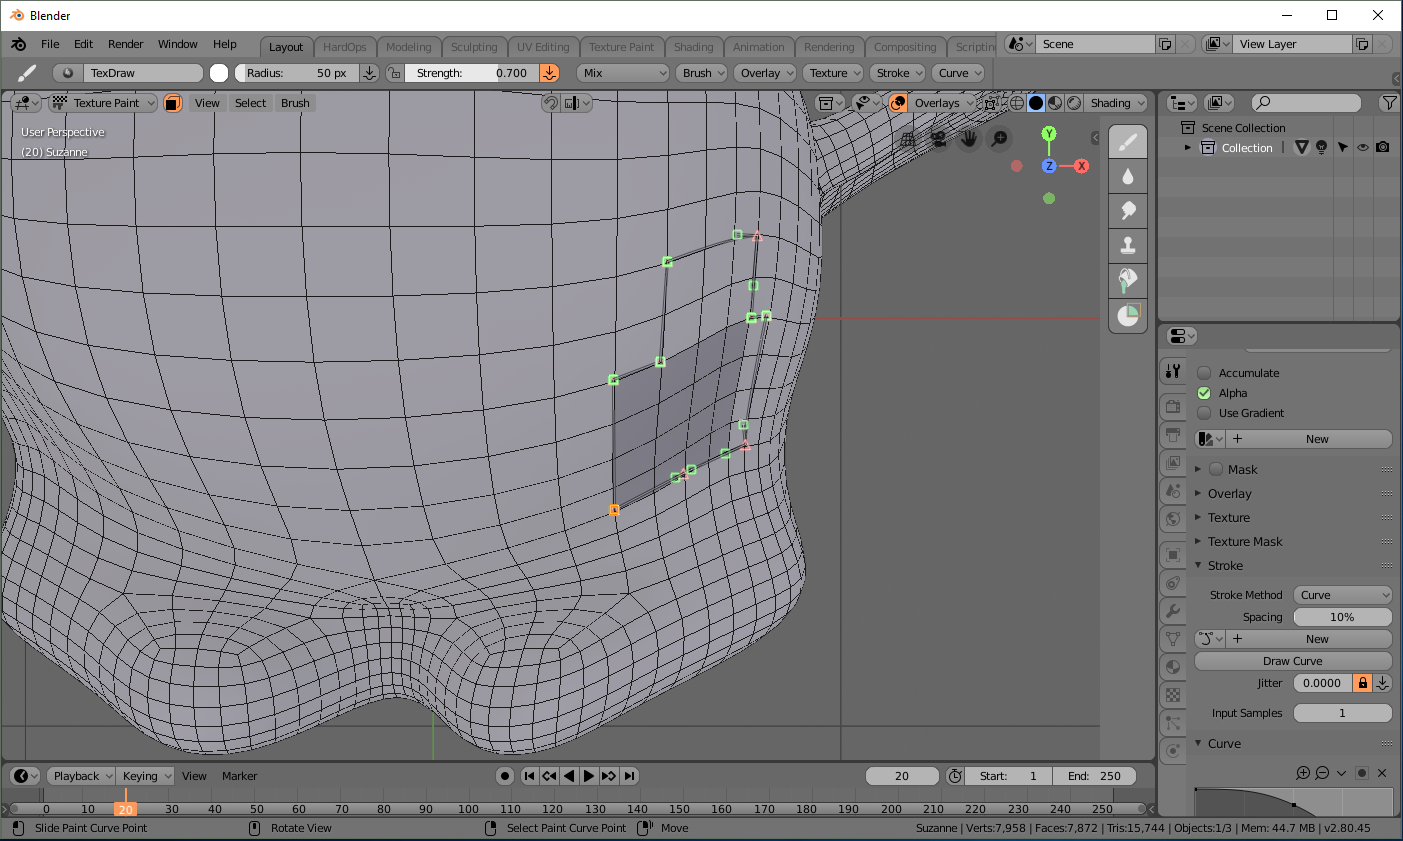 Turn off Face select masking, and press the Return key to stroke the curve - I use a small brush radius here, but be careful not to zoom in and out because that will mean a lot of variation in stroke width.
Lastly, you can preview the result after switching to Object mode, and then determine if you need to invert the color of your texture to get the opposite direction. White is up, Black is down, and grey is middle.
