I have a couple of soft body objects in a scene sitting on a plane. My goal is to smoothly move one of these soft body objects towards a goal position smoothly while still having its 'base' anchored to the same spot (a kind of controllable soft body tentacle). Note that I want the soft body physics still do its job while the object is moving towards the goal position. This means that the object might collide with other objects. I wonder how can this be done?
1 Answer
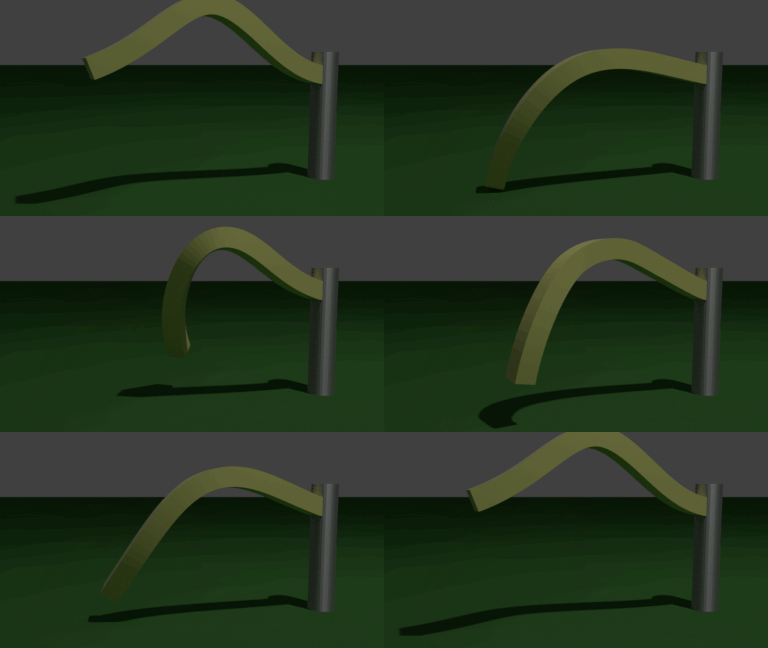
The Soft Body Goal can be used to manipulate the soft body by also manipulating the original mesh to apply forces to shape the soft body. Different weights applied to different vertices allow some control over how those forces are applied.
Create your mesh to use as a soft body - in my case I'll use a simple string of vertices and add a Skin modifier later.
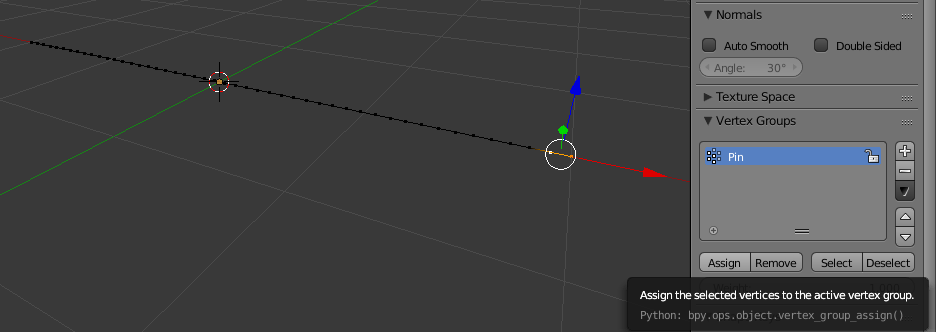
In Edit mode (Tab), add a new Vertex Group and name it something appropriate (eg, 'Pin'). Select the two vertices at the 'base' (the point where it is to be anchored) and click Assign to the Vectex Group with a weight of 1.0. These will be effectively unmoveable and 'pinned' to the mesh vertices.
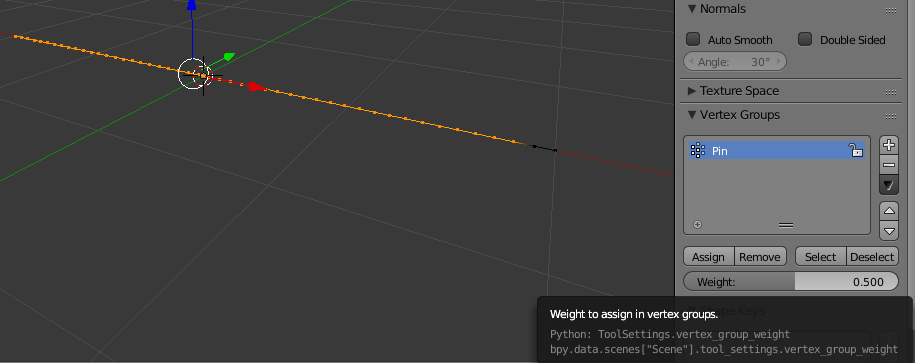
In order to have the soft body retain its generate shape we need to also assign the rest of the vertices to the vertex group - but with a lower weight. This will give them a force towards the goal while still allowing them to be pulled out of position. While the 'base' vertices are still selected, invert the selection (Ctrl+I). Change the weight to 0.5 and click Assign (different weights will affect how tightly the body tries to return to its 'at-rest' position).
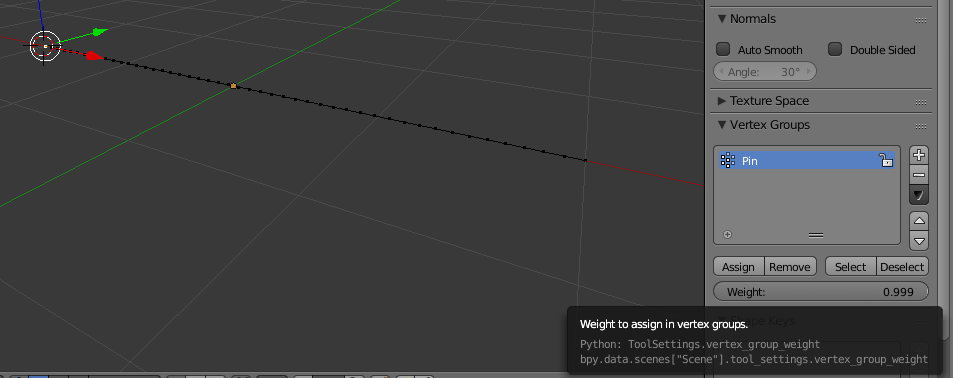
In order to control the location of the 'tip' of the arm we need to assign a higher weight - almost but not quite 1.0 (1.0 would fix it directly to the control point - we only want to draw it strongly towards the control point). Therefore, select the vertex at the tip, set the weight to 0.999, click Assign.
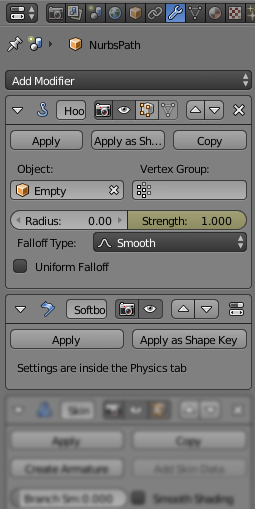
To control the tip we can use a Hook modifier - while the 'tip' vertex is still selected (and still in Edit mode) press Ctrl+H and 'Hook to New Object'. This will create an Empty linked to the selected vertex. Moving the empty will drag the vertex. You can now return to 'Object' mode (Tab).
Add Soft Body physics and set the Goal to the newly created Vertex Group ('Pin'). Assign the Goal to strength 1.0 and you should find that the Base is now pinned to the base and the tip drawn to the location of the 'hooked' vertex. Ensure the Hook modifier is above the Soft Body modifier in the modifier stack.
Increase the Edge spring strengths to the desired soft body settings. Switch off Gravity in the field weights and perhaps set some Friction in the main Soft Body settings so as to dampen the simulation. Also, adjusting the Soft Body Goal Stiffness can affect how strongly the arm is tied to the goal. Now, moving the hook should drag the arm.
You can set up different shape keys for different 'at rest' positions of the arm - but ensure each shape retains the position of the 'tip' - otherwise the hook will be offset from the target empty. The Strength setting on the hook modifier allows the influence to be switched on (1.0) or off (0.0) and this can also be used to have multiple 'hooks' (switching each on/off in turn to affect which empty has the influence - this can be used where multiple shape keys result in different starting hook positions). It's a good idea to start the simulation with the hook strength initially set off, and switch on over a number frames to let the soft body adjust to the new shape (otherwise it can jump to the new location and take a while to settle down).
Once enabled, simply move the Empty to where you want the arm to reach. Any collision objects in the way will deflect the arm.
Note that I used a Skin modifier for the skin of the arm. The rotation of the generated geometry is dependent on which vertex in the chain is designated as 'root'. To avoid twisting ensure the 'base' of the arm is the root.
An alternative is to model the whole arm as soft body (rather than a string of vertices with a Skin modifier). Use self-collision to give the soft body volume to prevent it folding together when it encounters obstacles.



(0, 0, 0). It would be great if you can show how I can do this with one of the meshes. $\endgroup$