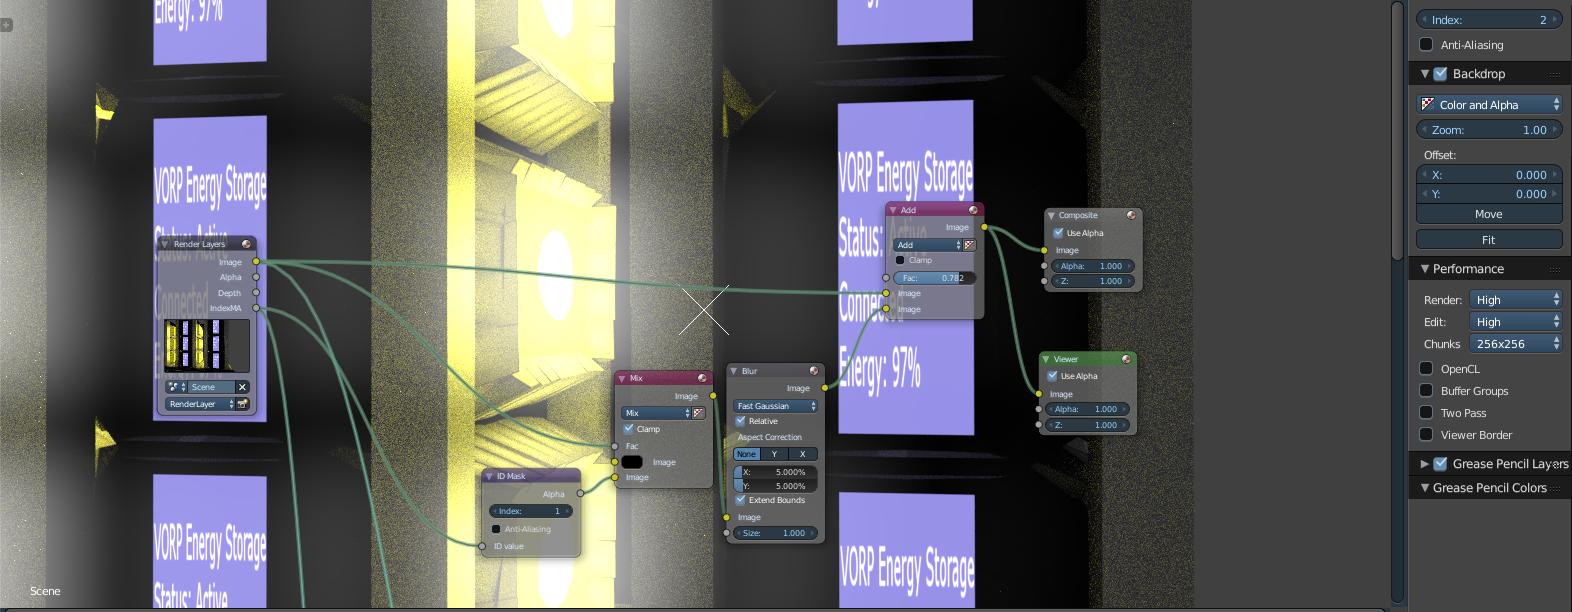
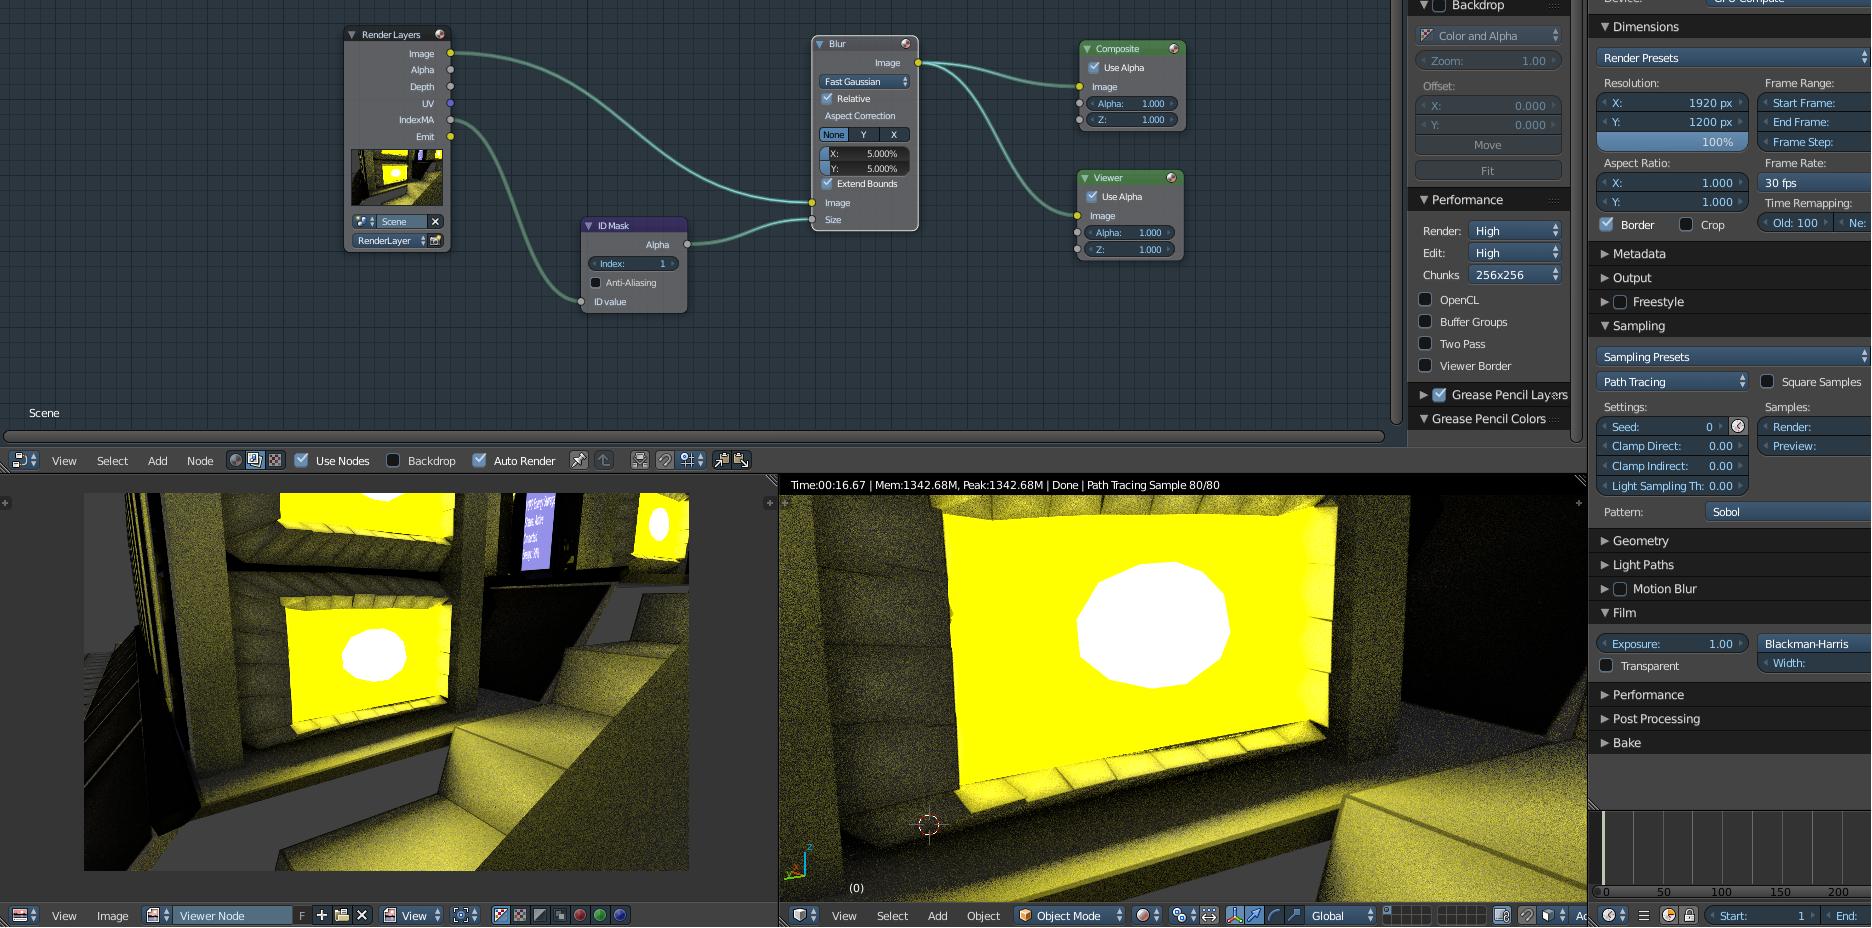
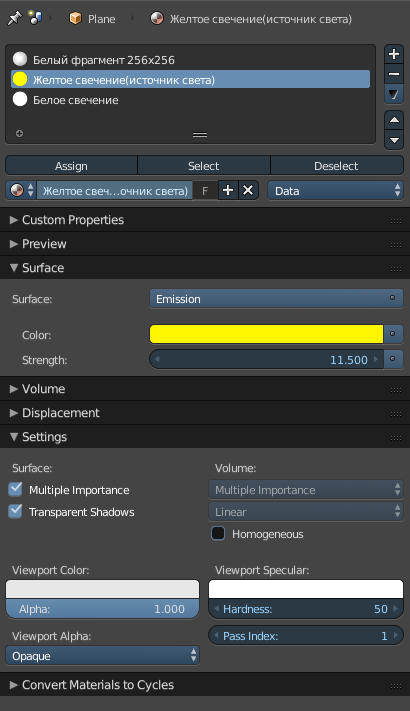
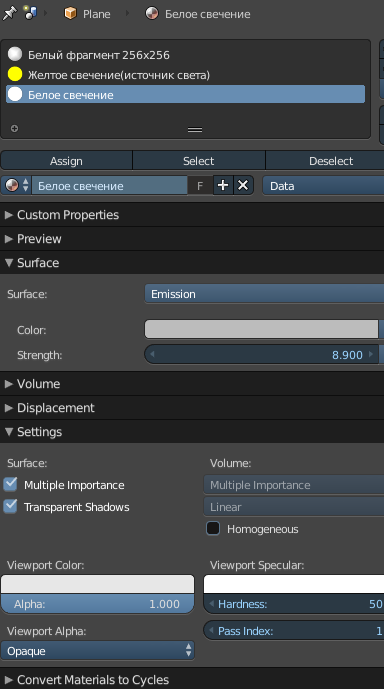
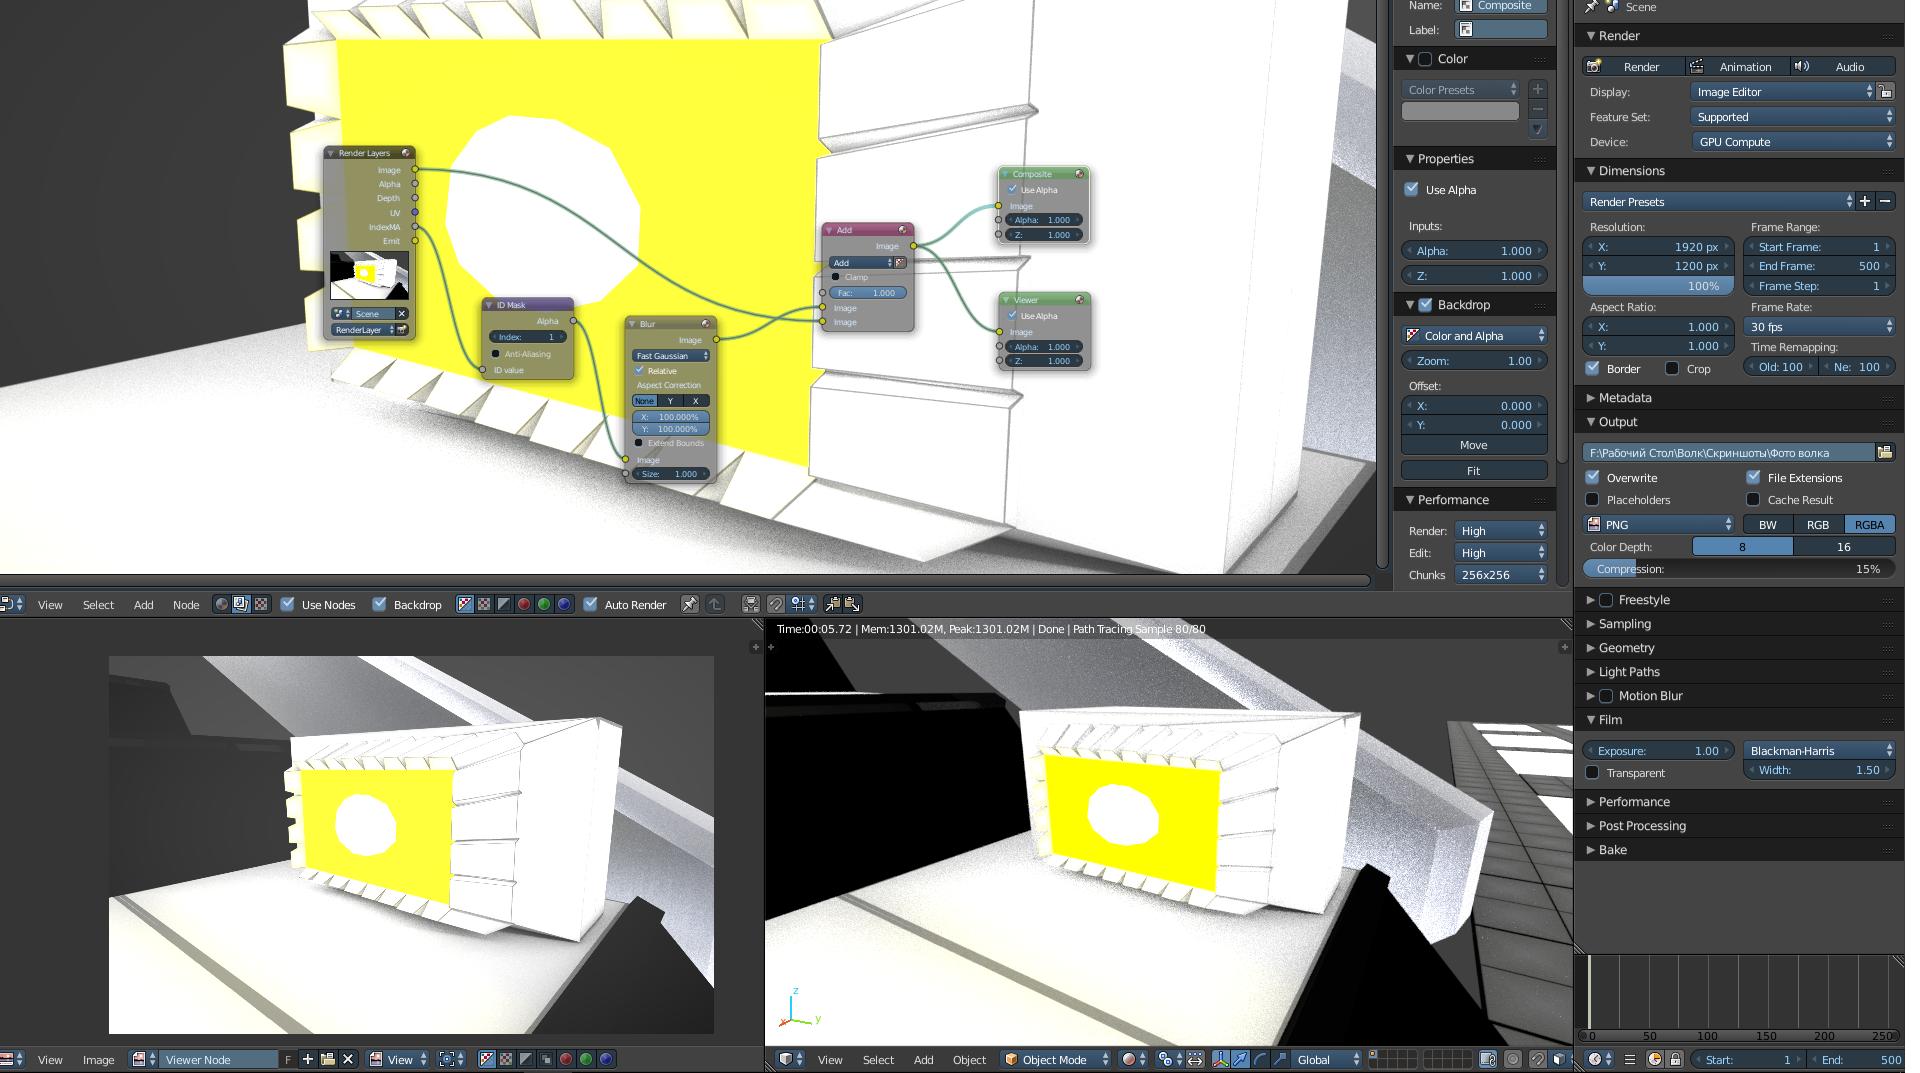
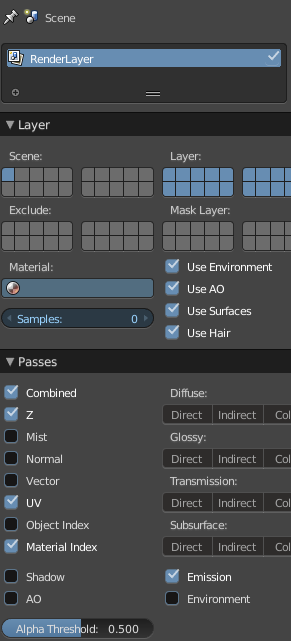
 So I have 2 emission materials (yellow and white). I want them to be blurry together, so they wouldn't be so distinct on 3rd image. I did as was said in some tutorials: I've put index 1 for both materials and activated index pass, I made the same nodes in compositor, but it still didn't have any effect on render. Both in 3D View and in Image Editor. enter image description here
 enter image description here
2 Answers
Firstly, your blur is set way too high - 100% will blur everything over the entire image. This results in the mask becomming a uniform grey that has little noticable effect when added to the image. Try toning the blur down to, say, 5% or less for a more subtle effect.
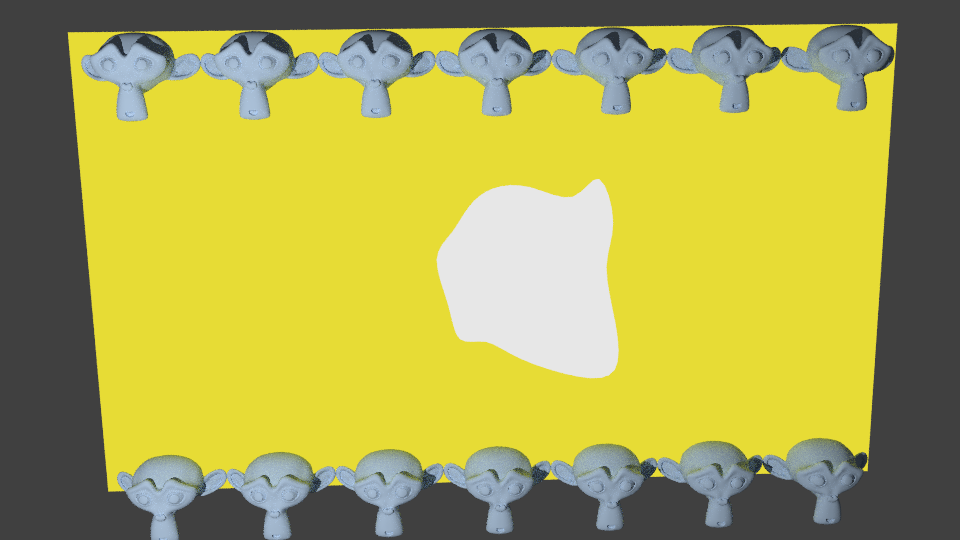
I've set up a scene similar to your example - with two materials (each with pass index of 1), one yellow, the other white. I've added some monkeys around the border to illustrate the lack of blurring for other materials.
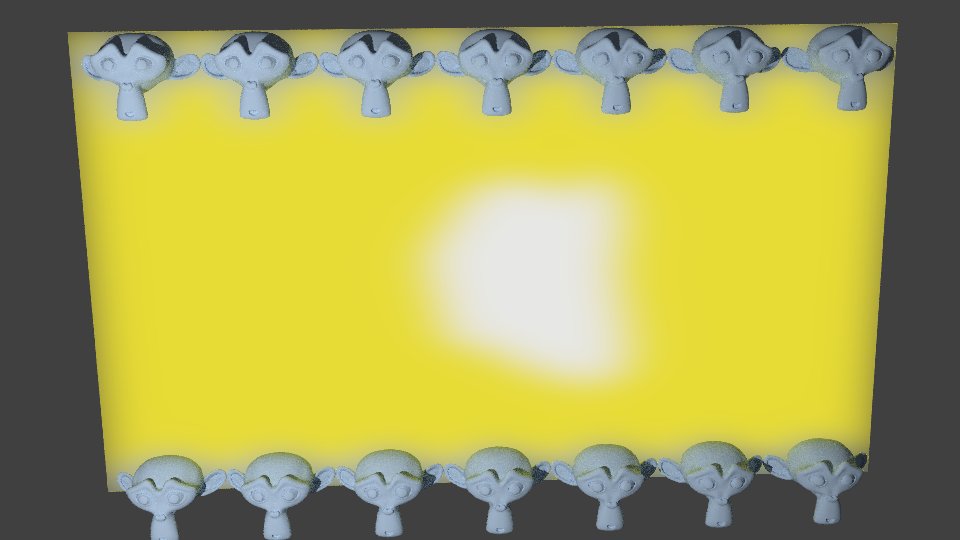
I presume the effect you are going for is something like the following :
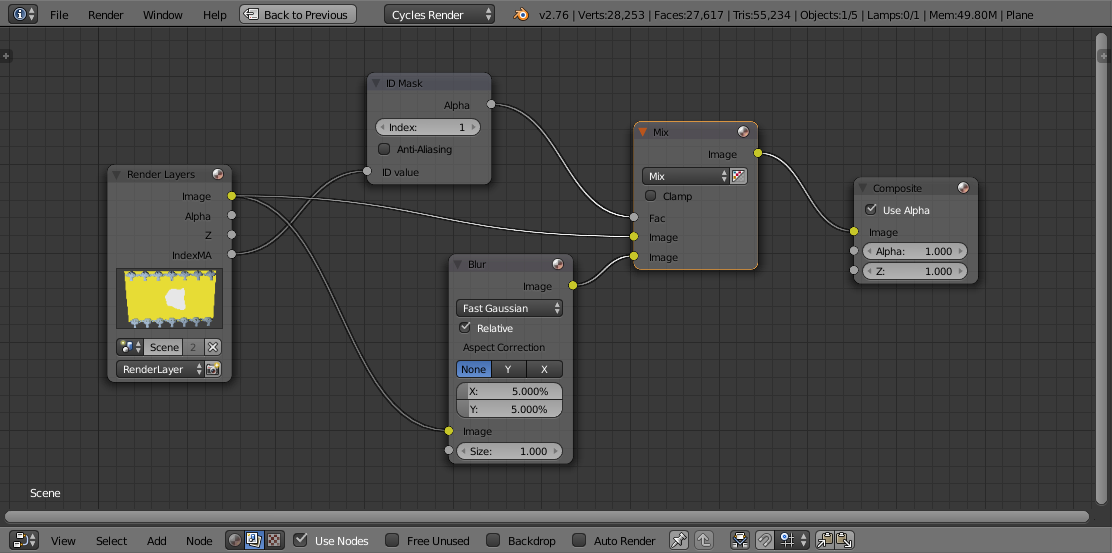
Here are the compositor nodes I used to achieve this :
The main difference is to use the mask as the input to a Mix node (rather than Add) to mix between the blurred version and the original image. In this way, anything that is Material Index 1 is blurred but everything else is left untouched. I'm sure there are other ways to achieve this but this was the closest I could come up with to your original setup.
Obviously you can adjust the Blur node to affect the amount of blurring - either by changing the percentage or by reducing the 'Size'.
EDIT
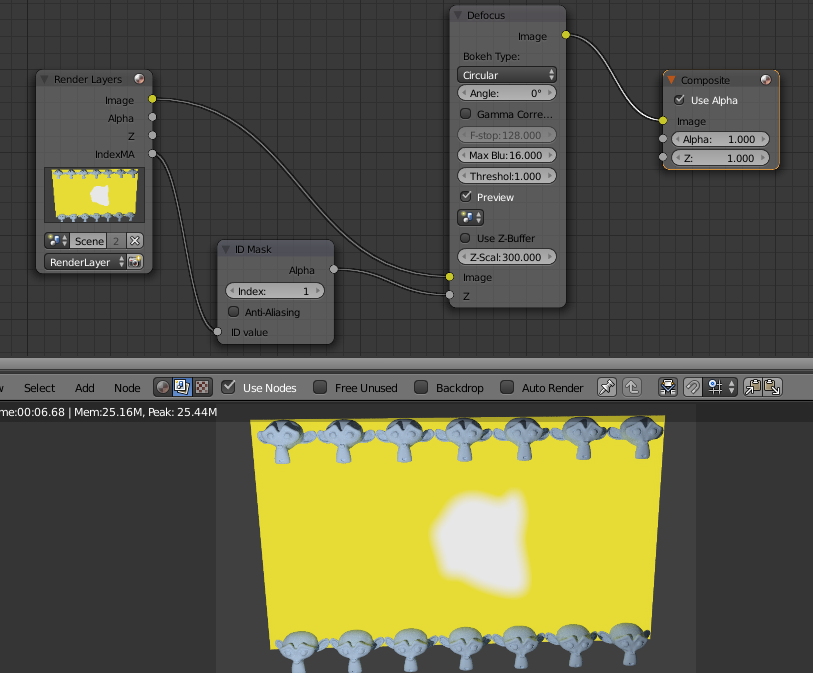
Another way of achieving a similar effect is to use the Defocus node and drive this directly from the ID Mask :
My original post used a Blur node in a similar way but it seems that the Blur cannot be dynamically controlled in this way - but the Defocus node can.
Also, I notice that your emission materials are outputting values much higher than 1. This could be causing oversaturation, masking any blur. Try reducing your emission to 1 and see if that helps. If it does then you may need to use a Light Path node to limit the emission for camera rays - or include nodes in the compositor to limit the light before passing into the blur/defocus.
-
$\begingroup$ Thank your for your detailed answer, I've tried to use both ways, but unfortunately neither solved the issue for me. I've added screenshot in the topic. $\endgroup$ Commented Feb 1, 2018 at 8:54
-
$\begingroup$ @VORPAbeingofLight Is the mask working? To test it, connect the output of the ID Mask directly to the Viewer node. You should see pure white on those parts you want to blur (the white and yellow) and black everywhere else. If that isn't working then it's a problem with your material ID pass. $\endgroup$ Commented Feb 1, 2018 at 9:13
-
$\begingroup$ @ Rich Sedman, I've just tested it and it turned out just the way you said it would - pure white and black everywhere else. $\endgroup$ Commented Feb 1, 2018 at 9:47
-
$\begingroup$ That's weird. What if you disconnect the ID Mask from the Size and manually adjust the size? Setting it to 0 should have no blur and setting it to 1 should blur the whole image. Failing that, is it possible to share your blend file on blend-exchange.giantcowfilms.com? $\endgroup$ Commented Feb 1, 2018 at 10:05

