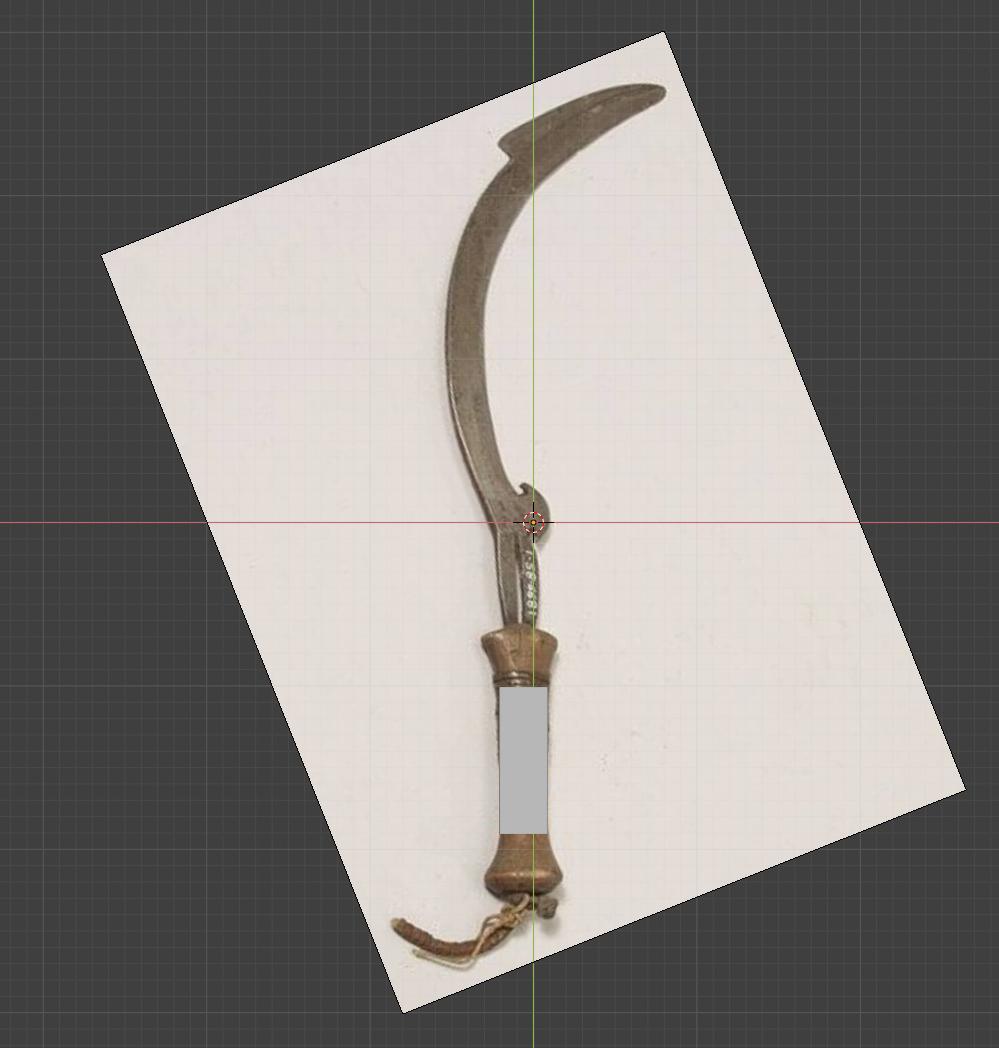
Start out by getting a reference image into blender. Using 2.8, I did Add > Image > Reference, and chose the image I wanted to use. Then I positioned a cube along the blade like below:

(I rotated the image so the handle matched up with the y axis just for convenience, but that isn't really necessary). Also make sure your viewport is looking directly down from above (you can use View > Align View >Align View to Active > Top) when adding the reference image.
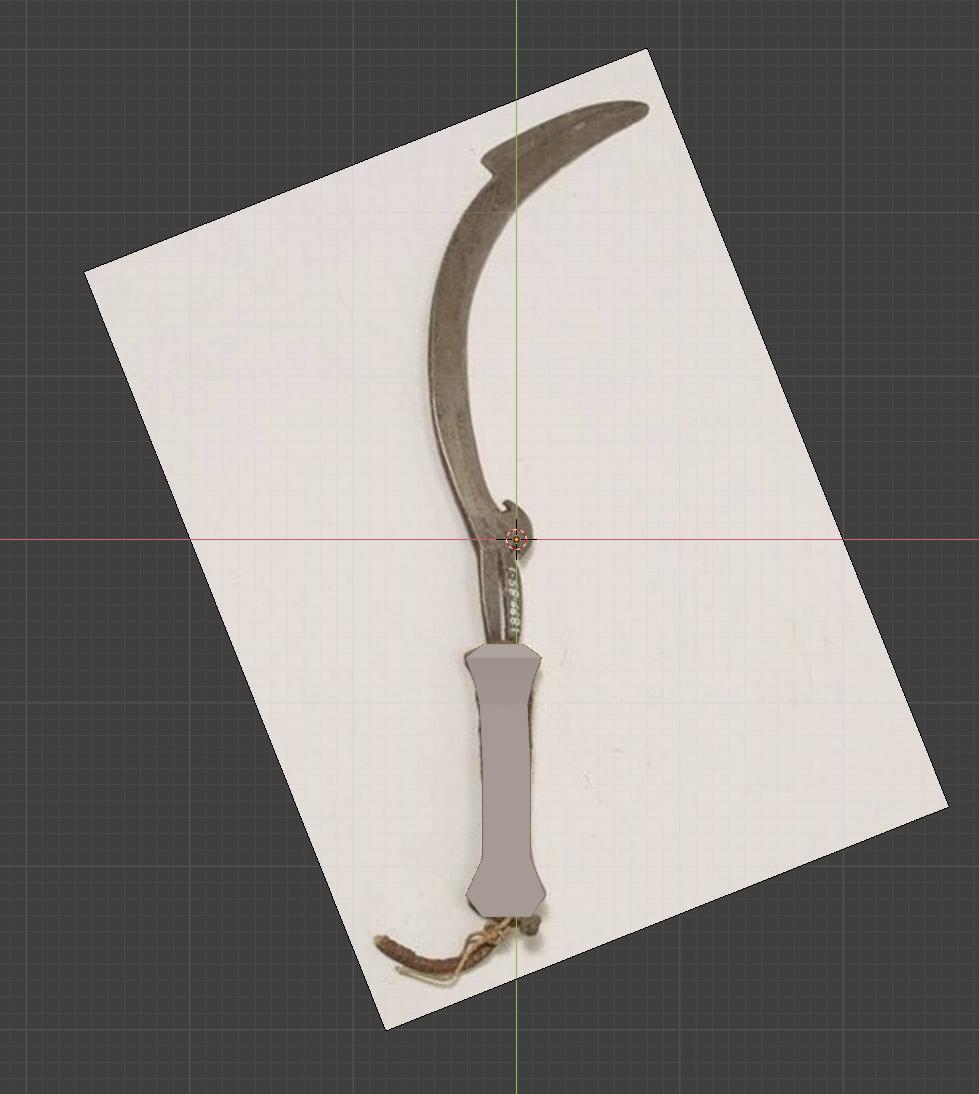
In edit mode, I then extruded the top and bottom of the cube following the image, so that it matched up from the top (make sure you are in top view and have orthographic view on for this part, as it makes it easier).

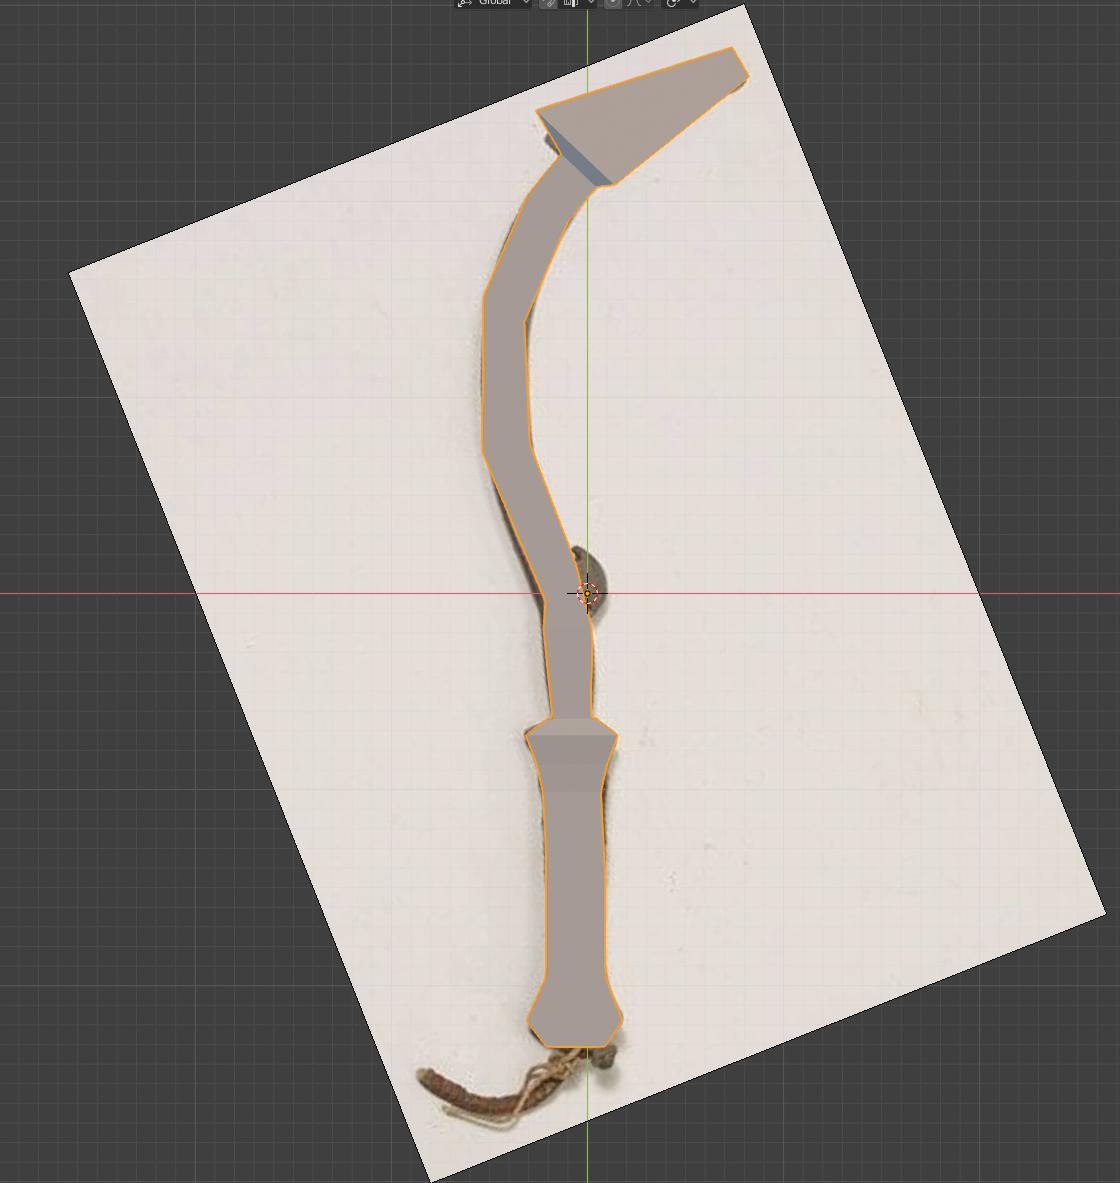
By repeatedly extruding and scaling the ends of the cube, I got it to match up to the handle.
I then repeat the same process for the blade, except make the cube thinner on the Z axis first.

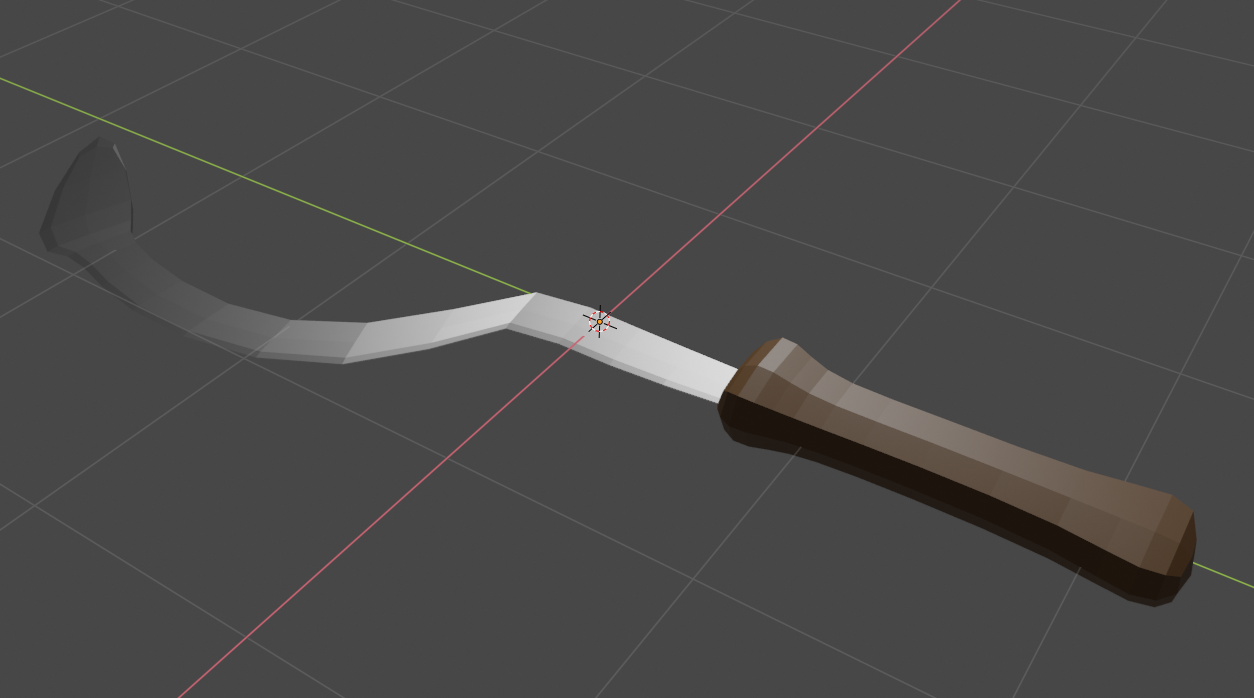
After it looks how you want it on the top, switch out of top view so you can make sure it looks how you want it on the z-axis, I needed to scale mine down a lot.
Then I just add in some materials, one of them being metallic for the blade, the other brown for wood, and I was done. I also added in a Subdivision Surface modifier so it looked a bit smoother.
Result:

I hope this helps, let me know if you run into issues.


