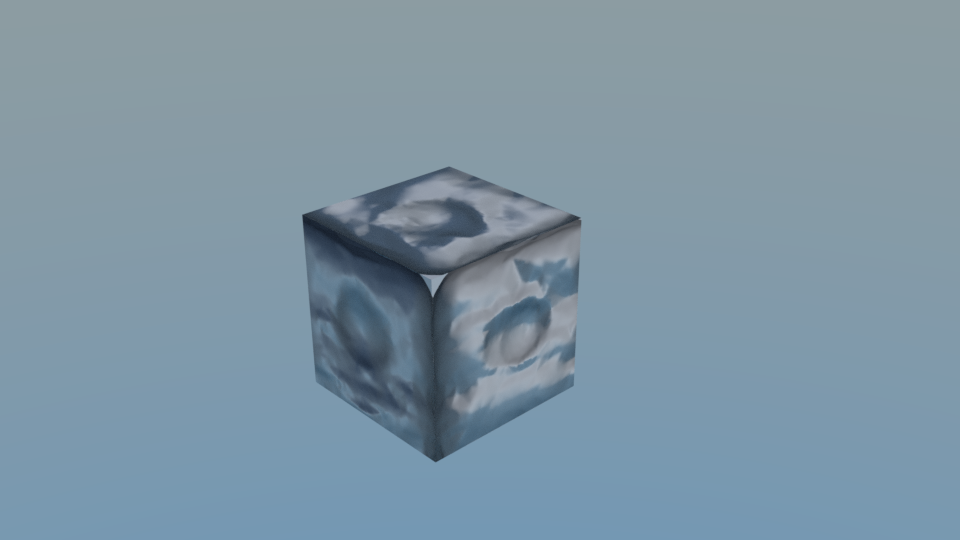
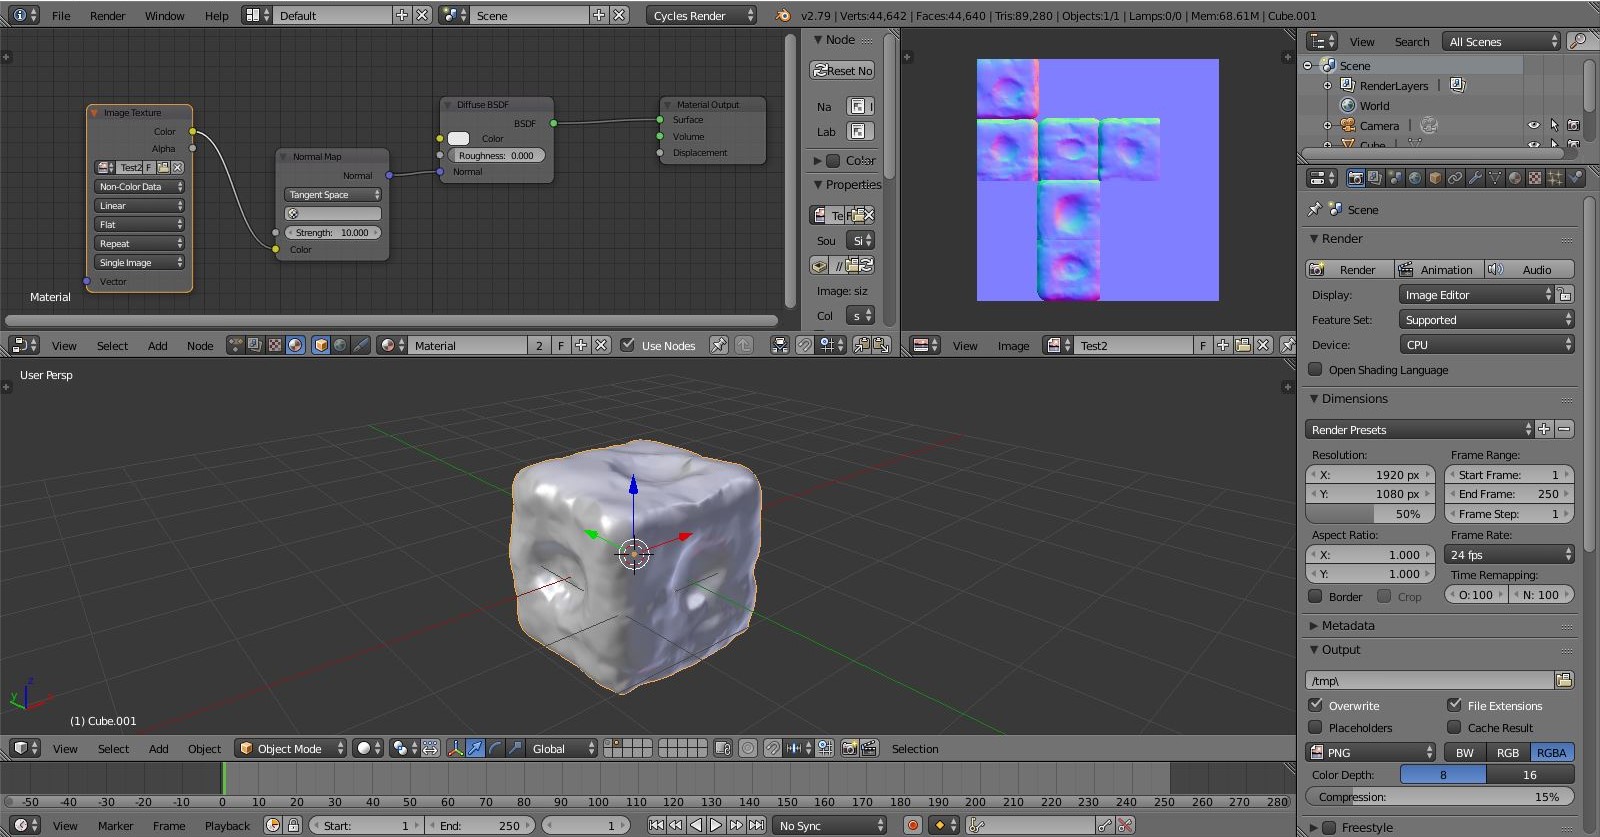
I followed along with a tutorial which shows you step by step how to create a normal map. Parts of the normal maps shows on the default cube mesh when I render, but it shows the outlines of the default cube. Help will be much appreciated! Thanks 

-
5$\begingroup$ An illustration would help here ... but bear in mind unlike a displacement map, a normal map will not actually displace the surface of an object, it will only alter the shading, as if the object's surface normals were tilted in the various directions encoded in the map. $\endgroup$– Robin Betts ♦Commented Jun 15, 2018 at 8:14
-
1$\begingroup$ try a lower strength value (like 1 or lower) as 10 is usually too high. $\endgroup$– BithurCommented Jun 15, 2018 at 11:01
3 Answers
your normal map looks quite good no obvious artifacts or anything wrong with it, same goes for your Image Texture node and the rest in the node editor. imho I would suggest you to do a quick retopo in order to keep (roughly) the basic shape of your sculpted cube (hi-poly). Normal maps are not able to follow curvatures and they cant fake the edges so it is not that strange you get this result. You need a minimum of actual geometry to use them sufficiently !
bevelling the edges should fix this, you may also need to set the auto smooth angle quite high in the objects data parameters.
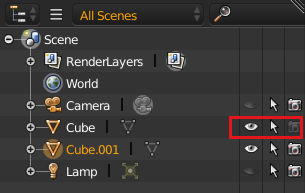
Your scene has two objects - Cube and Cube.001.
It looks like Cube is on layer1, which is not visible in the viewport but is still rendered, while Cube.001 is on layer2 which is the only layer you are looking at in the viewport.
Read more about scene layers here. In the 3D view header, you can see a little dot in each layer that has an object, the visible layers (only layer2) are highlighted.
If you don't want the Cube object you can delete it from your scene. If you want to keep the other object, you can hide it when rendering by turning off the camera in the outliner.
You can also adjust your render layers so that only certain scene layers are visible in the render.


