Orthographic Camera Lens
In Blender, there are many settings that influence the way the camera views the scene, and hence how the scene is rendered. You can see these settings by selecting the camera in your scene, then looking in the Object Properties windnow:
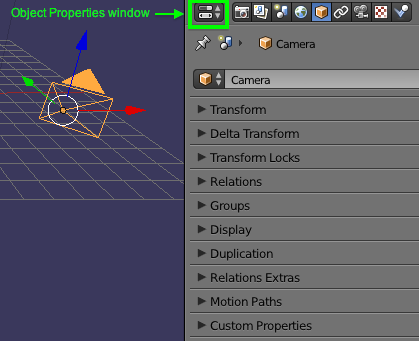
Blender has three different Lenses cameras can use: Perspective, Orthographic, and Panoramic. The effect you are looking to achieve is called Orthographic projection/view.
To change a selected camera's Lens, do this:
- Select the camera
In the Object Properties window, click on the Camera tab:
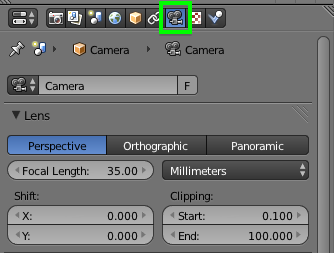
In this window, go to the Lens section and there you can select the Orthographic Lens:
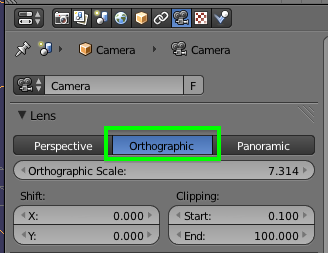
Next, adjust the Orthographic Scale setting so your camera view includes everything you want it to:
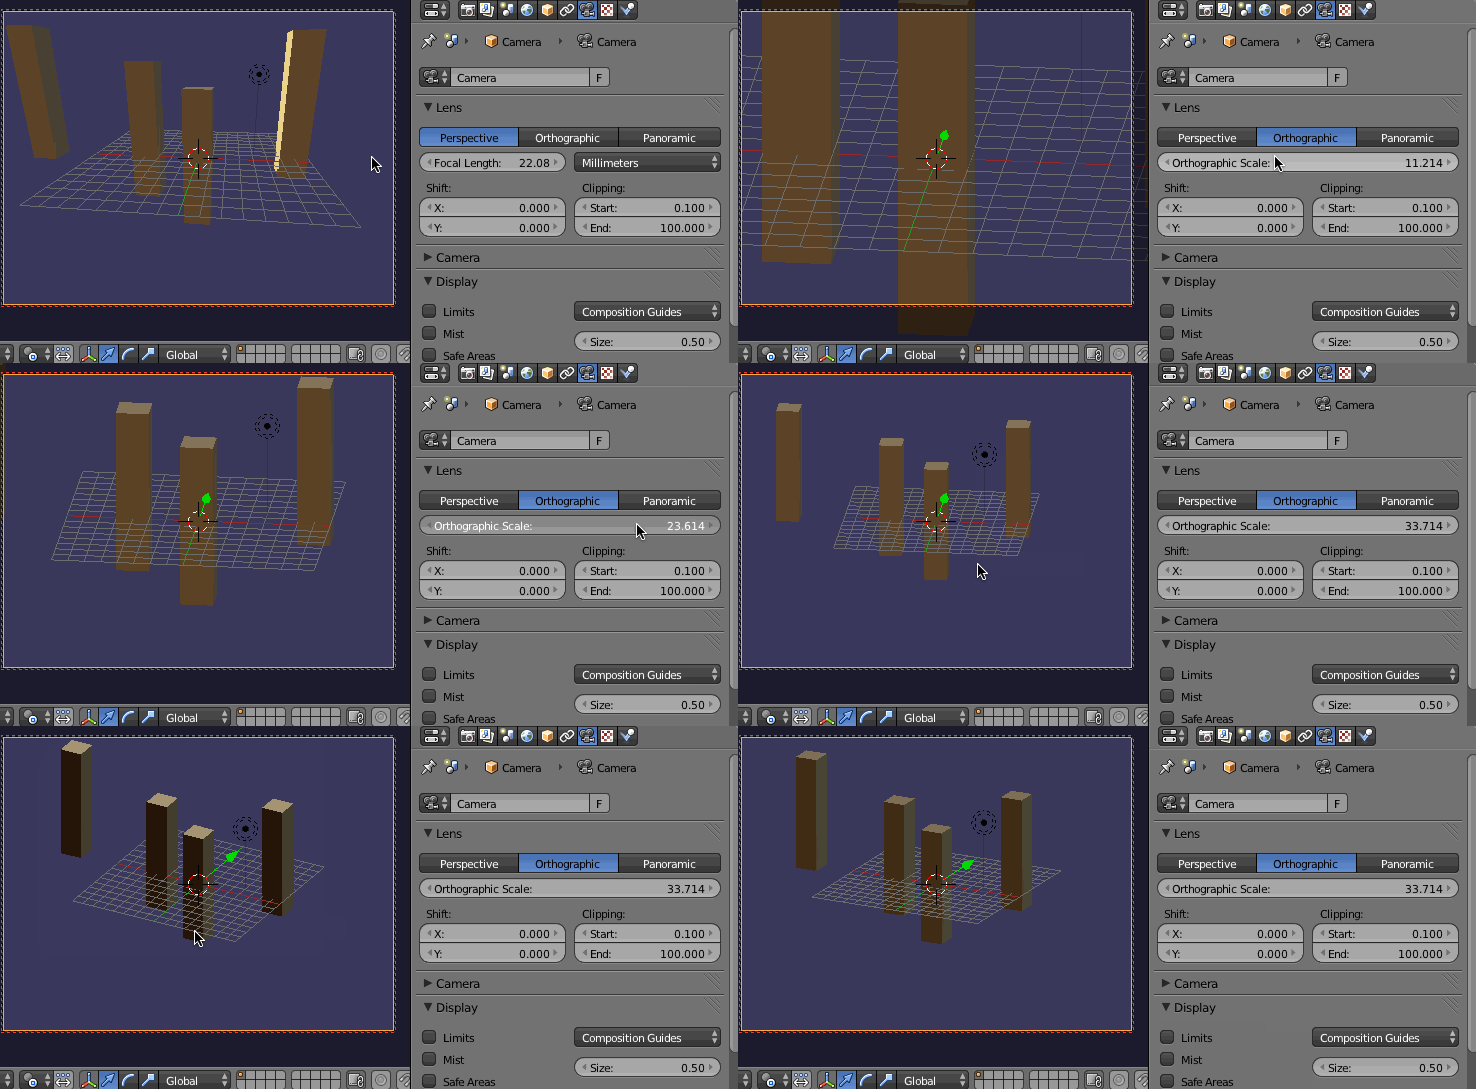
NOTE: In order to keep the current view in Camera view when you adjust the camera's view, make sure you have Lock Camera To View enabled properly: when Lock Camera to View is enabled, the view will stay in Camera view when you pan or rotate the view. Otherwise, when you rotate the view, Blender will leave Camera view and go back into User view. To enable Lock Camera to View:
- Properties panel (N) -> View section -> enable Lock Camera to View
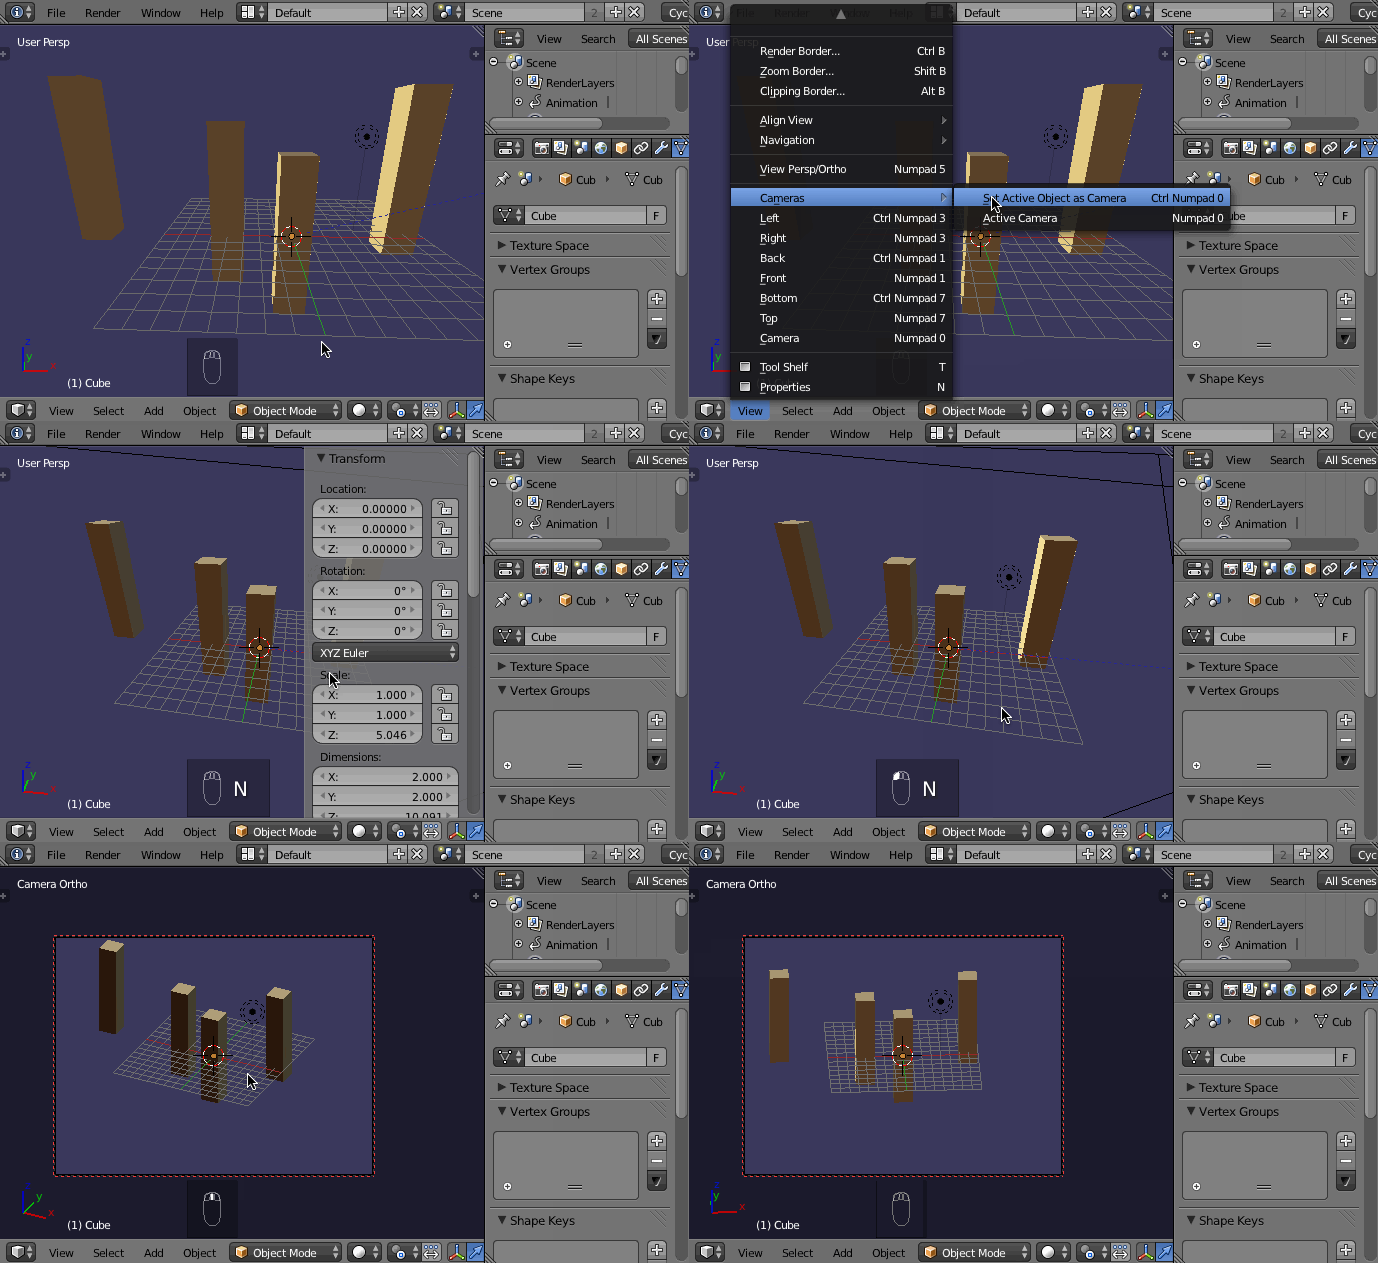
You can read more about the different Camera settings in the Blender Manual here.


Most raster graphics editors have the tools to preform the above transformations. This can also be done in the compositor using a Blend texture and the Displace node.without going any further). $\endgroup$