14
$\begingroup$

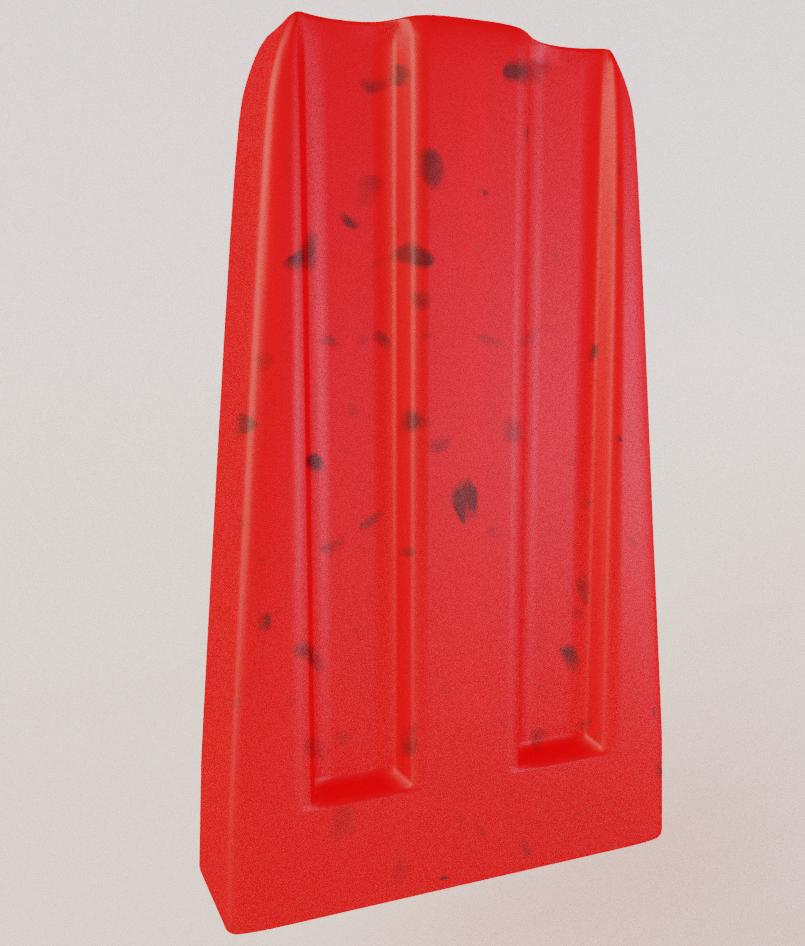
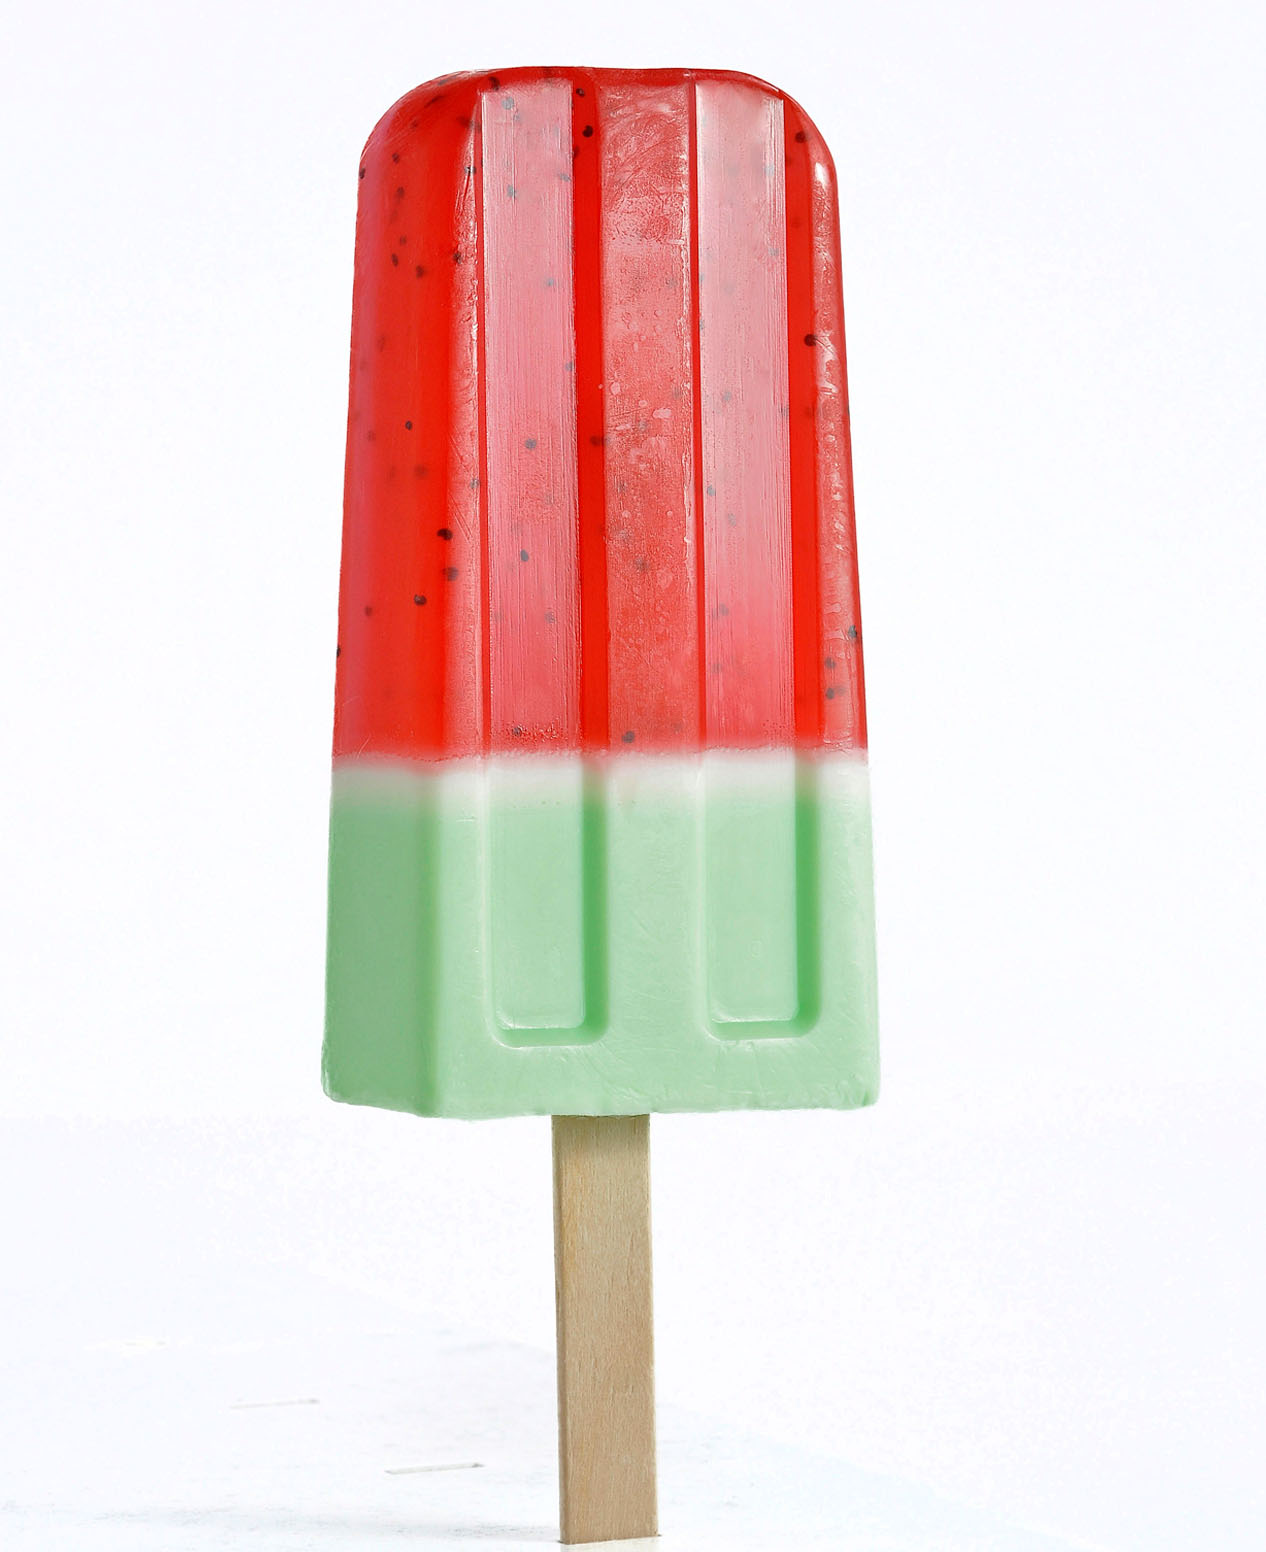
Inspired by reading this very intense thread about procedural materials, I decided to try and build upon saunam's material of "suspended particles in a recipient" to create a material for a watermelon ice pop such as this (the red, top bit):

enter image description here

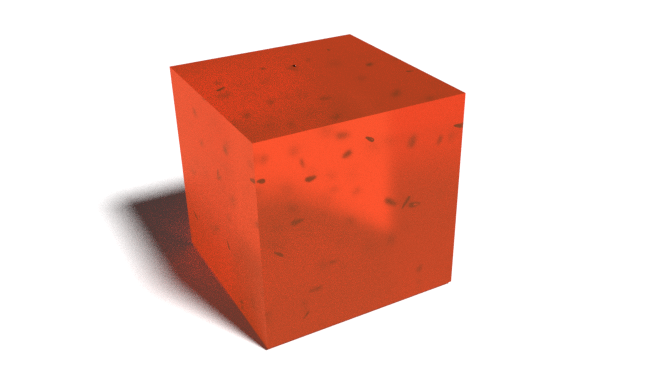
The idea is to create a translucent material inside of which are present black seeds. I have created a mesh for the seed with a shiny black material, but also tried creating the seeds procedurally.

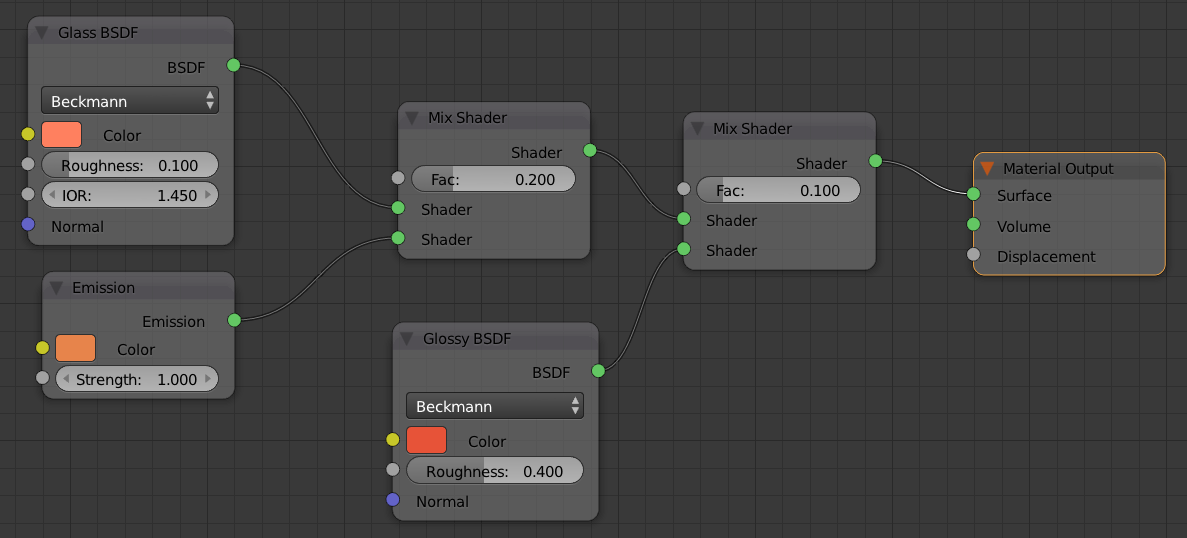
However, my node-wrangling mastery fails to achieve what I have set myself to do. When I tweak the node setup from saunam, for example to replace the emission node by a translucent node, or the volume scatter node by a glass node, everything breaks. I'm not sure I understand how the node setup works.

I don't even know if this is possible, but I would really like to procedurally scatter the shape inside the material.

I have tried with a Particle Setting, but it just doesn't stay inside the mesh and the particles aren't dispersed evenly. Since I will be making the object move, I'd prefer to use a material than a Particle System.

Current blend:

$\endgroup$
1
  • 4
    $\begingroup$ I would advise to having the seeds physical made out of mesh, not complicating the material. You can convert particle system to mesh. That way those seeds can also have it's own glossiness, like real seeds have. You have better control over the seeds if they are mesh and better control over material, because it is simpler. $\endgroup$ Commented Apr 11, 2017 at 11:13

4 Answers 4

7
+50
$\begingroup$

For your purposes, a particle system based setup will work best as any material will cause the grains inside to appear very flat.

Starting with your blend file, on the object Cylinder.001, under Particles > Emission, I set these values:

End: 1

Emit From: Volume

Distribution: Grid

Distribution Resolution: 5

Distribution Random: 1
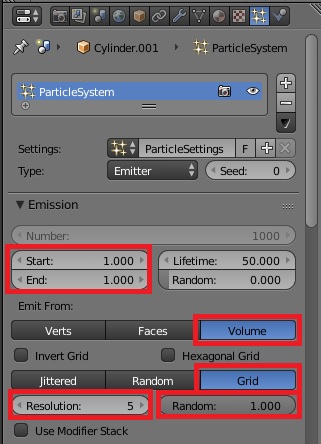
Settings1

Now we have an object filled by volume with the grain object. Don't worry that some of the grains are outside the object, we will fix that.

Under Particles > Rotation, I ticked the Rotation checkbox and set the Velocity/Hair Random to 1. This will make the grains appear to have frozen in random floating orientations.

Next, we're gonna need some room to work with our particles. So, with your object selected, press M and click the next open layer to move your object there. Then press 2 on your keyboard to go to that layer.

With the object still selected, go to the Modifiers tab and under the particle system modifier, click Convert.

Now all your seeds are individual objects. In solid 3D view mode (Z), check the outside of your object and just manually delete any remaining grains that accidentally protruded the mesh.

Next, select your cylinder and hide it with H. Using B, select all your grains and press Ctrl + J to merge them into one object.

This will make them much easier to manage. Unhide your cylinder (Alt + H), and with both the cylinder and grains selected, press M and select the original layer to move them back. If you are planning on making your objects move, you can parent the grains to the cylinder with Ctrl + P.

You will discover on your first layer that Blender also expanded your original grain object with the particles. You can either choose to move this object to another layer, or hide it with H.

Here is the result:
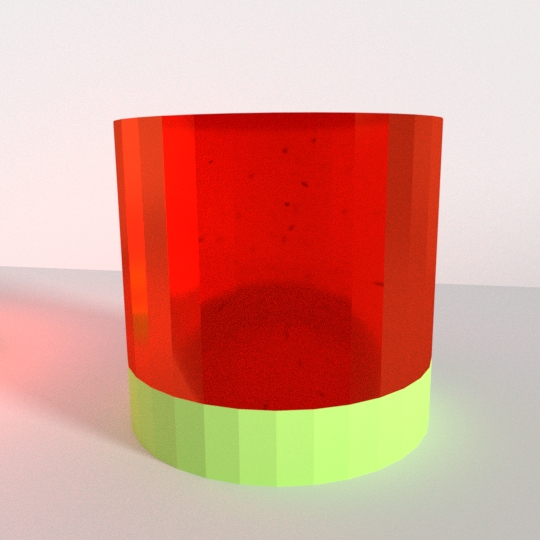
Final

Not bad, with the existing node setup. Please note that I disabled depth of field for this render. For a clearer icepop, you can fiddle with the balance between the translucent material and the glass material. I might also experiment with mixing in some subtle volume density or subsurface scattering for a more photorealistic render, but I do not have the time to test right now. Maybe someone else can comment on better ice-pop materials?

$\endgroup$
4
  • $\begingroup$ Thank you for the thorough answer! I am trying your solution. Clicking "Convert" in the particle system of the cylinder doesn't seem to work (the modifier doesn't go away after I click "convert", therefore I can click it several times and nothing seems to change). When I moved them both to Layer 1, a gazillion new seeds showed up everywhere :( $\endgroup$ Commented Apr 11, 2017 at 22:11
  • 1
    $\begingroup$ @MicroMachine Yes, every time you click "Convert", it generates a new set of mesh seeds. After clicking "Convert" the first time, just delete the modifier manually and you should be good to go! :) $\endgroup$
    – CGEffex
    Commented Apr 12, 2017 at 12:02
  • $\begingroup$ Thank you for your answer, I gave it the bounty. I made a variation on it as my answer below, after learning so much from all the answers, I hope it's ok :) $\endgroup$ Commented Apr 17, 2017 at 10:00
  • 1
    $\begingroup$ @MicroMachine Your result below looks great! I forgot to mention tweaking the Size and Random Size though; that will definetly make the result even better. $\endgroup$
    – CGEffex
    Commented Apr 17, 2017 at 18:07
6
$\begingroup$

Final:

final

Overview:

I've simplified node that you've mentioned in question and I've added surface material (really simple, you can use whatever you want instead).

You can control black bits size, distortion, amount and color.

overview

Blend file:

$\endgroup$
2
  • 1
    $\begingroup$ While it is more difficult to control the shape with this method, the "pure" procedural results are quite nice and I will certainly be playing around with the volumetrics myself in the future. Thanks for sharing! $\endgroup$
    – CGEffex
    Commented Apr 16, 2017 at 22:24
  • $\begingroup$ Definitely the second best answer, I would have split the bounty if I could have! Tweaking it was hard but I like the results I got with it. Also, animating it makes the particles stay in position in a weird kind of way and move around... Maybe can be fixed with a different coordinate node? This one is a hard one! $\endgroup$ Commented Apr 17, 2017 at 10:09
3
$\begingroup$

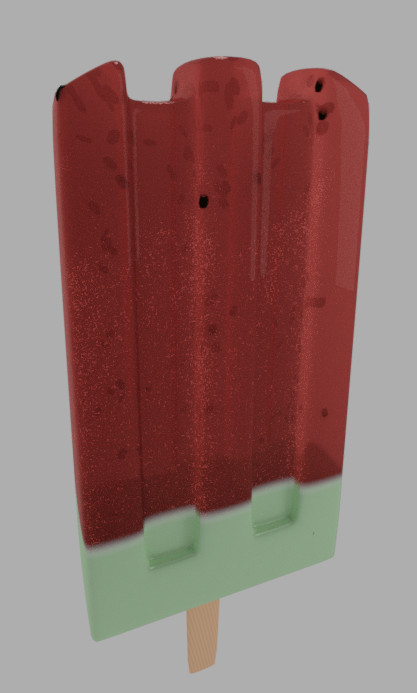
Another particle approach.

enter image description here

Particles setting

enter image description here

Watermelon's seed objects (particle objects) are emitted from volume with inside normal to keep most of them inside the volume.

You can use the seed value (on top of the image above) to try and choose the distribution which fits the best.

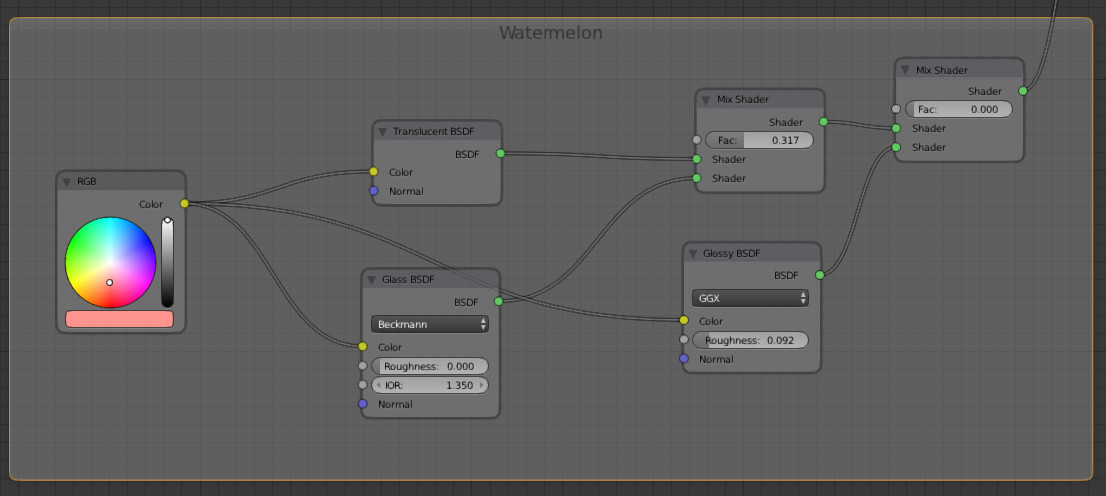
Material: watermelon part

enter image description here

A mix between a translucent and a glass shader. Eventually you can mix again with a glossy shader (not used here).

Material: pistachio part

enter image description here

A mix between a velvet shader and a glossy shader. The velvet can add a little softness to the surface.

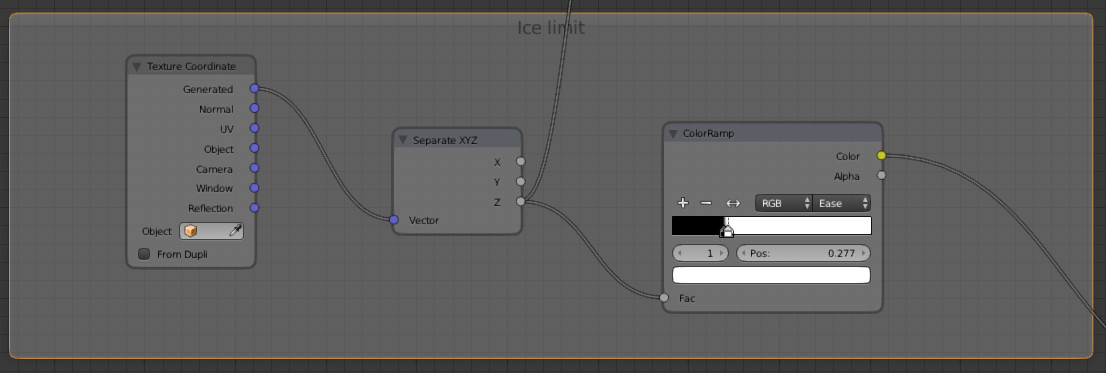
Material: ice limit

enter image description here

The limit is given tuning the Z generated value with a color ramp.

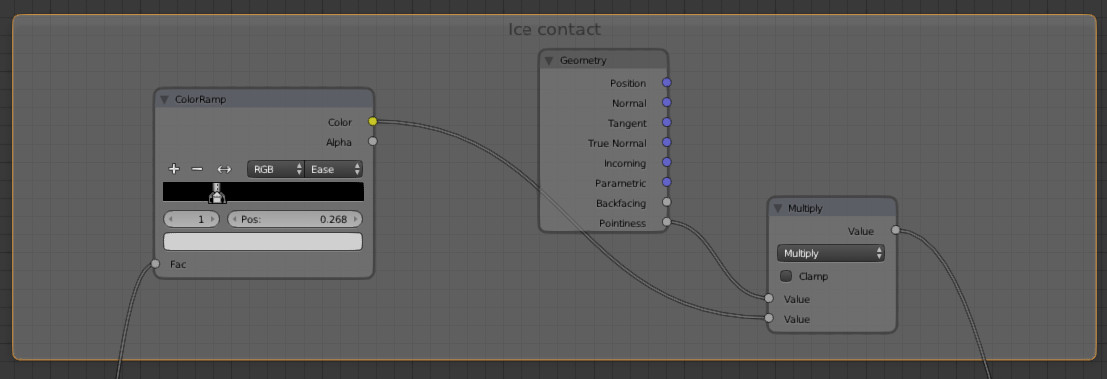
Material: ice contact

enter image description here

A mix with the Z limit as above and pointiness which provides some kind of randomness around the limit.

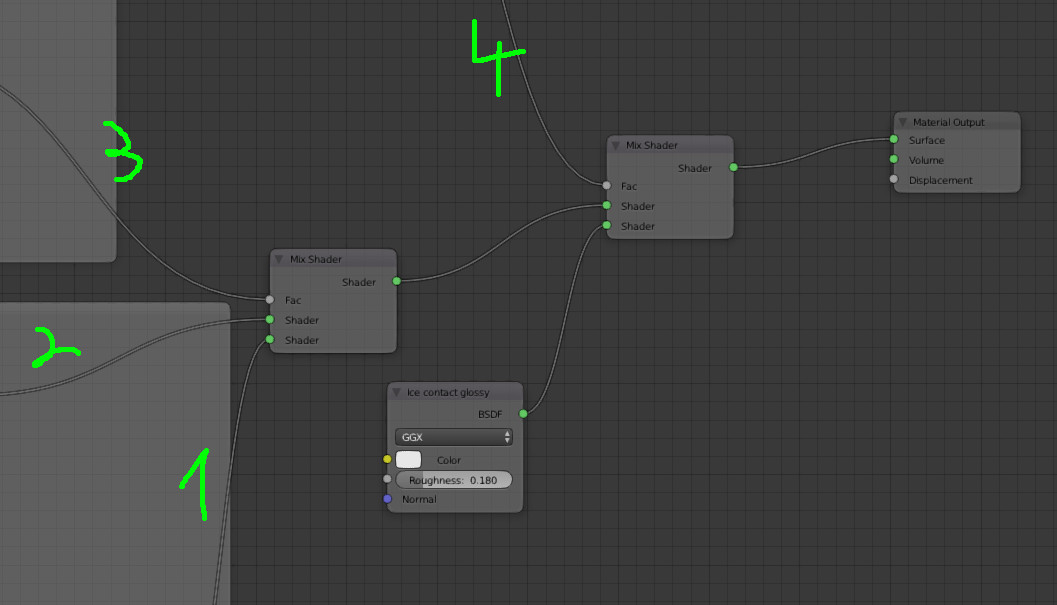
Material: mixing them all

enter image description here

Inputs: (1): watermelon / (2): pistachio / (3): ice limit / (4): ice contact

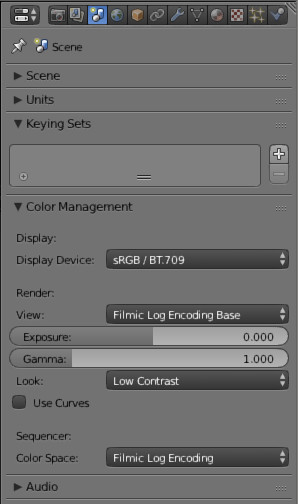
Note: the rendering uses filmic color management with low contrast. If you don't use it the colors will be different (and you may change the color inputs and tune the mix shaders).

enter image description here

$\endgroup$
6
  • $\begingroup$ Thank you! Good one. I really enjoy your gradient between the yummy mint part and the watermelon one. $\endgroup$ Commented Apr 13, 2017 at 18:47
  • $\begingroup$ (1) What exactly is the "ice contact" supposed to do? It adds a white gradient line over the green/red one when I try. (2) The grains seem to be only rotated 90° from one another (vertical or horizontal), I think it's more realistic to randomize rotation in "Rotation" (3) How do you keep the grains inside the mesh? Same technique as CGEffex? $\endgroup$ Commented Apr 13, 2017 at 23:58
  • $\begingroup$ @MicroMachine, 1/ Ice contact is to separate the 2 parts of the ice it's using the Z value (from 0 to 1 due to the generated input) and is driving the separation line. 2/ OK.3/ PS settings, volume + inside normals + choosing the good seed (underlined in the first image) $\endgroup$
    – lemon
    Commented Apr 14, 2017 at 5:59
  • $\begingroup$ I did everything like you did, but the "ice separation" ends up looking like a white line/gradient, and there ends up being seeds inside the green part or through the mesh. But your first image is really good! $\endgroup$ Commented Apr 17, 2017 at 8:21
  • $\begingroup$ @MicroMachine, this is effectively more or less a small gradient due to the color ramp. I modulate it a bit with pointiness (which needs some inner geometry to work), but I think it could be modulated a bit more with a noise for instance. $\endgroup$
    – lemon
    Commented Apr 17, 2017 at 8:25
2
$\begingroup$

Here's another answer I came up with, a variation on the accepted answer.

Create a Particle System on the popsicle object, and under Particles > Emission, set these values:

Number: 38

End: 1

Emit From: Volume

Distribution: Grid

Distribution Resolution: 3 or 4

Distribution Random: 1

Under Render, click Object, select the "grain" object previously made. Under Physics, tweak Size and Random Size to make it realistic, add more realism by ticking "Rotation" and turning Random to 1.

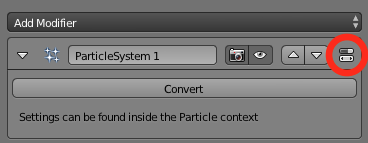
When satisfied, go to the Modifier tab and click Convert once, then click on this button:

enter image description here

and delete the Particle System with the "-" sign.

Remove the ones that are sticking out of the Ice Pop mesh, then join all the grains (CTRL + J).

Create a translucent material for the cube, that takes into account the thickness of the material in order to disperse the elements present inside it, such as this one (borrowed from here):

enter image description here

Render with a Clamp Indirect value of 3.

enter image description here

To move around the whole thing easily, select everything (for example in Wireframe Mode, with the C cursor selection), then press CTRL+G, a green outline will appear around the elements. Then select a member of the group and then press SHIFT+G and select Group and it will select every other object in that group which you can now drag around, scale etc. Source

$\endgroup$

You must log in to answer this question.

Not the answer you're looking for? Browse other questions tagged .