9
$\begingroup$

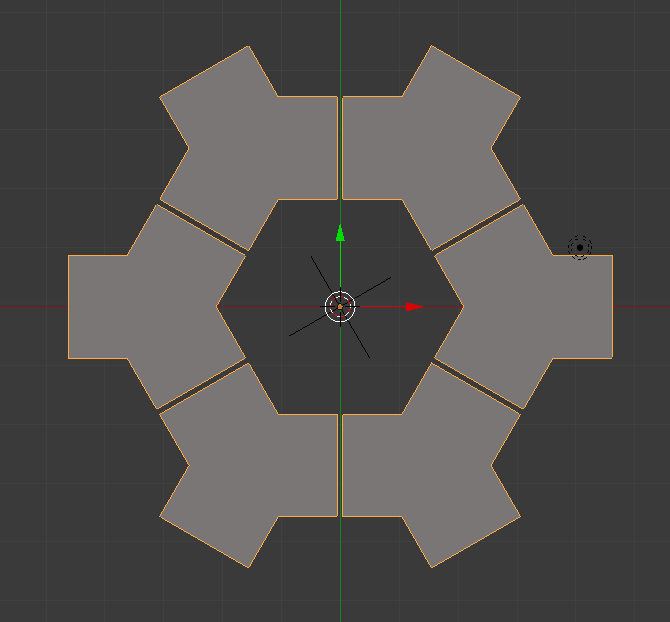
I want to create a hexagonal Array (in other name: honeycomb) of this object:
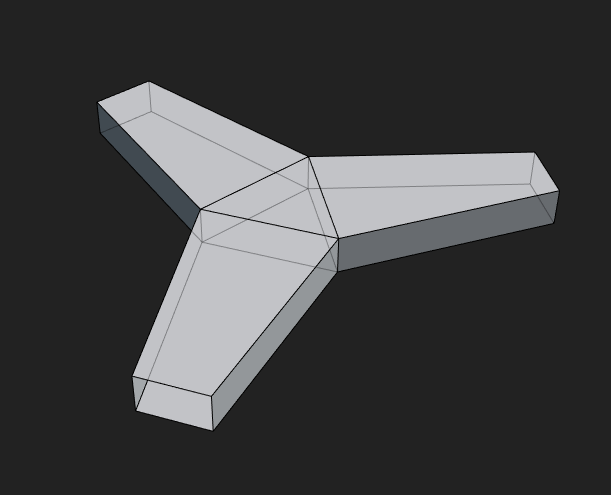
enter image description here

It is very important: I don't want to "join" the distributed objects, I want to leave them as dynamic as possible (so I prefer modifier-like solutions), but I also want blender to treat them as one mesh-object, just like the Array-modifier would do, when I click on the merge checkbox. So when I add a Subdivision-modifier to my object it will look like this:
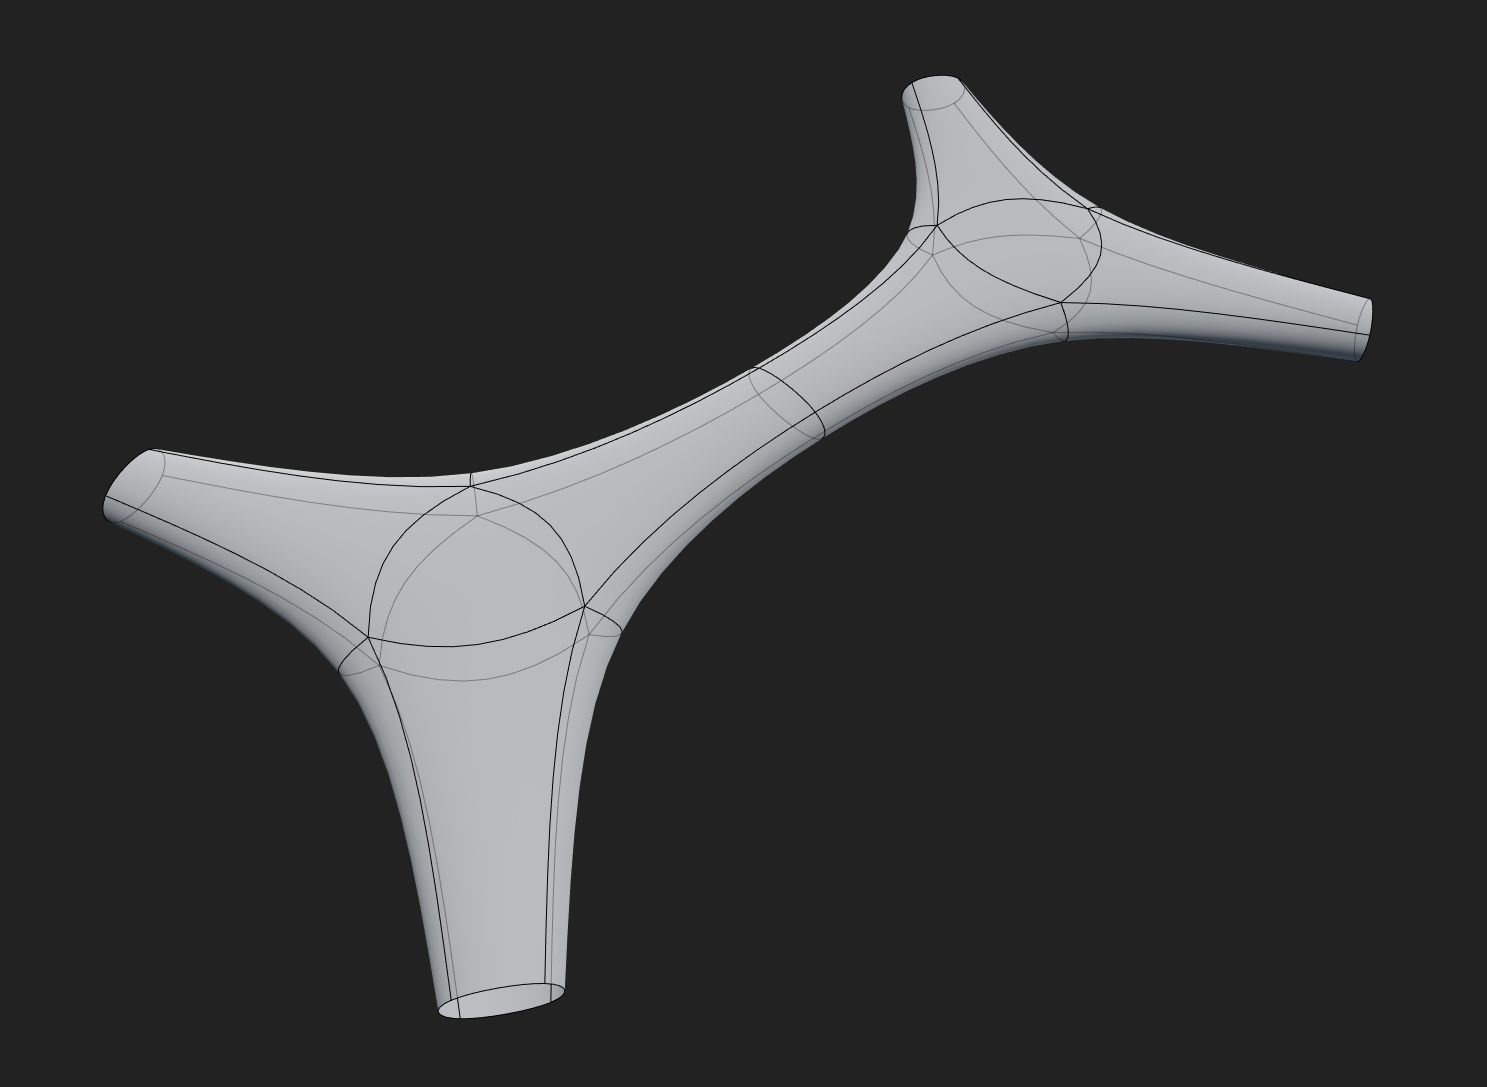
enter image description here


NOTE:

The sample object I provided here is a simplified object of the one I'm going to use for this purpose: so the Wireframe-modifier and the Skin-modifier is not an option in my case. Also distributing with a hexagonal grid particle system or duplicate object to vertices of a parent object are not options, since the "final" object won't be "merged" as a single one.

Thanks in advance!

$\endgroup$
1
  • 2
    $\begingroup$ 2000th question! $\endgroup$
    – Peter Varo
    Commented Feb 10, 2014 at 20:27

2 Answers 2

10
$\begingroup$

There is an even easier/faster solution than the one @CharlesL provided (Although some steps are identical) :

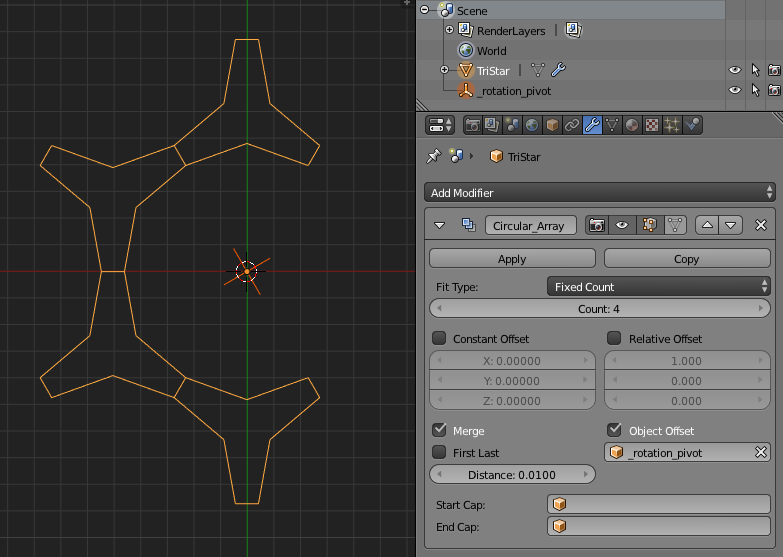
  1. Create only 4/6 of the "cell" by using an Array-modifier and an Empty-object rotated by 60°:

    enter image description here

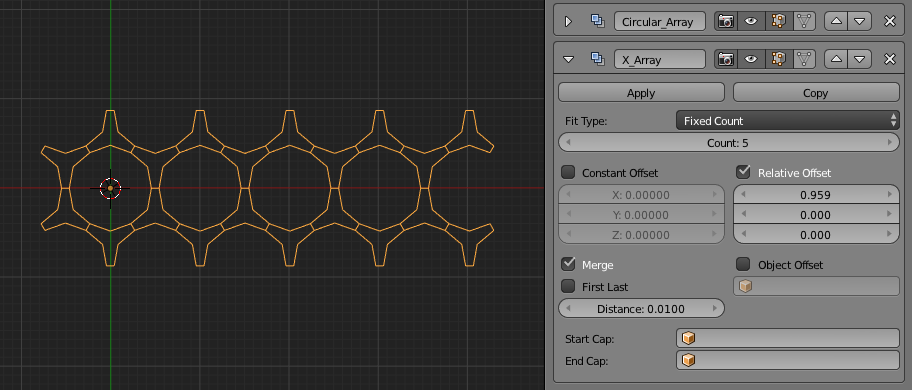
  2. Then add another Array and distribute objects on the x direction by the Relative Offset:

    enter image description here

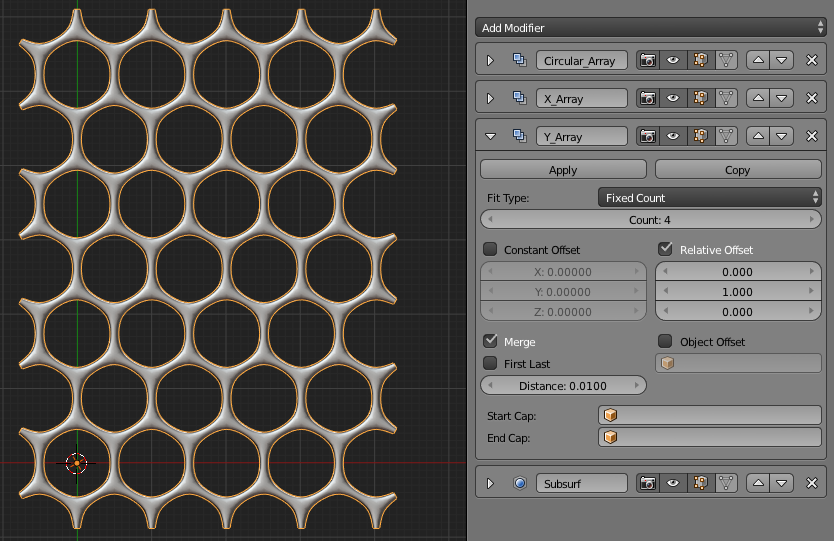
  3. And last but not least, add another Array and distribute the result of the previous modifier on the y direction by the Relative Offset 1:

    enter image description here

Of course the merge option checked in all three of the Array-modifiers. And the result is a lighter and better version of the hexagonal array creation, plus, the result has more beautiful "edges".

$\endgroup$
1
  • 1
    $\begingroup$ the holes do not seem to be perfectly circular. $\endgroup$
    – Vader
    Commented Feb 24, 2014 at 13:30
9
$\begingroup$

Given the shape that you have pictured above, you can do this fairly easily with a couple of array modifiers.

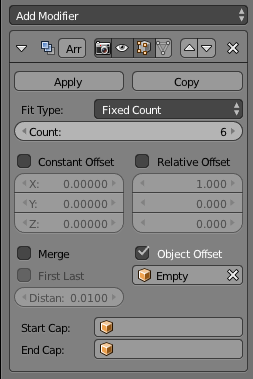
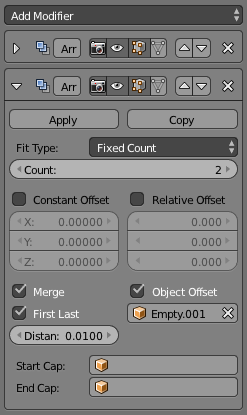
  1. Start by creating a sing "cell" of the grid by adding an array modifier to the object. Uncheck Relative Offset and check Object Offset. Create an empty and rotate and use it for the Object Offset. Rotate the empty 60° (make sure that the object's origin is in the same position as the empty):

    enter image description here

    Array Modifier Setup

    enter image description here

    Result

  2. Check the Merge option and change the distance until all the vertices merge.

    enter image description here

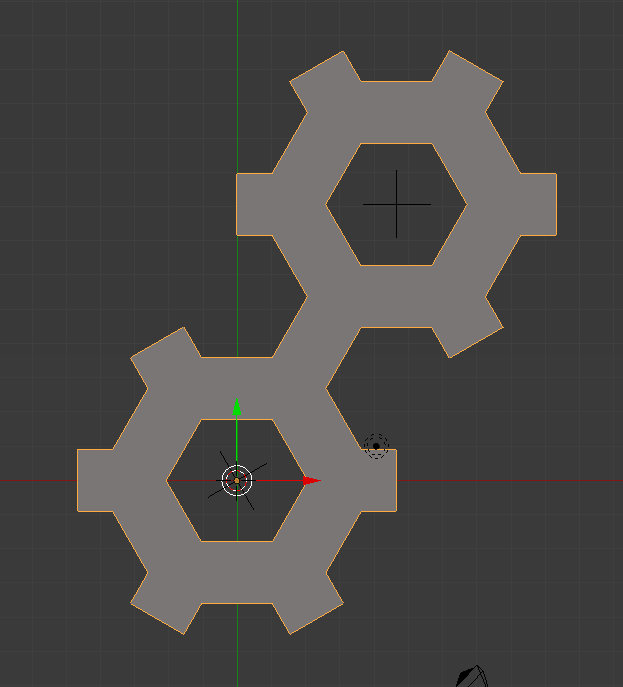
  3. Add another array modifier, and using either Relative Offset or another empty (with Object Offset), position it at the top left corner of the original object. Set the count to 2 and set the Merge options as before:

    enter image description here

    Modifier settings

    enter image description here

    Result

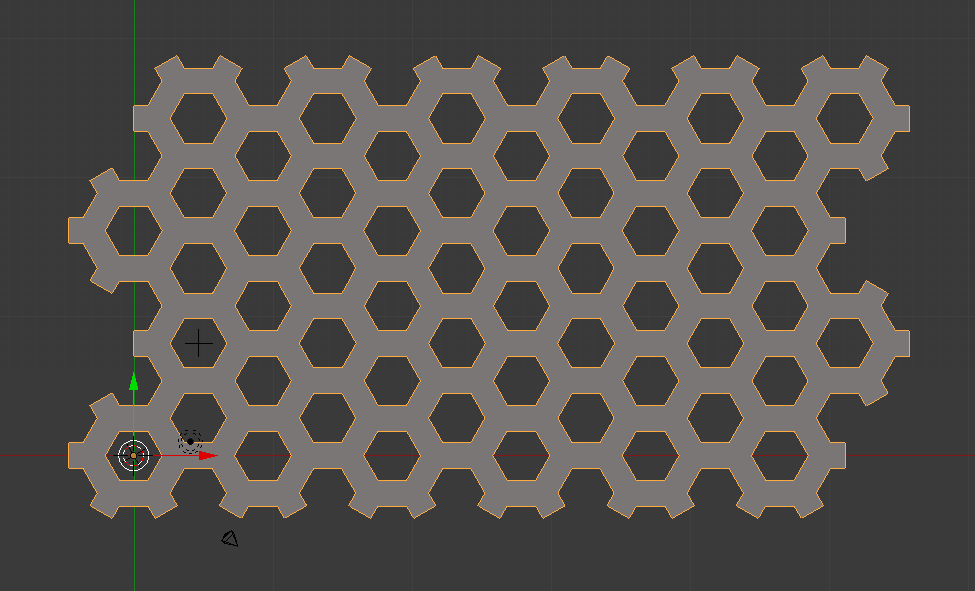
  4. Add two more array modifiers to create the grid along the X and Y axis.

    enter image description here

    Modifier settings

    enter image description here

    Result

$\endgroup$

You must log in to answer this question.

Not the answer you're looking for? Browse other questions tagged .