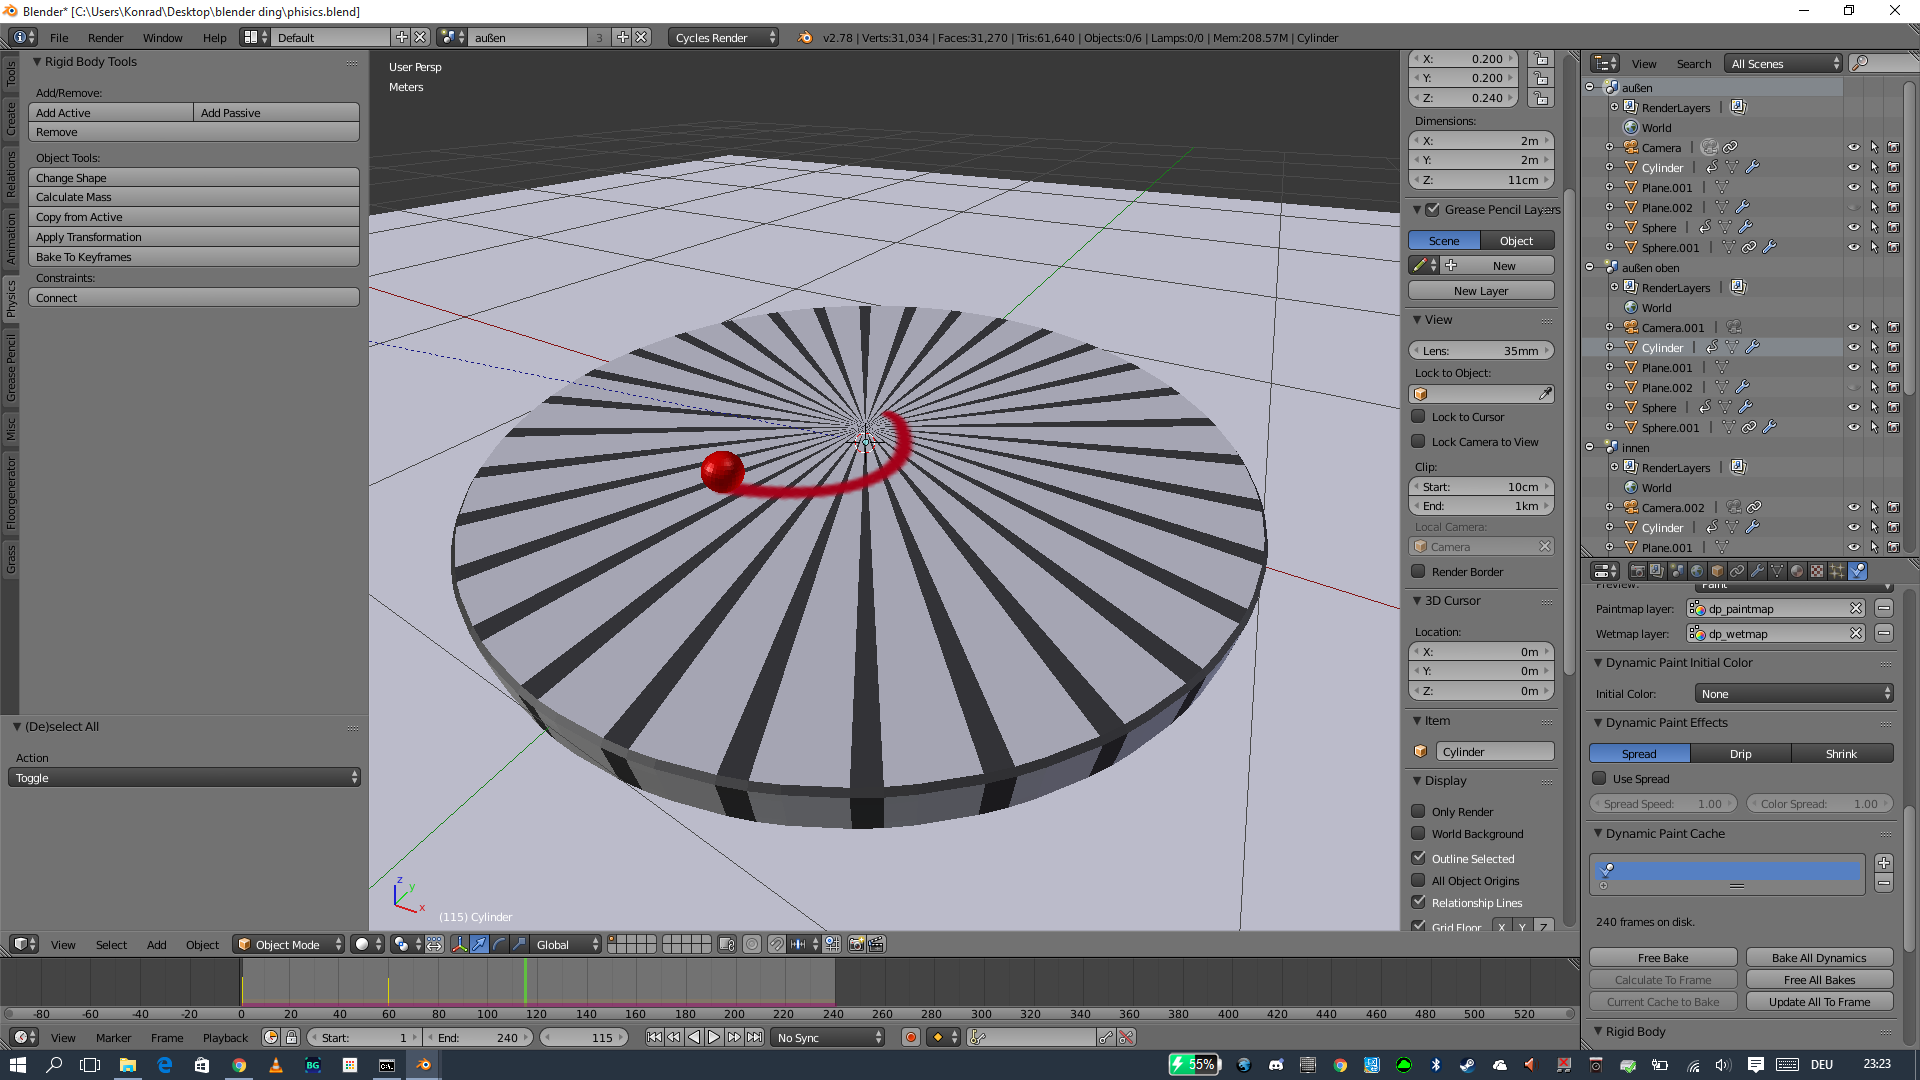
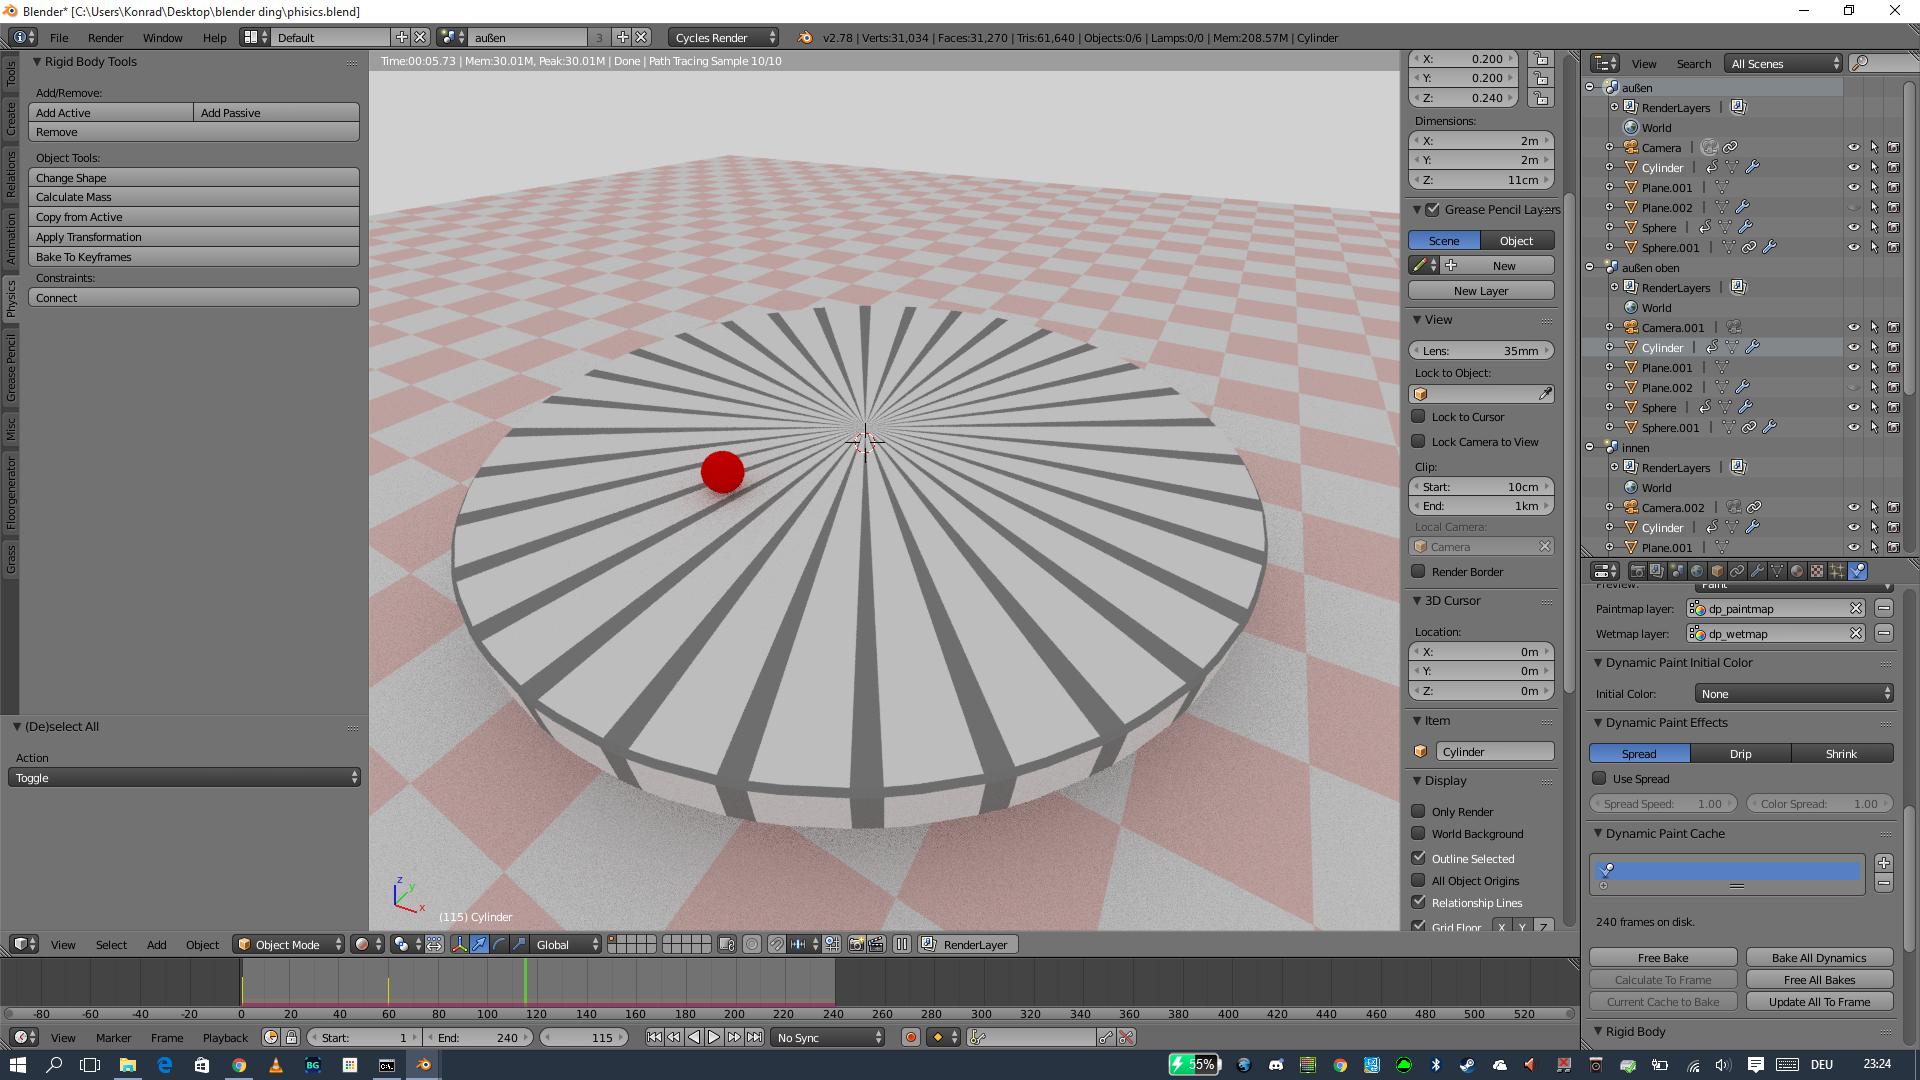
You may do it using the Attribute node with a paintmap information as a factor for mixing two materials. Here's the finished render:

First press Free Bake button in the Dynamic Paint Cache panel. Delete the blendcache folder from your computer.
Now select your sphere/ball and change the dynamic paint color to pure white. We'll be using the paint's color as a mask- I guess it's a good idea as you'll have more control over the materials later.

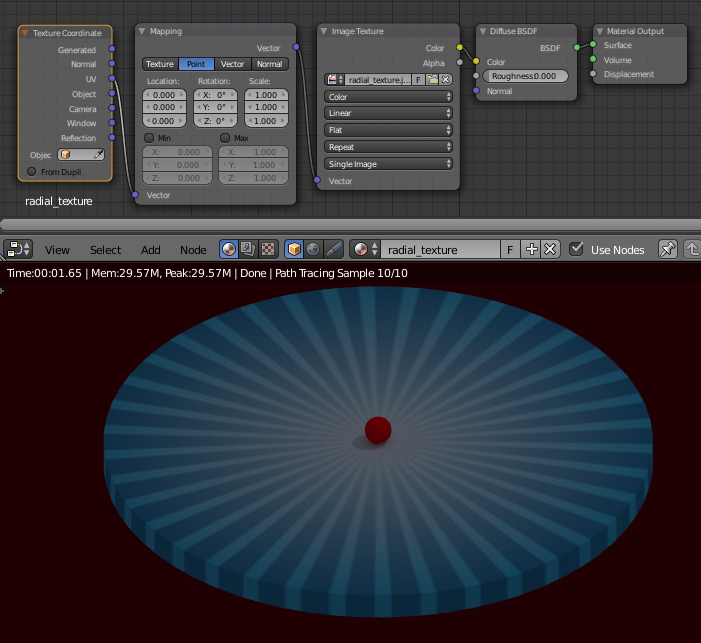
In your case you have two different materials creating the radial pattern for cylinder. I created only one material for it, unwrapped with Project from View and attached a radial texture to it. You should do it too, cause it'd be simplier in the next stages.

Now Bake the dynamic paint. In the Dynamic Paint Output panel press the '+' buton in the Paintmap Layer window. It should change from red to grey.

Now in the Mesh Data header you have the baked paint information present in Vertex Colors panel. Copy the 'dp_paintmap name' with Ctrl+C.

Now set up the nodes as pictured below. Add the Attribute node and paste the previously copied name in its window (Ctrl+V). Now we have the mask. Use it as a factor for mixing between the radial texture and anything you like (in my case it's a simple red color Diffuse shader, but it may be other material/texture you like).


