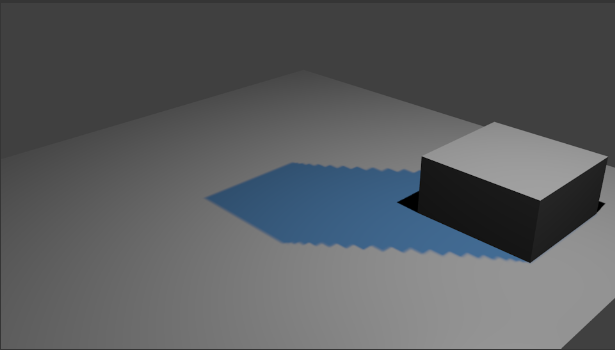
It turns out I was making a silly mistake, but I'll run through the steps in case it helps.
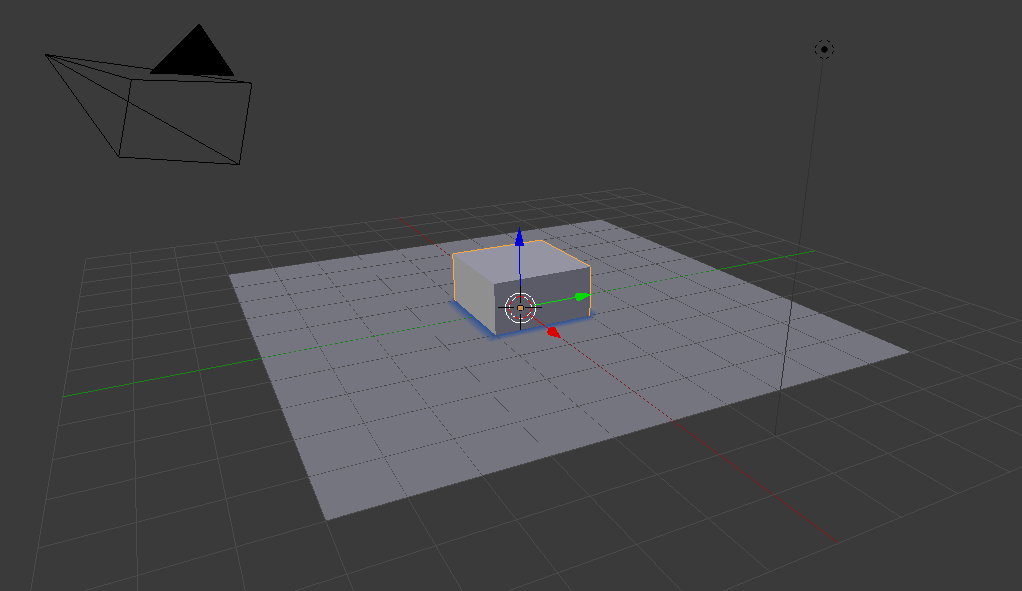
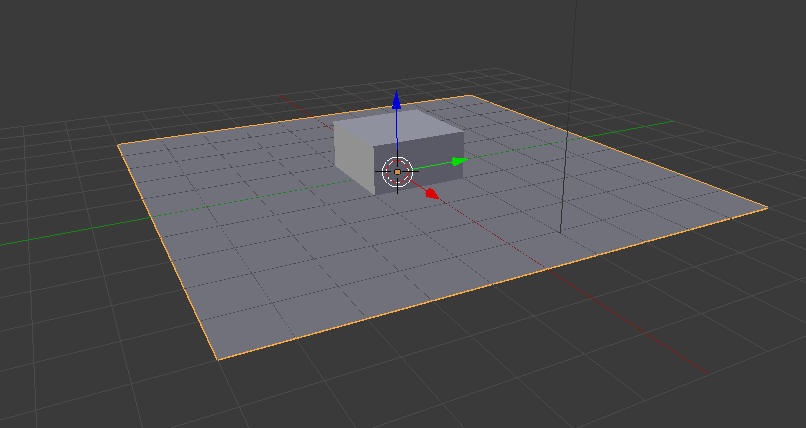
I'll assume we're starting with the default cube and the plane scaled up.

1) UV map the plane
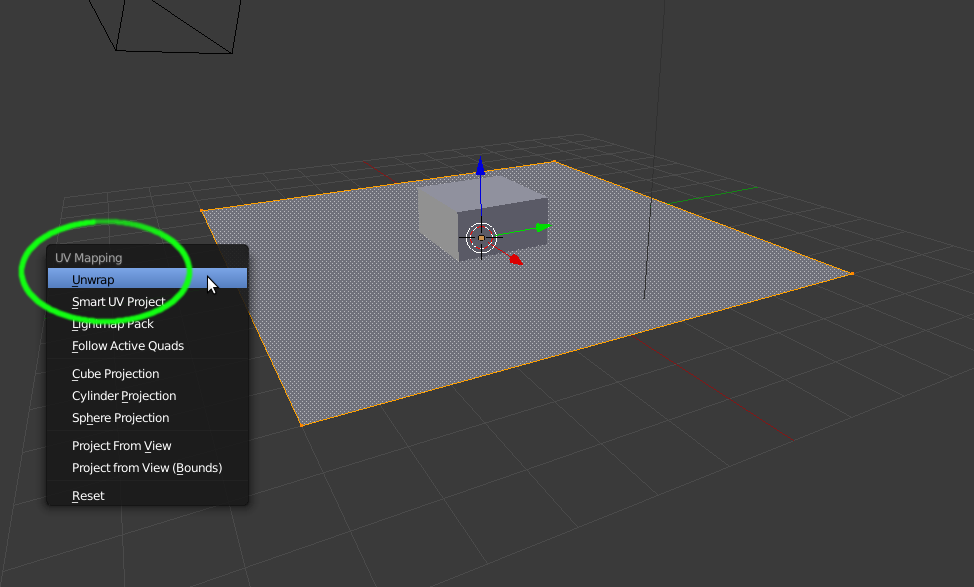
Select the plane, hit TAB to get into Edit Mode, then press U. This will bring up a menu. Select Unwrap. Hit TAB to get back to Object Mode.

2) Give the cube some motion
In order to actually see the paint, you have to make the cube move around. So give the cube some motion in the XY-plane.
3) Enable Dynamic Paint
Select the cube, go the Physics tab of the Properties window. Enable Dynamic Paint, click on Brush and then "Add Brush".
Now select the plane, click on Dynamic Paint. Make sure that Canvas is selected. Hit "Add Canvas".
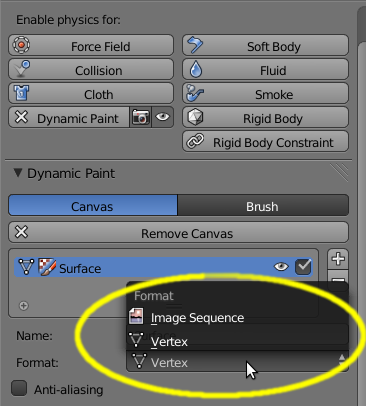
Change Format to "Image Sequence". Under the Dynamic Paint Output header, click the box next to "UV Map" and find your UV map you just created and select it. (It'll probably be called "UVMap")
Just underneath UV Map, you can select where you want the texture images to be outputted to. Hit "Bake Image Sequence". I believe you have to bake it. You can't just render.
4) Give texture to plane
With the plane still selected, go to the Materials tab of Properties window, and hit New to give a material.
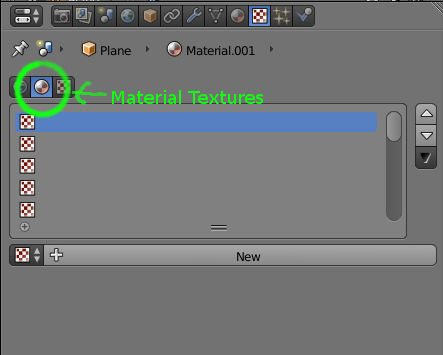
Now go to the Texture tab. Make sure the Material Textures button is selected (this is where I messed up).

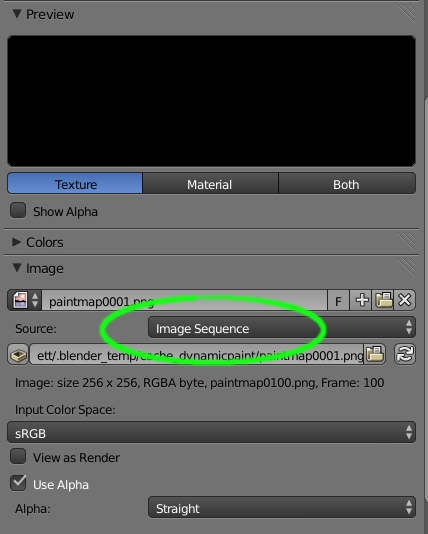
Hit New to give the plane a texture. For Type, choose "Image or Movie". Scroll down to the header Image, and click on Open. Navigate to the folder where you outputted your images to and select the first image (probably called paintmap0001.png) and click on Open Image. Then look for Source, which you should set to Image Sequence.

5) Render
That's all. Just render it and you should see the paint.
