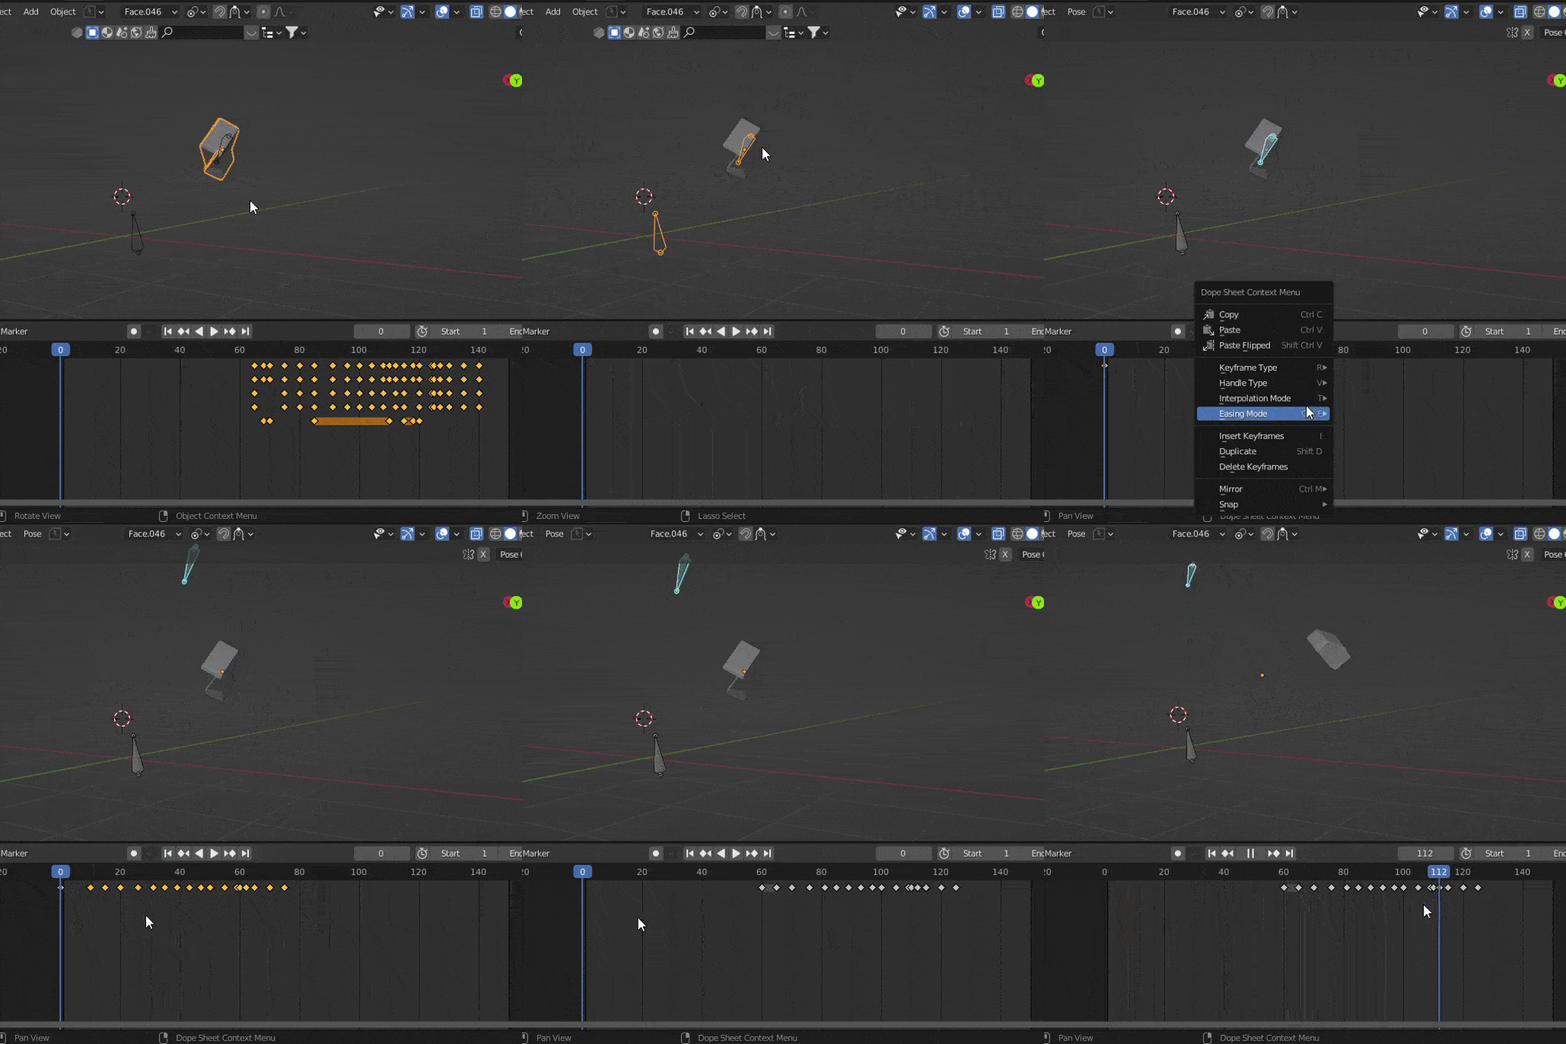
If the object and the bone have the same inherited transform (from a parent) and the same inverse and the same rotation mode, copy/pasting works. The problem is that they are unlikely to share all of those things. Transforms are measured in local space, not global space, so moving one thing in the X axis is not necessarily the same as moving another thing in the X axis-- those X axes are determined by the individual thing moving.
If you want a bone to move with an object in world space, and want to keyframe that behavior, I would reccommend using a combination of constraints and visual keying.
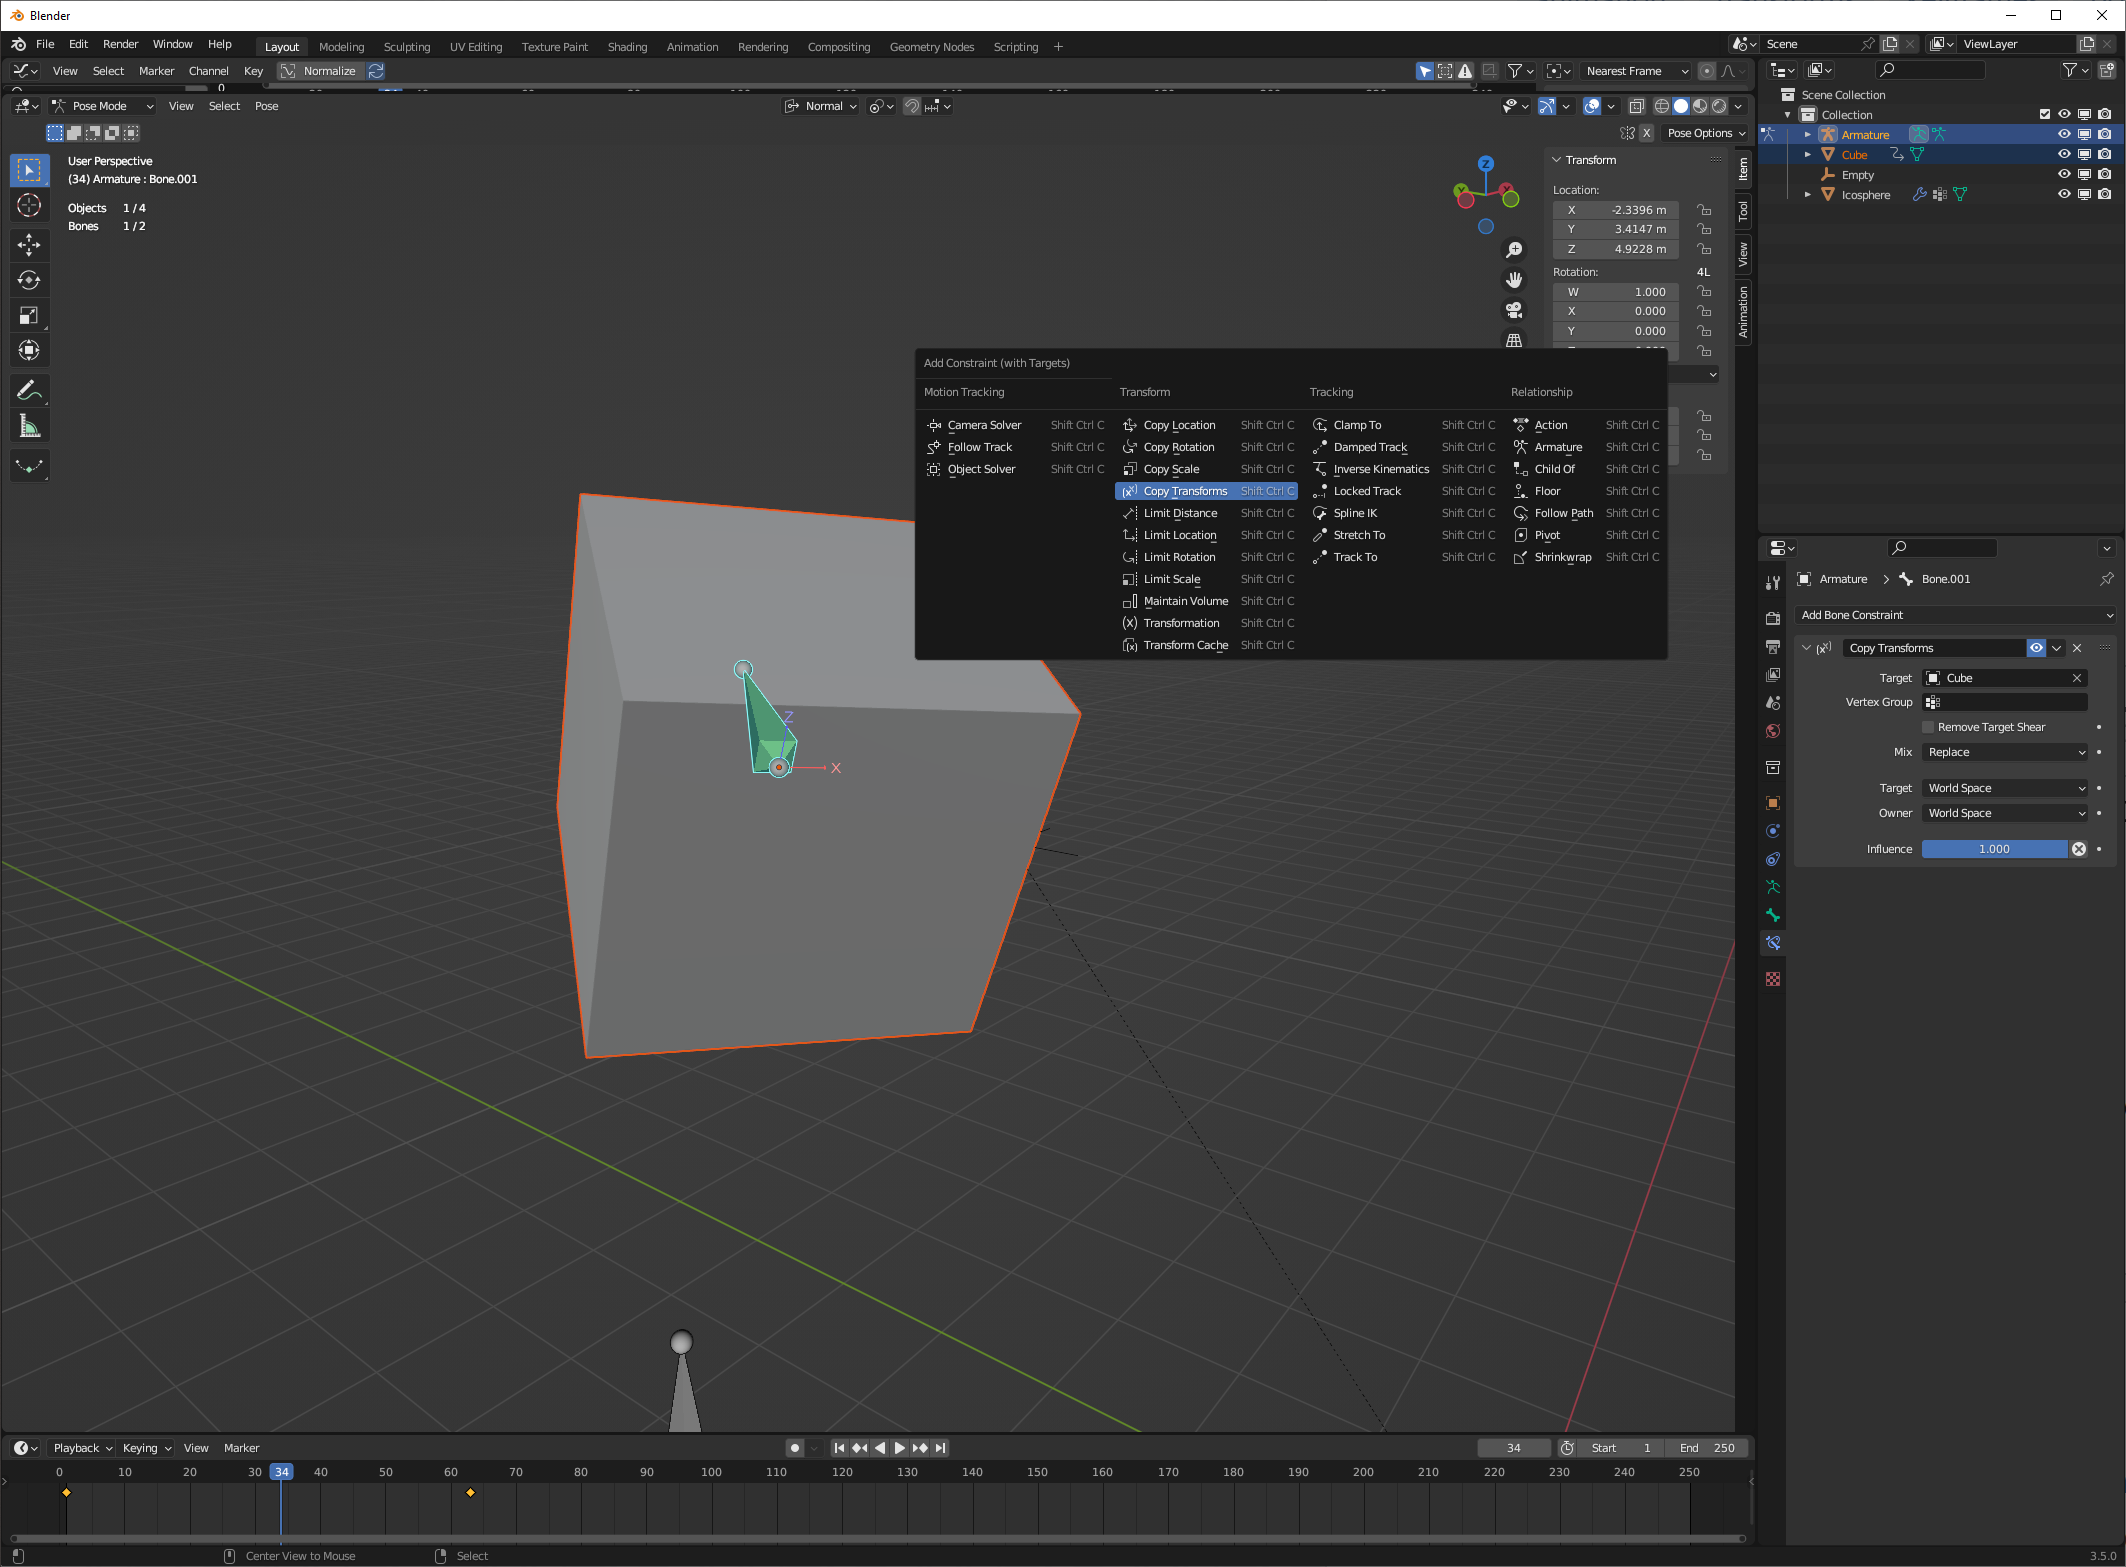
Start by giving the bone a "copy transforms" constraint targeting the object. Defaults on this constraint are appropriate.

You can add a constraint very quickly with the help of keyboard shortcuts like ctrl-alt-c, which adds a selected constraint to the actively selected object, targeting the inactive selection.
If we just leave this constraint, the bone will now follow all the transforms of the cube, but in world space. That may be good enough for what you want.
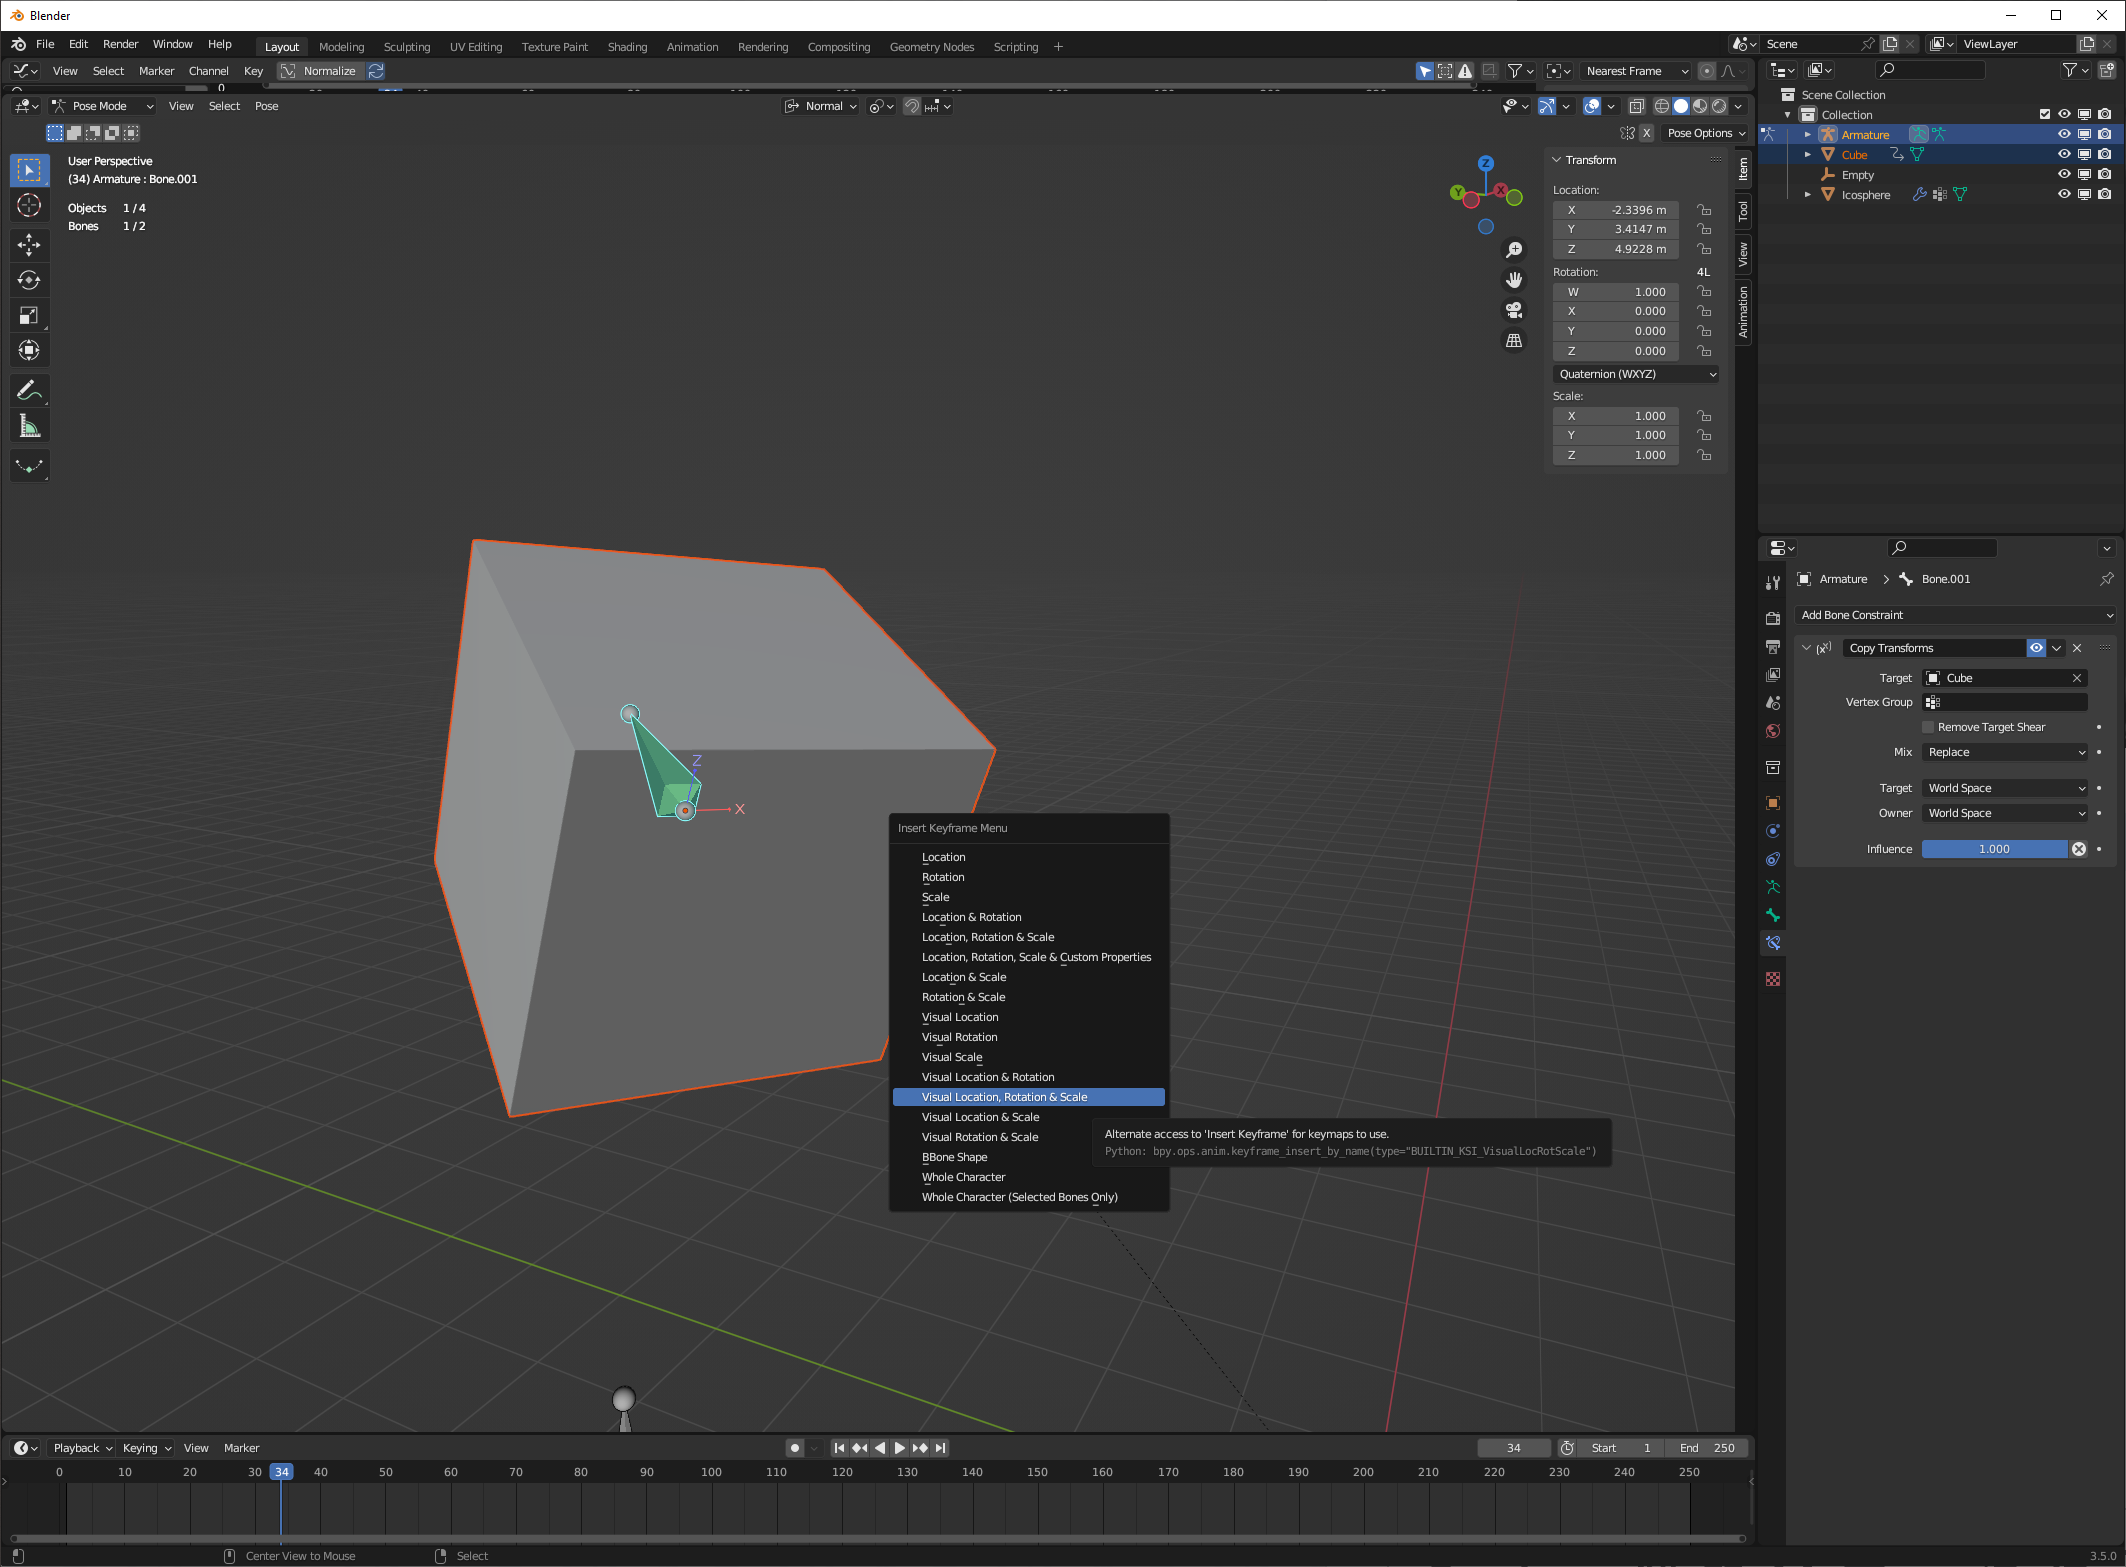
However, you may want to keyframe this behavior for further editing. Go to the frames you want to keyframe this and keyframe a visual transform:

Keyframing a visual transform writes the action of any constraints into the actual transform of the bone. Now that we have visual keys defined, we can delete the constraint.
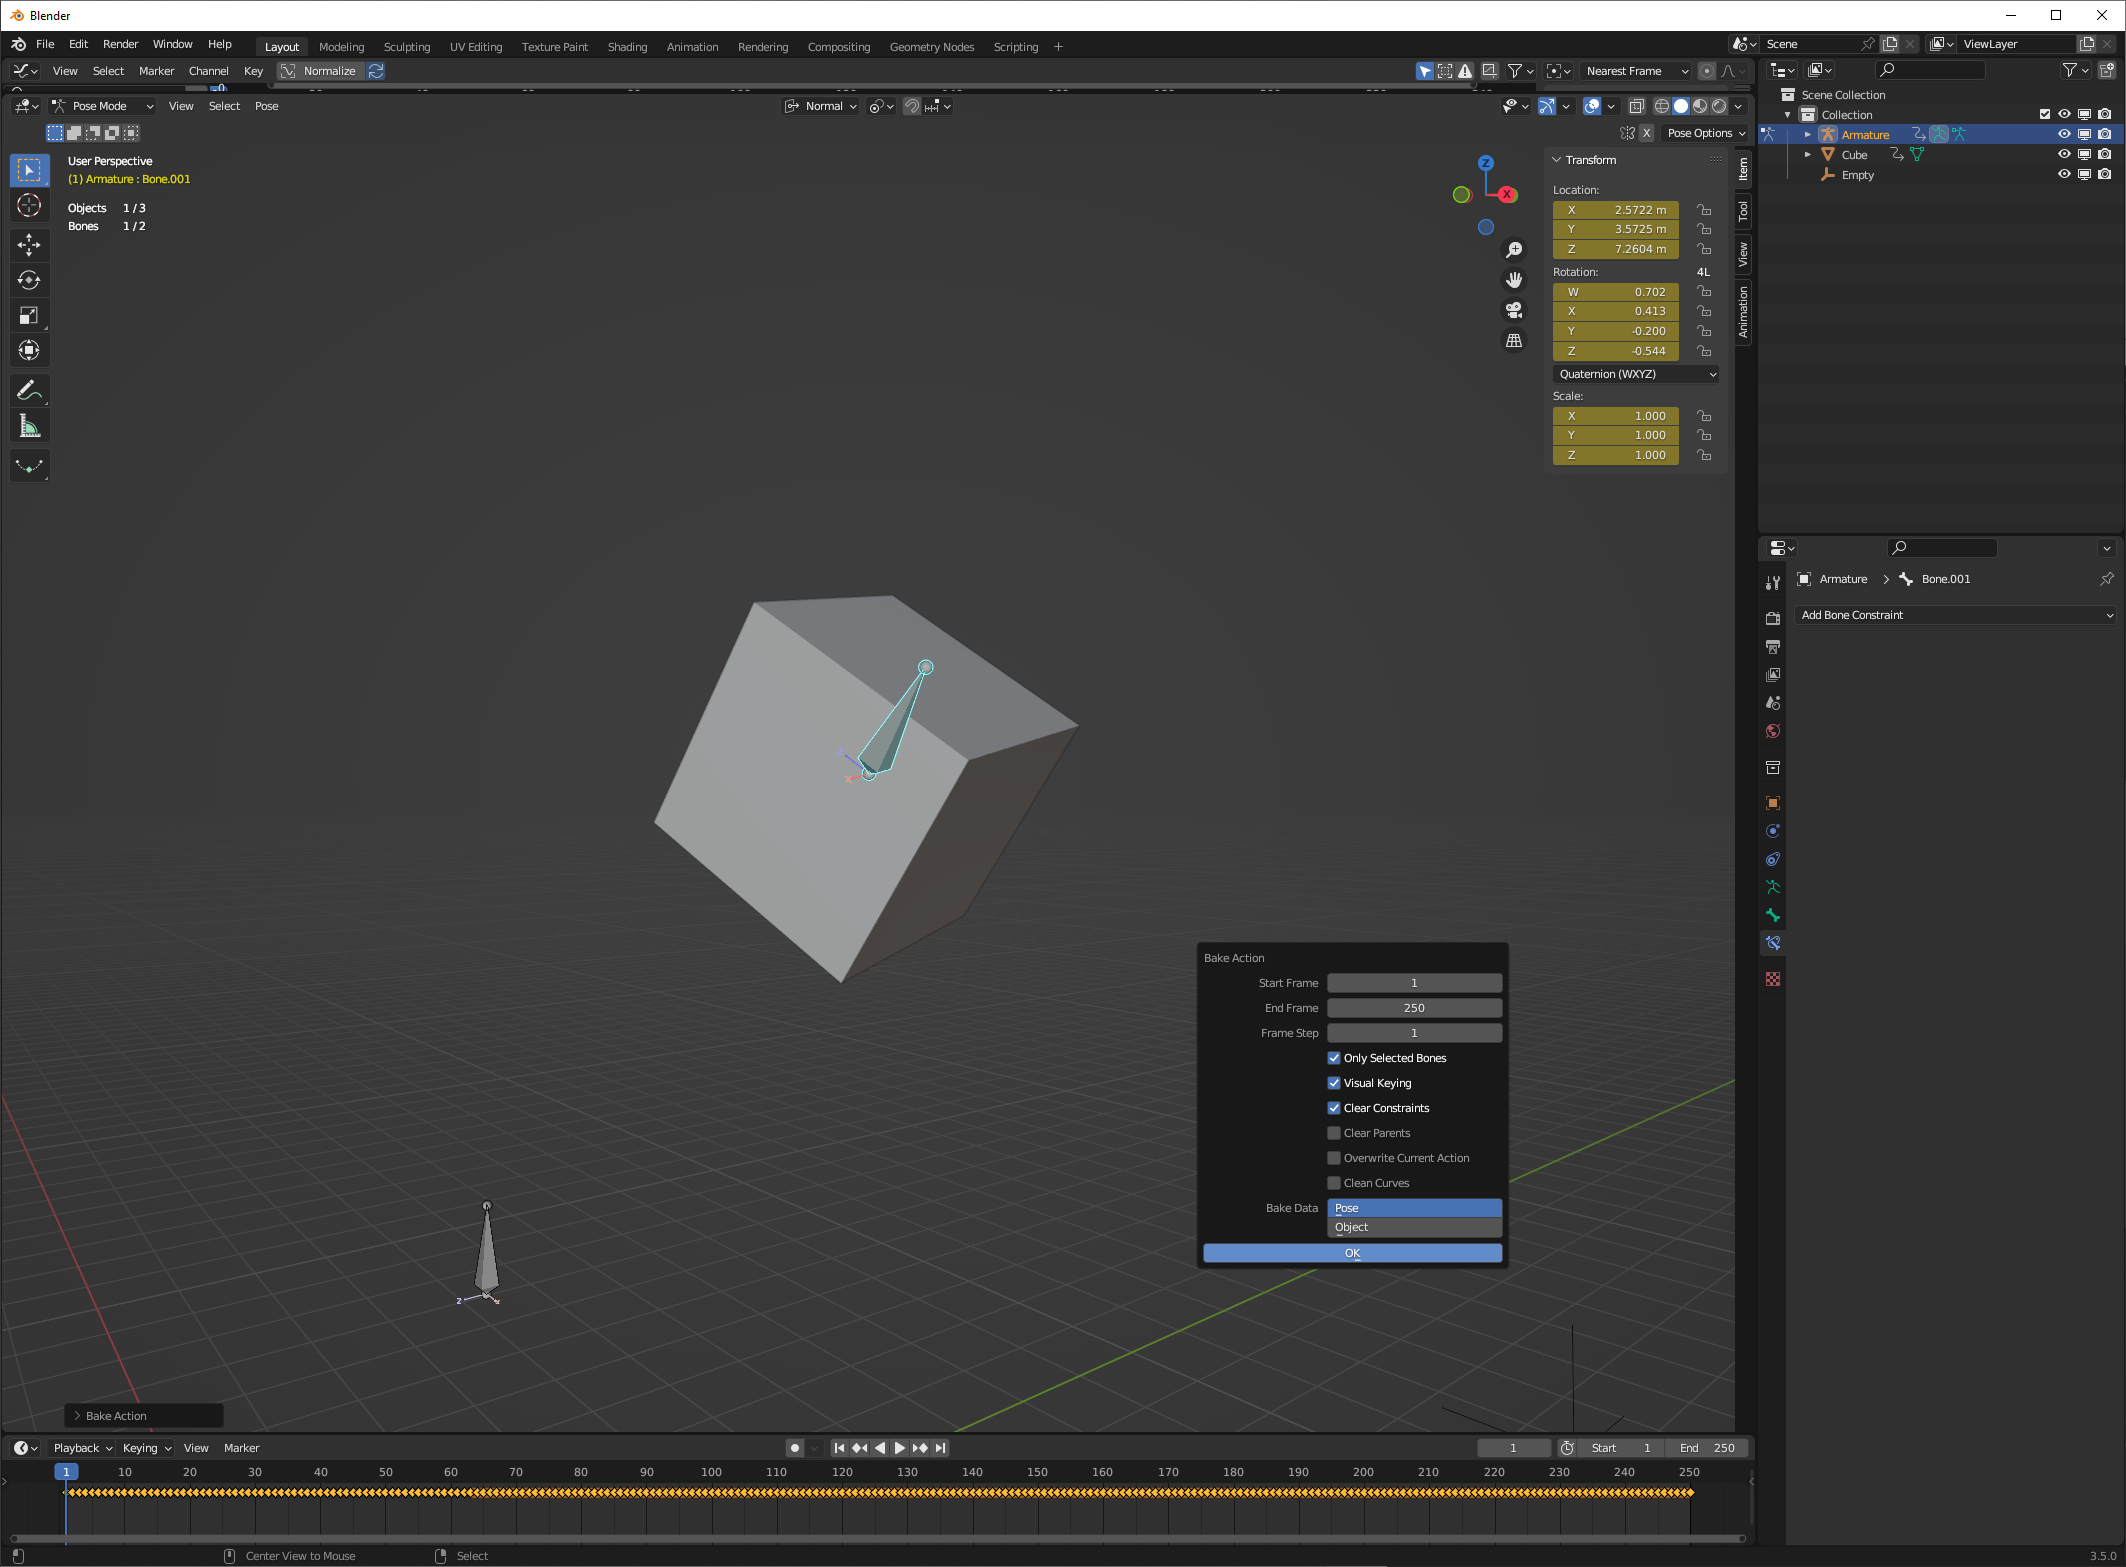
You may want to keyframe this behavior many, many times. If you had a 3000 frame animation, and wanted to write your constraints to keyframed transforms for every frame (perhaps, for use in a different rendering engine), visually keyframing would be inconvenient. Instead, you can use a "bake action" operation:

I've enabled "visual keying" and "clear constraints" on this bake action operation; I'm using the default frame step and range. It has created a visual keyframe for every frame, and then cleared the bone constraint, just as expected. If I wanted fewer keyframes, I could use a larger "frame step" value.
It would be possible to set up a bone such that copy/pasting keyframes gave the same (world space) transform as the object. You would want identical rotation modes (XYZ Euler, for example.) You would also need these to have identical inherited transforms, but that's easy if the object is unparented. And you would want identical rest postion and axes-- that is, the object, when its transform was at 0,0,0, was at the same location as the bone; with no rotation, their axes point the same direction. A default bone's axes do not point in the same direction as a default object's axes.

