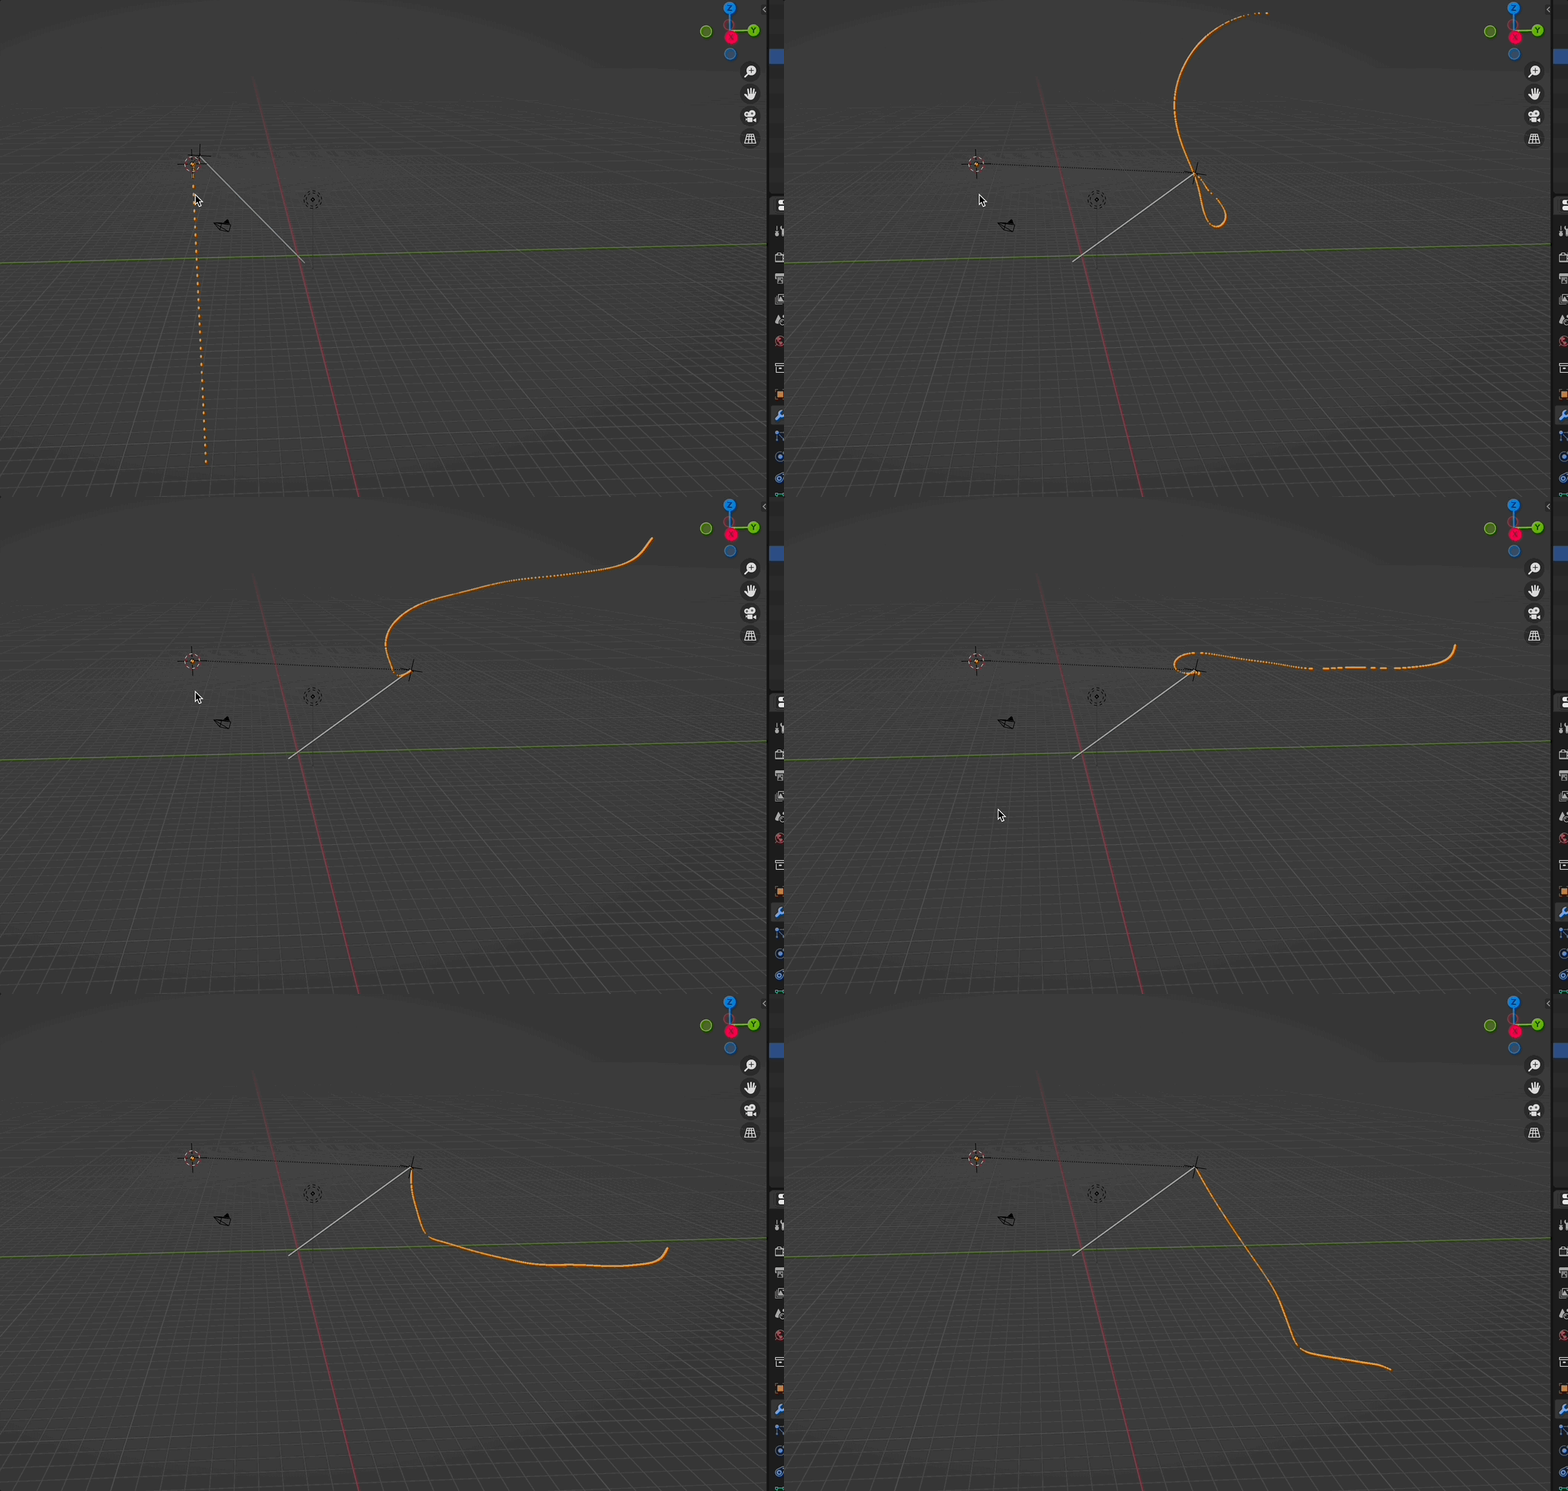
I am making tests with a simple cloth simulation. I am trying to tweak it so that I can have a physics based solution for a fishing line animation. The cloth geometry serves as the fishing line and it has pinned verts to the tip of the fishing rod and to a rigid body that is supposed to be the hook with the lure and sinker. However I am getting strange results and I don't understand why yet. In one of my tests for some reason the rigid body lure flies away because of a wind force that is in another collection. In this test the fishing line tip attached to the lure first waits for a long time until suddenly it updates its position and catches up to the rigid body lure. In another test I set the wind forces to zero and then the rigid body lure just falls but the fishing line doesn't follow it. The technique I used to "attach" the fishing line geometry to the lure was the vertex hook to new object method. What is a good approach to achieve a good result? Right now I'm thinking a physics approach might be too costly and difficult. I think an approach of using bones will probably be simpler and faster. Below are a couple of tests illustrating what a couple of tests looked like.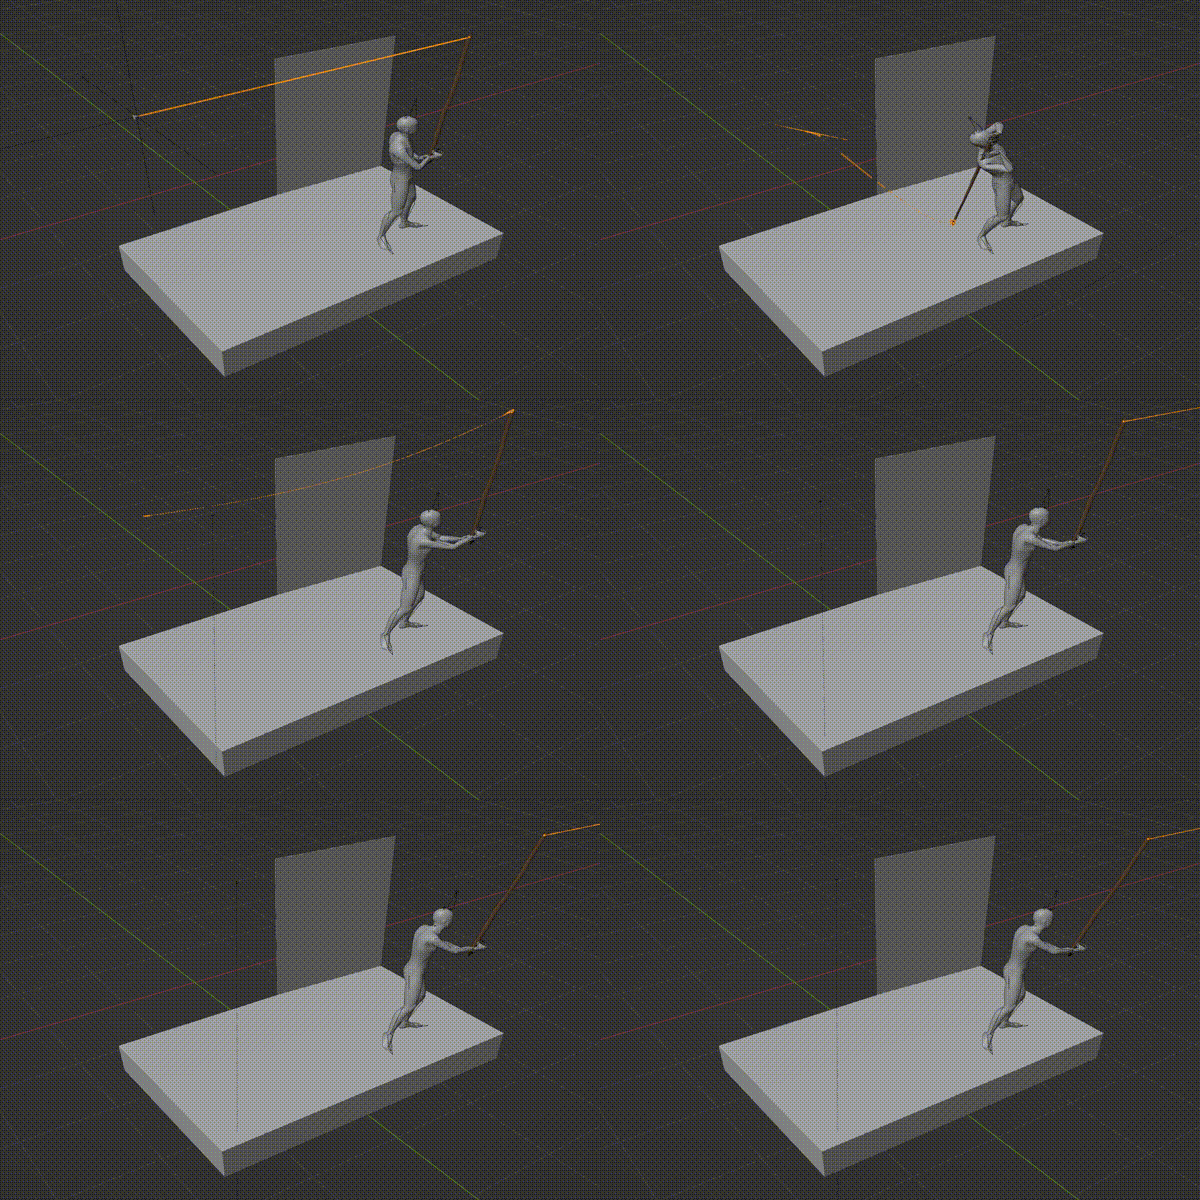
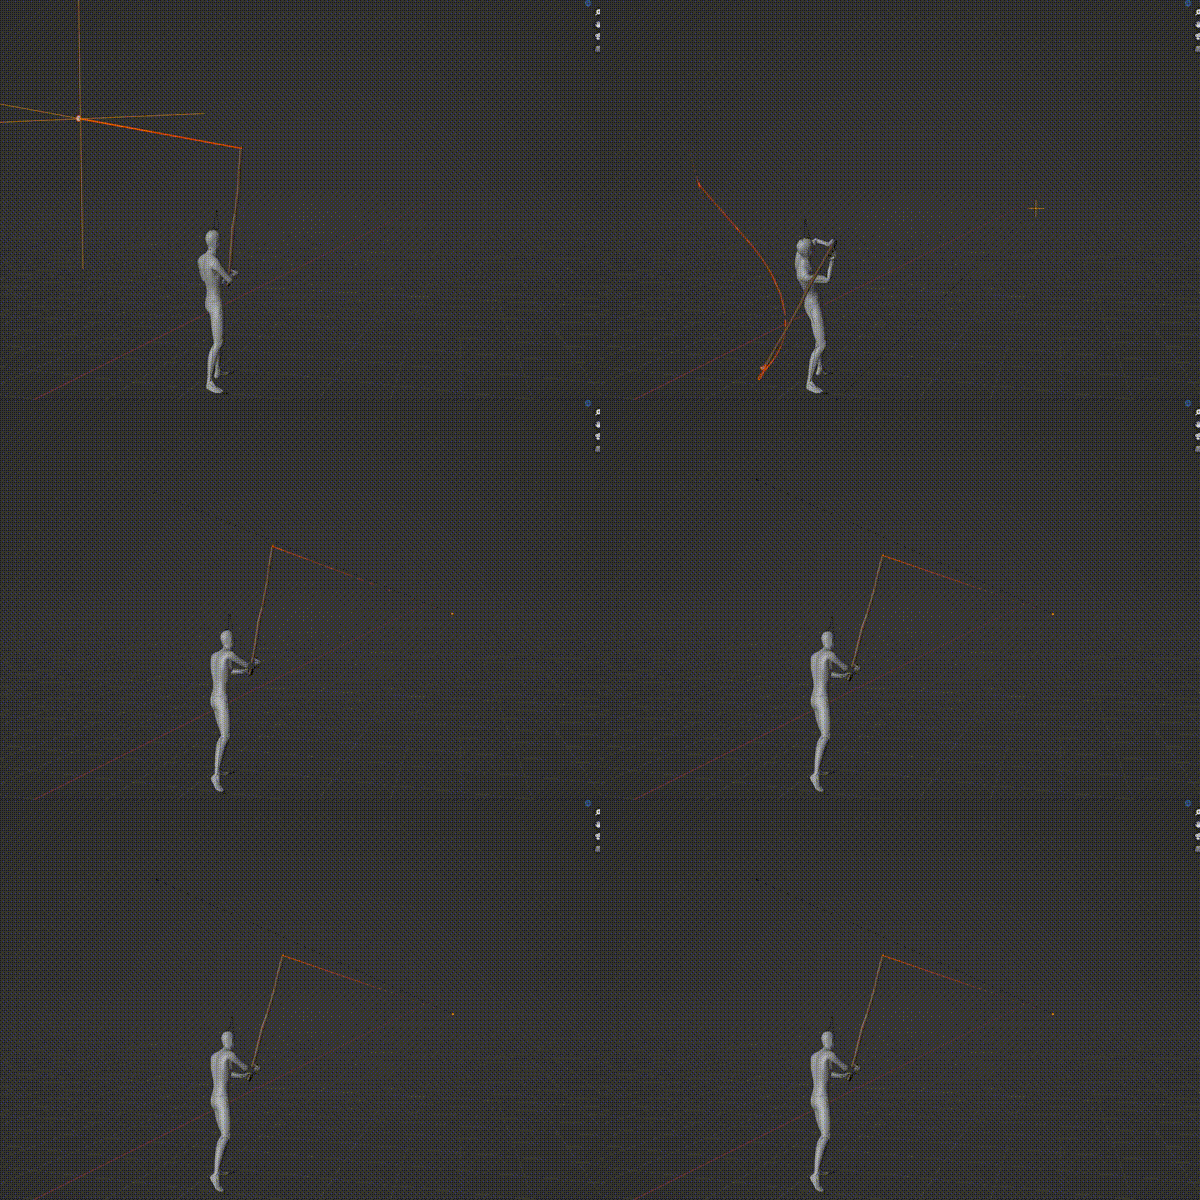
-
$\begingroup$ ok, sorry, i am not a fisherman, but if you are satisfied with such an animation here [1]: i.sstatic.net/KBlcL.gif i can give an answer how i did this $\endgroup$– ChrisCommented Oct 31, 2022 at 19:12
-
$\begingroup$ here some more tests...[1]: i.sstatic.net/4HpVG.gif $\endgroup$– ChrisCommented Oct 31, 2022 at 19:24
-
$\begingroup$ Hi @Chris, yes those look like the direction I want to go in. Could you please share a step by step on how you got there? $\endgroup$– Leo AguiarCommented Oct 31, 2022 at 20:47
1 Answer
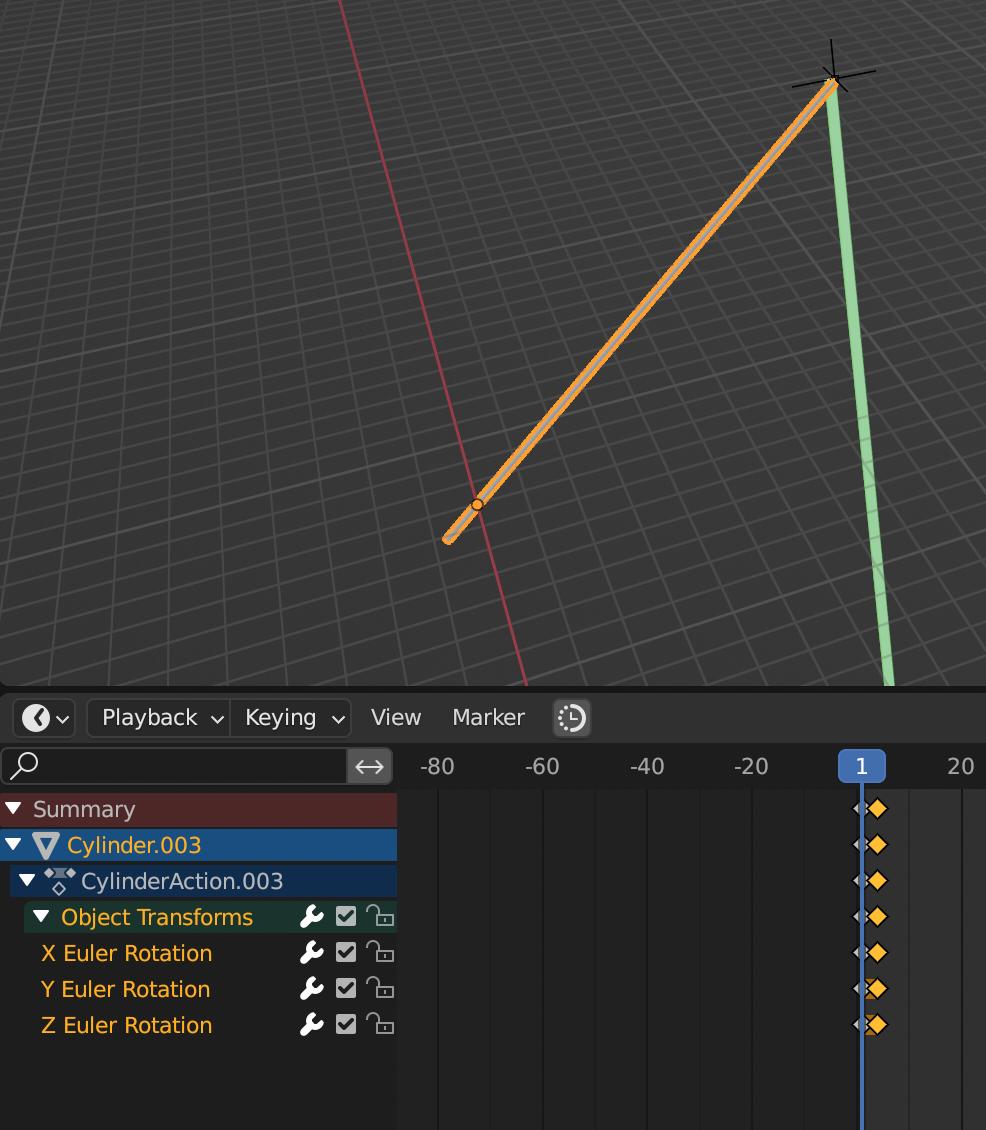
- create a cylinder, make sure the pivot point is around the end of one end of the cylinder. Keyframe the rotation.
at the other end of the cylinder create plane, make it small in edit mode, grab the bottom to vertices, press E, move mouse a bit down, click, then CTRL-R often until it is long enough
select the top two vertices and press CTRL-H -> hook to new object
3b) create a new vertex group with these two vertices, don't forget to press assign
parent that newly created empty to your cylinder -> keep offset
give your plane a cloth modifier, pin group from 3b
make sure your modifier order is Hook-empty, cloth (and after it maybe a solidify modifier so you can "see" it a bit better)
result:
of course the result strongly depends on your settings, like:
- speed of rotation of cylinder
- settings in cloth modifier
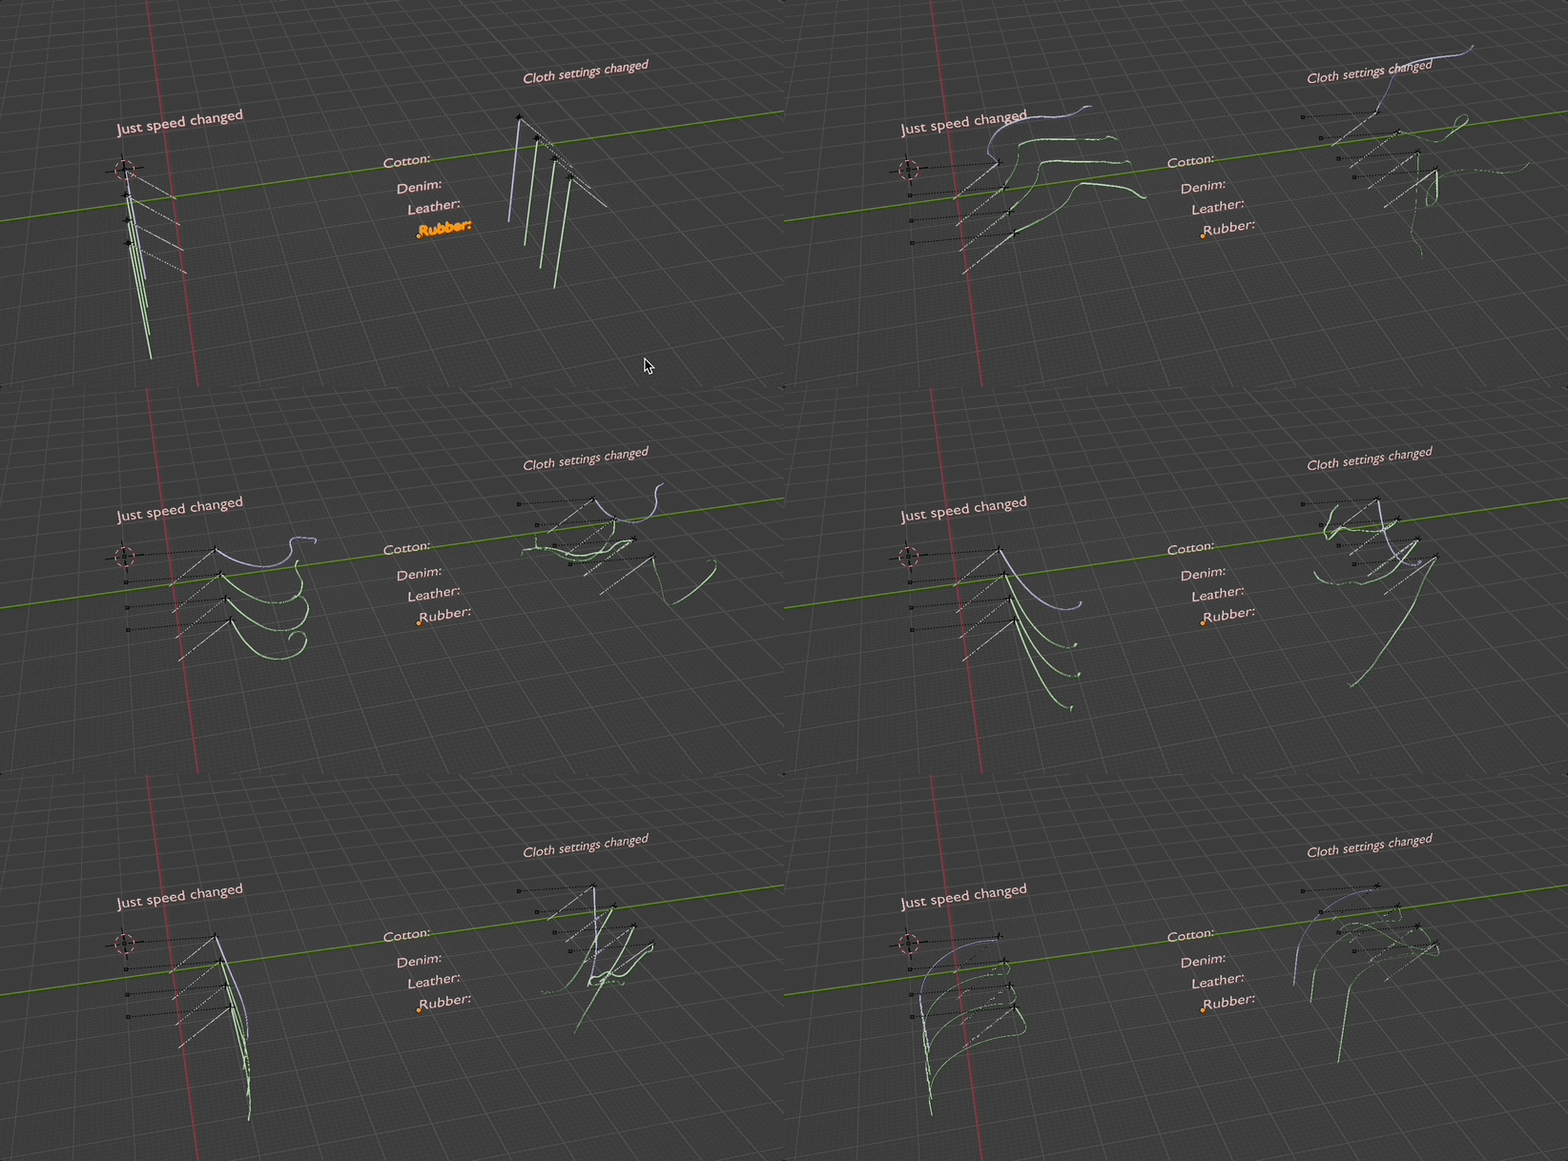
if you wanna compare settings and result, just select cylinder, plane and empty, press ctrl-c and ctrl-v, then g and move it whereever you want it. Blender is so clever, that it assigns the empty to the new objects (that is just one of million things i love about Blender) and change the cloth settings to compare the result.
result:

