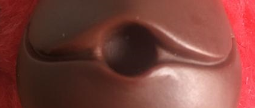
I've been trying to sculpt this mouth in sculpt mode but I can't get the surface to enter enough inside the head or make the more detailed sides... Is there any tip on how to 'maximize' the sculpt brushes? Or any other tip would be very helpful, thanks a lot!!
-
2$\begingroup$ Seems like you don't have enough geometry for such details. To add more you can enable Dyntopo (on top row) to let dynamically generate vertices where needed or add Multires modifier. Sculpt as you need, use Pinch brush to sharpen edges. But with sculpt expect very dense mesh. For object like this would be probably better to model those vertices in edit mode (clean topo). $\endgroup$– vkliduCommented Nov 14, 2020 at 16:32
1 Answer
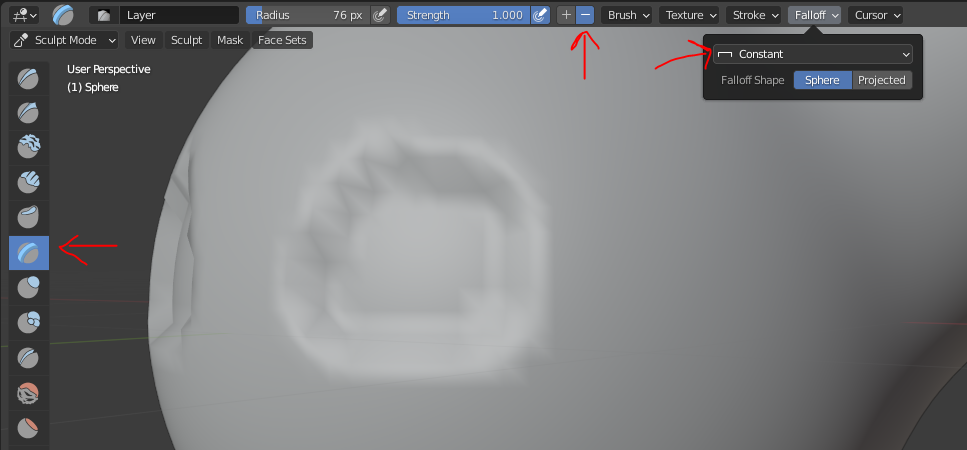
I'm not very much into sculpting, but you can try the Layers tool. Make sure you are in Subtraction Mode (the minus-button on the top) and set the falloff type to Constant.
But to make the edges so smooth like in your reference, you would need a hella lot of vertices, which can be performance-eating.
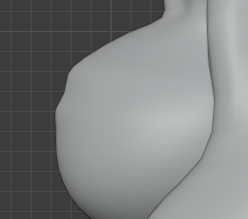
This is the closest result i achieved with sculpting lol:

You could try it with Bump Maps. I have to admit I haven't done this myself, but i've seen a colleague doing this. Basically you use an image with black an white values (black = low, white = high) as your source for the heights.
I think you would have to paint your mouth in grey tones and a sharp edge on a white background and plug in certain nodes in the shader editor.
I found a pretty short, but on-point-tutorial on this, which i can recommend (warning, it may be a bit fast): https://www.youtube.com/watch?v=_dU3DONwSzU


