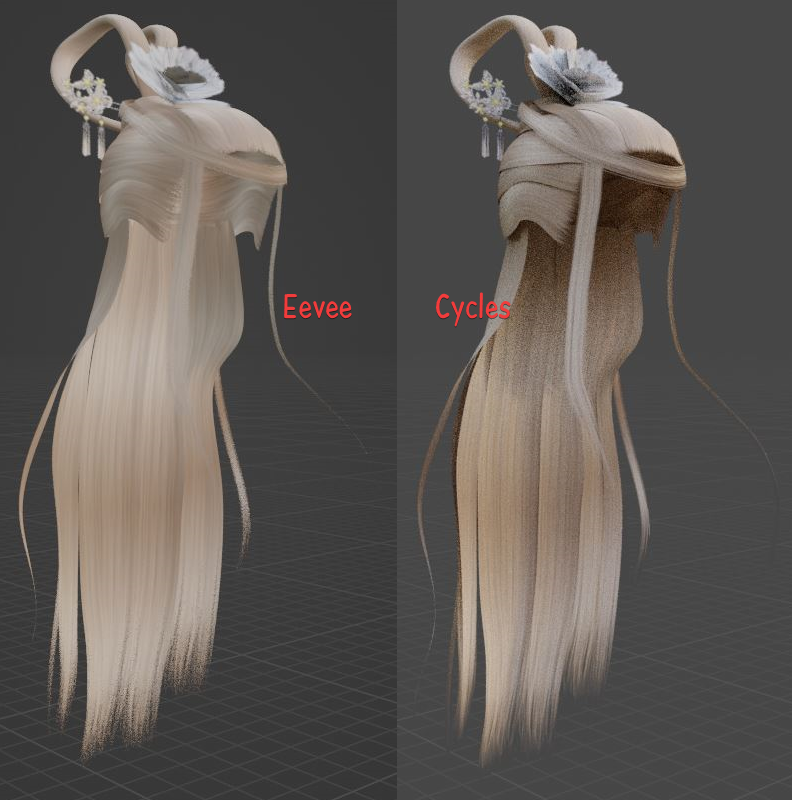
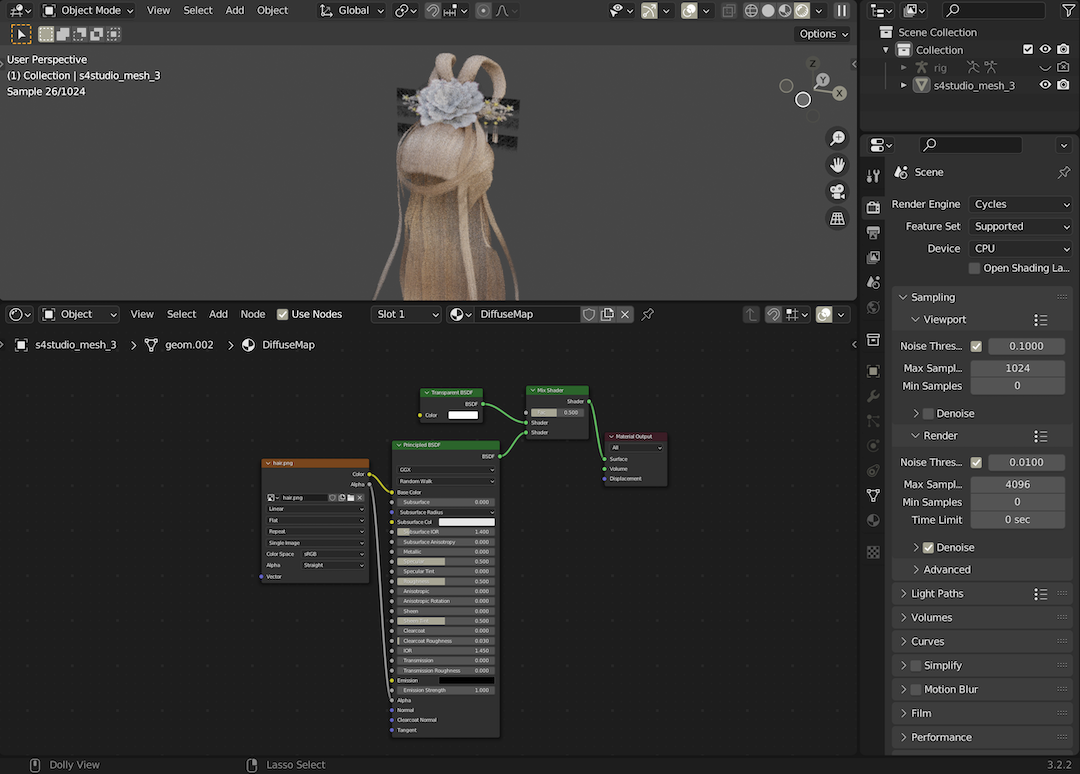
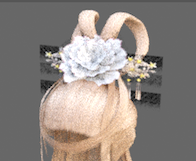
I couldn't see the dark spots visible in your first screenshot:

But I found some issues in your setup that might be the cause - and that also make other visual glitches in other places. So let's fix what I found and hopefully it will be enough.
Beforehand, I highly recommend using the Node Wrangler addon. You can enable it by going to Edit menu > Preferences > Addons tab > search for "wrangler and check on the Node Wrangler addon. You can unfold it to see a list of what it can do, but basically it adds a lot of useful keyboard shortcuts to manage nodes quickly.
Duplicated Geometry
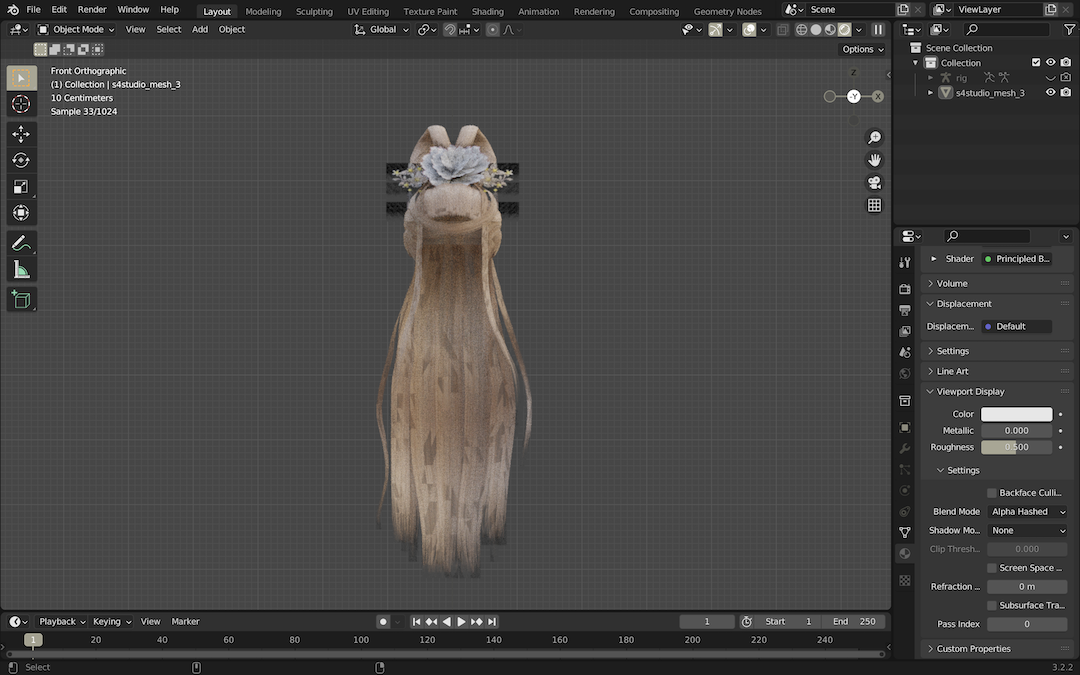
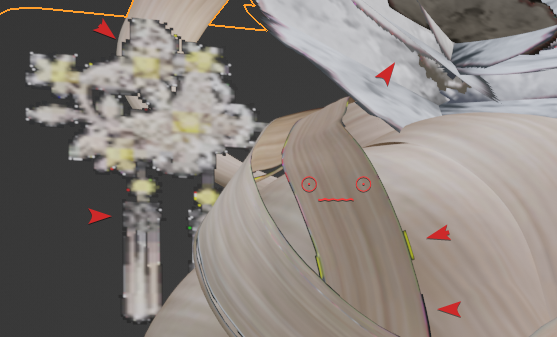
When looking at your third screenshot, we could see some weird geometrical dark spots on your render:

This is known as "Z fighting", when pieces of geometry are so close from each other that the render engine struggles to decide which one to draw in front of the other.
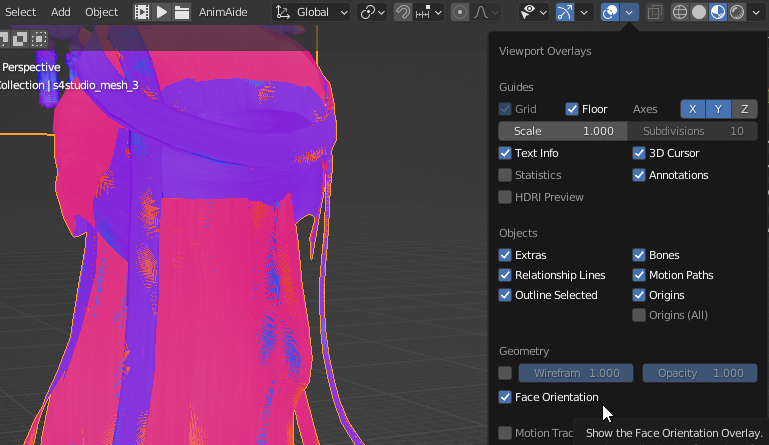
In fact, this is even more visible if you enable the Face Orientation overlay:

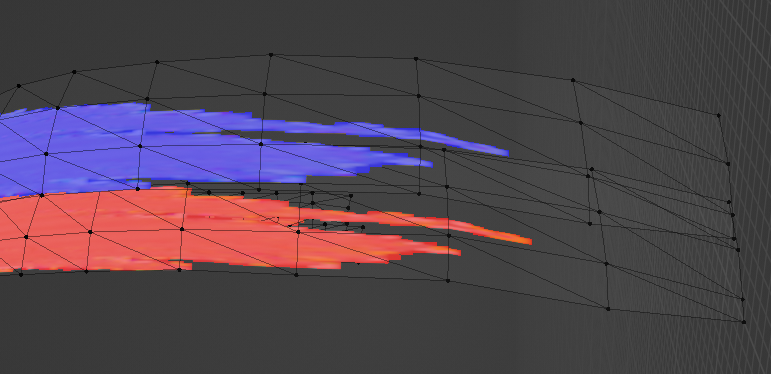
When trying to select an island of mesh with L and moving it away, we can see that the mesh is actually duplicated, but each "duplicate" has its faces oriented the opposite way:

This is due to a change in Cycles introduced in Blender 3.1 for better render performances: Release Notes/3.1/Cycles/Ray Tracing Precision - Blender Developer Wiki
There can still be artifacts with rendering overlapping geometry, in some cases more severe than before. Such overlapping geometry should be removed, or have a small distance added in between.
Probably the easier solution is to delete the duplicated. We could do it in a revertible way, in case you need these duplicated faces later.
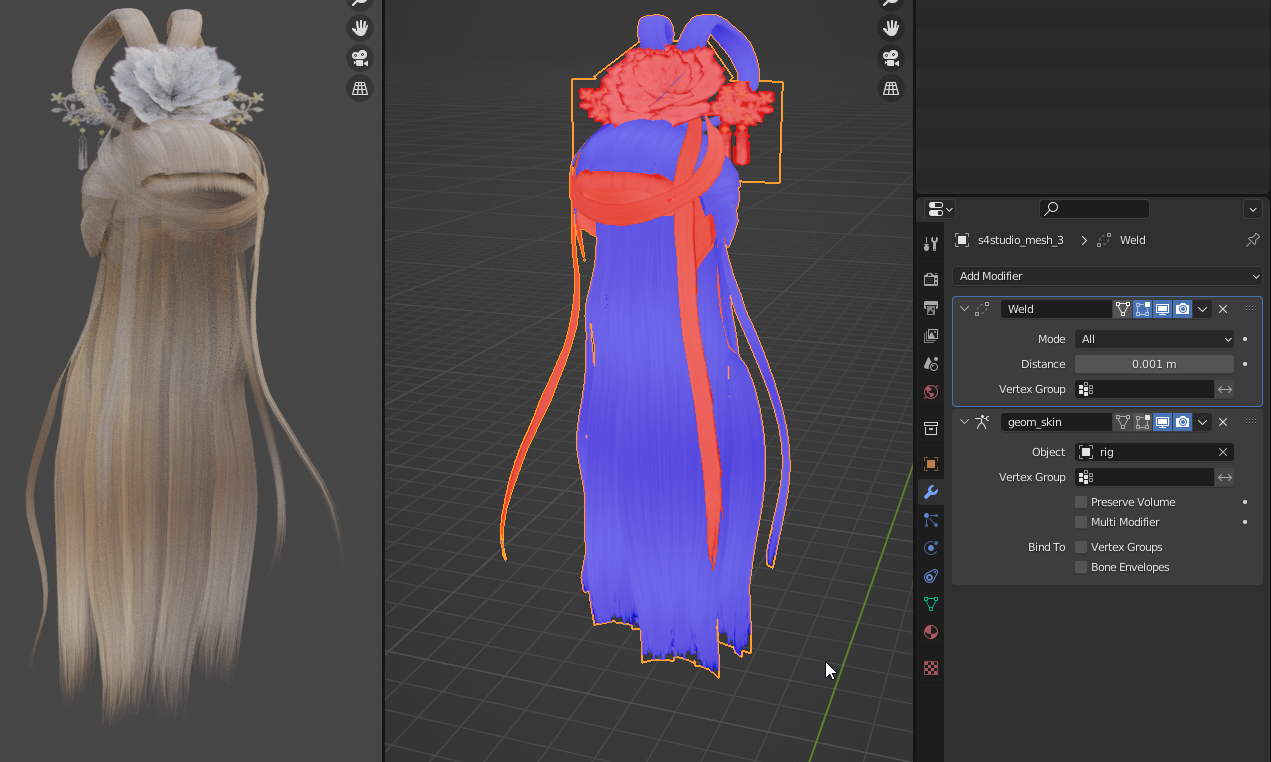
In any case, a simple and quick solution to this issue would be to add a Weld modifier:

If you don't need these duplicated meshes at all, you can apply this modifier by hovering it with your cursor and pressing ⎈ CtrlA, then you can go in Edit mode, hover the parts that are facing red to the outside, press L to select them, and hit ⇧ ShiftN to invert them. It's not absolutely needed, but it can avoid issues sometimes.
I suspect this duplicated mesh was done because some render engines (especially game engines) don't render the backfaces, so the mesh was duplicated and inverted to be able to show up on both sides. Now, it's a good solution, but many game engines have options to enable the backface rendering, and neither Eevee nor Cycles cull the backfaces, so if you don't plan on using this model on a render engine that can't render backfaces, you don't need these duplicated meshes.
Cycles render setting
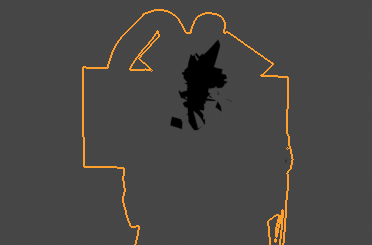
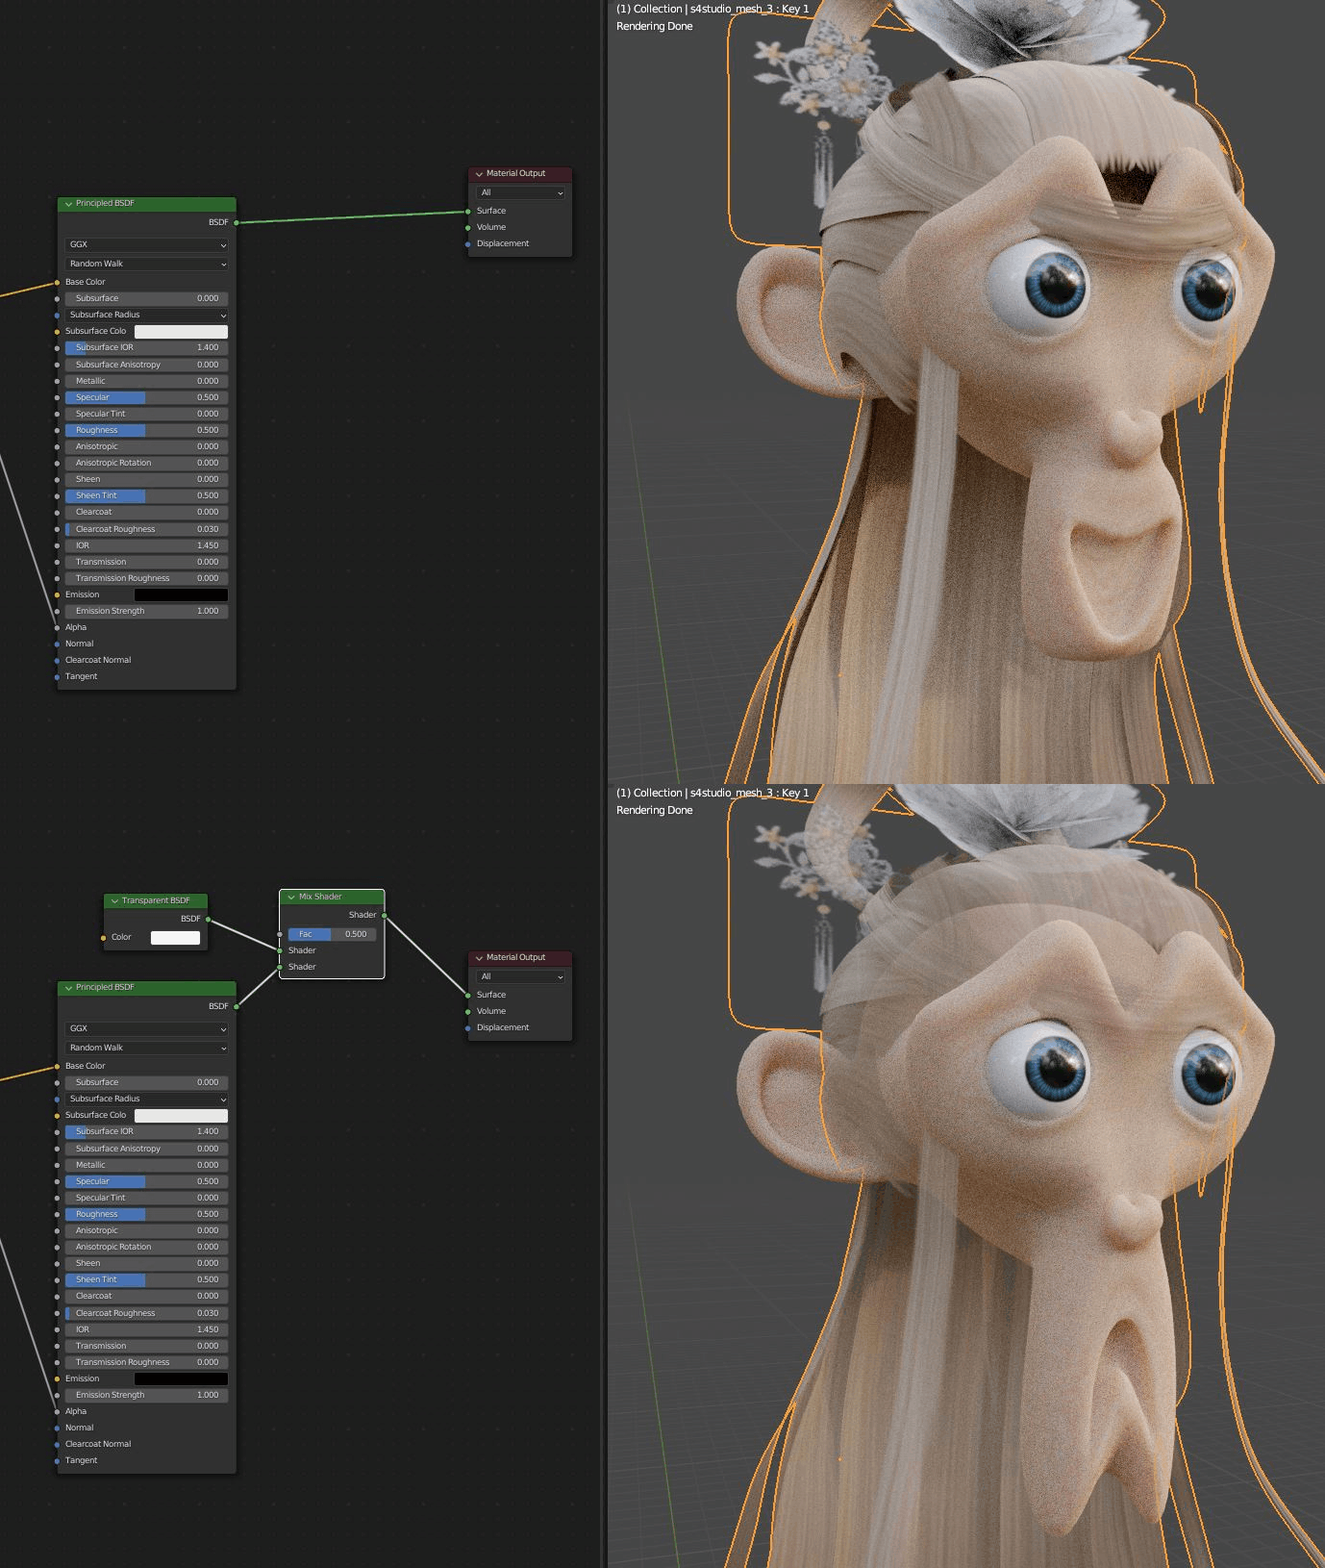
If we replace your shader by a transparent shader, this is what Cycles will produce:

Because Cycles works by sending rays that bounce around the scene to determine the pixels color, but can't wait an infinite amount of time for each ray to complete its course, the amount of bounds are limited on a per-type basis.
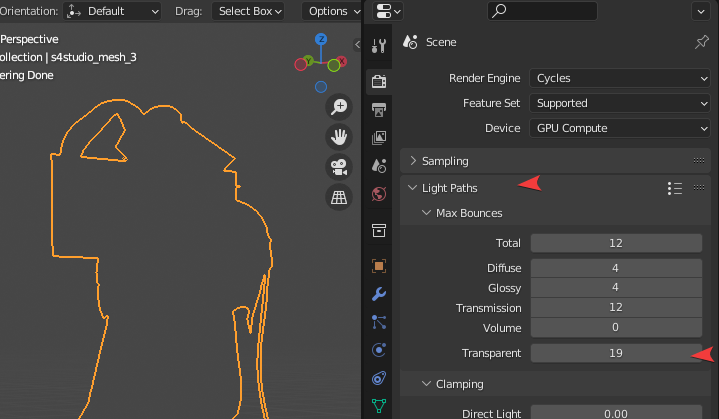
Transparency bounds are limited to 8 by default. Since your hair is basically a bunch of planes with some transparency, you can sometimes have rays that need to go through way more than 8 layers of meshes to calculate a proper transparency.
The black area here seem to be the root of the flower, so probably most of the black spots are hard to see in the first place with the real shader. But just to be sure, we could set the max transparency bounce to 20, that seems to work fine at most angles:

Shader fixes
As it stands out now, you have two issues with your shader: it's semi transparent, and its Eevee alpha setting is not the best one around.
Unless you want to be able to see your character's bald skull bellow their hair, you should really remove that mix shader and plug your Principled shader output to your material surface:

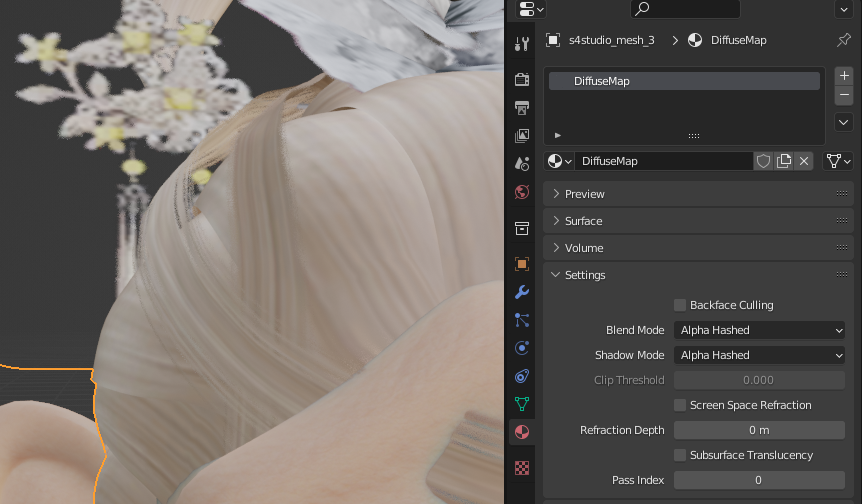
Then, if you want to use Eevee, you might have noticed this on the edges of your hair:

This is because you set your material to use the Alpha Clip Blending Mode.
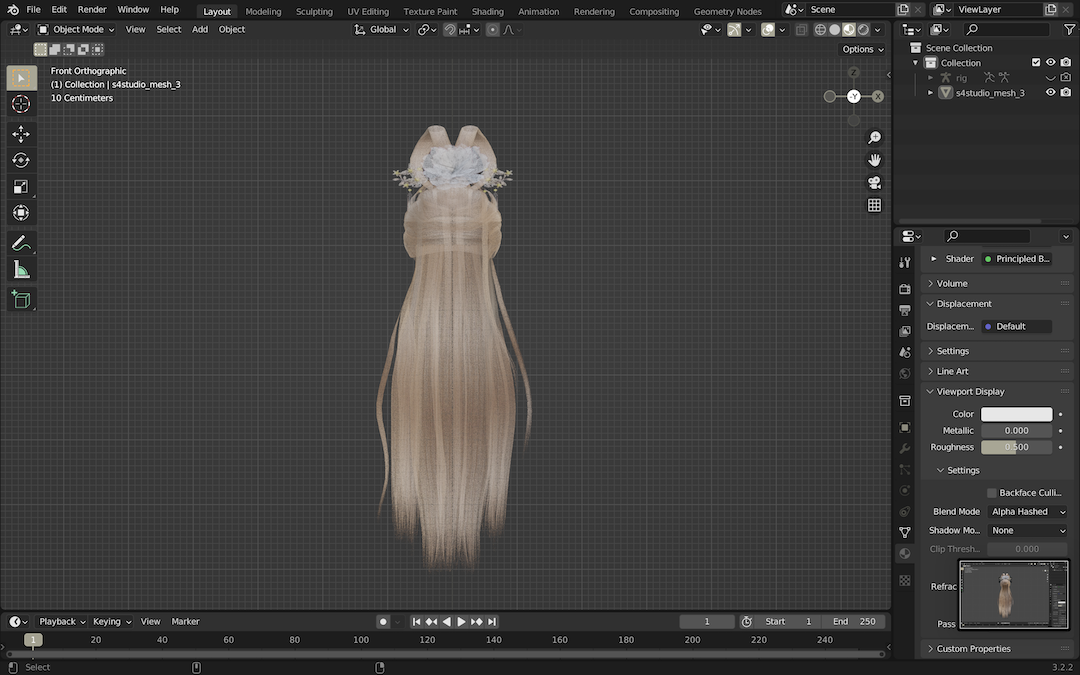
But you should probably use Alpha Hashed instead (don't forget to set it up for the Shadow Mode as well). Result:

Final result
