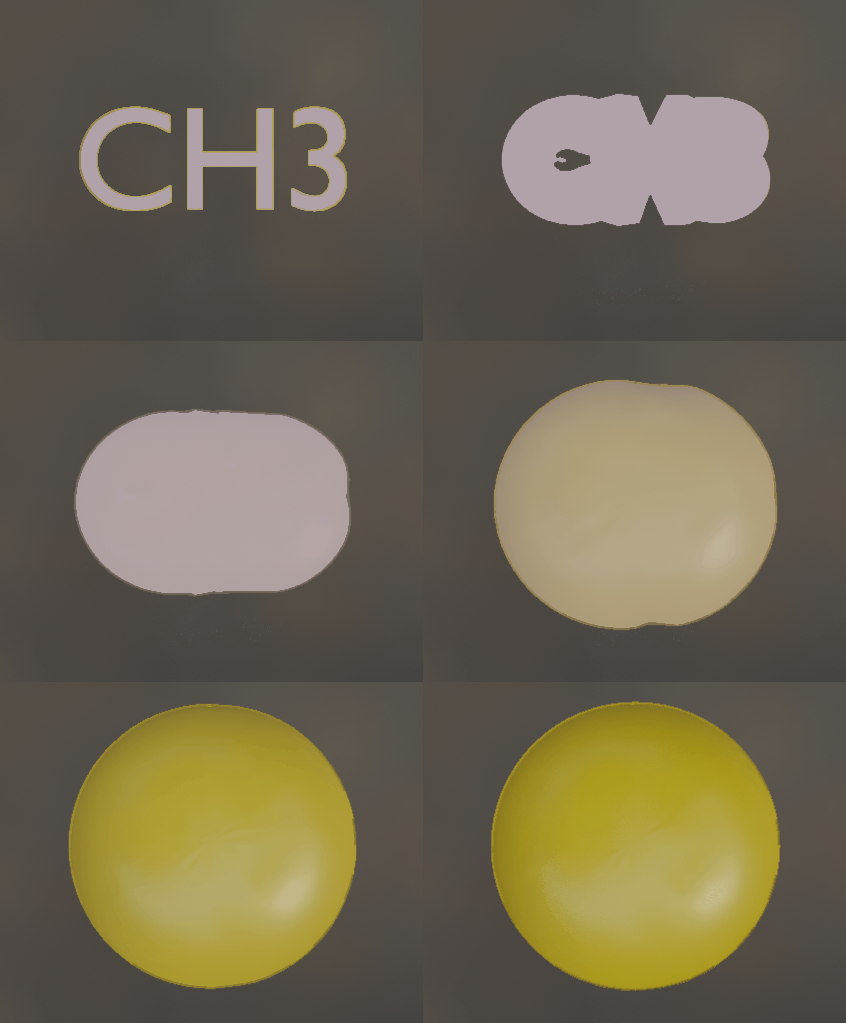
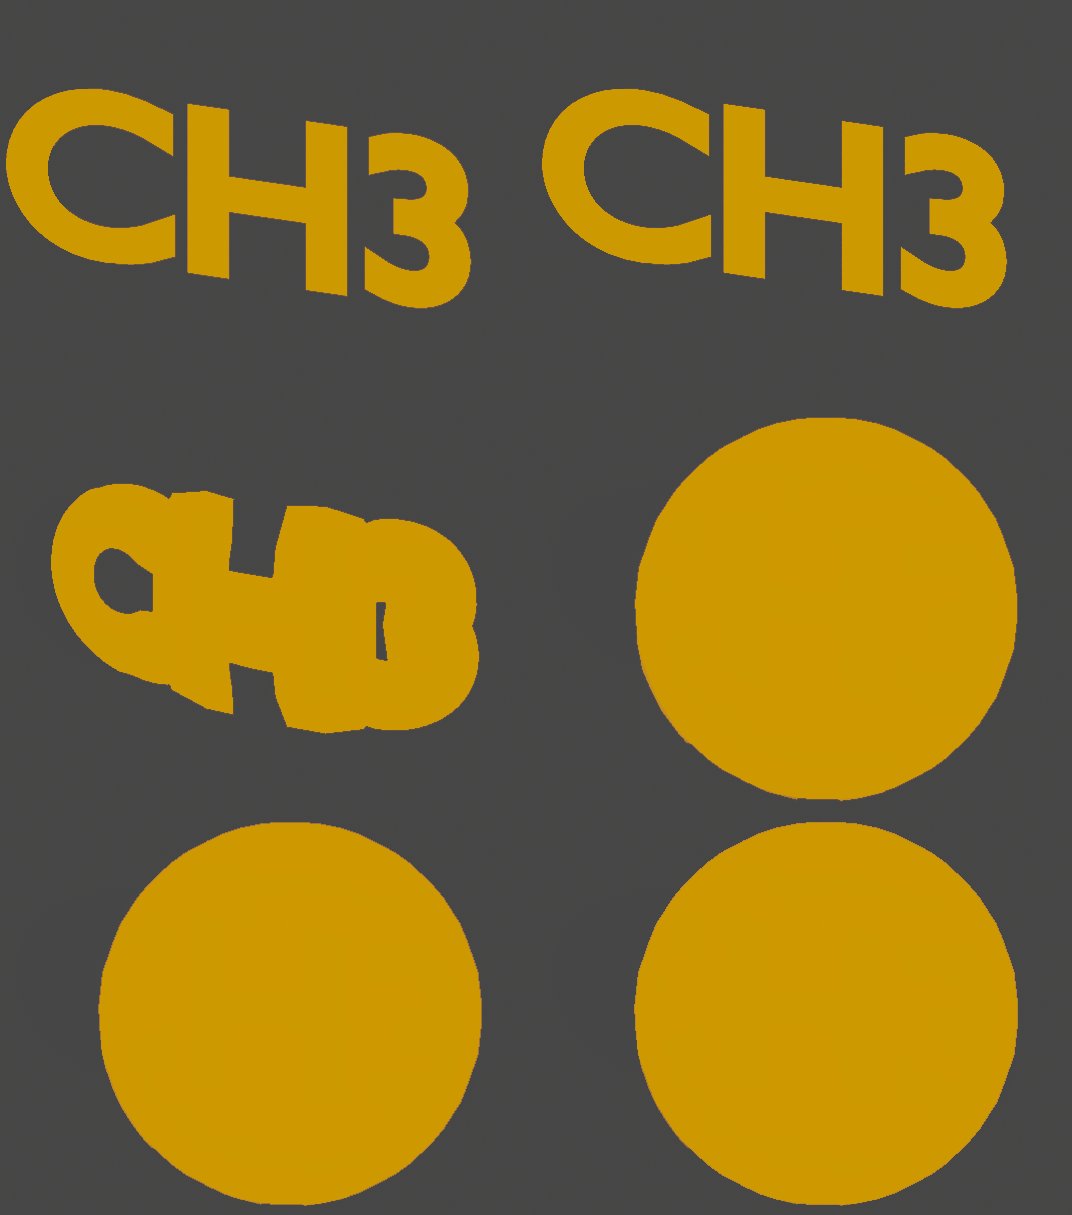
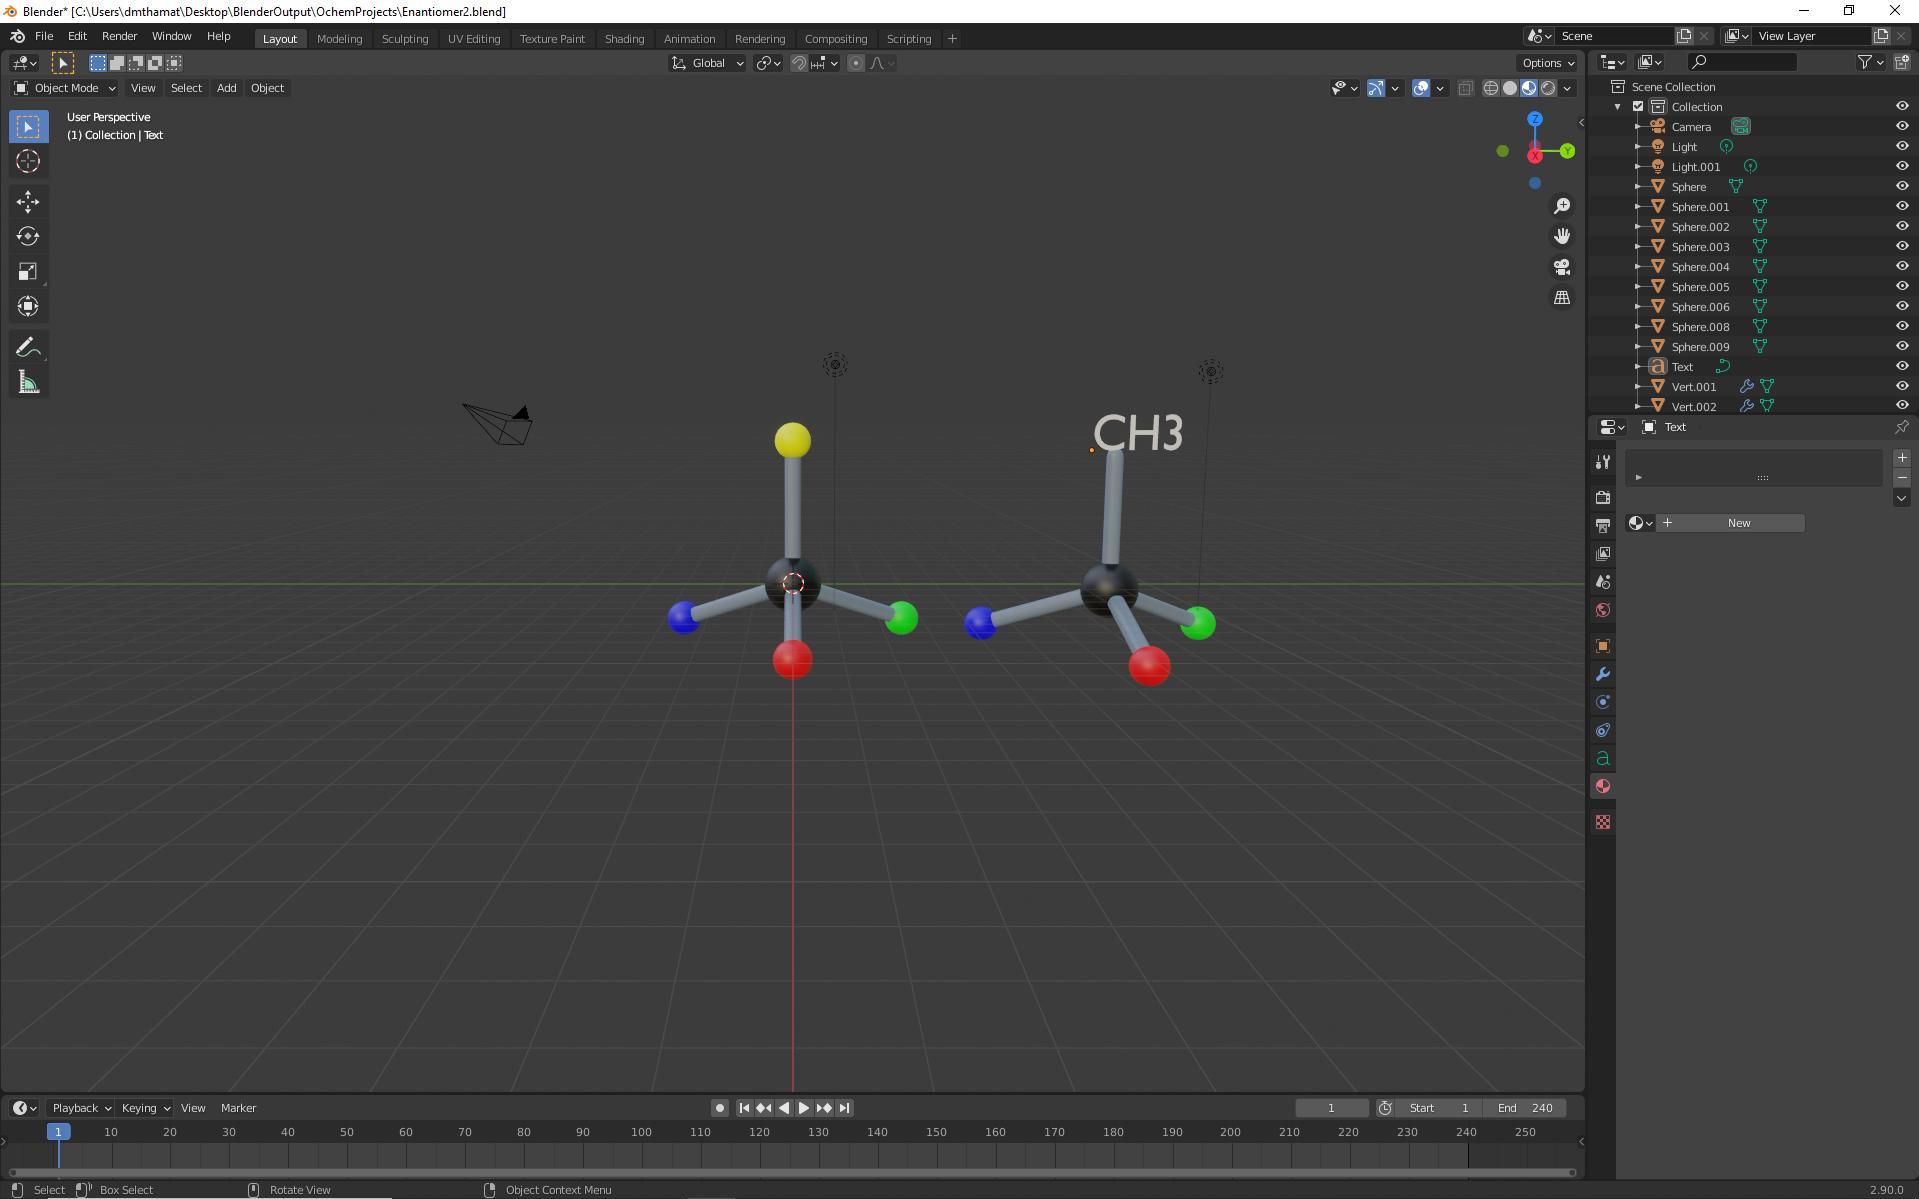
 I am trying to morph text into shape. Is there a convenient way to do this in Blender? For example, how would I morph the text "CH3" into a sphere? Please help if you know how to do this. Thank you!
-
3$\begingroup$ I guess it really depends how your text object looks like, etc... maybe show a video, some pictures, or even a drawing of what you want? $\endgroup$– moonbootsCommented Sep 21, 2020 at 18:08
-
$\begingroup$ Please see added image. I am trying to morph the CH3 into a yellow sphere. This is one example but I'd like to eventually morph between the other spheres and text as well. $\endgroup$– DasCommented Sep 22, 2020 at 2:12
-
$\begingroup$ I guess you want to replace the sphere from the text , you can do that probably by linking their object data , click both of them and do CTRL L and select object data $\endgroup$– SHikha MittalCommented Sep 22, 2020 at 2:24
2 Answers
Can use shrinkwrap modifier and some transparency animation to do that:
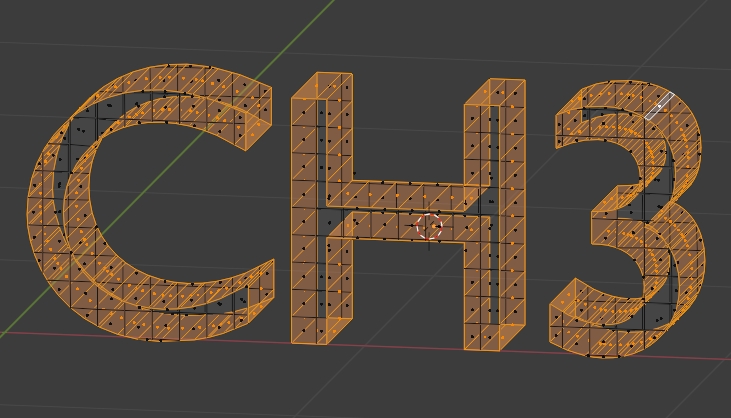
We can keep the text as it is: just give it a little extrusion (text property panel), and convert it to mesh (menu "object/convert to") as we'll need a vertex group.
Then add a support sphere that is around the text. This sphere will not be rendered and is just here to be projected on.
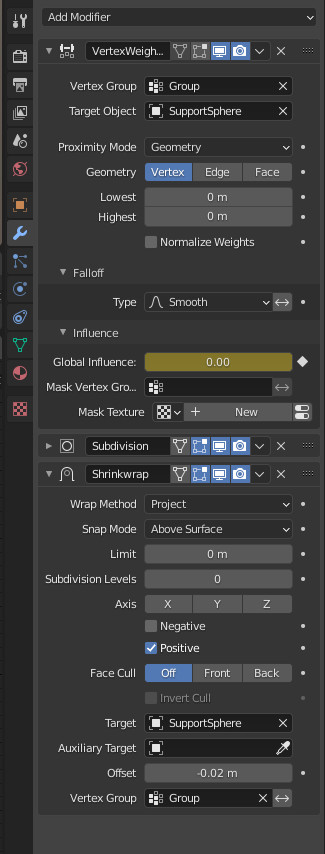
Add a vertex group to the text and add it this modifiers:
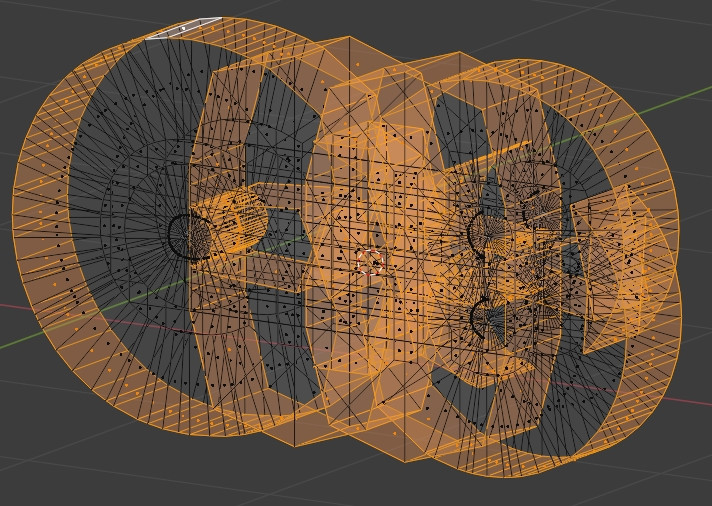
- Vertex weight proximity onto the geometry of the support sphere and using the vertex group. We'll animate "global influence" parameter from 0 to 1, so that the text vertex group progressively go to 1.
- Subdivsion surface which helps to get rid of artifacts
- Shrinkwrap to the support sphere, using the same vertex group and with the parameter shown above
The text shader is directly a color to get rid of normal issues (see blend file).
Now use a second sphere, which will be visible at the end, as its alpha/transparency is animated.
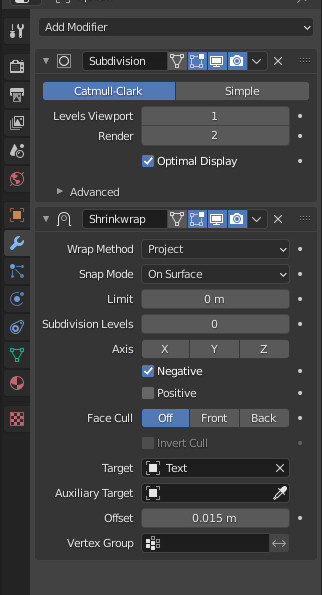
This sphere is itself projected on the text using another shrinkwrap modifier, with the following parameters:
This sphere is fully shaded (see blend file) and adds the color transition.
-
$\begingroup$ Thank you so much for the detailed explanation. I made an attempt following your directions but I must have missed something because even though the animation works, it is not nearly as nice as the one you made. I have the blend file but I don't know how to upload it here.. $\endgroup$– DasCommented Sep 23, 2020 at 17:58
-
$\begingroup$ You can use this link to upload a file: blend-exchange.giantcowfilms.com $\endgroup$– lemonCommented Sep 23, 2020 at 18:01
-
$\begingroup$ Thank you. I uploaded my blend file here. I am using the cycles engine in Blender 2.9.<img src="https://blend-exchange.giantcowfilms.com/embedImage.png?bid=6qWPS1GB" /> $\endgroup$– DasCommented Sep 24, 2020 at 2:03
-
$\begingroup$ Here is your file with some modifications (commented in the viewport). <img src="https://blend-exchange.giantcowfilms.com/embedImage.png?bid=J4KNan5N" /> You'll have to tune the transparency effect to make it ok with Cycles (used Eevee in the answer). $\endgroup$– lemonCommented Sep 24, 2020 at 6:58
-
1$\begingroup$ Got it to work this time. Thank you! $\endgroup$– DasCommented Sep 24, 2020 at 15:41
Here are a basic solution and a bit more complete one, using both the Cast modifier:
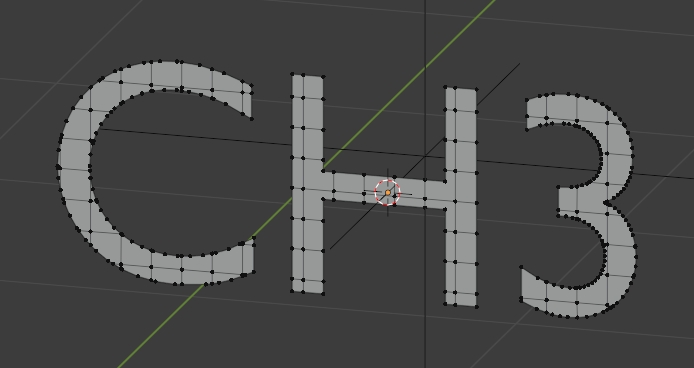
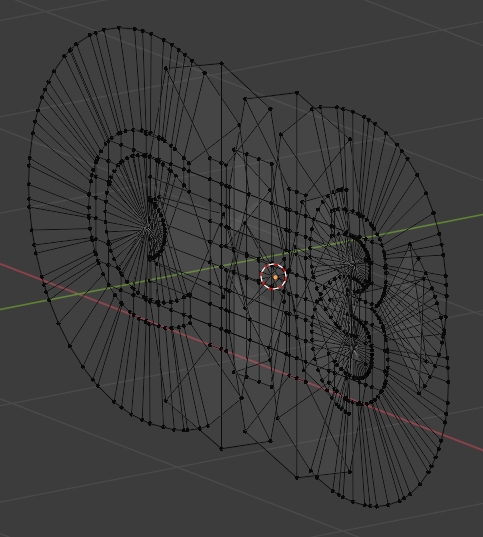
- Create your text, once converted in mesh, press X > Limited Dissolve to simplify it and use a grid and the Knife Project tool to subdivide it:
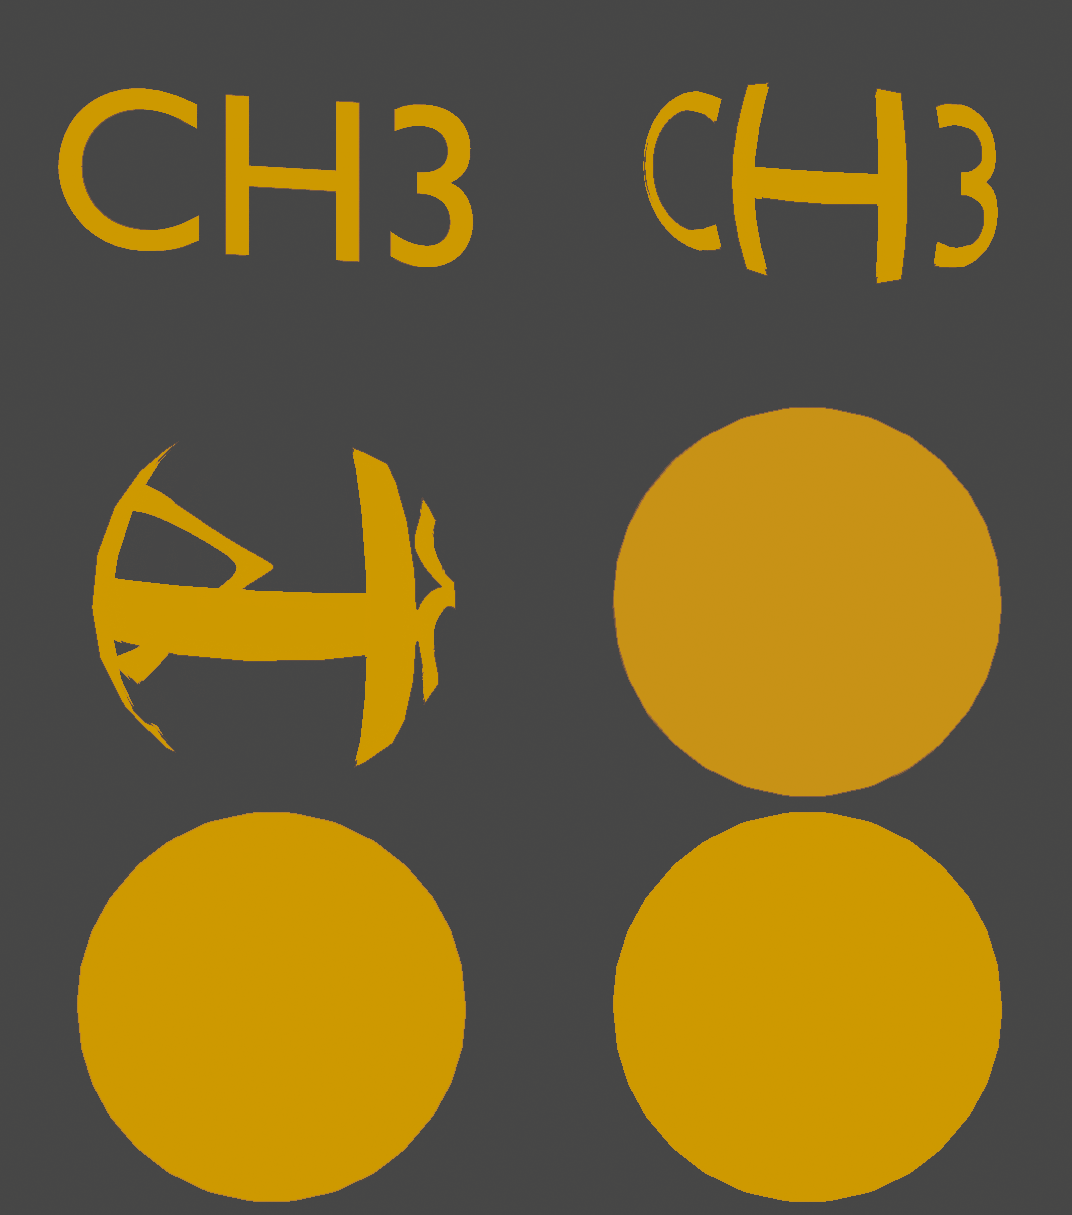
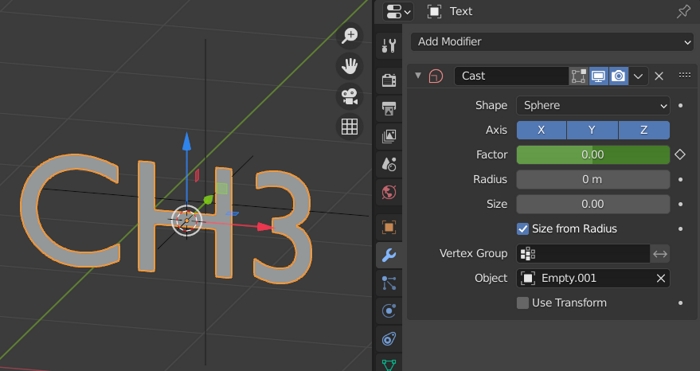
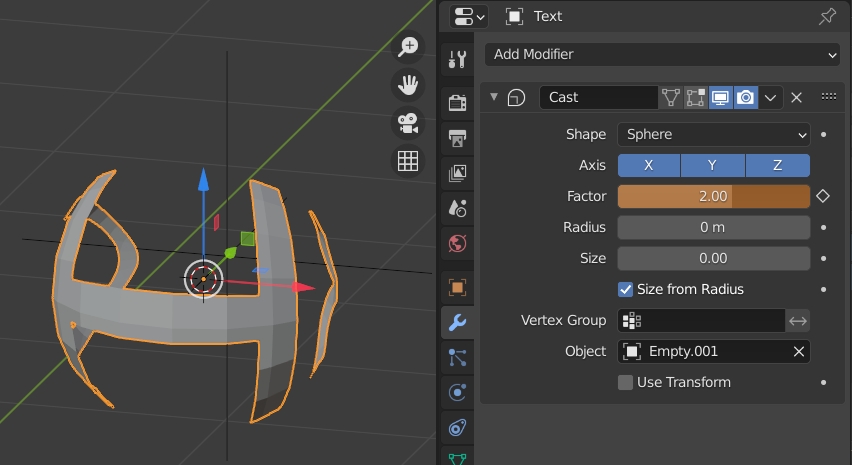
- Put its origin at its geometry, create an empty somewhere behind, give it a Cast modifier with the empty as Object, play with the factor:
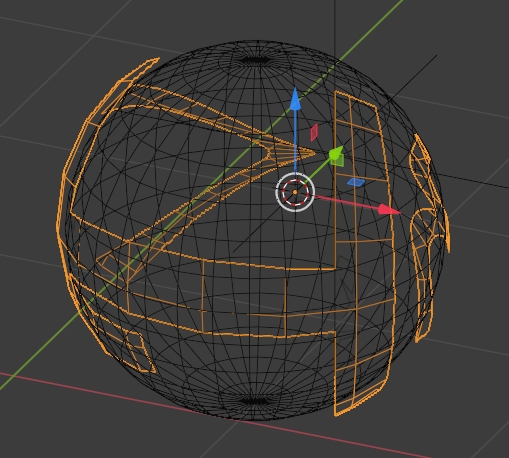
- Create a sphere that has the same radius as the spherical text. Keyframe the Cast factor and the material of the text and of the sphere in order to make them disappear and appear. If you use Eevee, you need to choose Alpha Mode > Alpha Blend in the Settings of the material:
You can improve if you use shapekeys:
- Create your letters, create 2 shapekeys for the object, keep the second selected, select your letters and extrude them, select the rims:
- Press AltS to inflate:
- Delete the extrusion to have a flat topology:
- This time you will animate both the shapekeys (from the shapekey 1 to 2), the Cast modifier and the material to get the animation, keep the sphere as in the first method to make the transition to a complete sphere.
-
$\begingroup$ Thank you so much for the detailed explanation and two separate approaches. As the first one seemed simpler I tried that first. I got the text to work with the cast modifier but I can't seem to get the sphere animation right. I have the blend file but I am not sure how I can attach it here. $\endgroup$– DasCommented Sep 23, 2020 at 17:58
-
$\begingroup$ Sorry I didn't go into details, to make the sphere appear you need to create a material which is a mix (with Mix Shader) between a Diffuse and a Transparent node, then just animate the factor of the Mix Shader so that it begins 100% transparent and ends up 100% colorful $\endgroup$ Commented Sep 23, 2020 at 18:21
-
$\begingroup$ I actually did use the mix shader and keyframed the factor values. I'll check again to see if I missed something while doing that. In any case, the information you provided is "super" helpful in teaching stereochemistry to my students. Much appreciated. $\endgroup$– DasCommented Sep 23, 2020 at 20:18

