4
$\begingroup$

I am trying to create something like this in Blender, but I don't know how exactly.
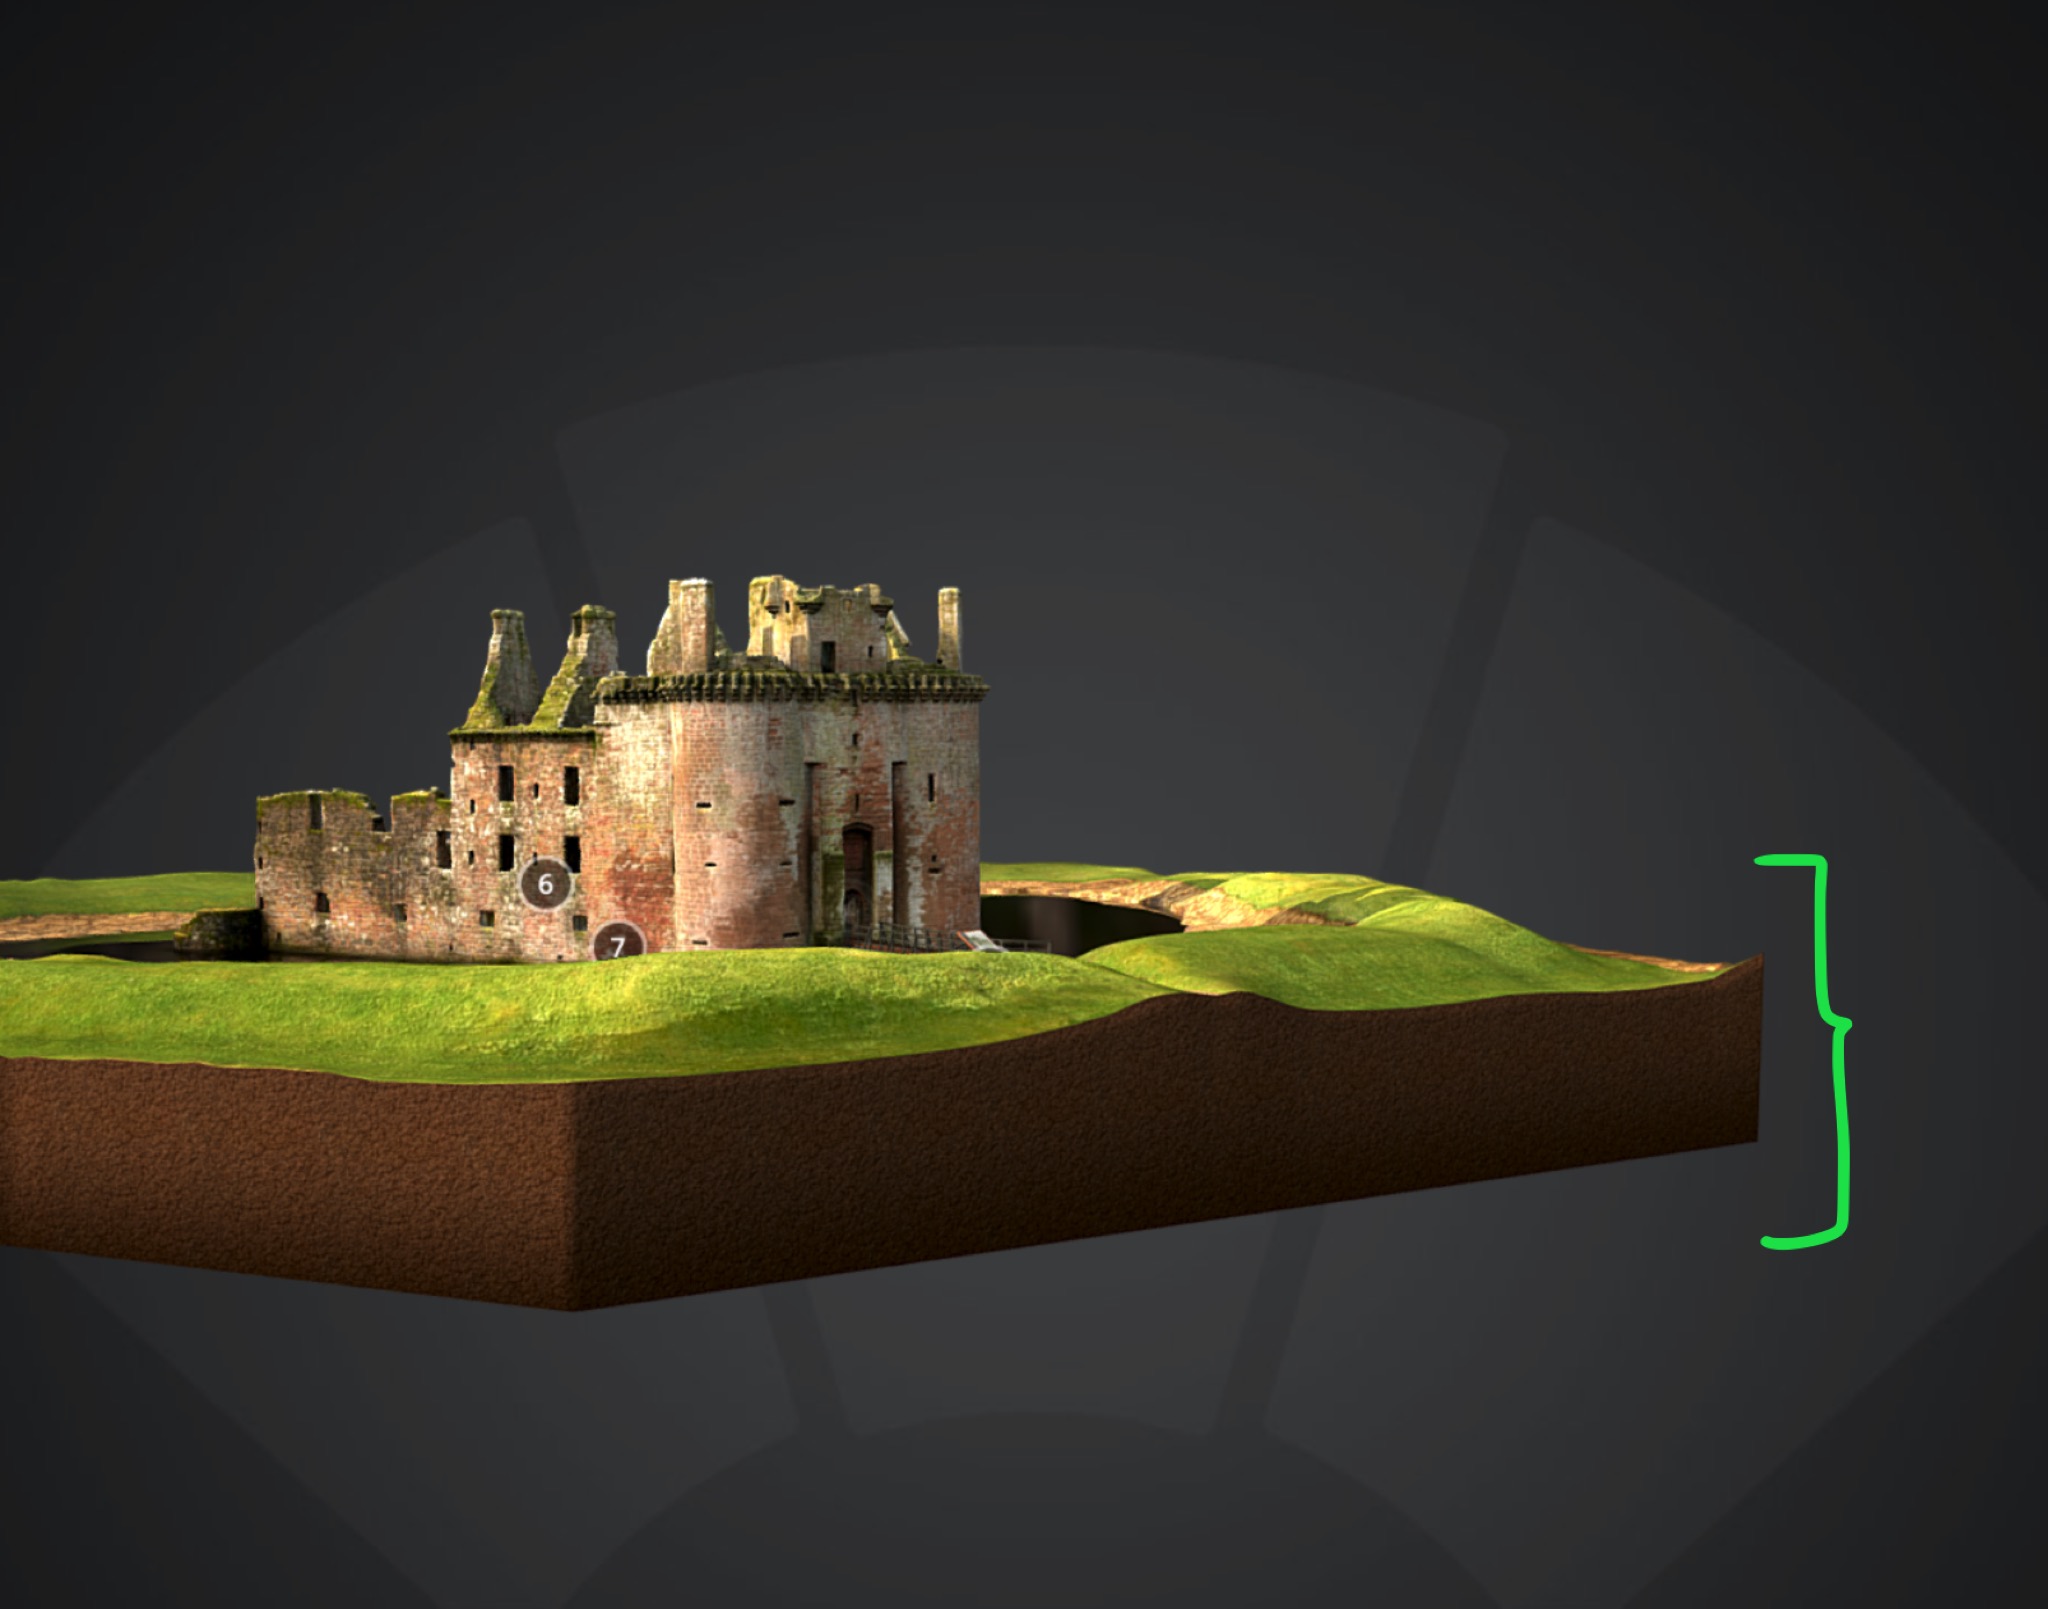
desired result

I captured a model of a WWI bunker with photogrammetry and processed it with Agisoft Metashape but I like to add an “earth base” for a nicer presentation. I imported the OBJ file into Blender but I'm having trouble making it work (I'm kind of new to Blender).

Extruding the model downwards gave bad results, so I tried duplicating the model, making it flat, selecting the edges of both the model and the base with Edge Loops and then Bridging the Edge loops but that gave really funky results (I think not all edges were correctly selected, resulting in an uneven amount of edges between top and bottom).
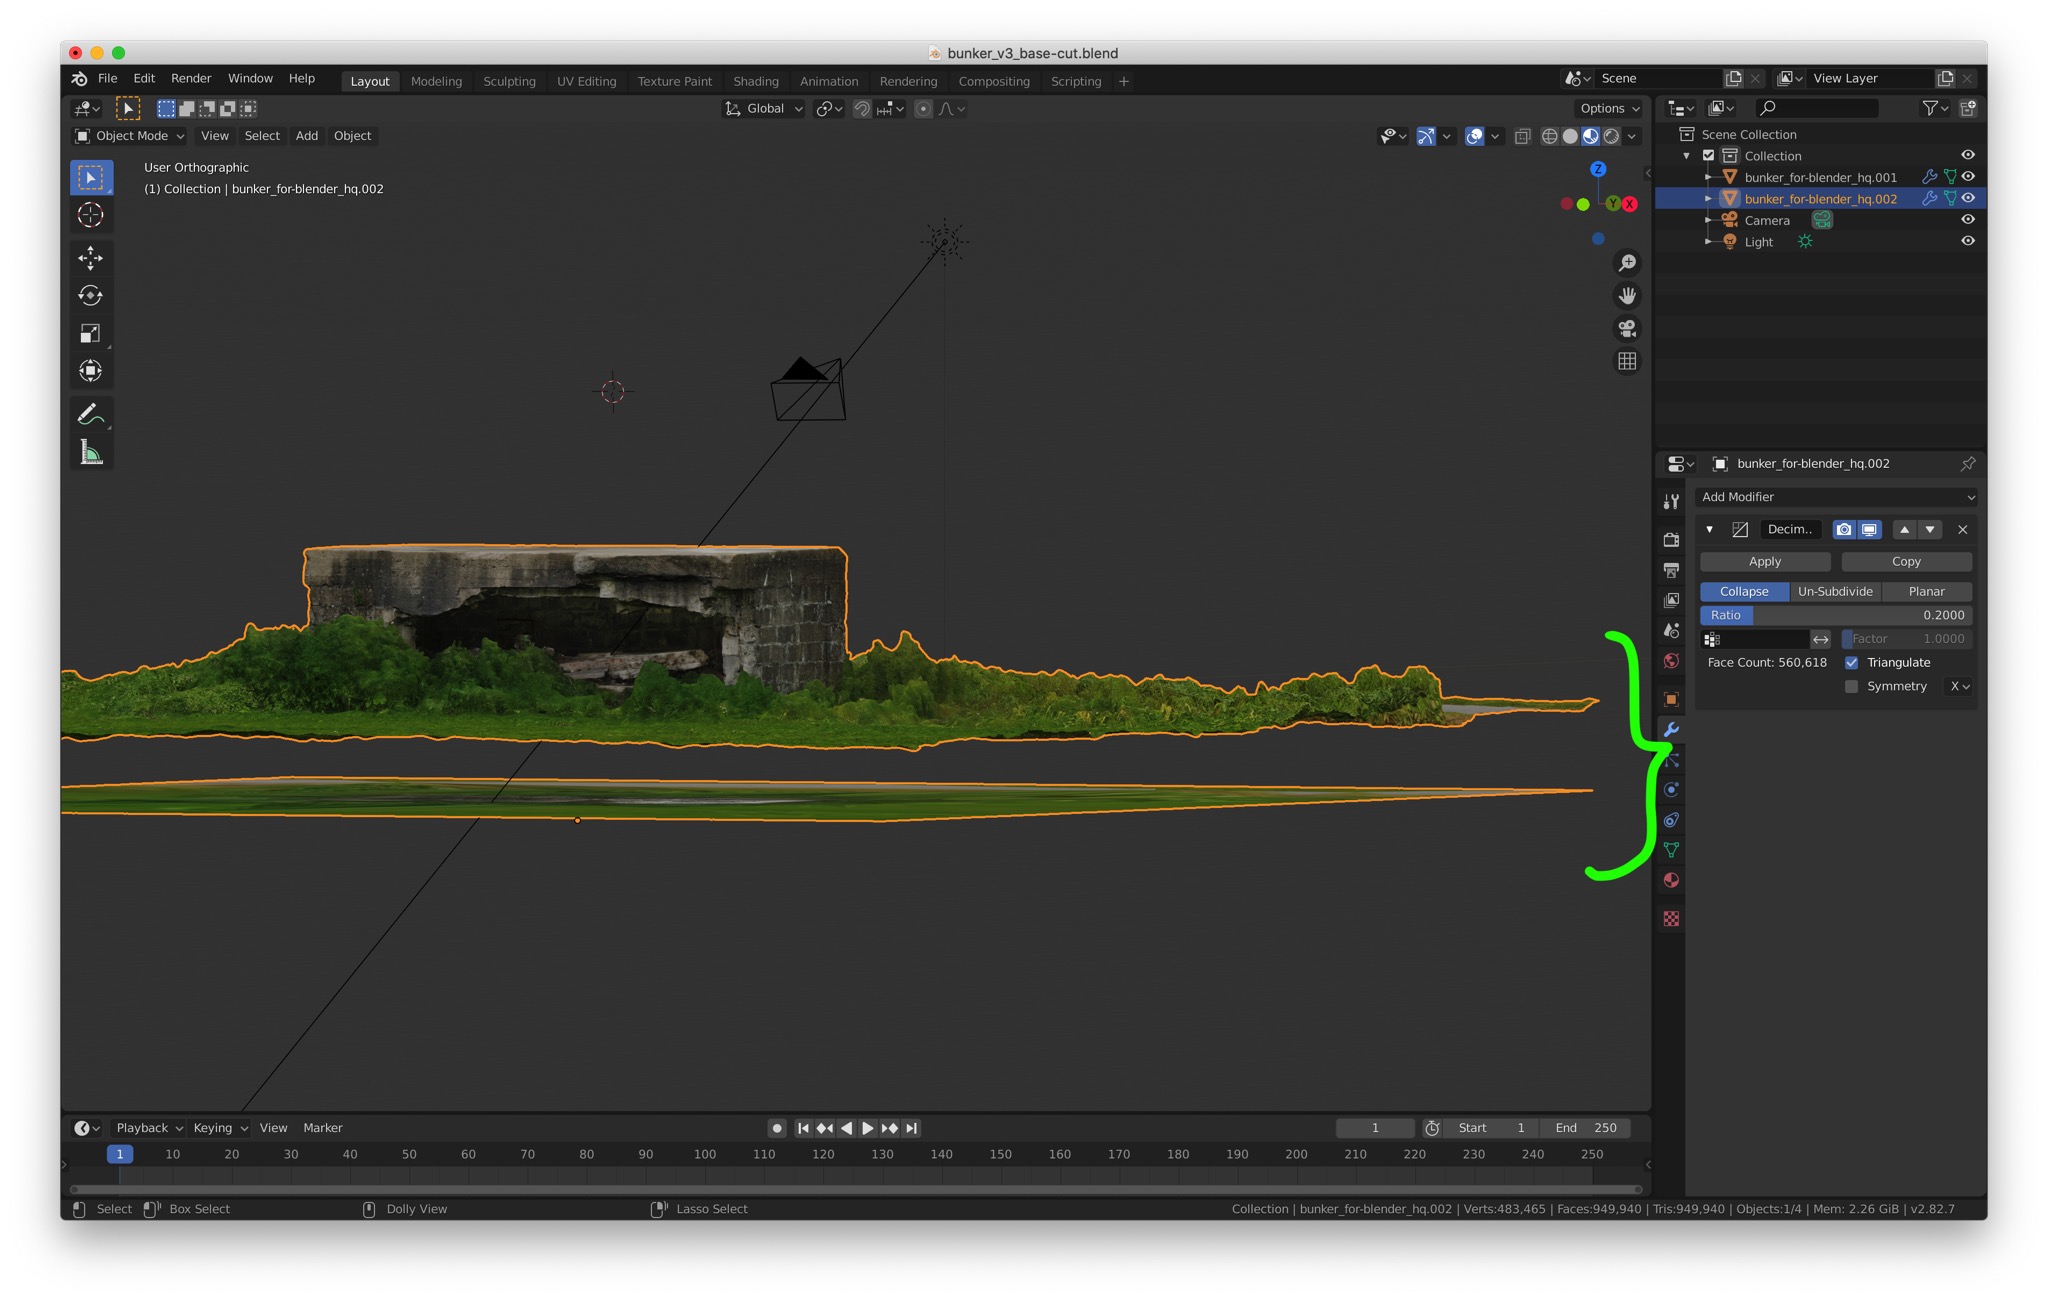
desired result

Could anyone propose a workflow to achieve this in Blender?

$\endgroup$

1 Answer 1

4
$\begingroup$

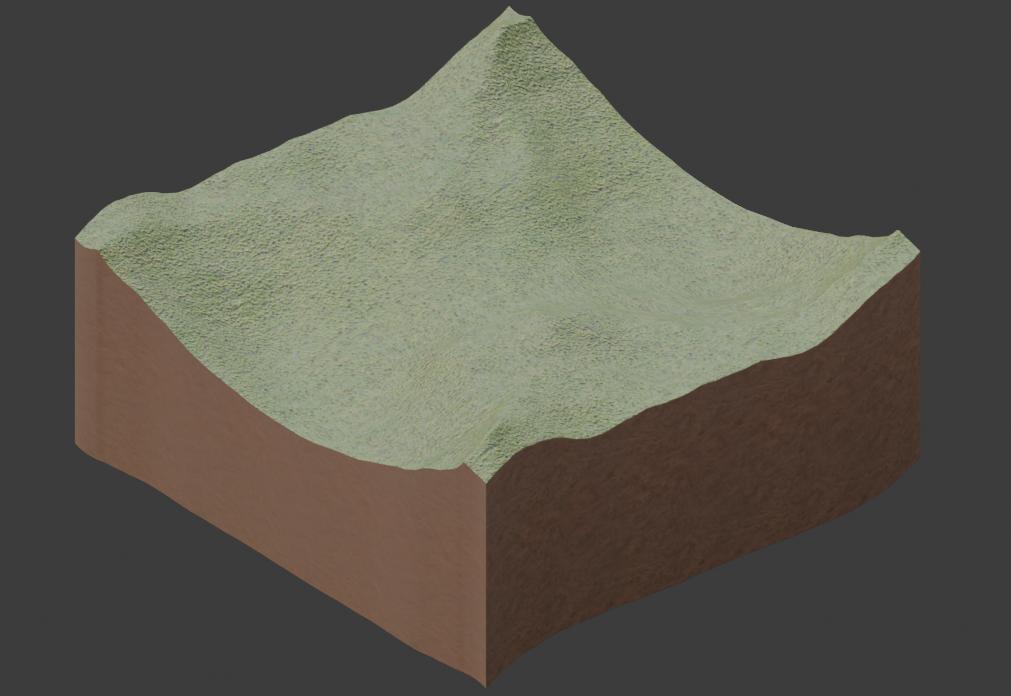
What I do usually is profit from the new vertex group options for generated geometry in the solidify modifier from version 2.83+.

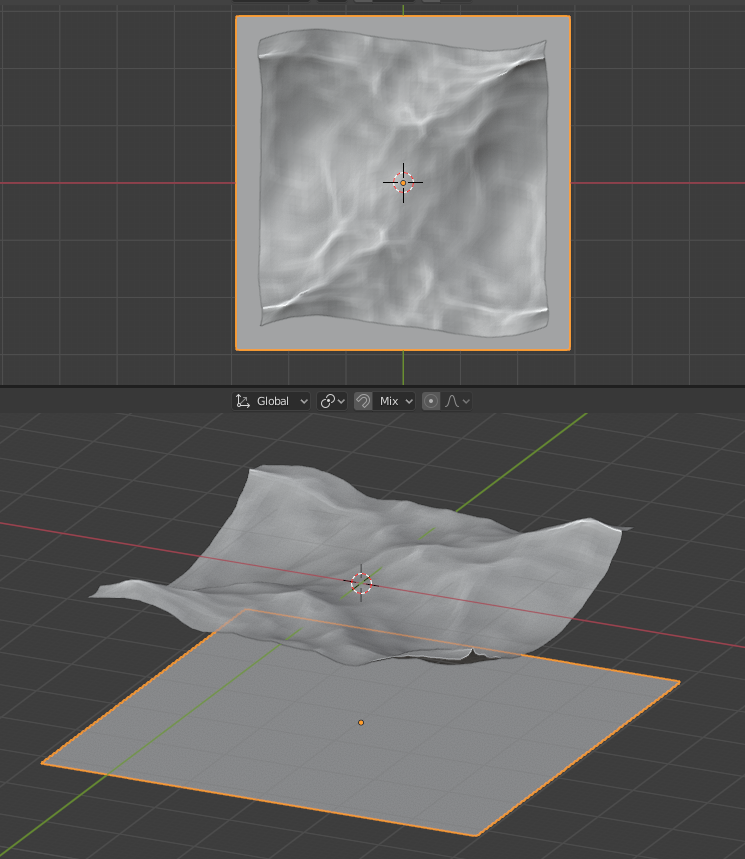
First let's say we have an ocean modifier on an object.

enter image description here

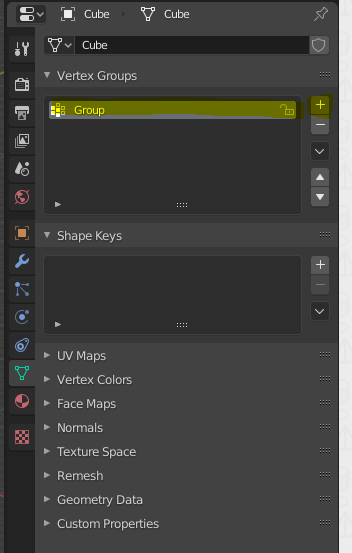
Create a new vertex group.

enter image description here

Add a solidify modifier, set the Shell Vertex Group to your new group, and the Thickness to 0. This will effectively duplicate your geometry in place.

enter image description here

Now add a plane at the altitude at which you want the bottom of your foundation to be. Scale it so it is larger than your terrain.

enter image description here

Add a shrinkwrap, set the target to your plane, vertex group to your new vertex group, set the mode to project on the Negative Z axis. Hide your plane.

enter image description here

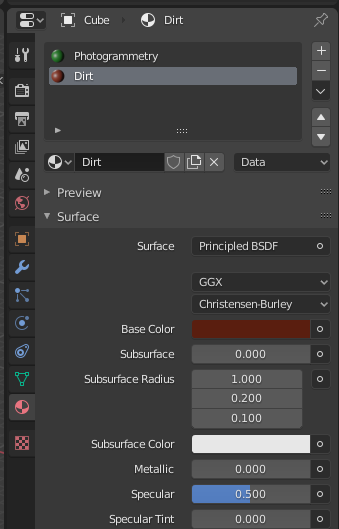
Now add a new material for the dirt/soil, assuming the first one is your photogrammetry raster info.

enter image description here

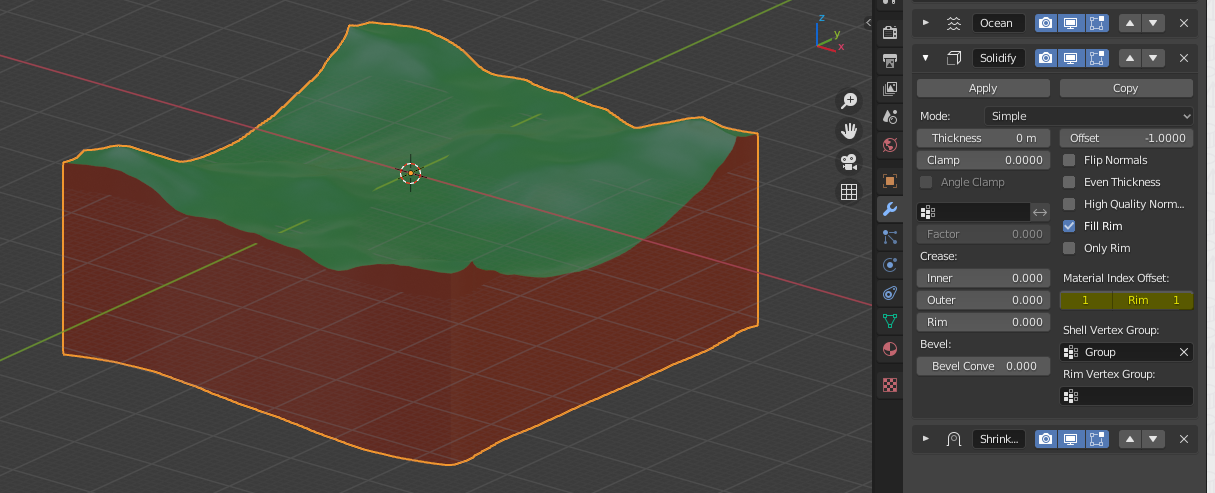
Get back to the solidify modifier and set the material offset to 1. Result :

enter image description here

With "proper" shaders:

enter image description here

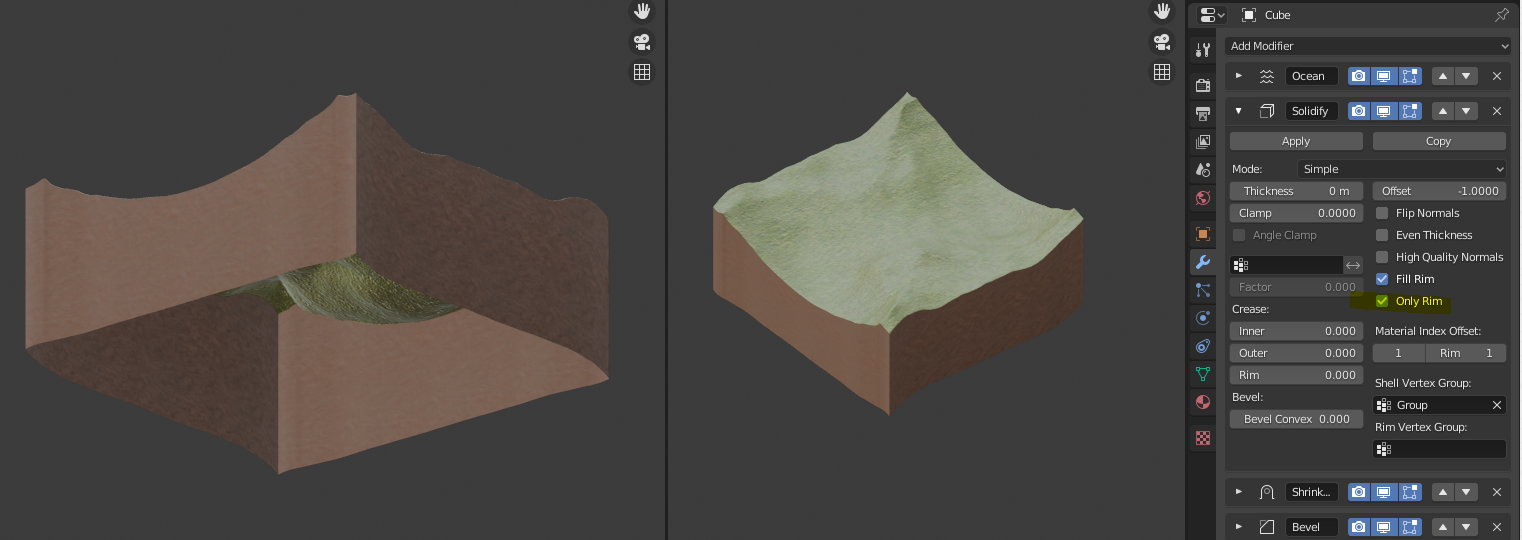
Note : The geometry will be ugly if viewed from upside-down but what you can do is check "Only rim" in the solifidy modifier to only keep the rim of the object.

enter image description here

$\endgroup$
12
  • $\begingroup$ Thank you so much for this well laid out answer. I managed to follow without any problems until the shrinkwrap. It seems to introduce extra geometry inside the bunker as well (see pics below). Is there any way to avoid this? before: i.sstatic.net/VBO5j.jpg after: i.sstatic.net/Am89c.jpg $\endgroup$
    – trigauts
    Commented Aug 29, 2020 at 14:57
  • 1
    $\begingroup$ Oh, right, I didn't plan for overhanging geometry ! Please see the very last bit of my answer, this should get solved if you check "only rim" in the solidify modifier (I think ?) $\endgroup$
    – Gorgious
    Commented Aug 29, 2020 at 17:10
  • $\begingroup$ Thanks again. However, checking "Only Rim" does not get rid of the extra geometry at the inside of the bunker and makes the bottom ugly as you described in your answer. Only rim checked: i.sstatic.net/FVN2h.jpg ; i.sstatic.net/wXbfE.jpg ; Only Rim unchecked: i.sstatic.net/yhqqa.jpg $\endgroup$
    – trigauts
    Commented Aug 30, 2020 at 6:23
  • 1
    $\begingroup$ I think it is because the bunker part of your mesh is disconnected from the rest. You can try to merge adjacent vertices with right click > Merge > by distance in edit mode and vertex select mode and if that doesn't fix it, create a new vertex group and vertex paint only the edge of your mesh (doesn't matter if it's not precise so long as you don't include the bunker vertices) and restrict the solidify to only these vertices (the field below "Angle clamp") $\endgroup$
    – Gorgious
    Commented Aug 30, 2020 at 6:45
  • 1
    $\begingroup$ OK ... if it's in the masochism (or non-destructive) category no problem :) I'm not going to answer this ... it has to be somewhere here :) I was just curious what I missed here. $\endgroup$
    – vklidu
    Commented Jul 12, 2021 at 17:09

You must log in to answer this question.

Not the answer you're looking for? Browse other questions tagged .