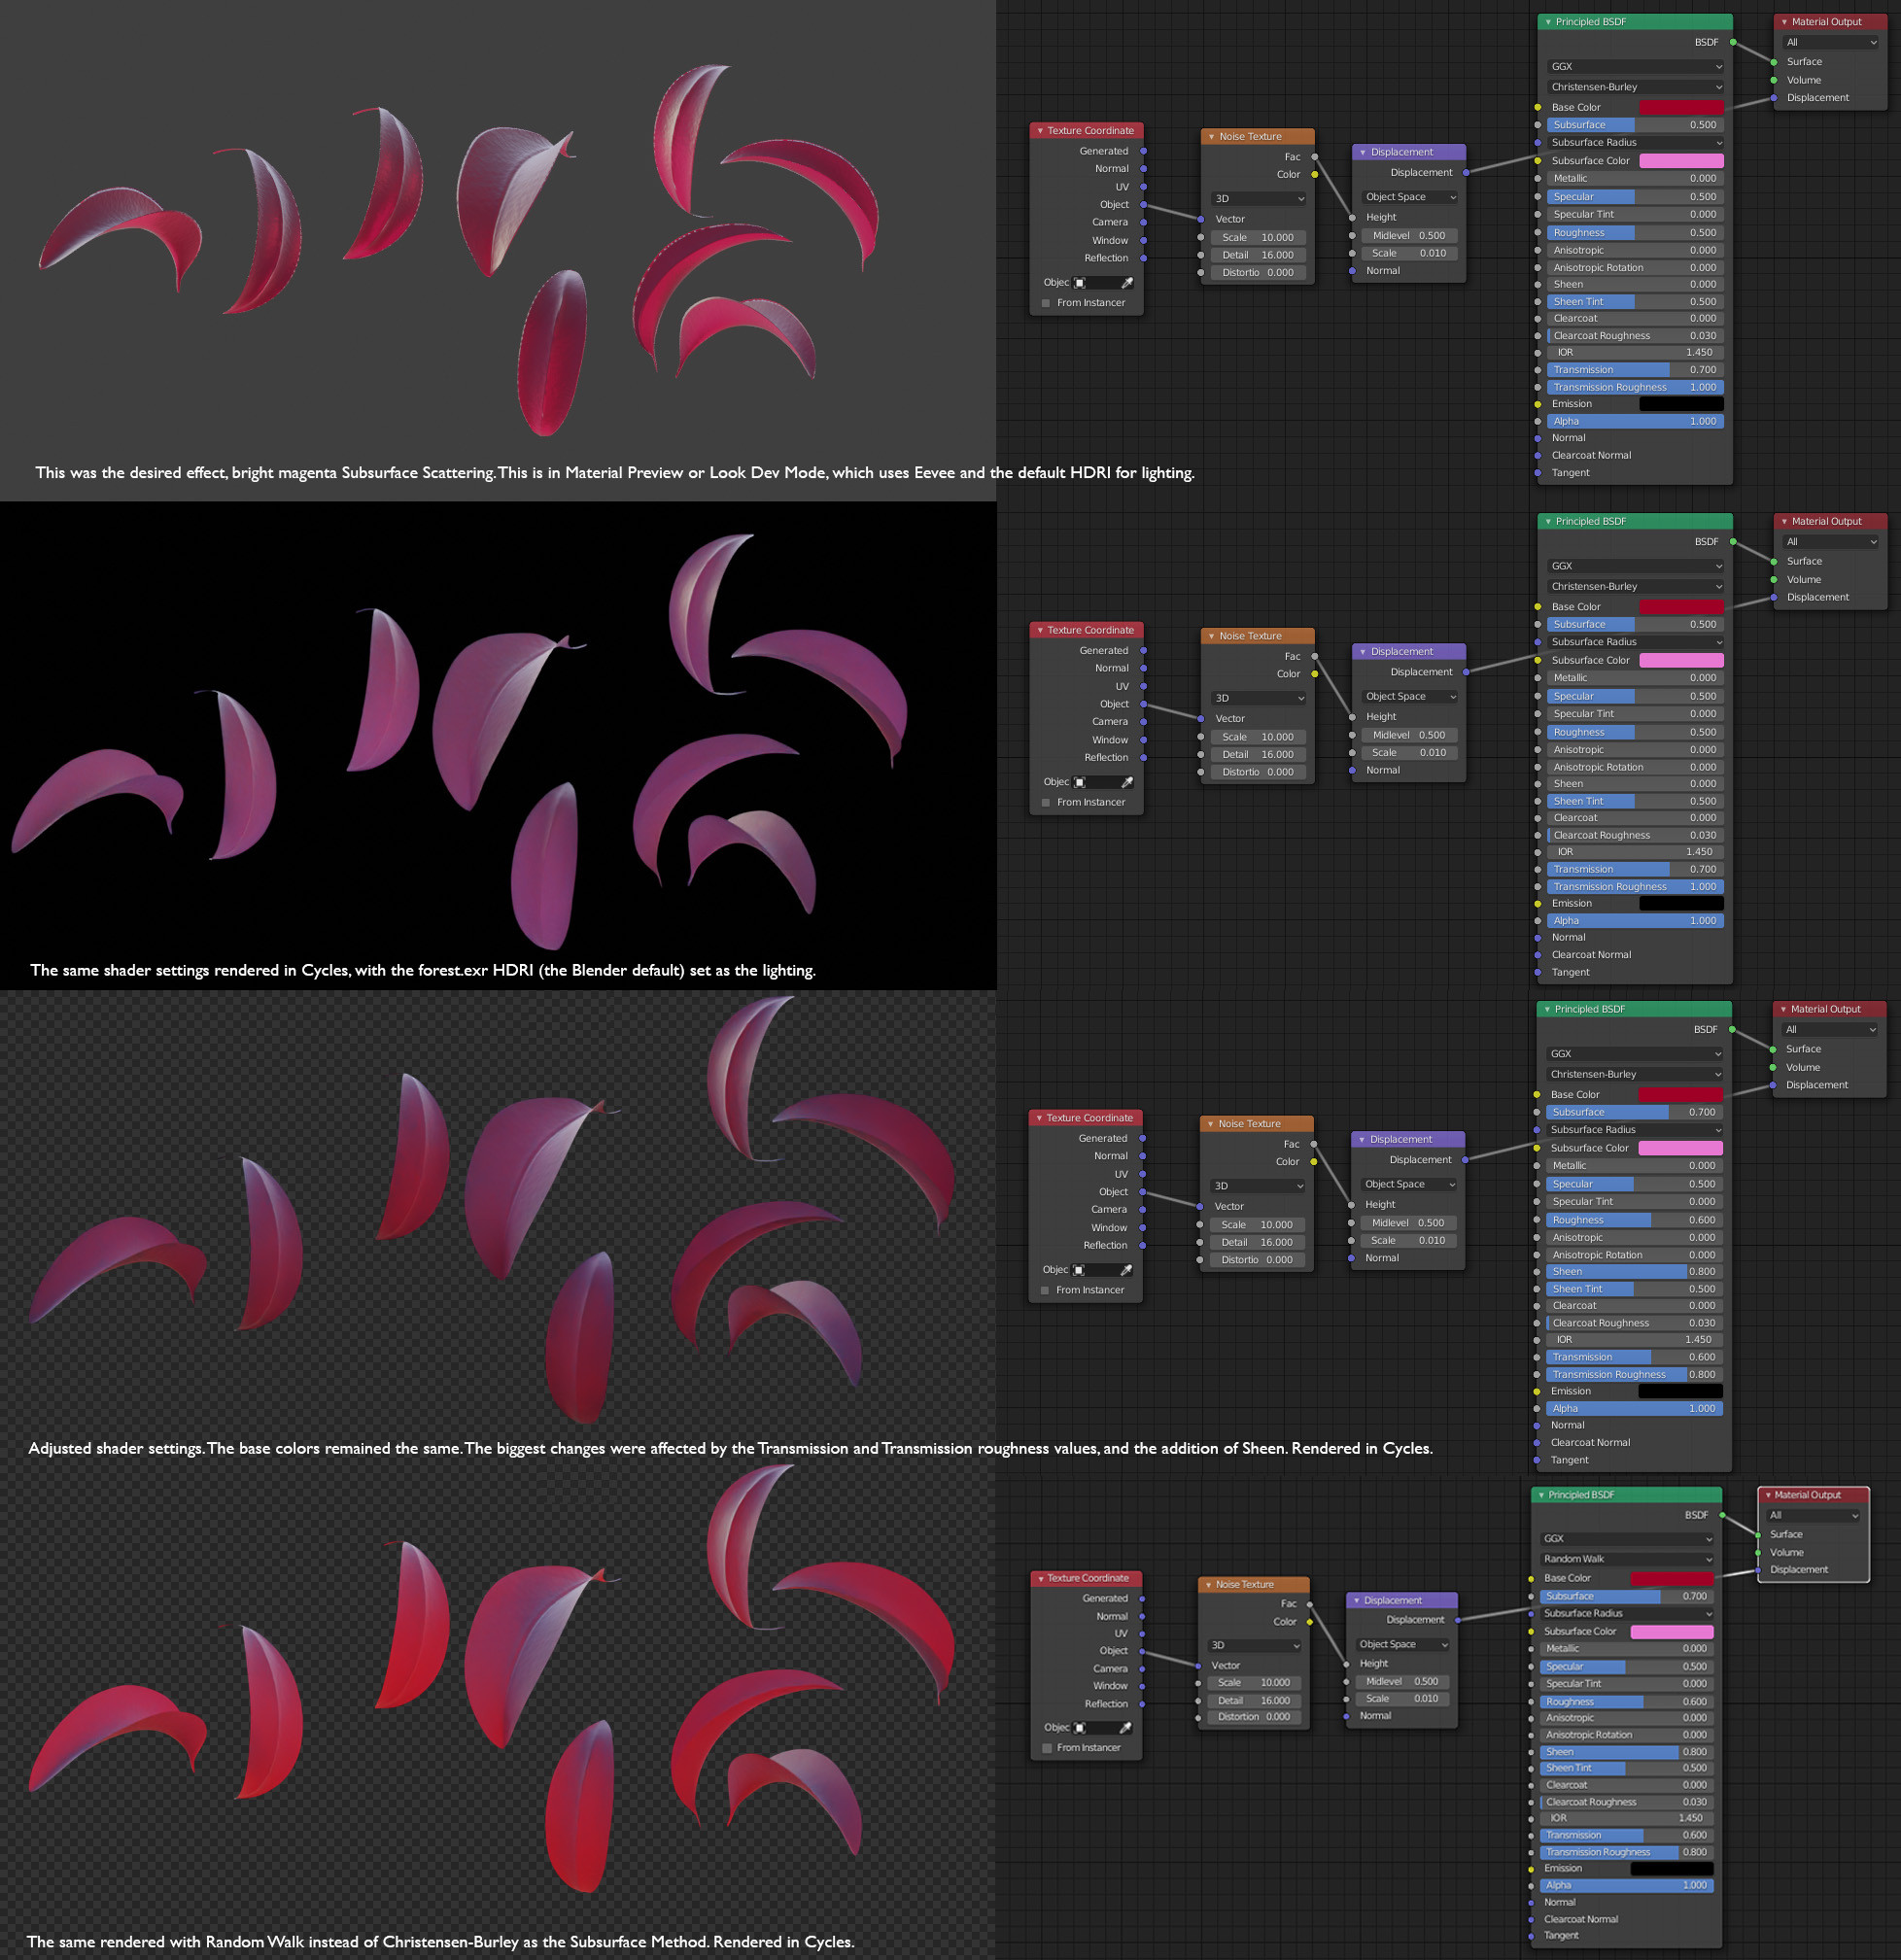
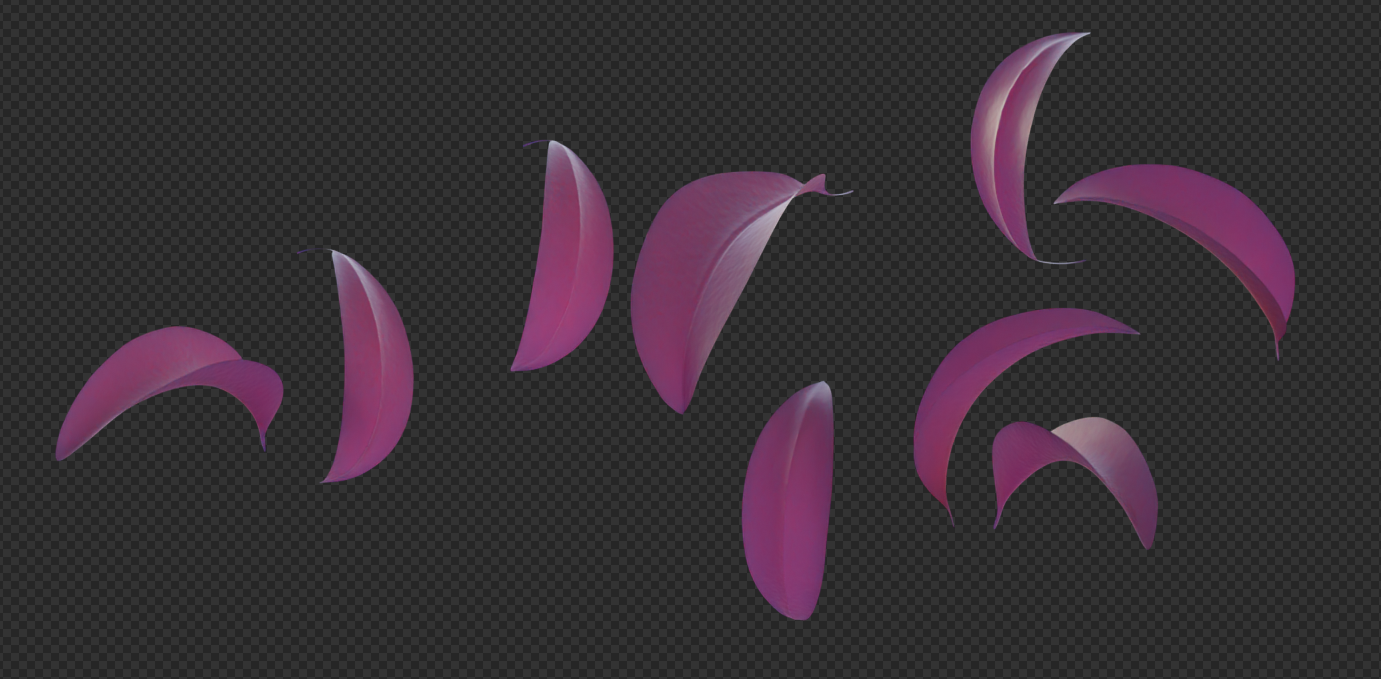
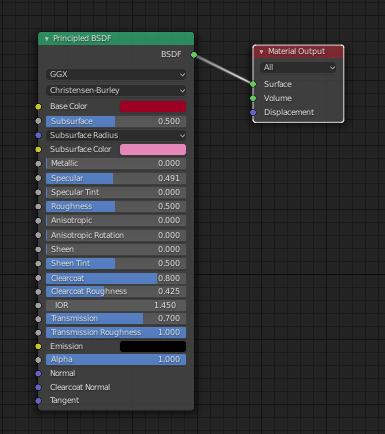
In the interest of completion I'll answer with the result I arrived at for rendering these leaves. I didn't arrive at precisely the same result but something quite close.
I have attached an image with the various tests and shader settings. I included the Displacement Texture Nodes I used for surface texture because it does have an effect on the final look.
The biggest changes were affected by altering the Transmission and Transmission Roughness values. And by using Random Walk instead of Christensen-Burley as the SSS Method.
This is what the Blender manual says about these SSS Methods:
Subsurface Method Rendering method to simulate subsurface scattering.
Christensen-Burley Is an approximation to physically-based volume
scattering. Gives less blurry results than Cubic and Gaussian
functions.
Random Walk Provides the most accurate results for thin and curved
objects. This comes at the cost of increased render time or noise for
more dense media like skin, but also better geometry detail
preservation. Random Walk uses true volumetric scattering inside the
mesh, which means that it works best for closed meshes. Overlapping
faces and holes in the mesh can cause problems.
One commentor suggested using Alpha for Transparency, but to me this appears to affect a different kind of near total transparency that doesn't seem to have any relation to the physical nature of the simulated material but something more like an overall opacity of the object. It is my understanding that Alpha is primarily used to modify another node which plugs into it. (But I stand to be corrected here).
In this particular case, adding Sheen also had an influence that came closer to approximating the look of realtime Eevee rendering in Material Preview mode.
Something I have not been able to imitate, is the way that realtime rendering in Eevee seems to pick out some edges with a highlight. Even after rendering an output image in Eevee this effect was not reproduced. Perhaps this is a feature of blender to allow for objects to be more quickly visually isolated while editing them, rather than physical accuracy for a final render. Just a guess.
This technique of picking out edges with a highlight is an effect used by old painters, you can see if you look at dark old oil paintings.
You might be able achieve a similar highlight with carefully placed back light, but for the purposes of this experiment I was more interested in trying to pin down some of the specific aesthetic effects of each render engine, albeit on this one very particular example, so I stuck with same default HDRI for the render.
I hope someone may find this useful sometime.


