2
$\begingroup$

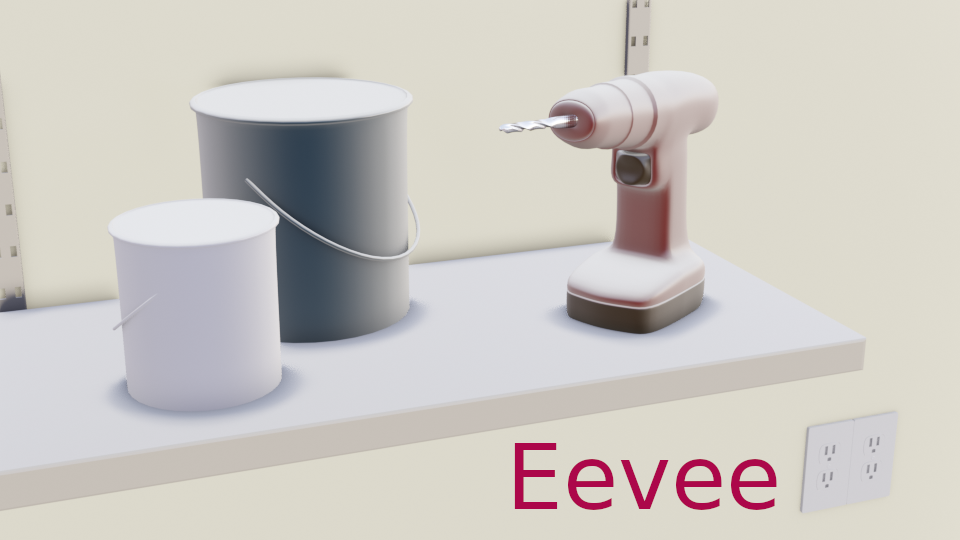
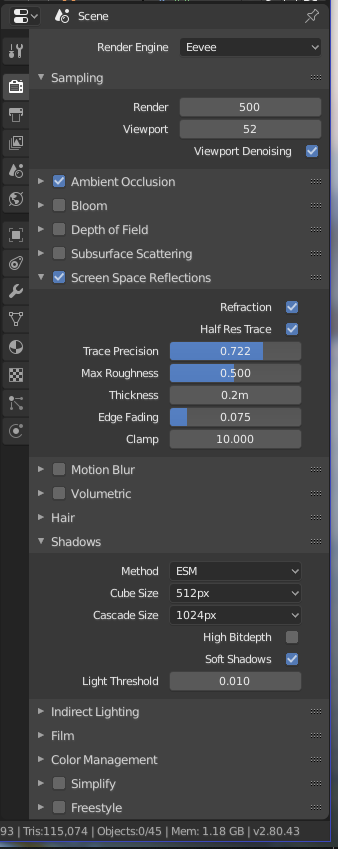
I'm struggling with a scene that contains different kinds of materials (metallic, plastic, painted walls, cemented floor ...etc) it looks awesome in Cycles but when I switch to Eevee the scene looks dull and totally unrealistic (not even remotely looking like Cycles). Now I'm aware that there are certain parameters that need to be enabled first, but I think I enabled pretty much everything, i.e "Screen Space Reflections", "Ambient Occlusion", and "soft Shadows" I also cranked up the Samples and enabled "Screen Space Refraction" on each and every material in the scene (even though there is no see-through objects in the scene) but no real results so far.

Is there more to that to achieve that nice fake realism in Eevee?

EDIT: Ok attached are the renders and the settings I use for Eeevee

enter image description here

enter image description here

enter image description here

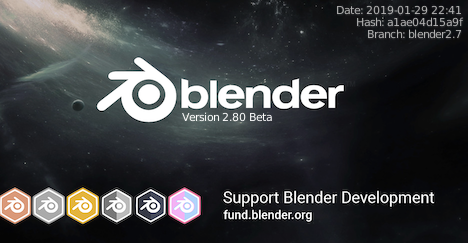
EDIT: Find below the blend file and the splash screen of the build.

http://www.mediafire.com/file/cqage42th8l9829/Reproducing_Error.blend/file

enter image description here

$\endgroup$
5
  • 1
    $\begingroup$ Maybe screenshots will help a bit. $\endgroup$
    – cgslav
    Commented Mar 4, 2019 at 2:05
  • $\begingroup$ I agree with Sgslav. It'd be easier to help with specific things if we can see your scene. $\endgroup$ Commented Mar 4, 2019 at 9:09
  • $\begingroup$ eevee and cycles mostly give a similar result, but it requires to make the scene work for both engines' specificities. To me it looks like you didn't adapted the lights objects (they don't work the same way in both engines). Might also be a bug in your build. Providing your file might help sorting that out faster. $\endgroup$
    – Lauloque
    Commented Mar 6, 2019 at 14:12
  • $\begingroup$ Just added the blend file and the splash screen of my build I'm using. $\endgroup$
    – Zack
    Commented Mar 7, 2019 at 12:15
  • $\begingroup$ I'm digging in. By the way, your build is quite old, You should update. As 2.8 is changing every day, things can be quite different from one day to another. $\endgroup$
    – Lauloque
    Commented Mar 7, 2019 at 13:00

1 Answer 1

6
$\begingroup$

Well, I digged a little bit inside your .blend file.

The first thing I noticed is that you are in Look Dev shading, which isn't the Rendered shading:

enter image description here

Even though they can give similar results sometimes, you really have to get into Render shading to have a fair preview of your render.
In your case, just switching to rendered mode already makes a huge difference, you'll get a much closer result to cycles.

Also, I didn't get your HDRi embedded in the blend file, which gives me a pink render result, so I had to remove it in order to do my little tests.

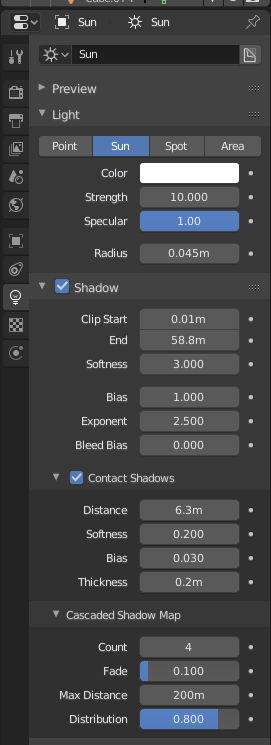
The first thing I did was playing with your Sun's settings, precisely the Shadow Clip Start/End and Contact Shadow Distance. This is really only to "fit" the Sun properties to your scene. Look how the shadow looks when you change those settings, especially in walls' corners.
enter image description here

Once it's done, there is really only one thing to do: give Eevee what he needs to calculate your Indirect Lighting. If you're used to Cycles' raytraced physically unbiased lighting calculated on the fly, Eevee doesn't do that. It's closer to a video game engine: it will try to calculate things only as few as possible, and only where you want and when you ask him to do so.
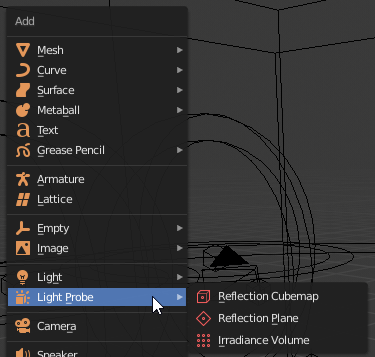
So basically, you need to create at least two things: cubemaps and irradiance volumes. Those two objects can be found in the "Add Object" menu (Shift A) under the Light Probe submenu:
enter image description here

Place at least one Reflection Cubemap in the center of your room. For the irradiance volume, make sure every little orange dot is inside the room. If you intend to only show the little area with the shed, you can scale the irradiance volume to cover this area only, that would optimize your resources.

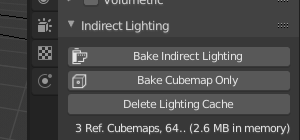
Once it's done, you just need to bake those indirect lighting informations. Head over to the Indirect Lighting panel of your render settings, and hit the "Bake Indirect Lighting" button. It may take a while.
enter image description here

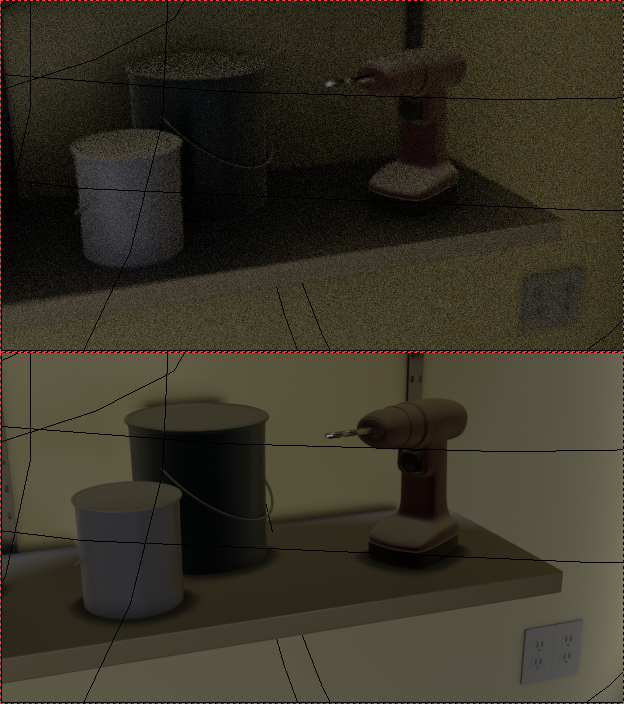
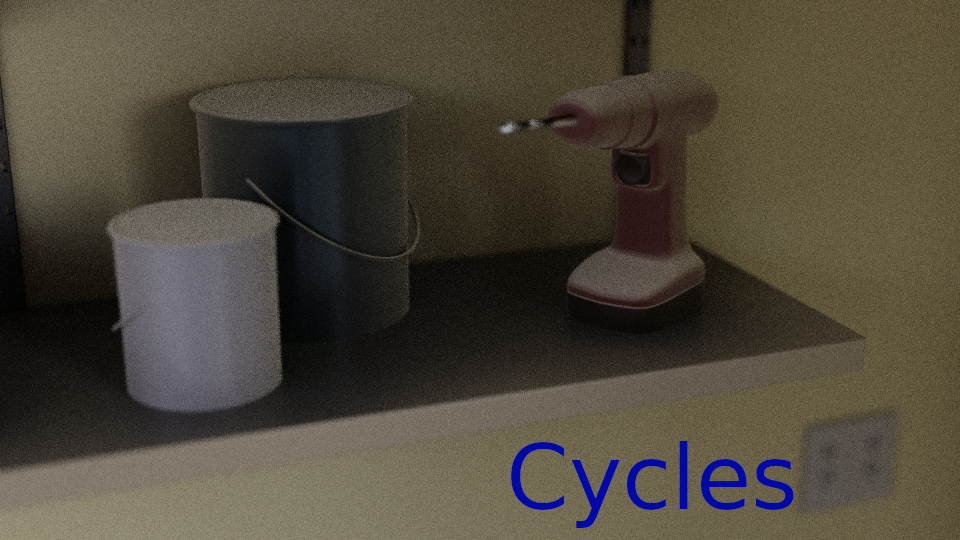
And this is what I obtain just with those steps (cycles up, eevee down):
enter image description here

If you want to know more, I suggest you to do some research about Eevee and indirect lighting. There are also some videos on youtube where people convert their old Cycles projects to Eevee.

$\endgroup$
1
  • $\begingroup$ Thank you for such a thorough answer, I had been looking into indirect lighting before posting the question tbh but I nevertheless felt that my Eevee scene should look better even without IL, I will l research further, thanks again! $\endgroup$
    – Zack
    Commented Mar 11, 2019 at 11:51

You must log in to answer this question.

Not the answer you're looking for? Browse other questions tagged .