[edit] Here's the project file: 
While I realize that the answer may be staring me in the face, I've also sunk a lot of time into this with no real progress.
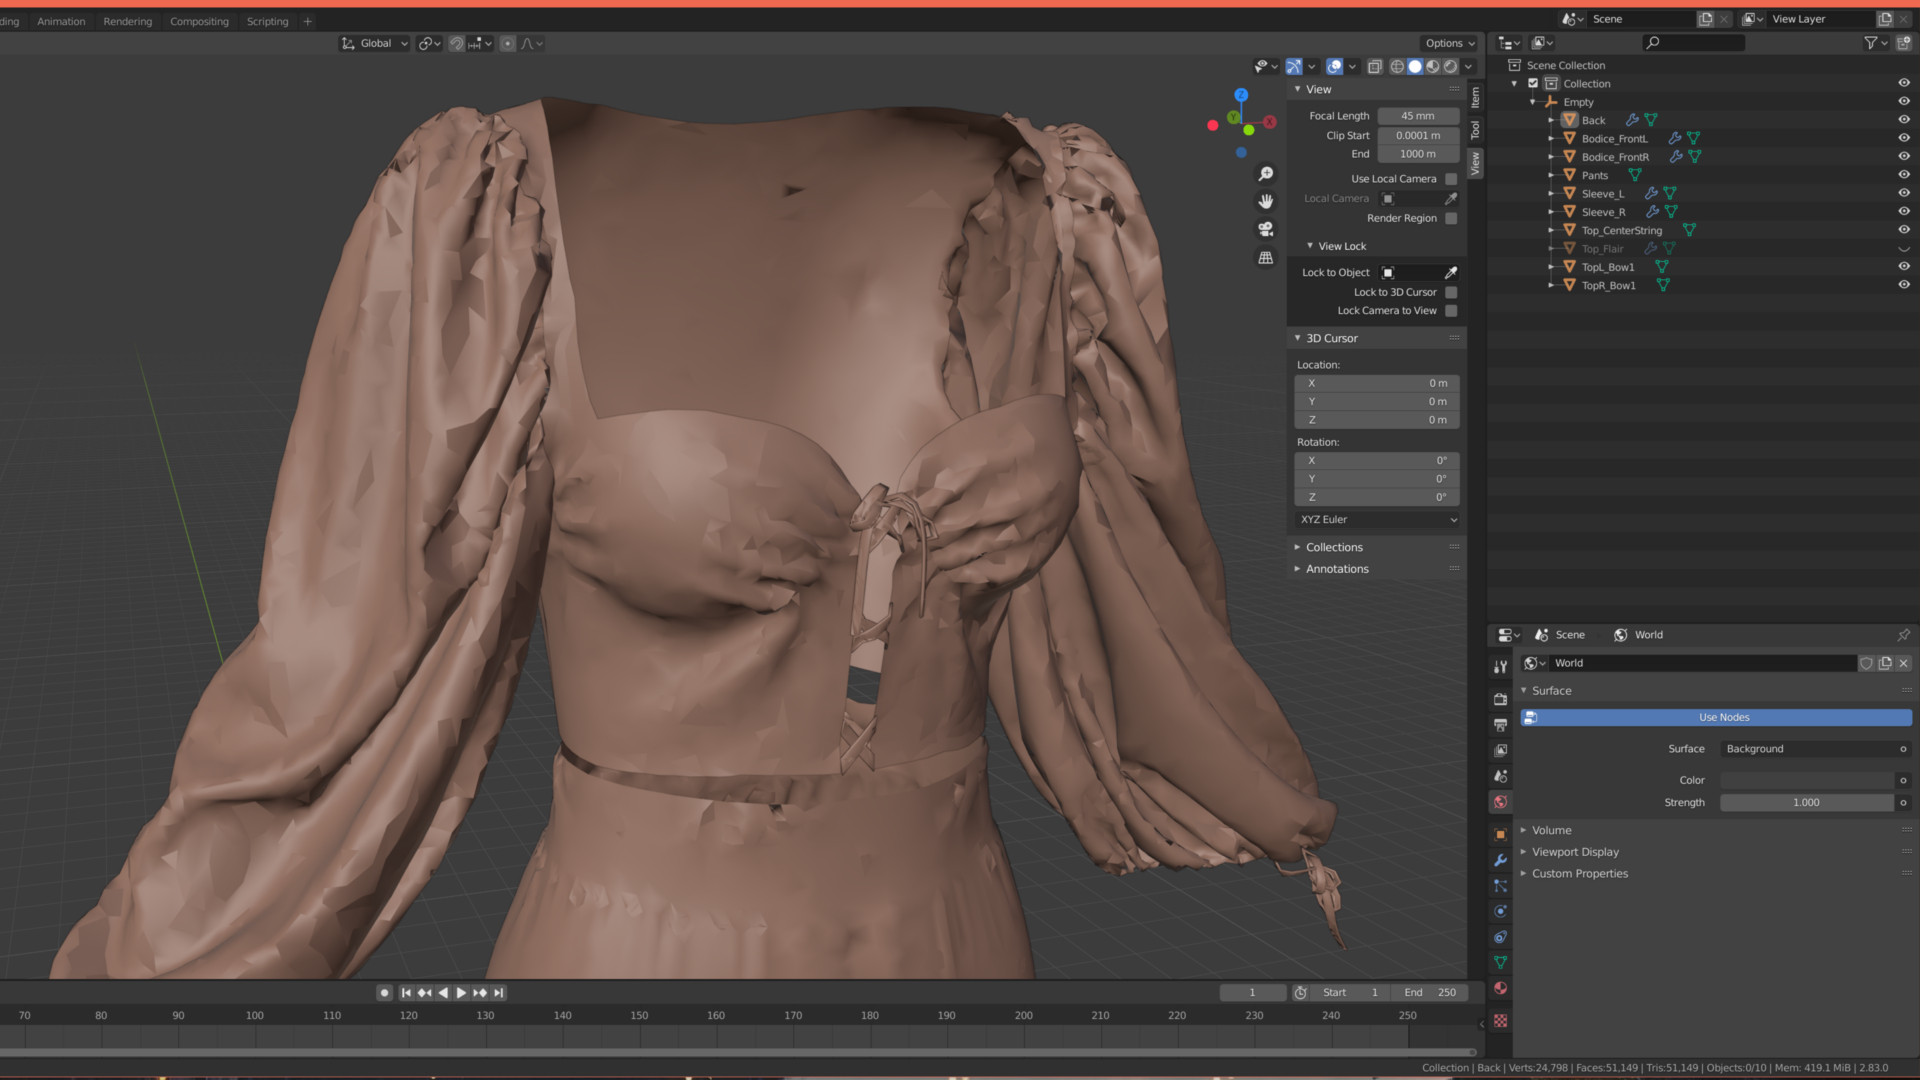
I'm working on using custom Marvelous Designer clothing for Character Creator, and am using Blender (ultimately) for clean-up & efficiency adjustments. While I'm able to export an FBX from Marvelous that has each fabric as a separate object, the hang up is that those individual pieces seem to have two layers of faces or vertex groups with faces connected in weird ways... and when removing duplicate vertices, it doesn't really clear up the face issue.
What I'm left with are wonky normals and a mesh that cannot be smoothed out. I know the appropriate workflow is to simply retopoligize; but I wanted to check if anyone had a solution to the weird face groups and/or normals issue.
[Edit] The solution turned out to be in part, update my blender from 2.83 to the latest LTS. In that case, I was able to use 'Shift+N' to resolve most of the face issues. There is still a lot of manual work to be done.
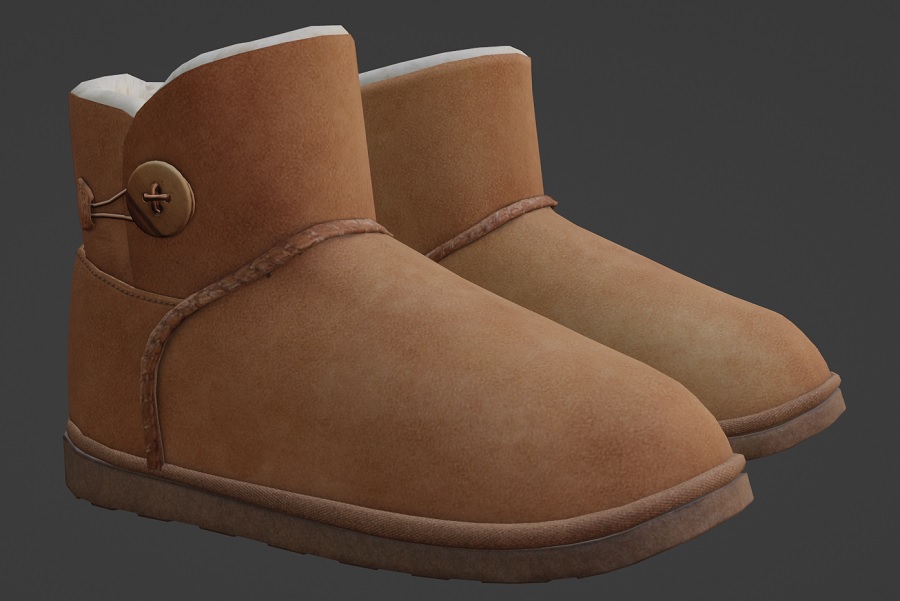
I did come across another odd case of Marvelous designer clothing, when imported it looked like this:
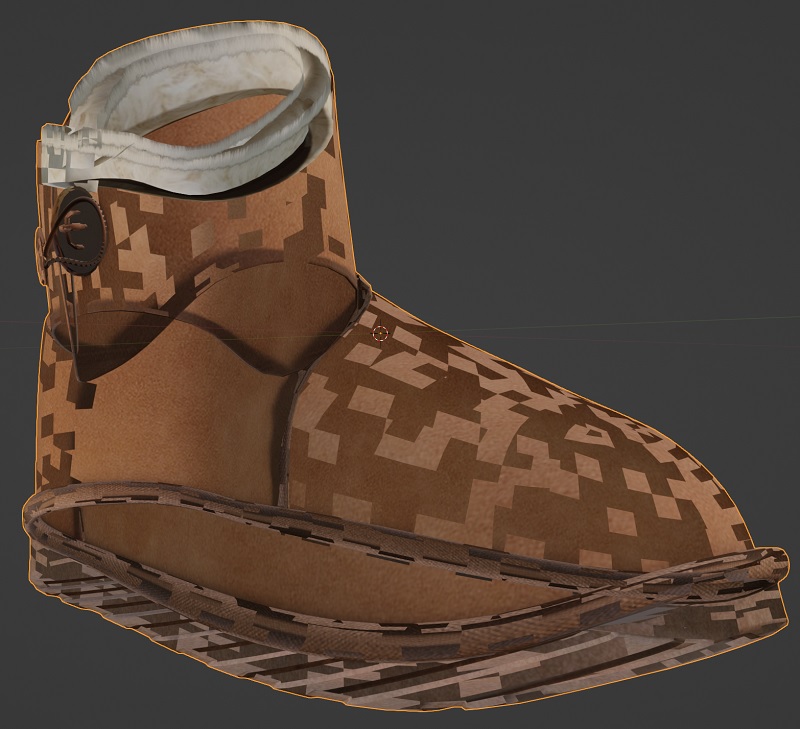
The file itself was a lot cleaner. All the faces were set with the normal orientation facing inward, which was easy to correct. But even afterwards it still had the odd issue.
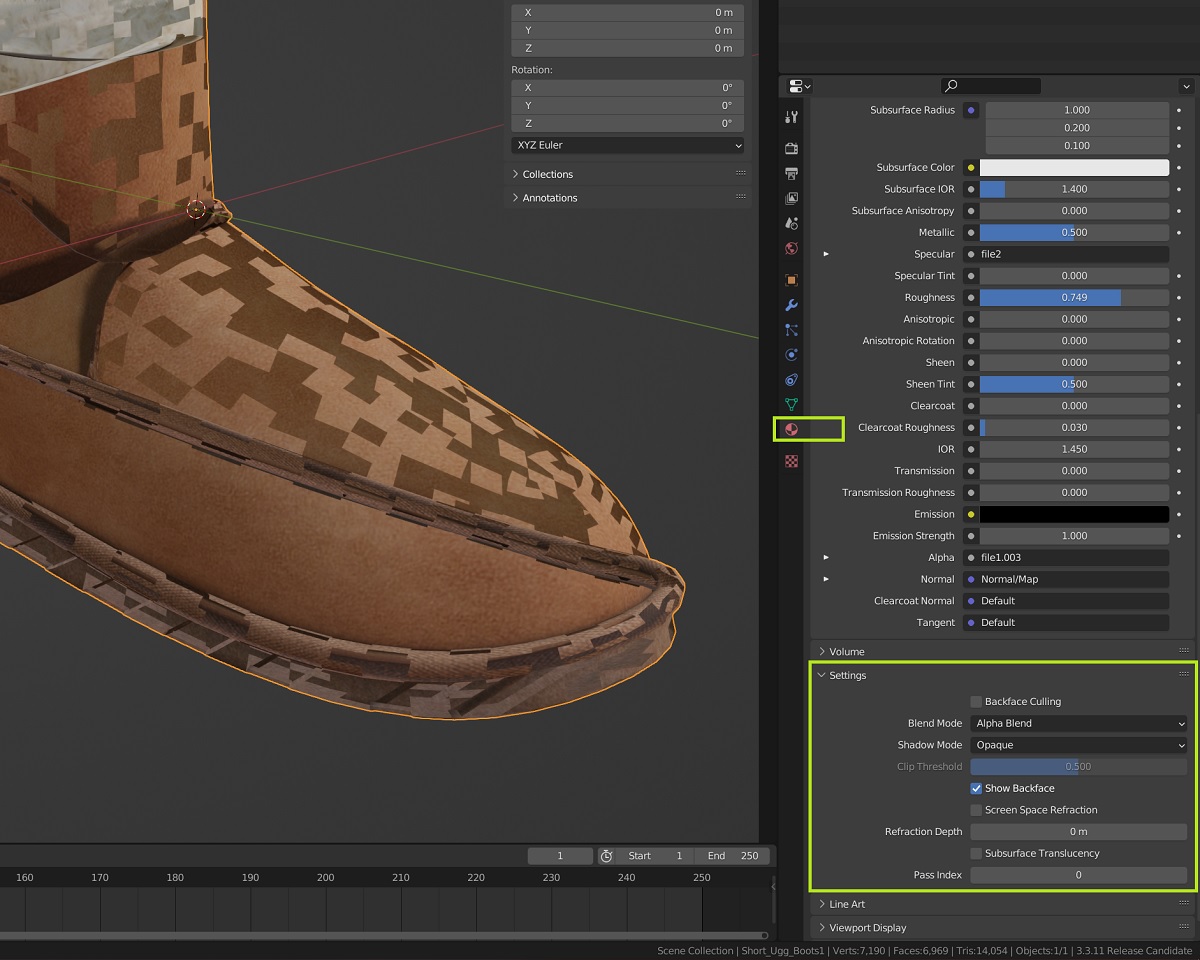
In this case, it turns out that the solution was in the material settings. I switched the blend mode to opaque and checked backface culling - I didn't need the transparency since that can be expensive to render in-game.

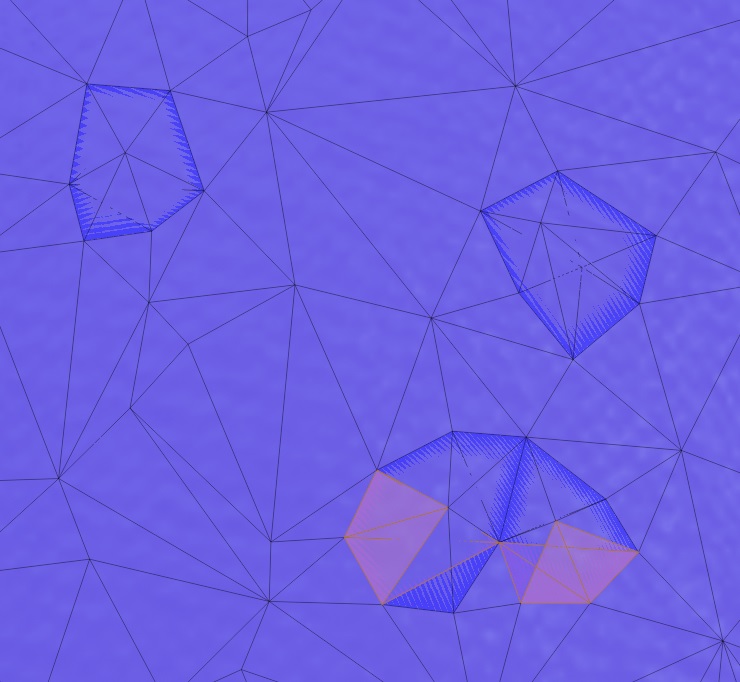
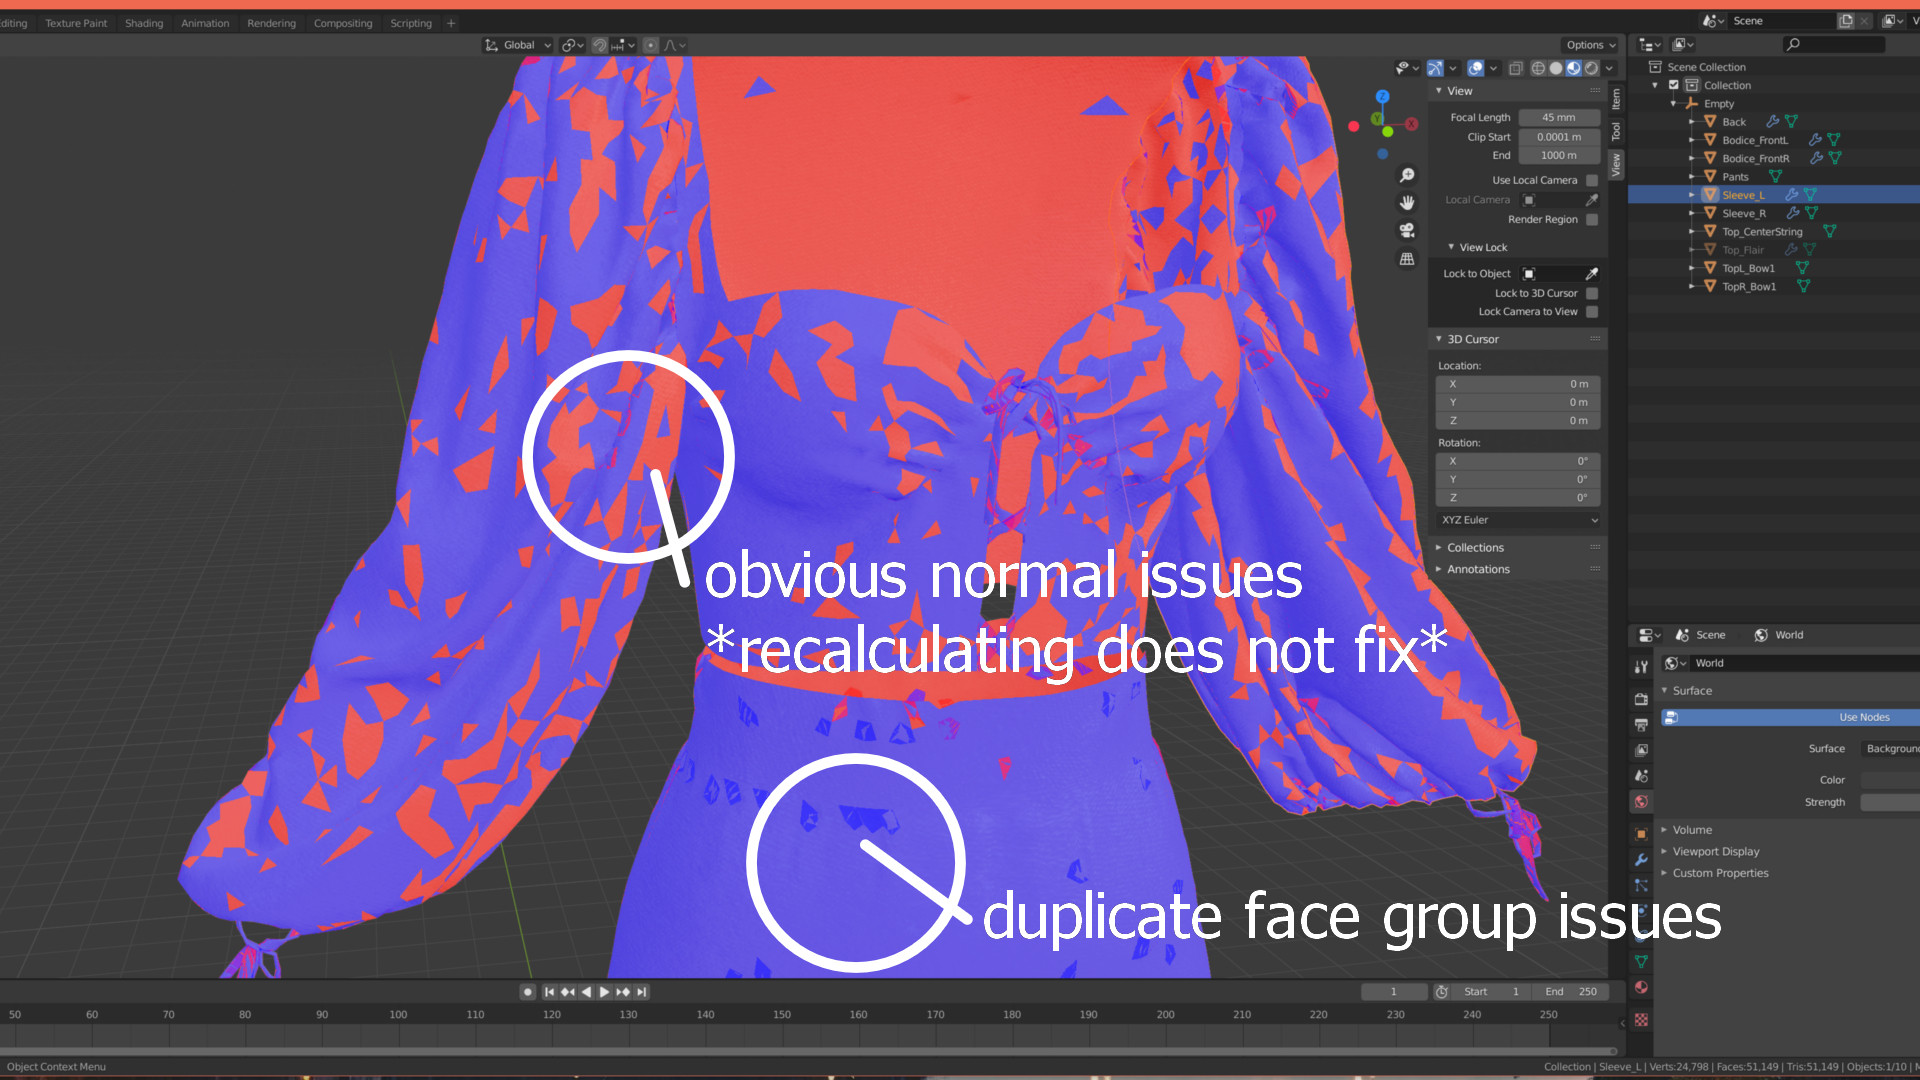
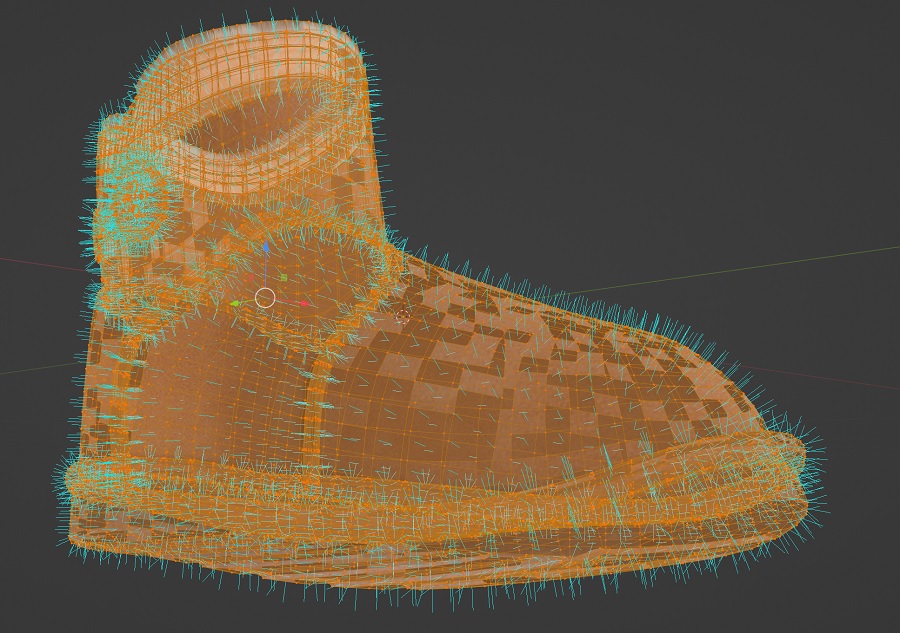
Shift+Nto make sure to recalculate Normals. Then unfortunately for the rest of the weird red patches of overlapping faces, there is no automated way to fix them, you have to manually go through all of them and delete the overlapping faces and then readd faces. $\endgroup$