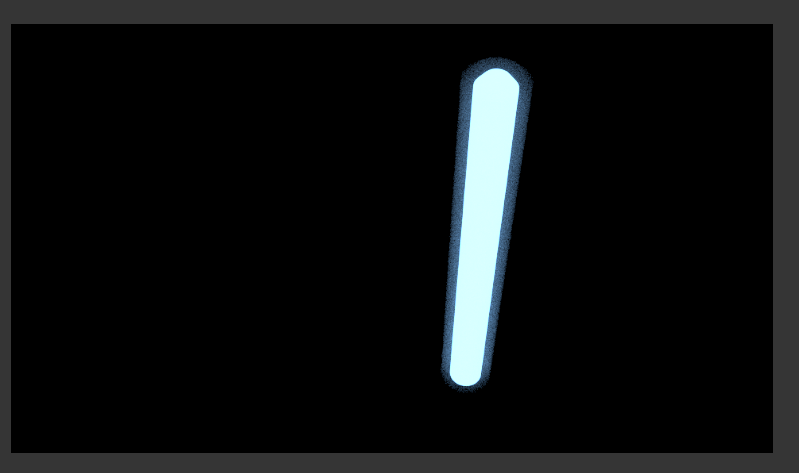
28
$\begingroup$

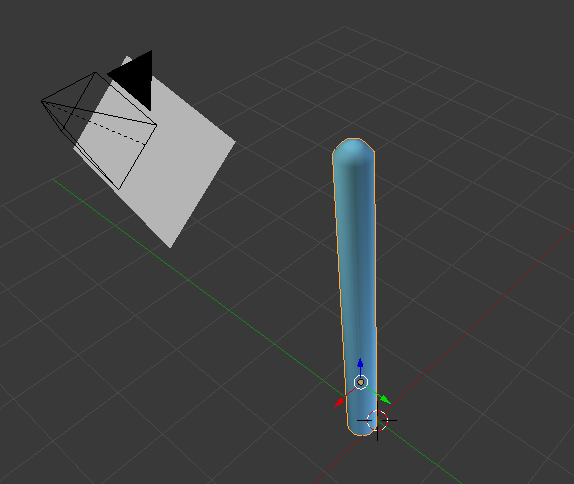
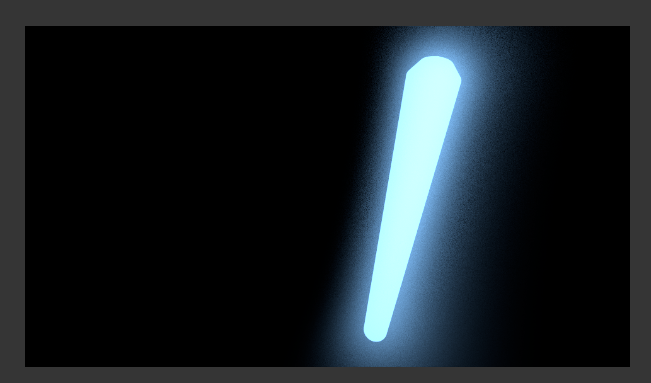
What would be a way to create a glow in Blender. For that purpose I've been always using the compositor. However, that is pixels work, which means it is a 2d work. To make a 3d one, do I have to use particles, nodes or maybe some simulator? Because the compositor deals with images, which will make the glow to be out of perspective (flat). is there a way to make a glow with depth in Blender? Here is what I mean (If we assume that the blue color is a glow, it is clear that like other objects it is part of the perspective of the 3d view, which means that it has depth) -
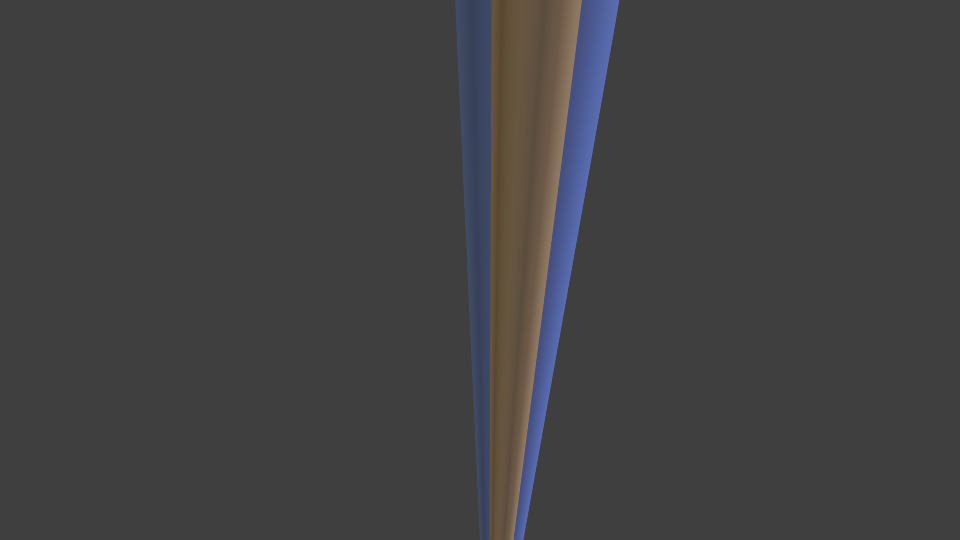
enter image description here

And if possible, how to make one in cycles?

$\endgroup$
13
  • $\begingroup$ Do you want volumetrics? $\endgroup$ Commented Sep 8, 2014 at 16:25
  • $\begingroup$ I was about to update the post, sorry. What does volumetrics does anyway (never used it before)? $\endgroup$
    – Vladimir
    Commented Sep 8, 2014 at 16:27
  • $\begingroup$ Basically .. fog. $\endgroup$ Commented Sep 8, 2014 at 16:31
  • 1
    $\begingroup$ This could be of use to you: blender.stackexchange.com/a/3640/3127 $\endgroup$ Commented Sep 8, 2014 at 18:02
  • 1
    $\begingroup$ youtube.com/watch?v=kDVyltB1Yu4 Please see my tutorial. Could be help This is tutorial to make outer glow effect for emission shader in blender cycle render $\endgroup$
    – user20867
    Commented Jan 12, 2016 at 23:20

4 Answers 4

23
$\begingroup$

Why would there be a glow around bright objects?

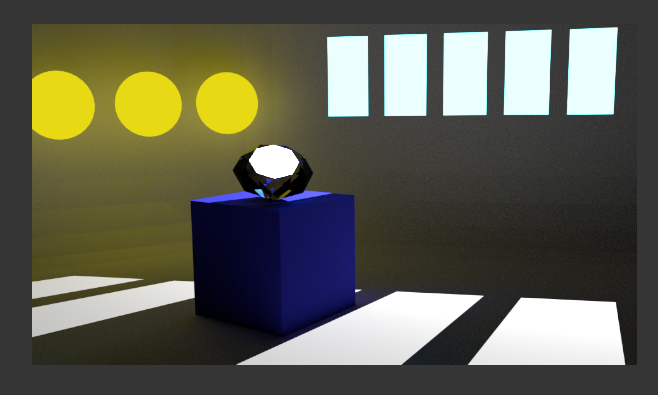
If the air is clean and transparent the light travels right through it, with no scattering and there is no glow around light sources or bright objects.

enter image description here

If there are particles floating in the air, those would get lit by the light source, light gets scattered, hence the perceived glow (think of a foggy night or the smog on a city)

With glass is the same thing: Clean and high quality glass would produce a non significant halo/glow around bright objects, the light would pass through it with very little dispersion. A dirty, scratched or humid glass would show the bright parts of an image with blurred edges caused by dispersion on the surface or the thickness of the glass itself (think a fogged or dirty window, or even a low quality or scratched camera lens)

So how do you create a glow then?

  • Option 1

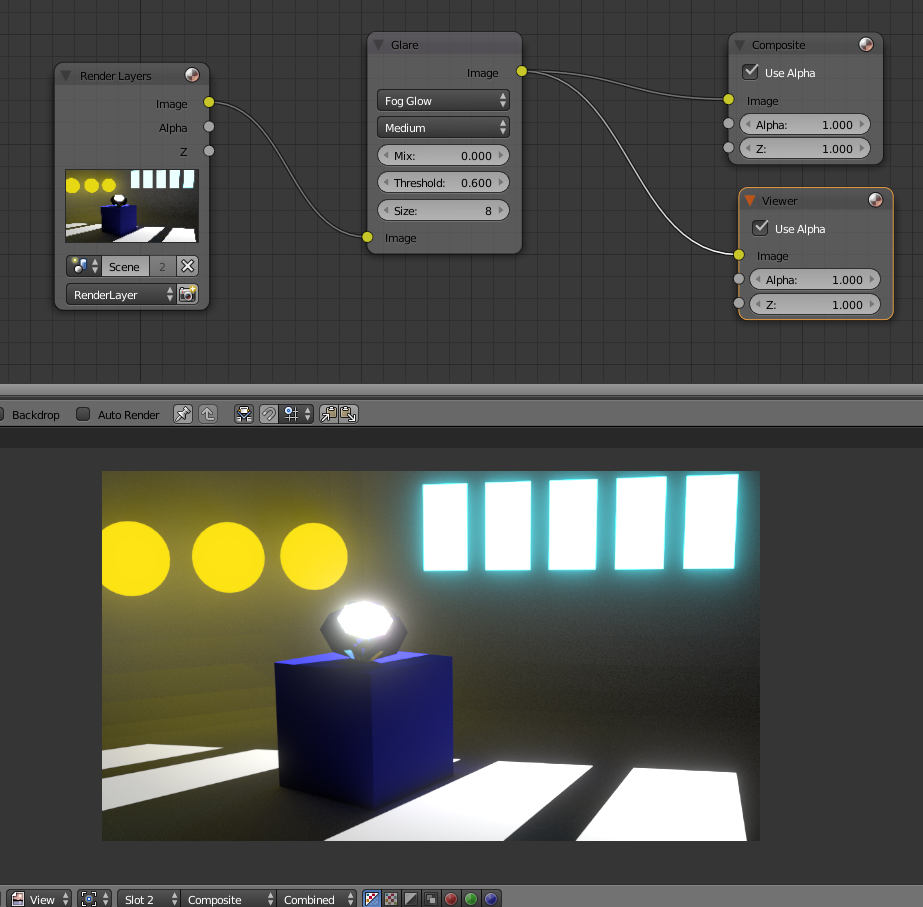
    Using the compositor would give you the option of the dirty glass. You can expand the brightess of the bright pixels using a glow node on the rendered image.

    enter image description here

  • Option 2

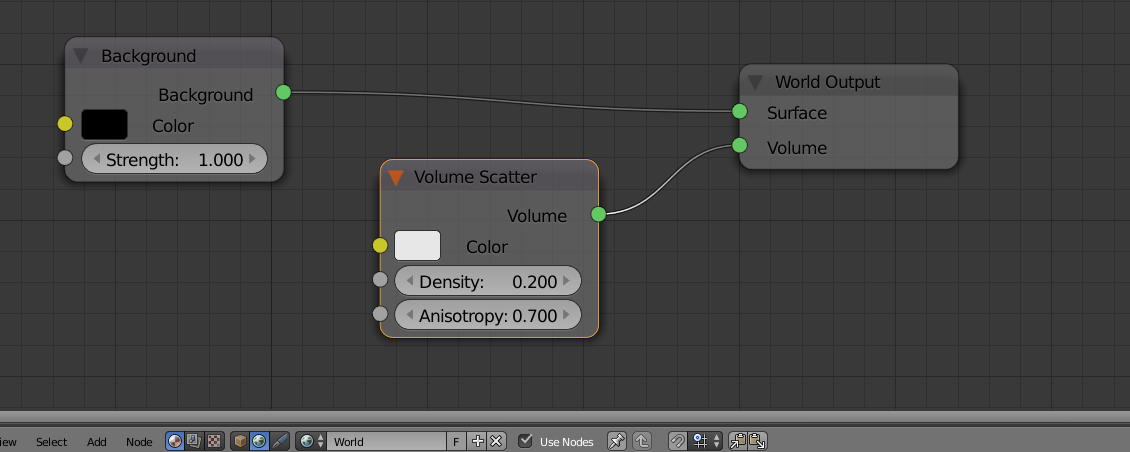
    If you want an environment with suspended particles then you use volume scatter in your world.

    enter image description here

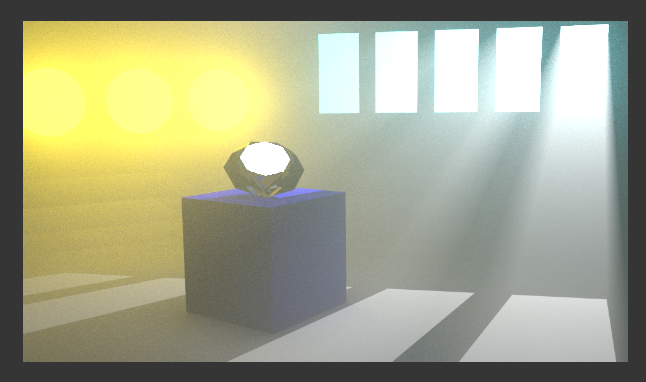
    Maybe a bit exaggerated but just to get the point across.

    enter image description here

$\endgroup$
5
  • 1
    $\begingroup$ @Vladimir Is it possible you could show an example of such a picture with a "non flat glow" (a "physically accurate" fantasy glow)? I still think the compositor is the way to go, as you have the most control there.. $\endgroup$
    – gandalf3
    Commented Sep 9, 2014 at 18:48
  • $\begingroup$ By "fantasy", I meant a glow that does not exist in the real world (Cegaton's example is a glow that occurs in real world, I think). By flat, I meant a glow that has depth like the image above in my post. The compositor deals with pixels. $\endgroup$
    – Vladimir
    Commented Sep 9, 2014 at 18:57
  • $\begingroup$ @Gandalf3 And by "physically accurate" I meant the glow to have depth (not to be 2d, but 3d). I could just say "3d", but that's the word that came to my mind. The compositor, as we all know it, deals with images, which will make a glow that is out of perspective. That's why I posted the image above (the first one). $\endgroup$
    – Vladimir
    Commented Sep 9, 2014 at 19:28
  • $\begingroup$ @Vladimir If by "3D blur" you mean a glow which gets smaller in the distance, even though the brightness of the light source remains the same, I'm not sure thats "psychically accurate" in terms of lens blooms.. $\endgroup$
    – gandalf3
    Commented Sep 9, 2014 at 19:54
  • $\begingroup$ Well, yeah but, what is some approach to create a glow effect other then composting (if there's any)? $\endgroup$
    – Vladimir
    Commented Sep 9, 2014 at 20:06
11
$\begingroup$

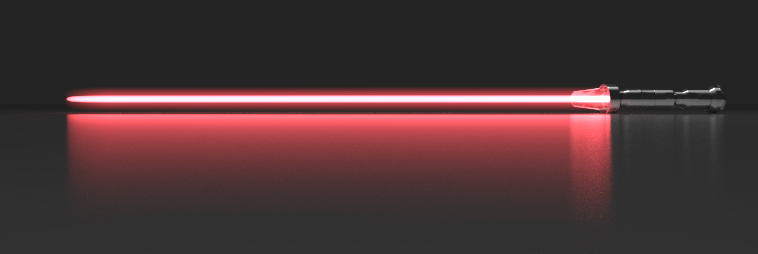
You can use volumetrics and procedural gradient textures to create a glow effect:

enter image description here

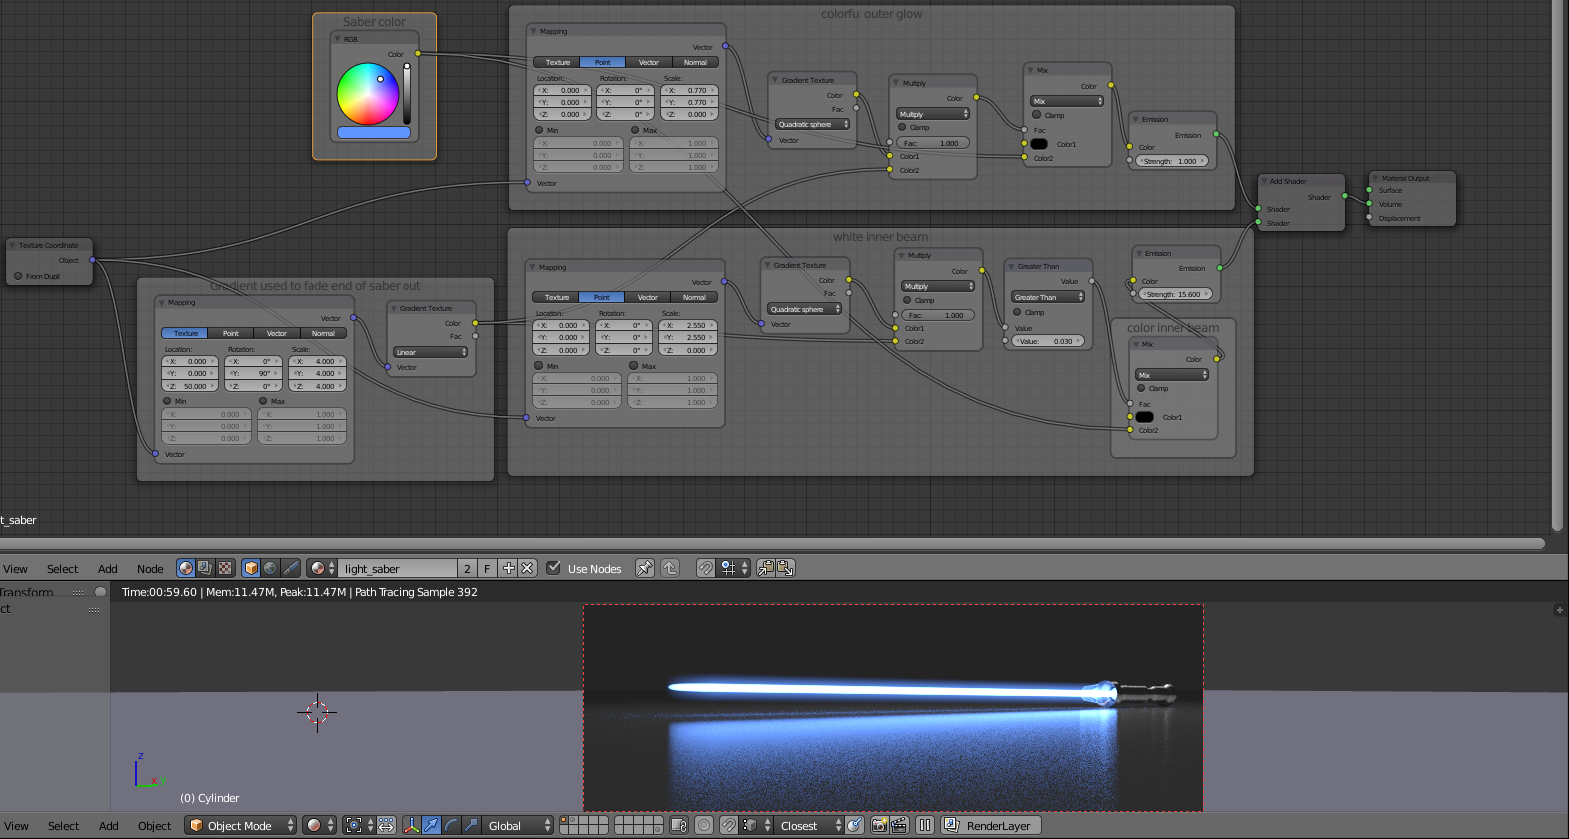
The setup:

enter image description here

This works by defining two spherical gradients which are infinitely long (making them cylindrical), and using those to create the hard white part and the soft colorful bit.

The gradients are defined in object coordinates, so they will stay with the object when it's animated. Note that because of this, the origin of your blade object will make a big difference. If it's centered it should be fine.

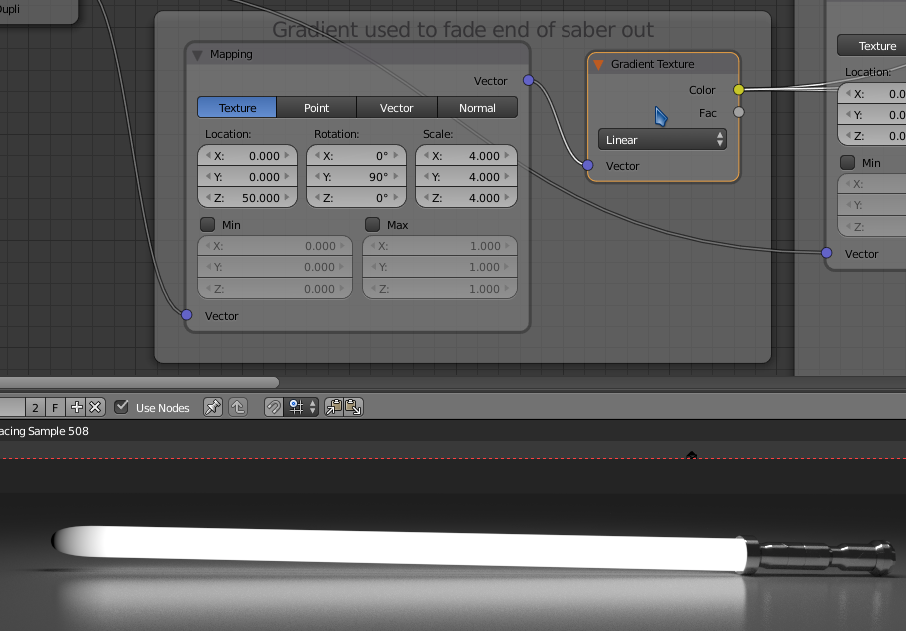
A third gradient is used to fade the cylinder gradients out before they get to the tip of the blade object. This will have to be configured depending on the length of your object and the location of it's origin. It should look something like this:

enter image description here

Provided that your origin is centered, all you should have to do is tweak the Z location value in the mapping node until the gradient is in the right place.

Note that your blade object should be a bit fatter than you might make it normally, as it has to contain the glow. Also note that it doesn't actually have to be a cylinder, as the cylindrical shape is defined in the material nodes.

$\endgroup$
4
  • $\begingroup$ This is actually pretty much what I was looking for back when you answered my question (blender.stackexchange.com/a/3640/3127). Of course, back then, we didn't have volumetrics and I wasn't totally thinking of making it material-based instead of compositor-based. $\endgroup$
    – kizlink
    Commented Oct 13, 2014 at 11:29
  • $\begingroup$ @kizlink Ha, I was thinking of that when I wrote this one.. Glad you found it :) $\endgroup$
    – gandalf3
    Commented Oct 13, 2014 at 20:26
  • $\begingroup$ Absolutely astonishing! The result looks hilarious ... yep, node tree is not that easy ;). Thanx for the .blend file so we could see the action - for sure I will use it in my WIP now! $\endgroup$
    – Jan Matys
    Commented Nov 21, 2018 at 22:40
  • $\begingroup$ ...it could not be used for bent objects (only straight) so very limited usage - sadly. $\endgroup$
    – Jan Matys
    Commented Nov 28, 2018 at 0:56
5
$\begingroup$

Here's another option.

Create a plane and place it perpendicular to the camera and in front of it, that's going to act like a camera filter. (I like using the Create Camera Image Plane Addon to create a plane that always fills the frame and follows the camera using drivers)

enter image description here

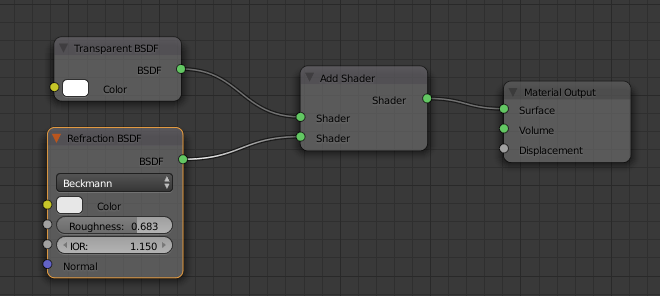
Make the materials for the plane transparency and refraction.

enter image description here

enter image description here

$\endgroup$
10
  • $\begingroup$ You should probably use a very thin cube instead of a plane, as everything on one side of the plane is being refracted, creating a rather large difference between the transparent shader and the refraction shader.. $\endgroup$
    – gandalf3
    Commented Sep 9, 2014 at 20:37
  • $\begingroup$ @gandalf3 I tried it but I don't see any difference... $\endgroup$
    – user1853
    Commented Sep 9, 2014 at 20:48
  • $\begingroup$ There is one: pasteall.org/pic/76799 $\endgroup$
    – gandalf3
    Commented Sep 9, 2014 at 21:00
  • $\begingroup$ @gandalf3 Ok got it :) $\endgroup$
    – user1853
    Commented Sep 9, 2014 at 21:02
  • $\begingroup$ Thanks. Looks a little weird to me, but can you make an update? How do you mean by a "filter". The nodes are for the sword like objects or for the plane(I've never used something like this before)? $\endgroup$
    – Vladimir
    Commented Sep 9, 2014 at 21:52
2
$\begingroup$

Here's a way to fake a glow in cycles:

Create an object and give it an emission shader.

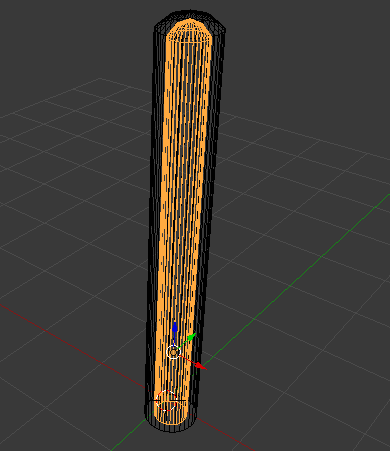
Duplicate the object and resize it so it's slightly larger than the original (this will become the glow)

enter image description here

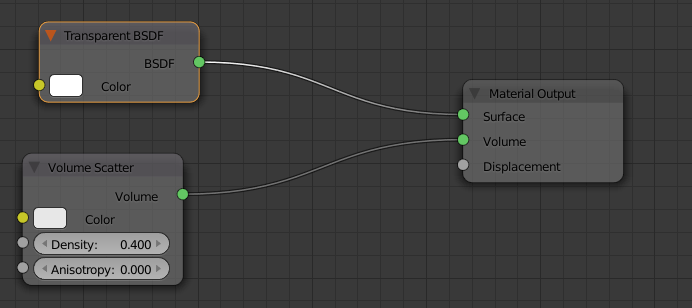
Create and assign new material for the glow object with the following nodes: a transparent material for the surface and Volume scatter for volume.

enter image description here

enter image description here

$\endgroup$
2
  • $\begingroup$ Thanks. I get similar results with a "Layer weight" node, but this is better. $\endgroup$
    – Vladimir
    Commented Sep 9, 2014 at 18:59
  • $\begingroup$ Thanks for the answer, it's just that there is no blurring. If I blur it in the compositor, it would be out of perspective. Any idea? $\endgroup$
    – Vladimir
    Commented Sep 9, 2014 at 19:38

You must log in to answer this question.

Not the answer you're looking for? Browse other questions tagged .