The Round Cube Method
In addition to the other answers here, which are totally sufficient for addressing your case, I'll just mention that you can also attach a Round Cube to a Cylinder if the vertex count of the circumference matches.
The benefit of doing this is that you get a nice evenly-spaced quad mesh that can be textured and deformed elegantly, without any pinching pole at the tip.
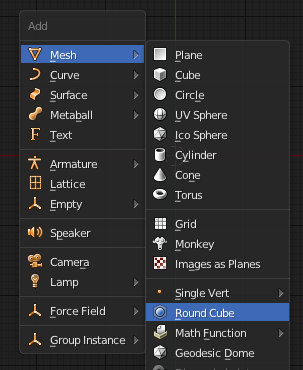
In order to add a round cube, first enable the Extra Objects add-on for meshes.
Add the round cube by pressing ShiftA.

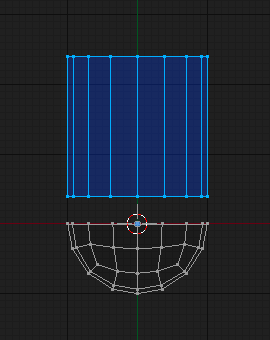
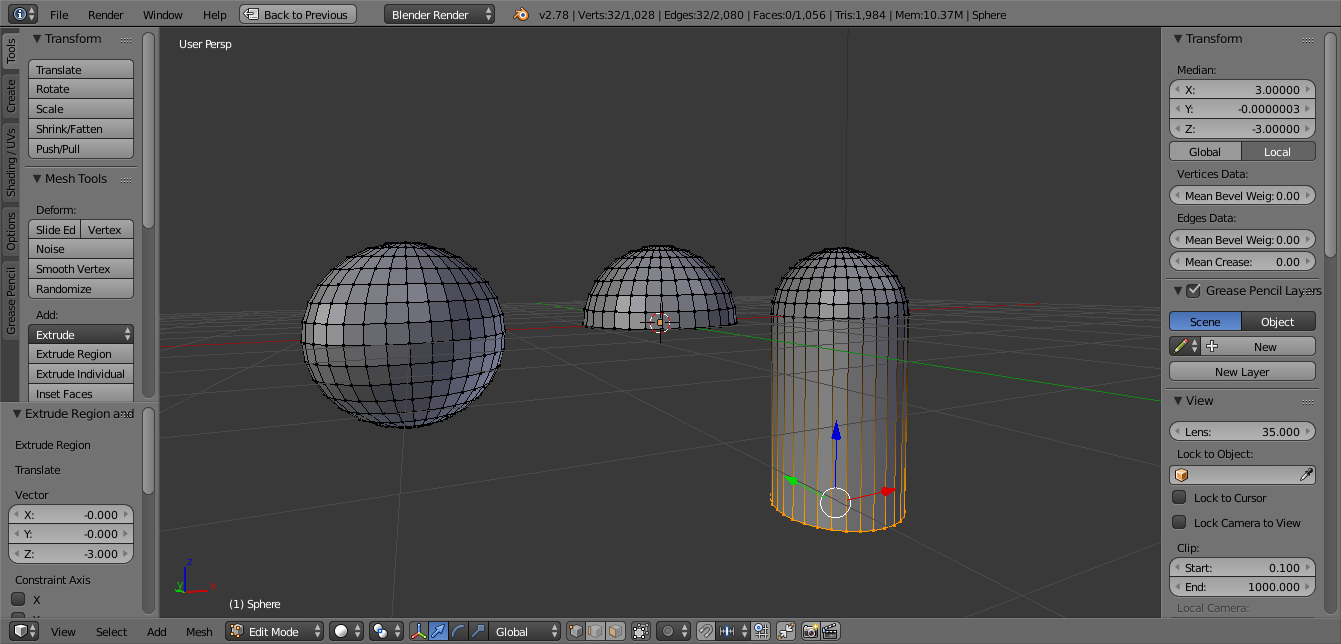
Delete half of the round cube (X) and add a cylinder while still in Edit Mode. Rotate either the cylinder or the round cube so that their vertices align.

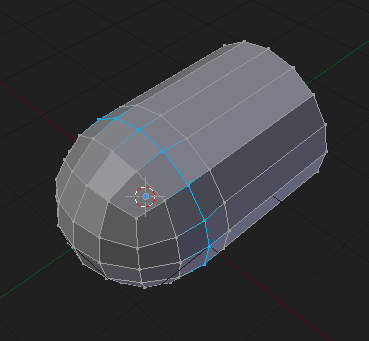
You can perform a Loop Cut (CtrlR) around the cylinder to form a holding loop that will keep your cylinder's edges straight up to the point where they join the round cube hemisphere.
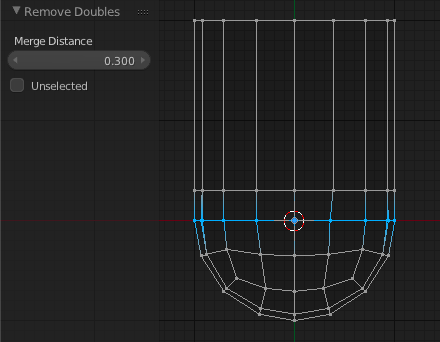
Once the vertices that form the outer edge loops of the cylinder and round cube are overlapping and selected, (Border Select B should suffice) you can Merge them from the Specials Menu (W > "Remove Doubles"). Adjust the Merge distance as needed from the Operator Panel.

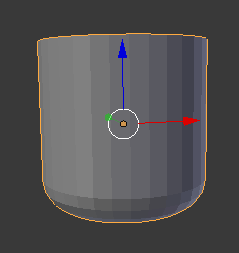
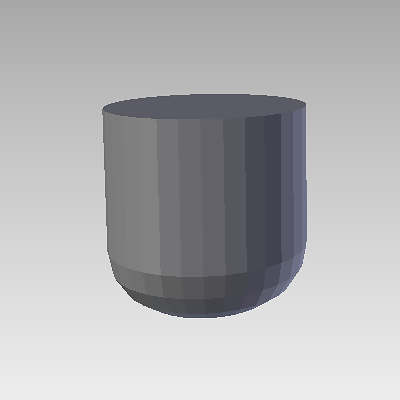
And here is the result:

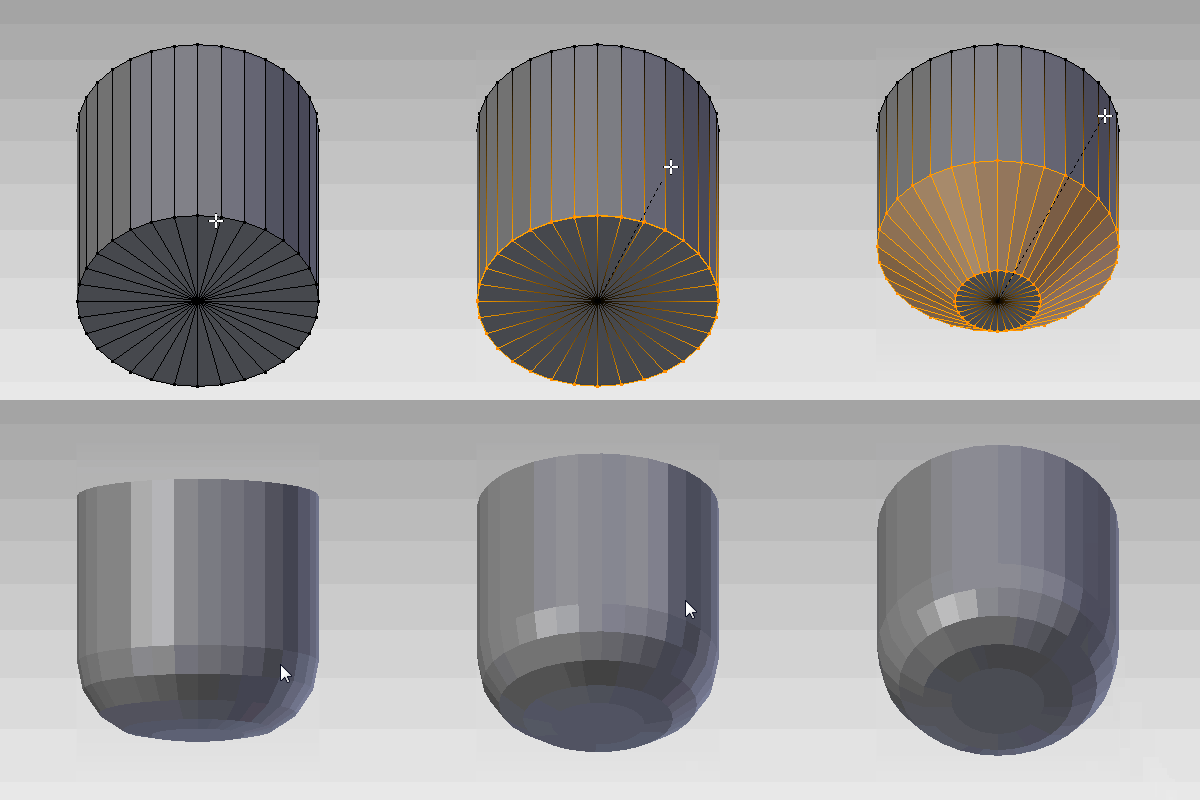
For your particular case I don't feel this is necessary - beveling the bottom of a cylinder is faster. But it's handy to know how to do this, for times when you're making something larger and more noticeable, or when topology is important. Sometimes it's good to think outside of the UV sphere. ;-)
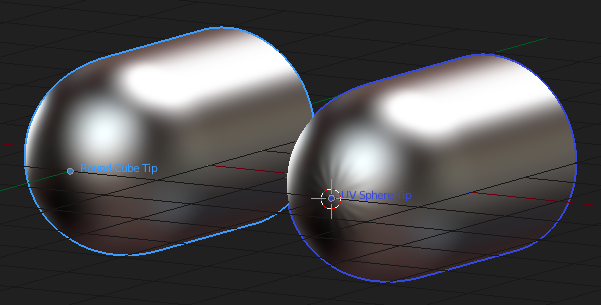
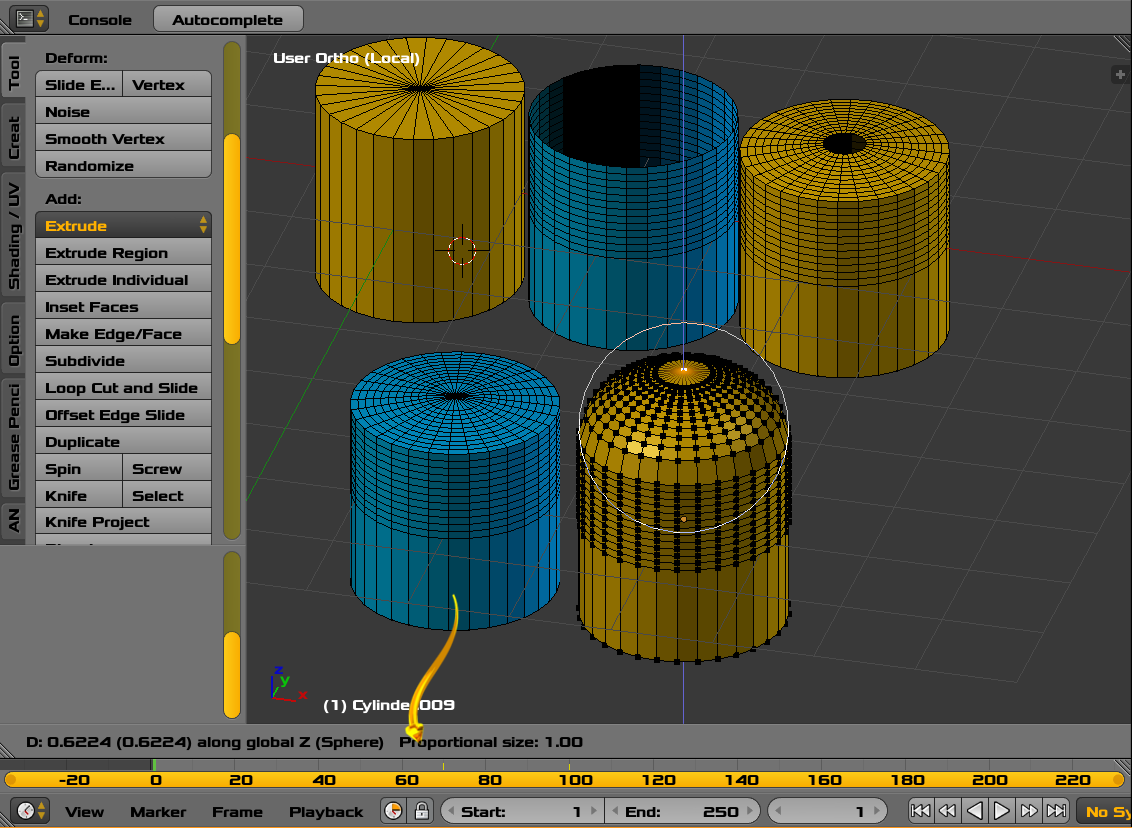
Finally, here is a shading comparison with round cube topology versus UV sphere topology:

Note the triangle fan shading artifact that results when a UV sphere is used, and how this is not present when a round cube is used.


