0
$\begingroup$

enter image description here

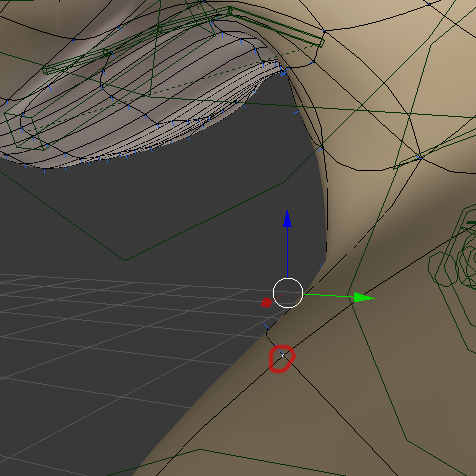
I attached an image to explain what is going on. The center of red, blue and green arrows should appear at the white point inside the red circle when I chose the white point to edit it. And if I hold and drag the Blue arrow up, the white point goes down although it should go up. Please help me to fix this, I tried hours to fix it but I can't find a clue >.<

Expected :

  1. Center of blue, red and green arrows is at the white Point inside the red circle.
  2. Hold and drag blue arrow up, the white point should go Up, drag green arrow to the right, will make it move to the right ...

Thanks for helps.

$\endgroup$
6
  • 1
    $\begingroup$ Could you add more information about the object's modifiers&armature? I may guess you you are using SubSurf enabled for edit mode (that is the reason of the apparent manipulator's offset from selected geometry) but for the "reverse moving" effect I think you should tell more about your scene setup. $\endgroup$
    – Carlo
    Commented Dec 7, 2015 at 17:50
  • $\begingroup$ Thank Carlo. I added shape keys before I applied the SubSurf >.< Now I can't applied it any more. I'm totally new in Blender. I'm starting with my first Character following Tutorials. [link]mediafire.com/?m2tr7fo9papg3so Can you help me fix it please, here my Blender file. $\endgroup$ Commented Dec 7, 2015 at 18:09
  • $\begingroup$ One more reason why the maniplator may be not surrounding your selection - is that there's another one selection somewhere. It may be a good idea to remember always deselect everything first and then proceed to select / edit current selection (especially on big models), $\endgroup$
    – Mr Zak
    Commented Dec 7, 2015 at 19:02
  • $\begingroup$ Thank Mr Zak. I selected only one vertex. I tried deselect everything and then select again, still same issue. I tried to choose 2 vertex, but the manipulator still not be inside the right selection eventhough I switched between Median Point and Individual Origins in Pivot Point Options, still no results. I uploaded my blender file on the above comment. Please help >.< $\endgroup$ Commented Dec 7, 2015 at 19:14
  • $\begingroup$ what is the pivot point set to? (that is probably what is causing this) $\endgroup$
    – David
    Commented Dec 7, 2015 at 19:27

1 Answer 1

2
$\begingroup$

Disable "Adjust cage" option

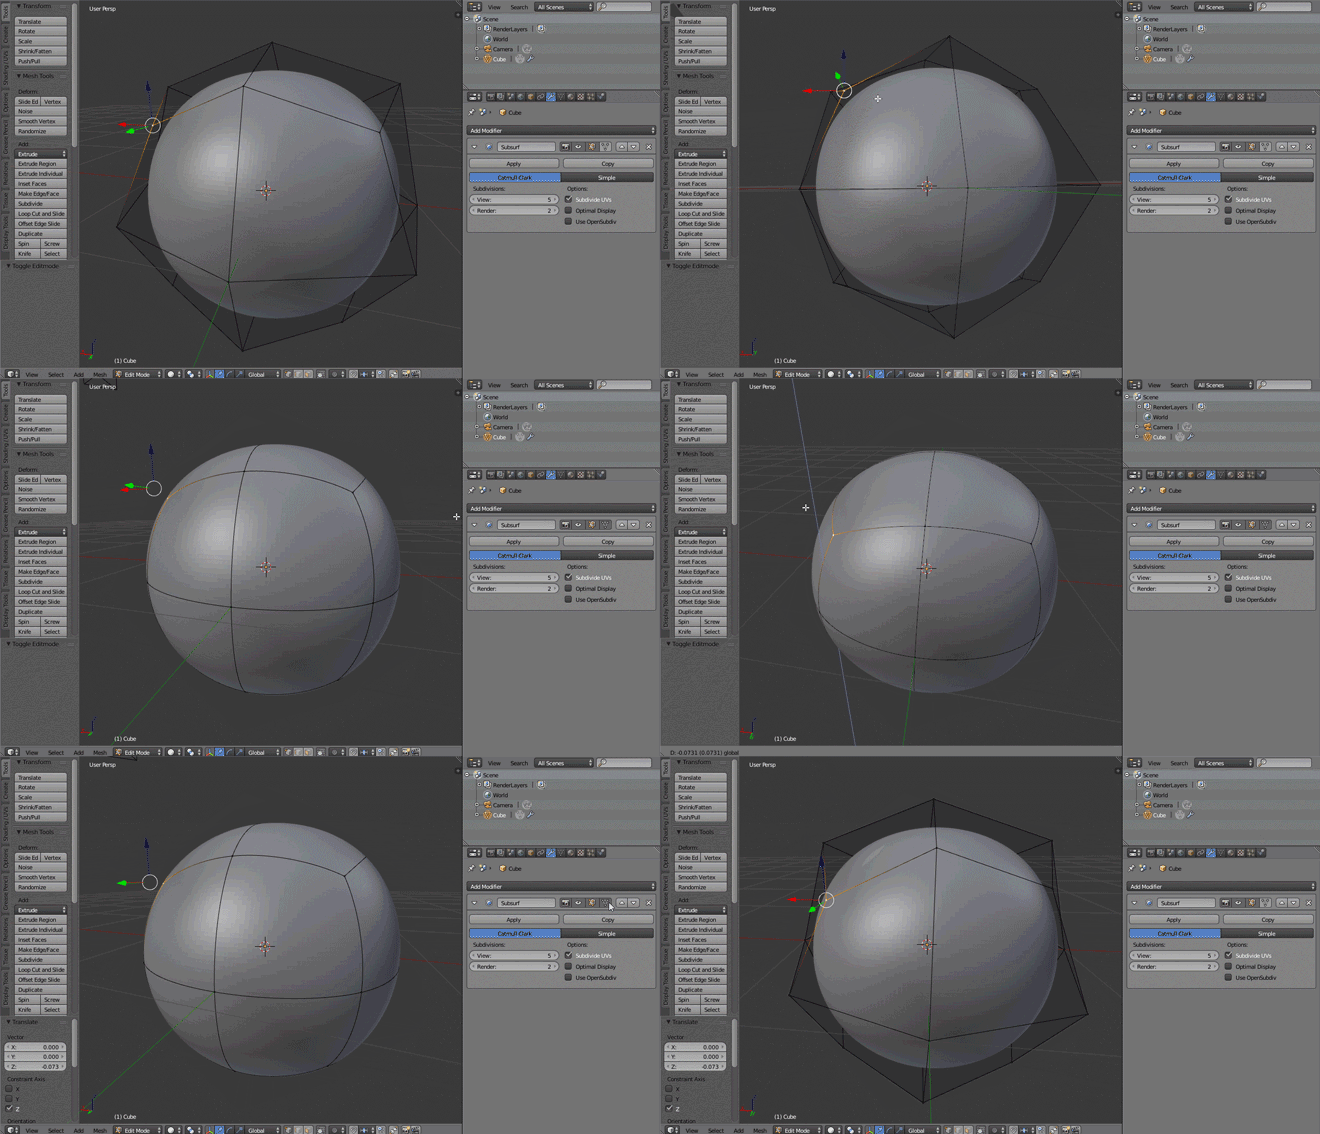
Bender is capable of showing the result of some modifiers in edit mode. Subdivision surface & Mesh deform are one of those. In addition there is also an option called Adjust edit cage to mesh result; from the Blender's reference manual page:

This lets you grab the vertices as they lie in their new smoothed locations, rather than on the original mesh.

Despite this, the 3D manipulator will stay stiched to the un-adjusted cage of the mesh, creating the small gap you mentioned.

enter image description here

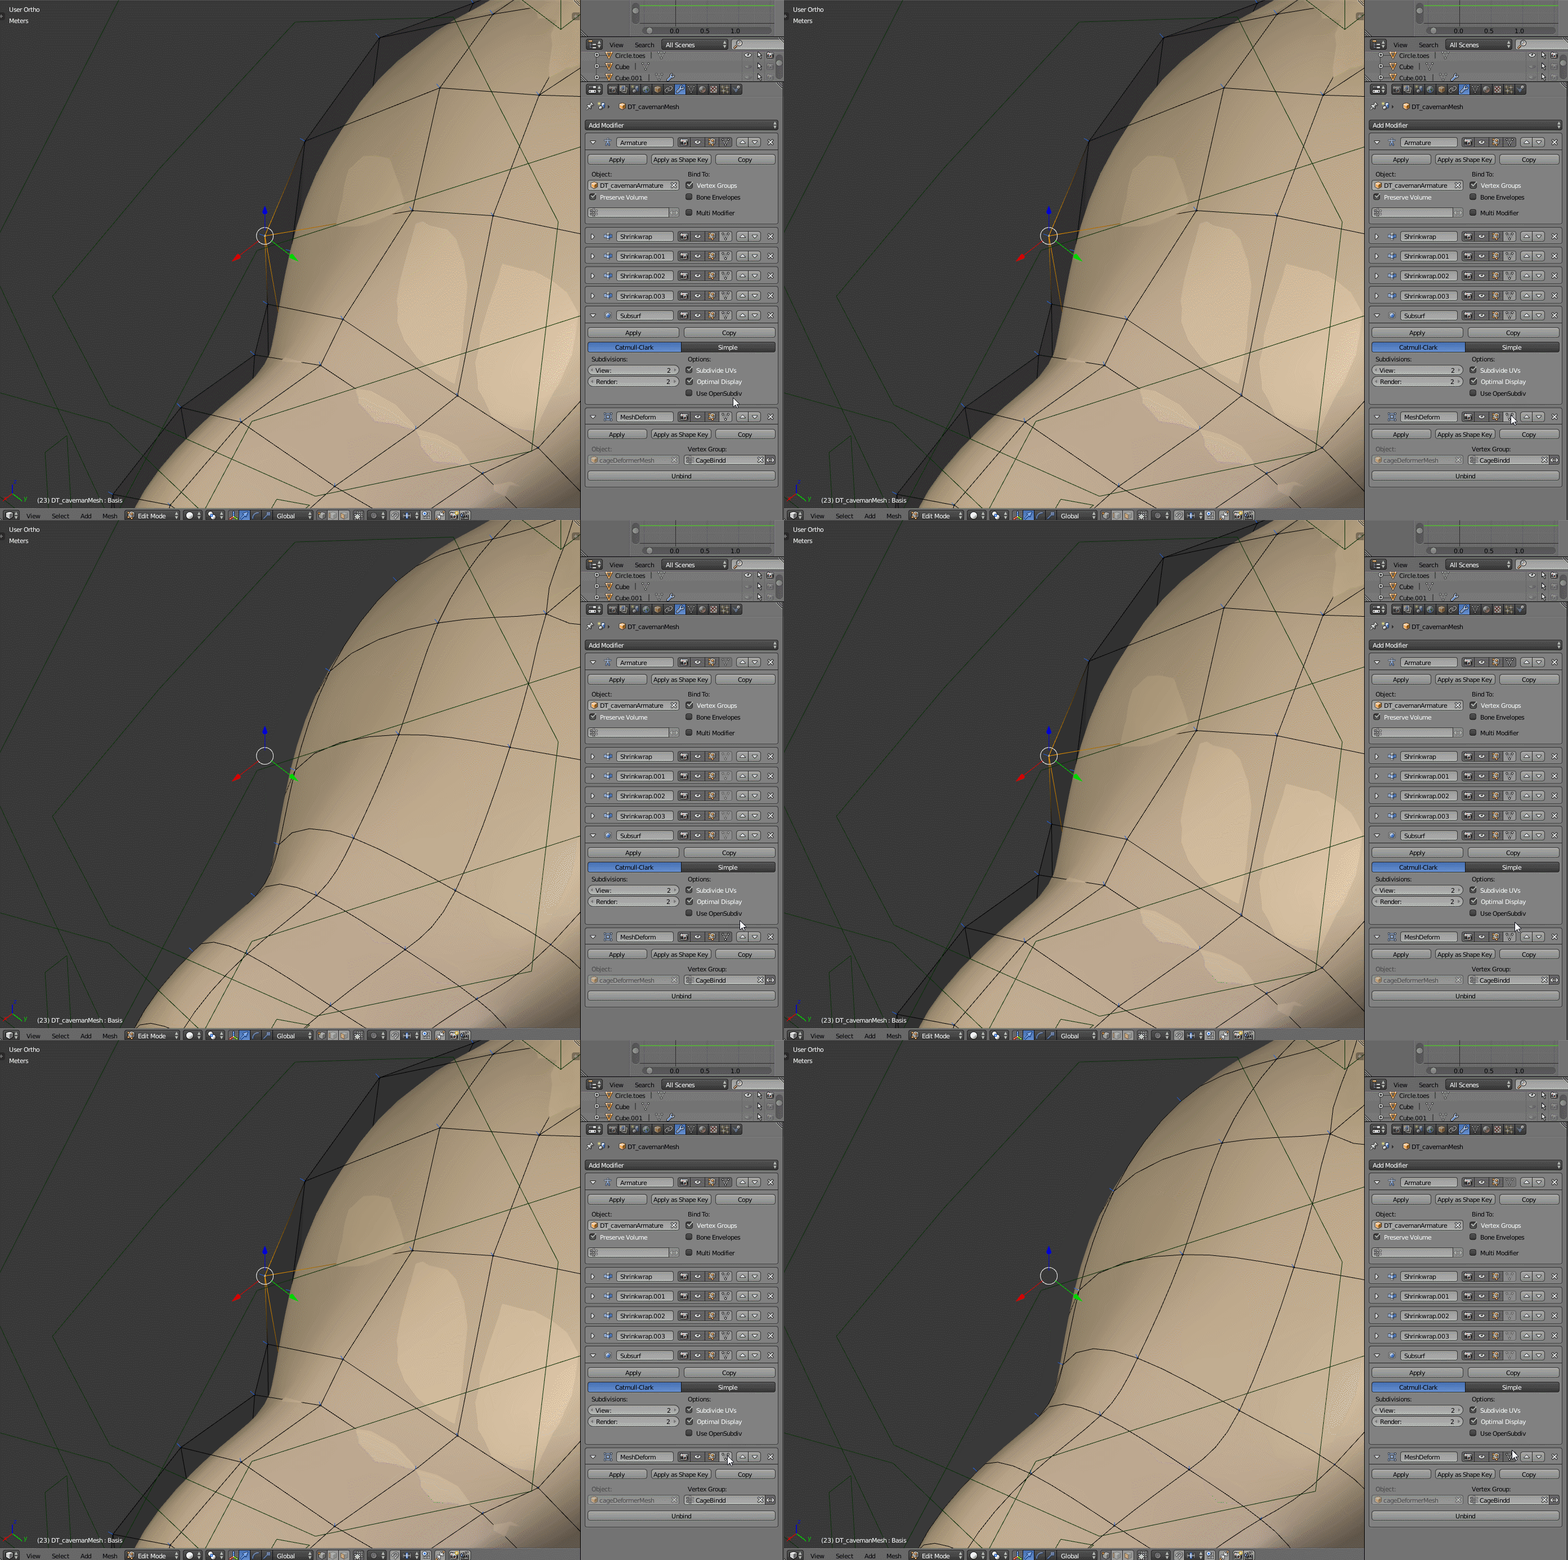
In your case the modifier causing that is the last: Mesh deform.

enter image description here

$\endgroup$
0

You must log in to answer this question.

Not the answer you're looking for? Browse other questions tagged .