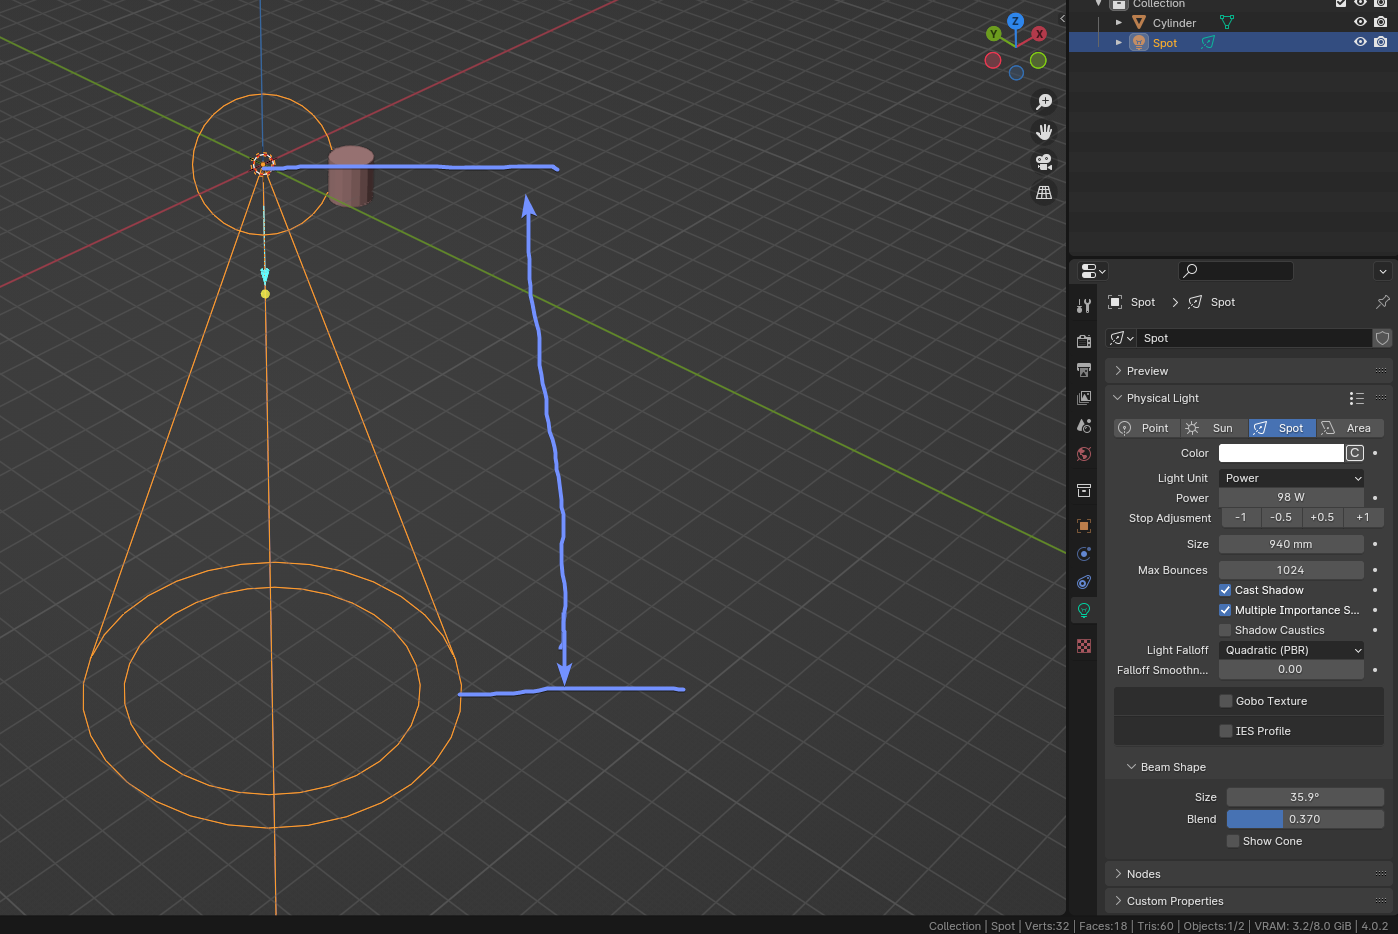
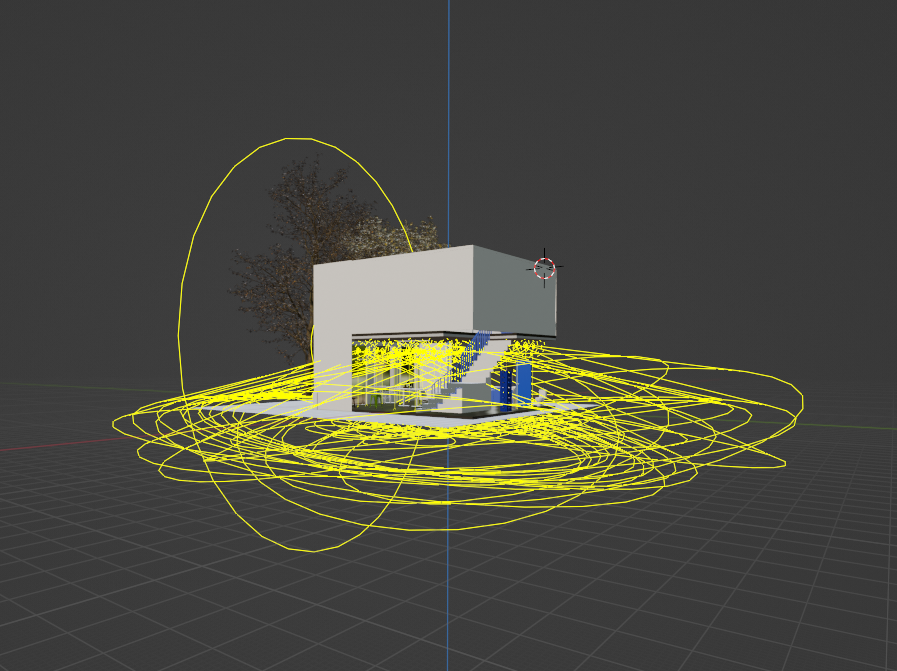
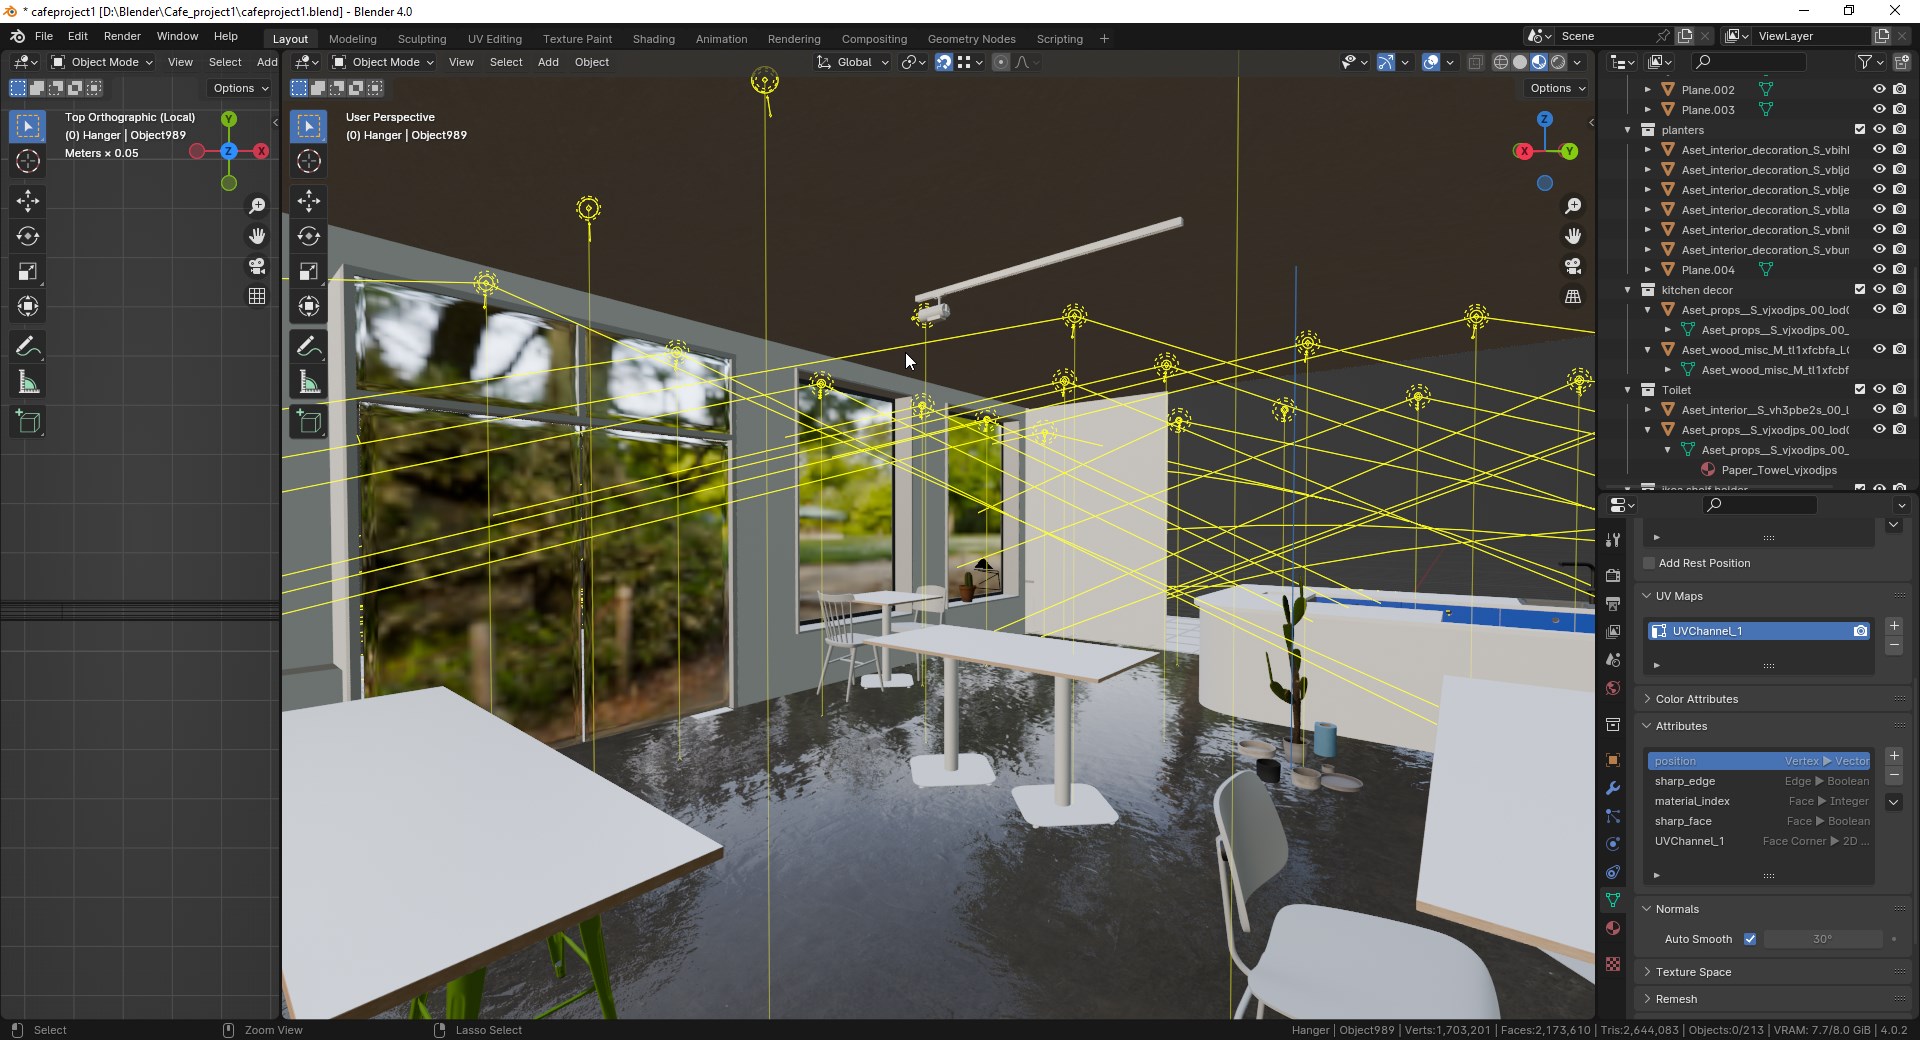
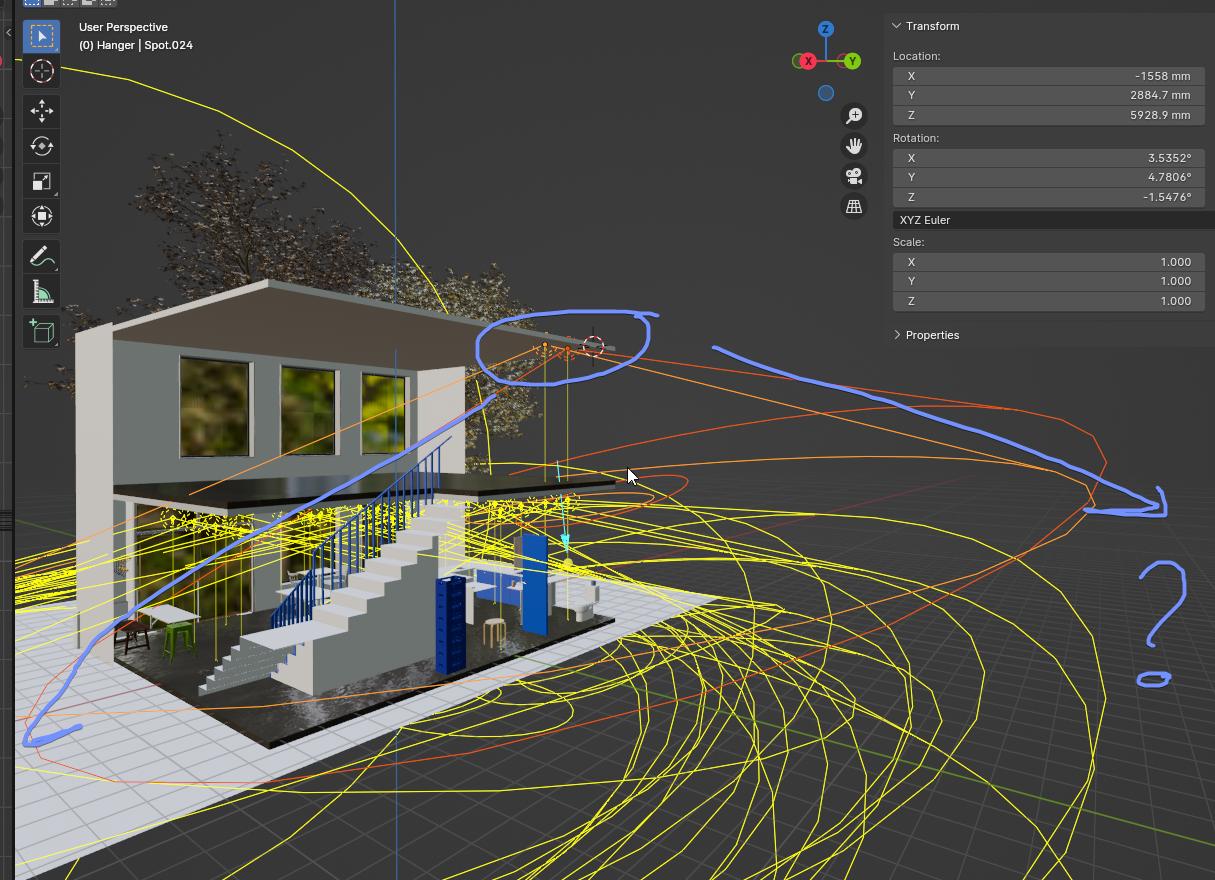
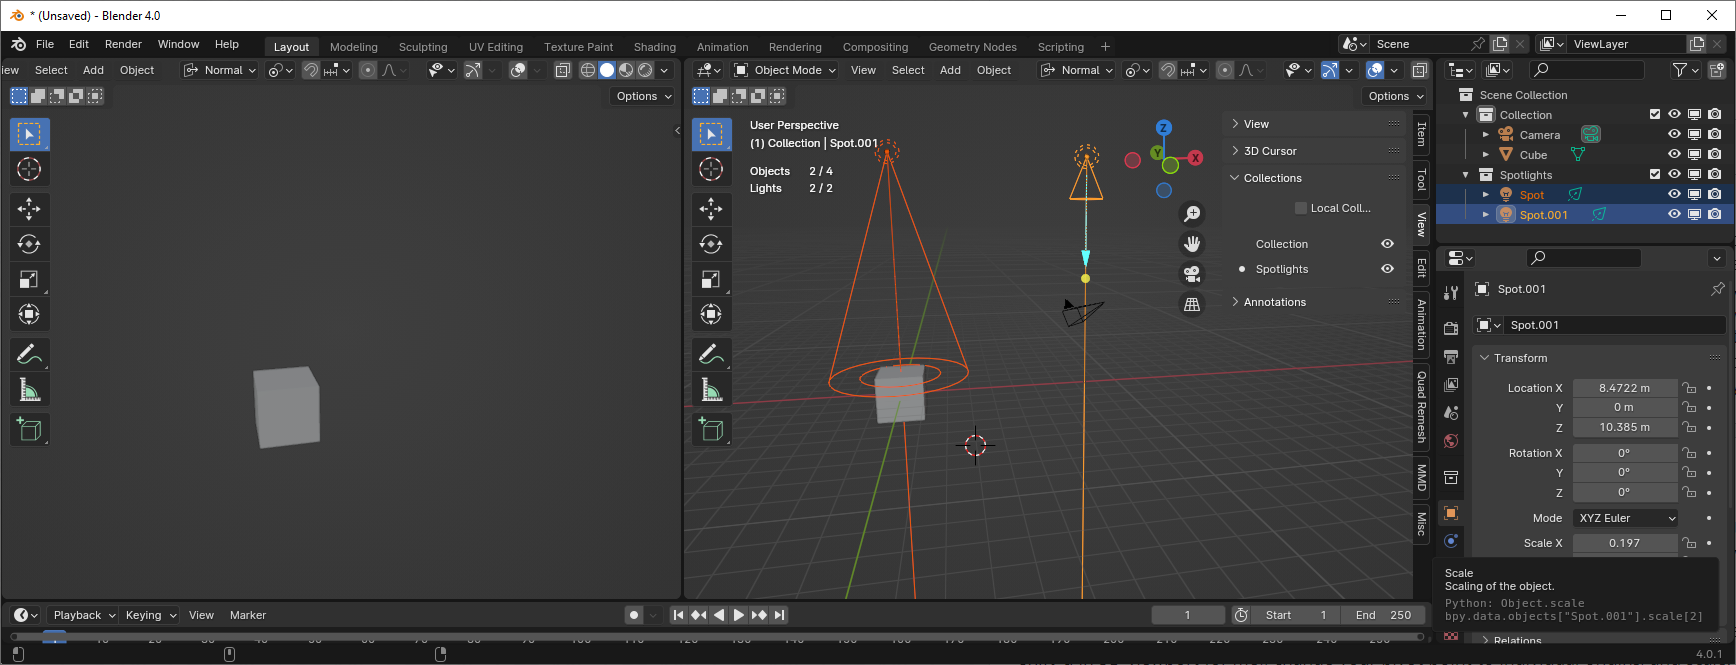
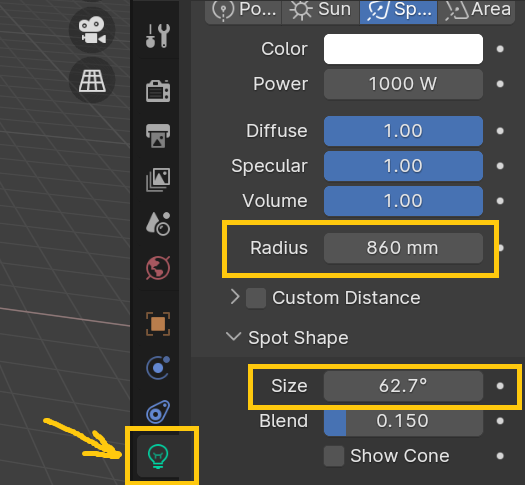
You can simply select your spot lights and scale them up or down (object mode scaling.) A light's scale has absolutely no effect on the way that the light renders, not even on its "radius" property, but it affects the viewport display of the light. This is sort of weird on Blender's part-- it's one of the few ways where you can't just scale an entire scene up or down, the lights won't be consistent with the scale-- but in your case, it's convenient.
If you'd like to do this with all of your lights very quickly, and you don't have any area lights, you can select grouped->type (with light selected, shift-g in 3D viewport for me), change your pivot point to individual origins, and scale.
The only kind of light that is affected by scaling is an area light, so if you have any of those, you'll have to be careful not to scale those-- they'll get selected with select grouped by type above.
There are other useful techniques for managing the display of objects like this. I usually work with two 3D viewports open, one with overlays and gizmos disabled, so that I can see the controls I need to work with in one view without them interfering with the final product that I see in the other view (this is usually for dealing with armatures, but I can easily end up with a scene riddled with empties.) And it can often be useful to create collections of certain objects-- say, all spot lights-- so that the visibility of these collections can be toggled rapidly.

Showing scaled and unscaled spotlights, two viewports, sidebar collection visibility panel.
