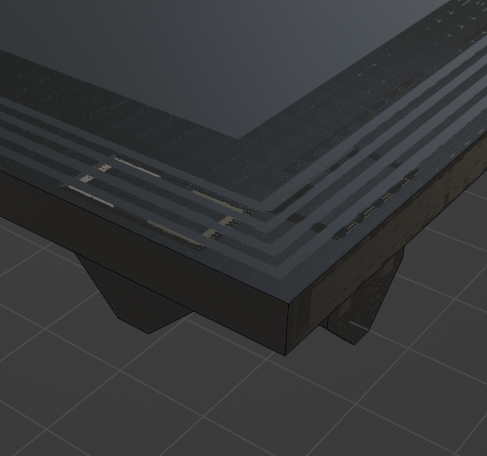
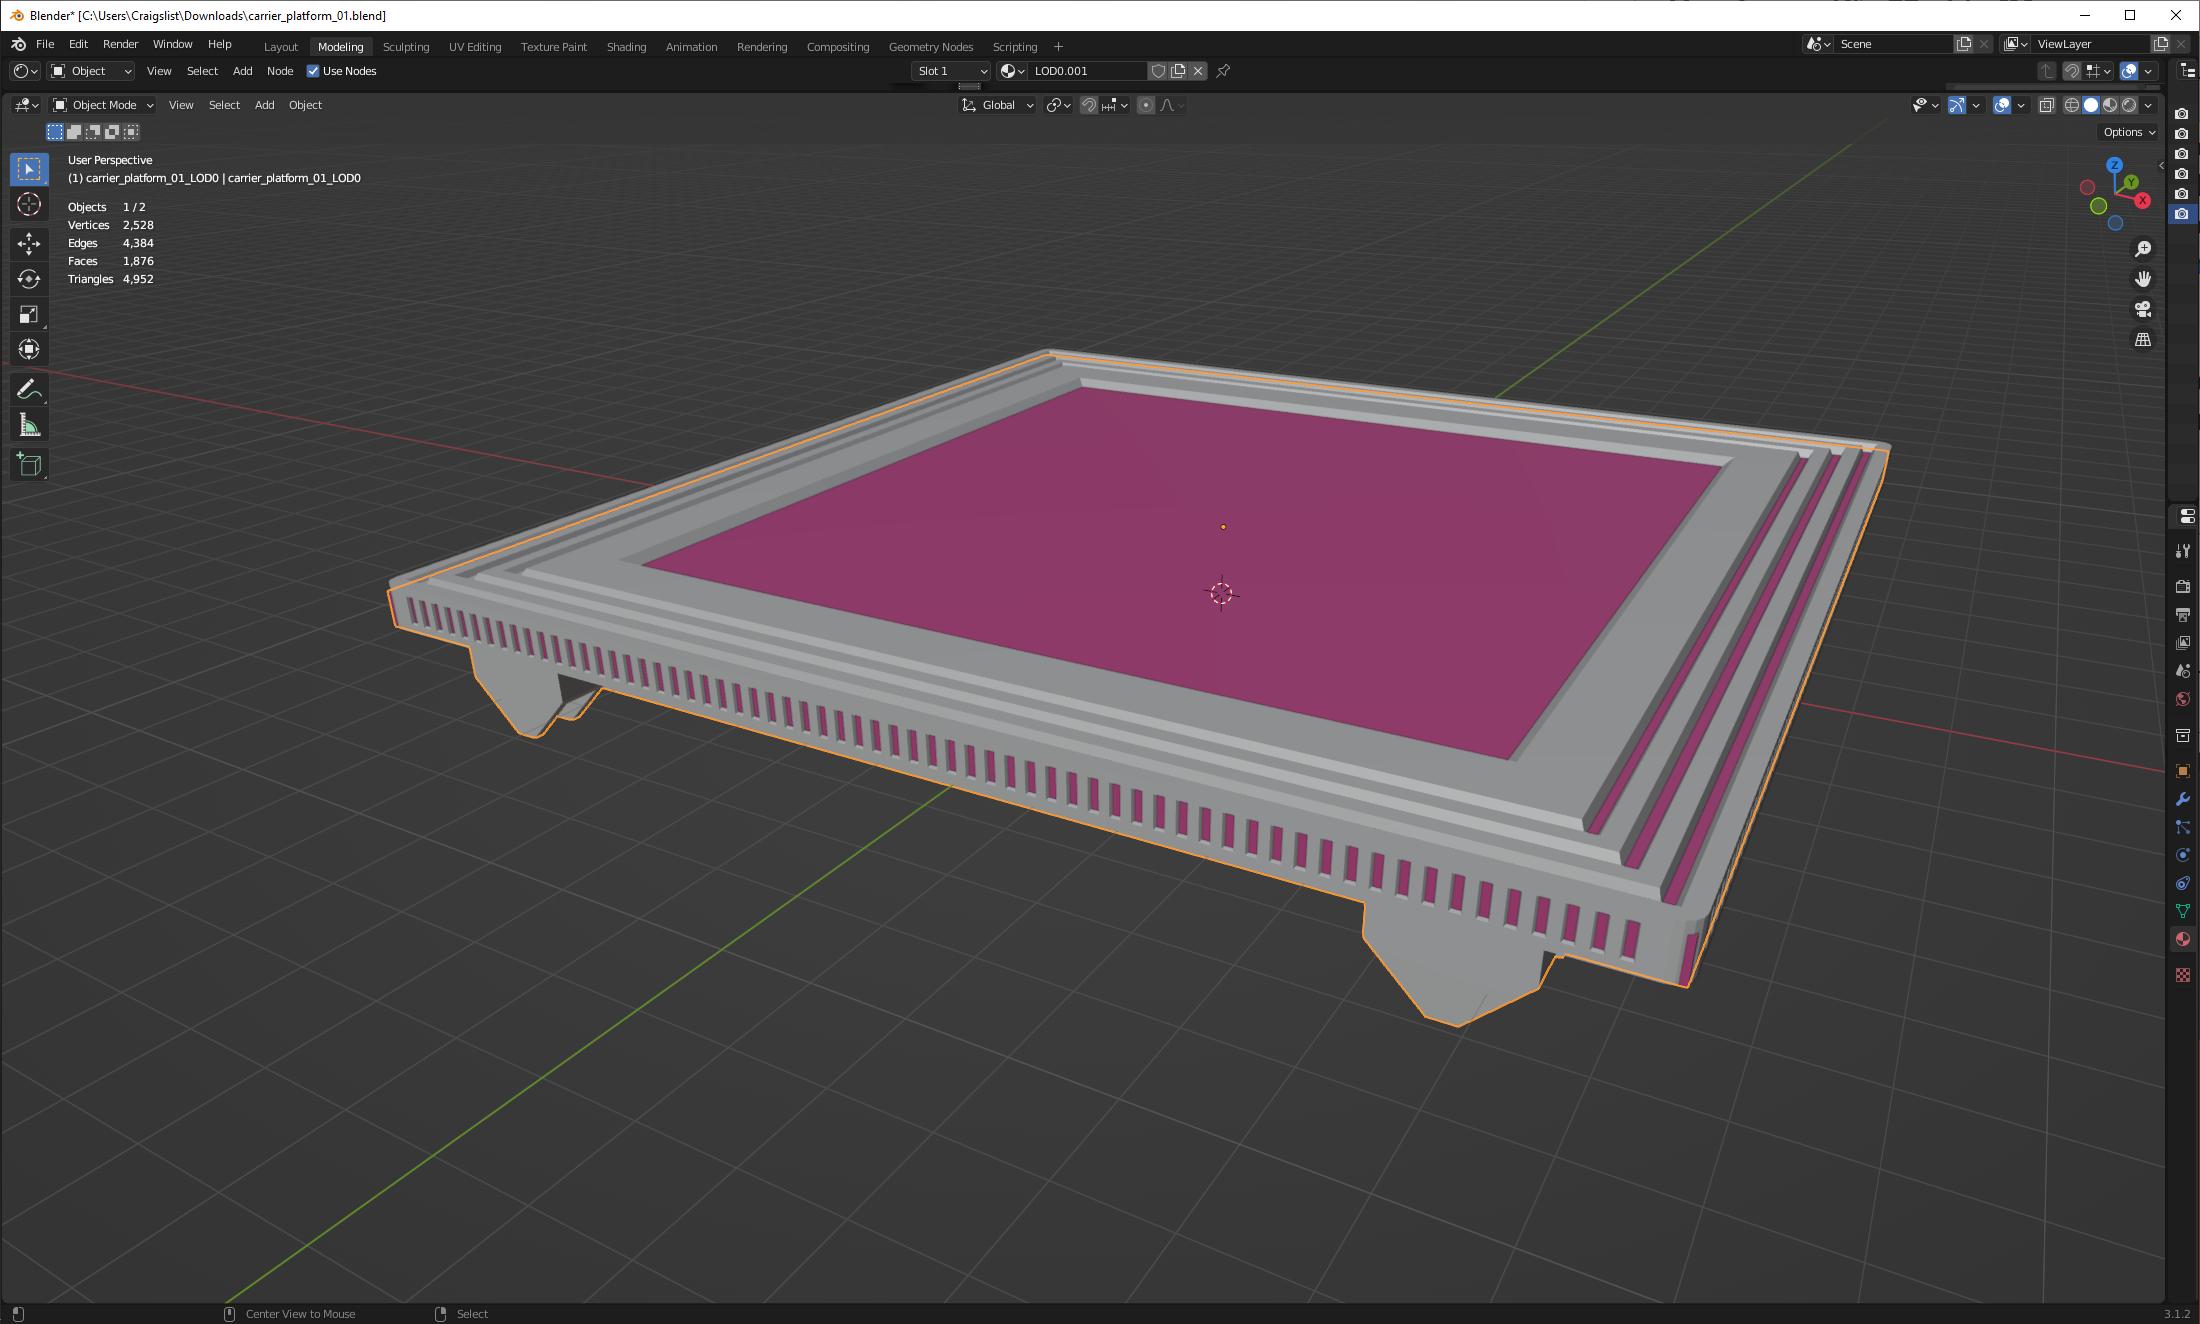
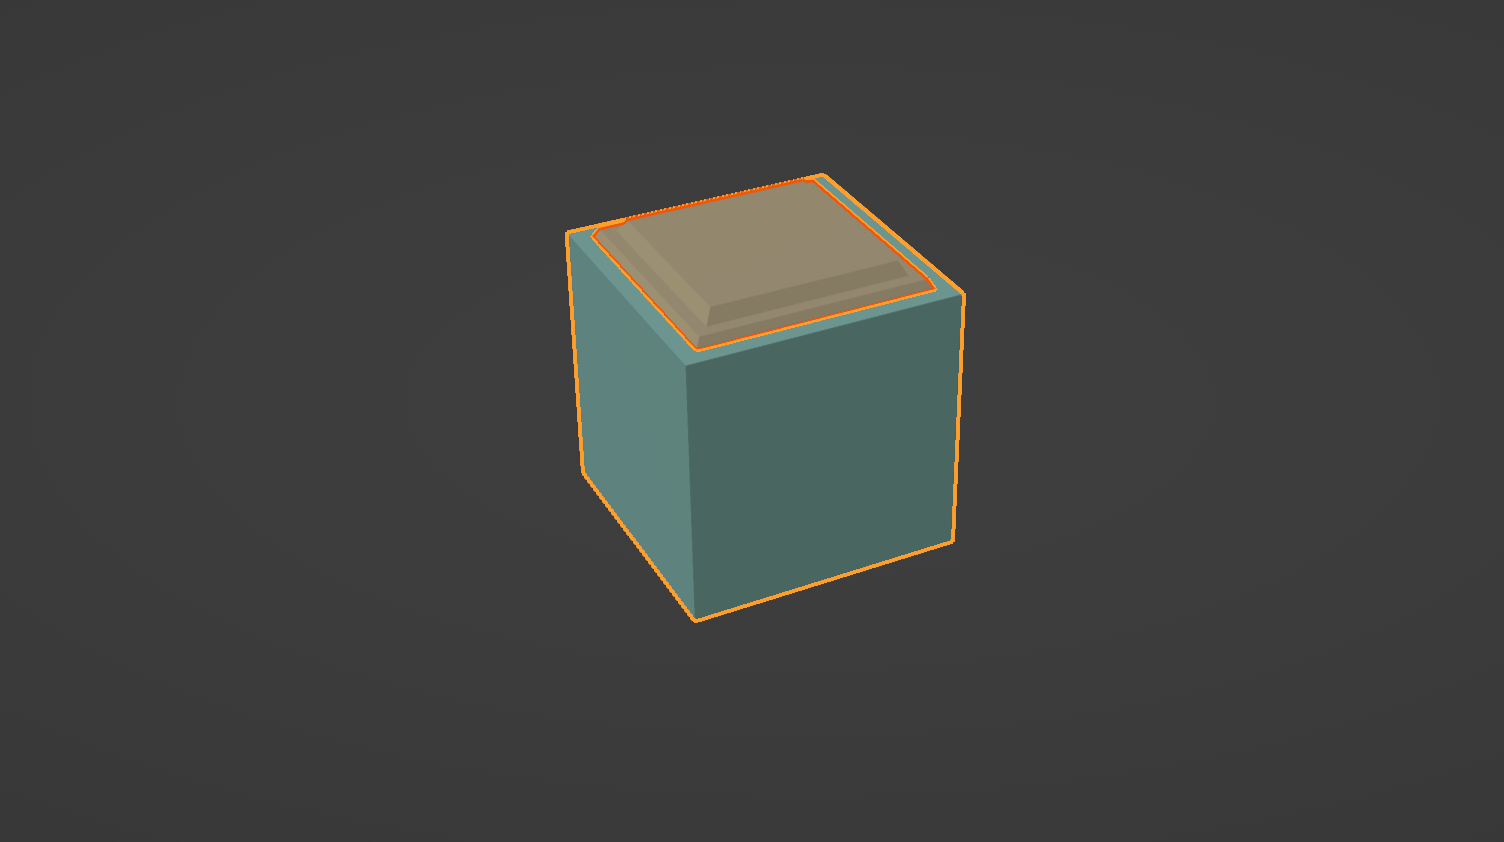
So the first thing we notice upon looking at your low poly is that the normals are backwards:

I can see that by enabling face orientation in overlays. Backwards normals means it will shoot the rays the wrong direction, and that it will read the normals as modifications to backwards normals. Let's fix that, by recalculating normals in edit mode (select all vertices, then ctrl n is recalculate normals for me.)
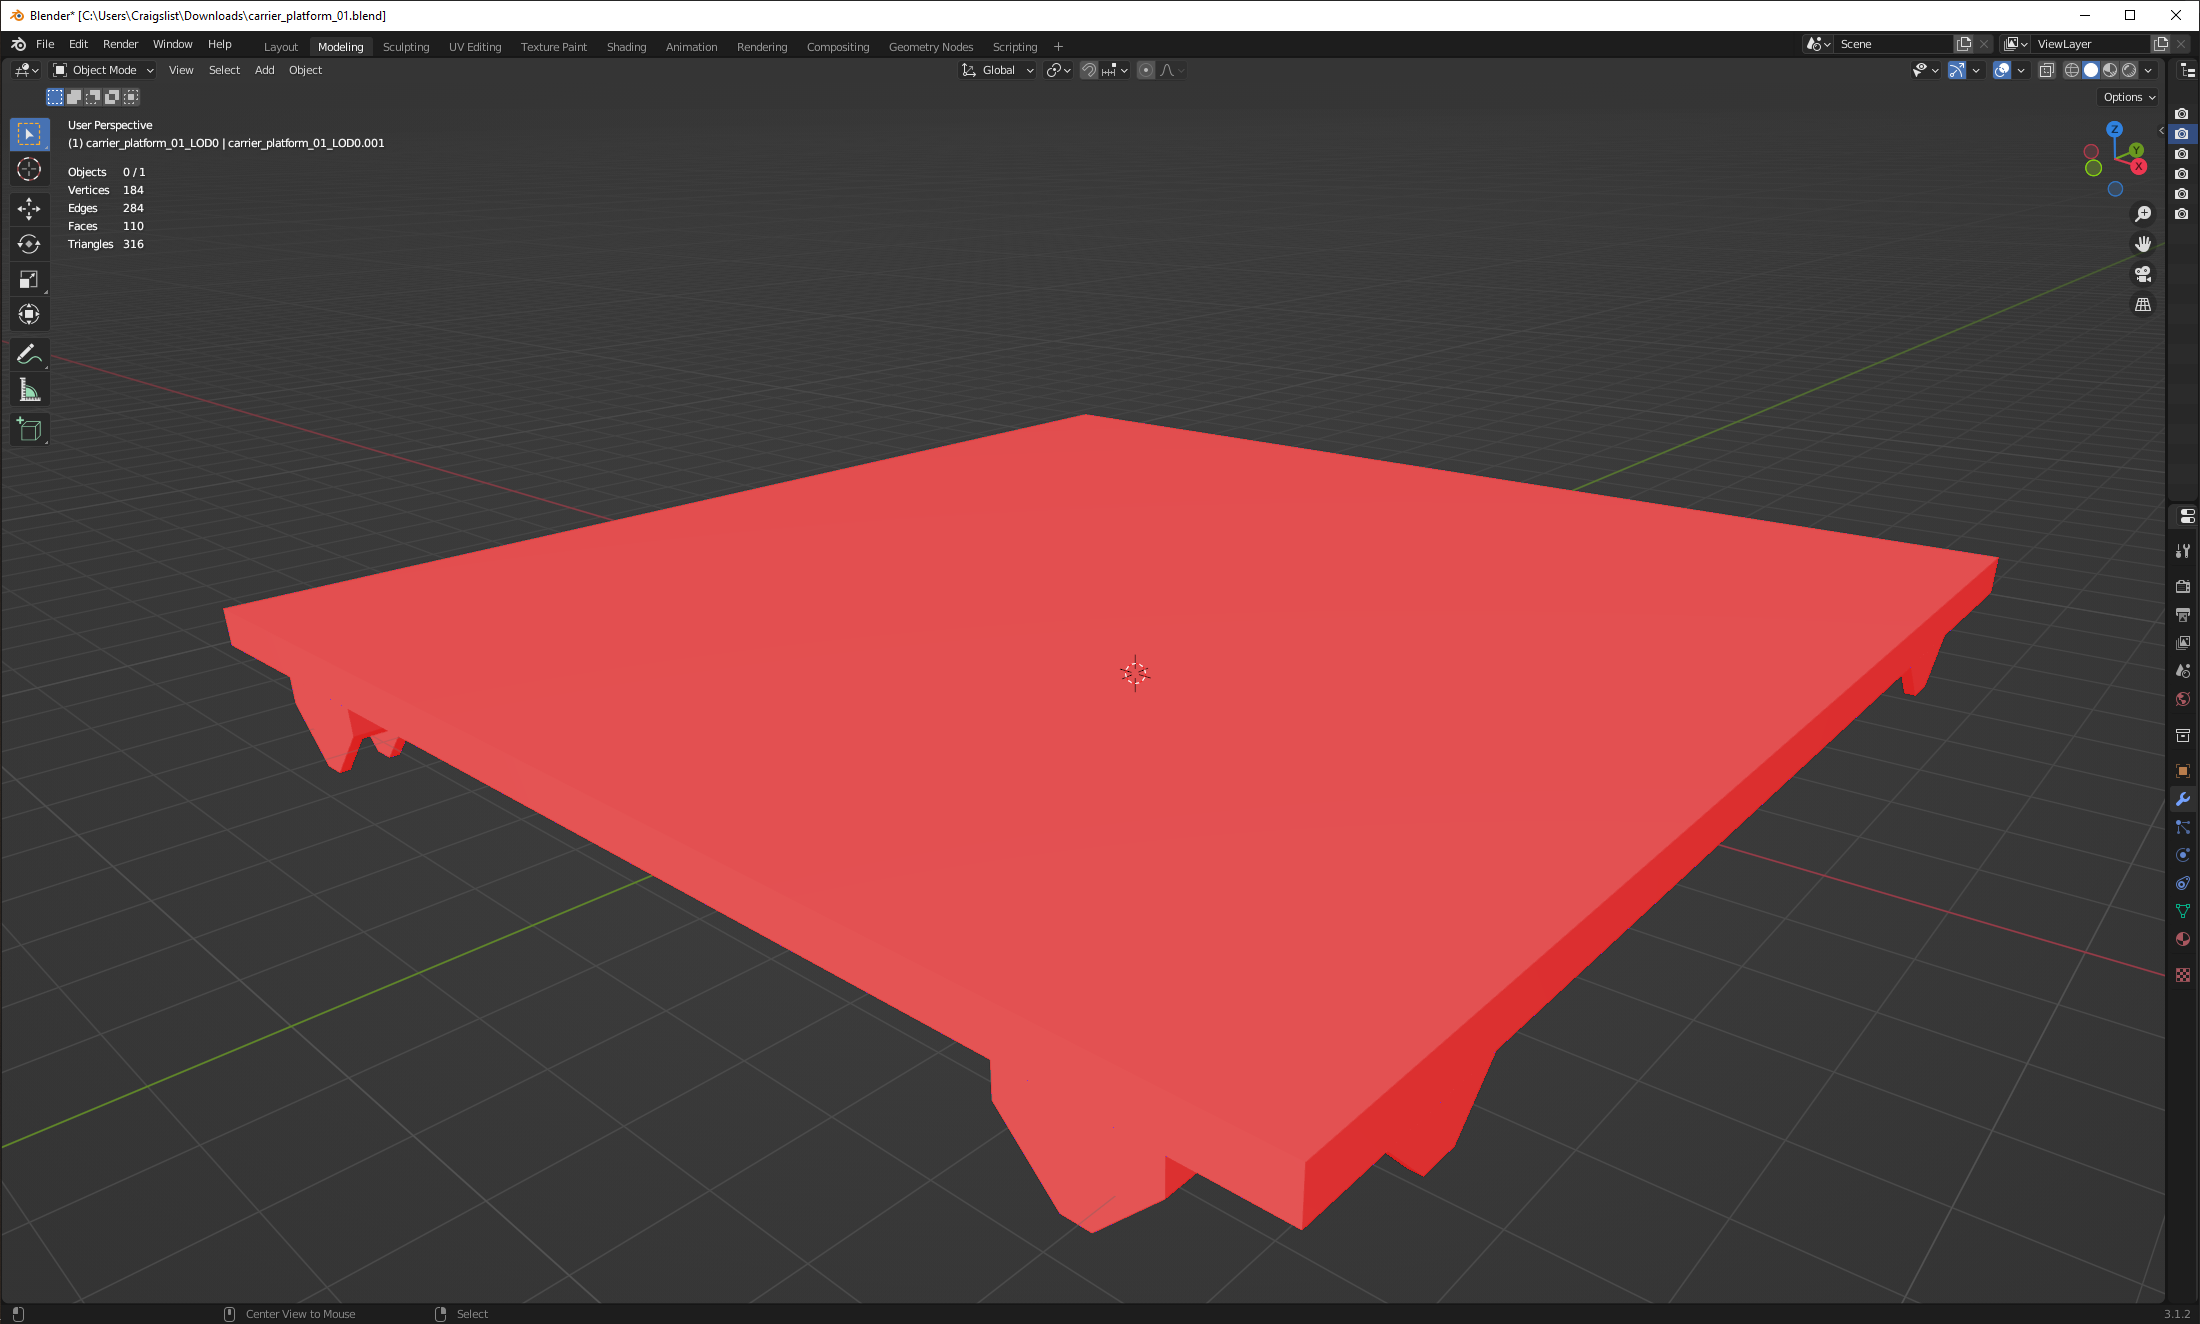
Now, let's look at your high poly and low poly on top of each other. To help us distinguish them, I've given the low a purple viewport display color:

We notice that the high and low poly intersect. That's no good. The rays will be shot from the low poly, along the low poly's normals, in a single direction, and if the high poly encloses the low poly, then those rays will hit the backside of the high poly and we'll get totally wrong normals.
This is what extrusion or a cage is for, to set this distance. There's another way to do this, which I prefer, because it gives us more visual information, which is to use a temporary displace modifier instead. This is exactly the same as using ray extrusion. Let's do this; it will show us why you need to use a cage, rather than ray extrusion:

I duplicated high and low so we can see both sides. I'm using an equal displace on both copies of the low; we can see what we get when we'd use an extrusion of 0.52. (Well, it would be 0.52, if you had applied scale; not sure, with unapplied scale.) It doesn't completely enclose the high poly. But if we made it any bigger, the legs and the the rim self-intersect, and maybe intersect the the high, which is something we don't want. So yes, we want a cage. So let's look at your cage, again coloring it to help us see, in conjunction with your high poly:

The cage is almost there. You've raised the top. But we still see Z-fighting all over the place. Exactly at the same spot as the high isn't good enough for Blender. We'll have to extrude this very slightly, which I'll do by selecting all and using shrink/fatten operation. We want to see none of the high poly, but we don't want to see any self-intersection either. If needed, we could do this on a per-vert basis, but doing it evenly along all verts with the cage you've provided works here, since you've already done the top.
There is one other thing we want to do, which is to change the table to smooth-shaded, clear all sharp edges, and turn off autosmooth. I've written about why this should be done several times elsewhere, most recently at How to bake a high poly, smooth cube onto a simple, sharp cube? . The short of it is that if we use sharp edges-- flat shading-- then some of our rays are going to miss the high poly.
Of course, your cage, as a duplicate of you low poly, had backwards normals, so we probably want to fix those, and get it set as smooth shading as well (although I'm not totally sure it matters.)
When we're all done with that, we can bake, with almost your settings. I'm going to set Max ray distance to 0 (which actually means, infinite, not zero). With a proper bake, max ray distance should almost never be used. It will stop rays when they get long-- but through the steps we've taken, we've assured that every ray is hitting the high poly, and that they're hitting the correct side of the high poly. Which is what should be done with a bake.
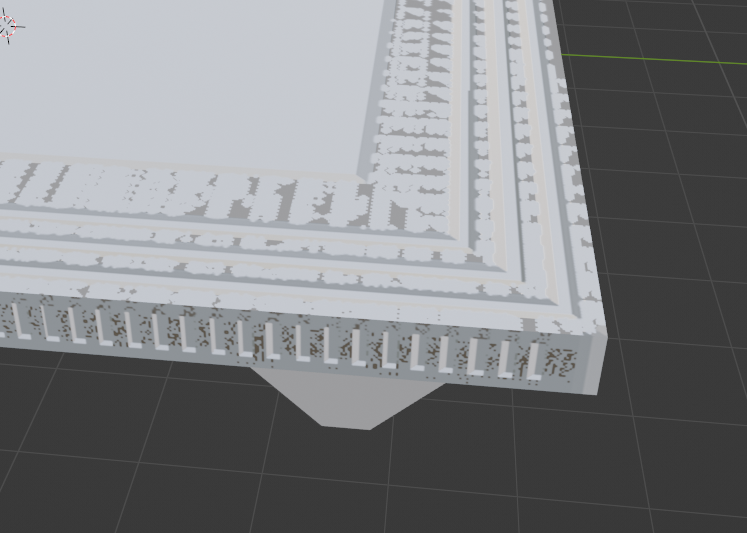
After all that, we get what we expect:

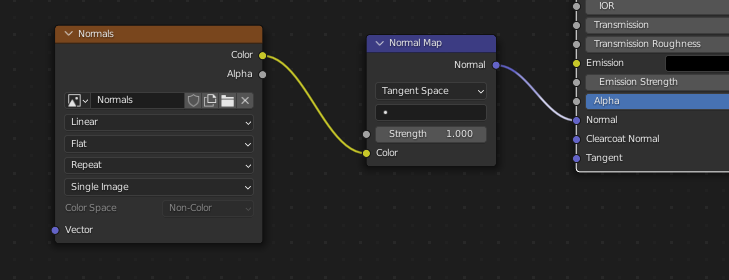
I'm displaying my normals on a zero roughness glossy shader, which will let us see our normals much more easily to check for problems. Looks good to me here. At first, that normal map image looked wrong to me, and I rebaked, and rebaked, and then I saw, ohhhhh, object space, not tangent space :)
Note that your low poly is made out of several different distinct meshes that intersect each other. At these intersections, we should expect some minor artifacts, especially when using texture filtering. To fix these, we'd want to redesign our low poly to be a single, manifold mesh. Here, it doesn't seem like those locations are going to be noticeable, so I think you can live with the artifacts.


