0
$\begingroup$

I wanted to learn Blender as a hobby so I had downloaded it and was following Blender Guru's Donut tutorial. Since I do not have the system requirements for blender 2.8 I am using 2.79. I will get a better PC later but for now I have no other option. So I reached the procedural displacement part and since there is no displacement node in 2.79 (it was added in 2.8 I think.) I am stuck here. I tried bump mapping but since it just gives a fake effect it does not look realistic. Then I tried displace modifier with clouds texture, adjusted some values and it seems to work but since there are no variations it looks weird, So can anyone tell me how to customize it so there are variations in the bumps, like one small, one big and I get almost the same look as Blender Guru's donut

Here is blender guru's node setup (it is done in 2.8 and I am doing tutorial in 2.79 so there is no displacement node)

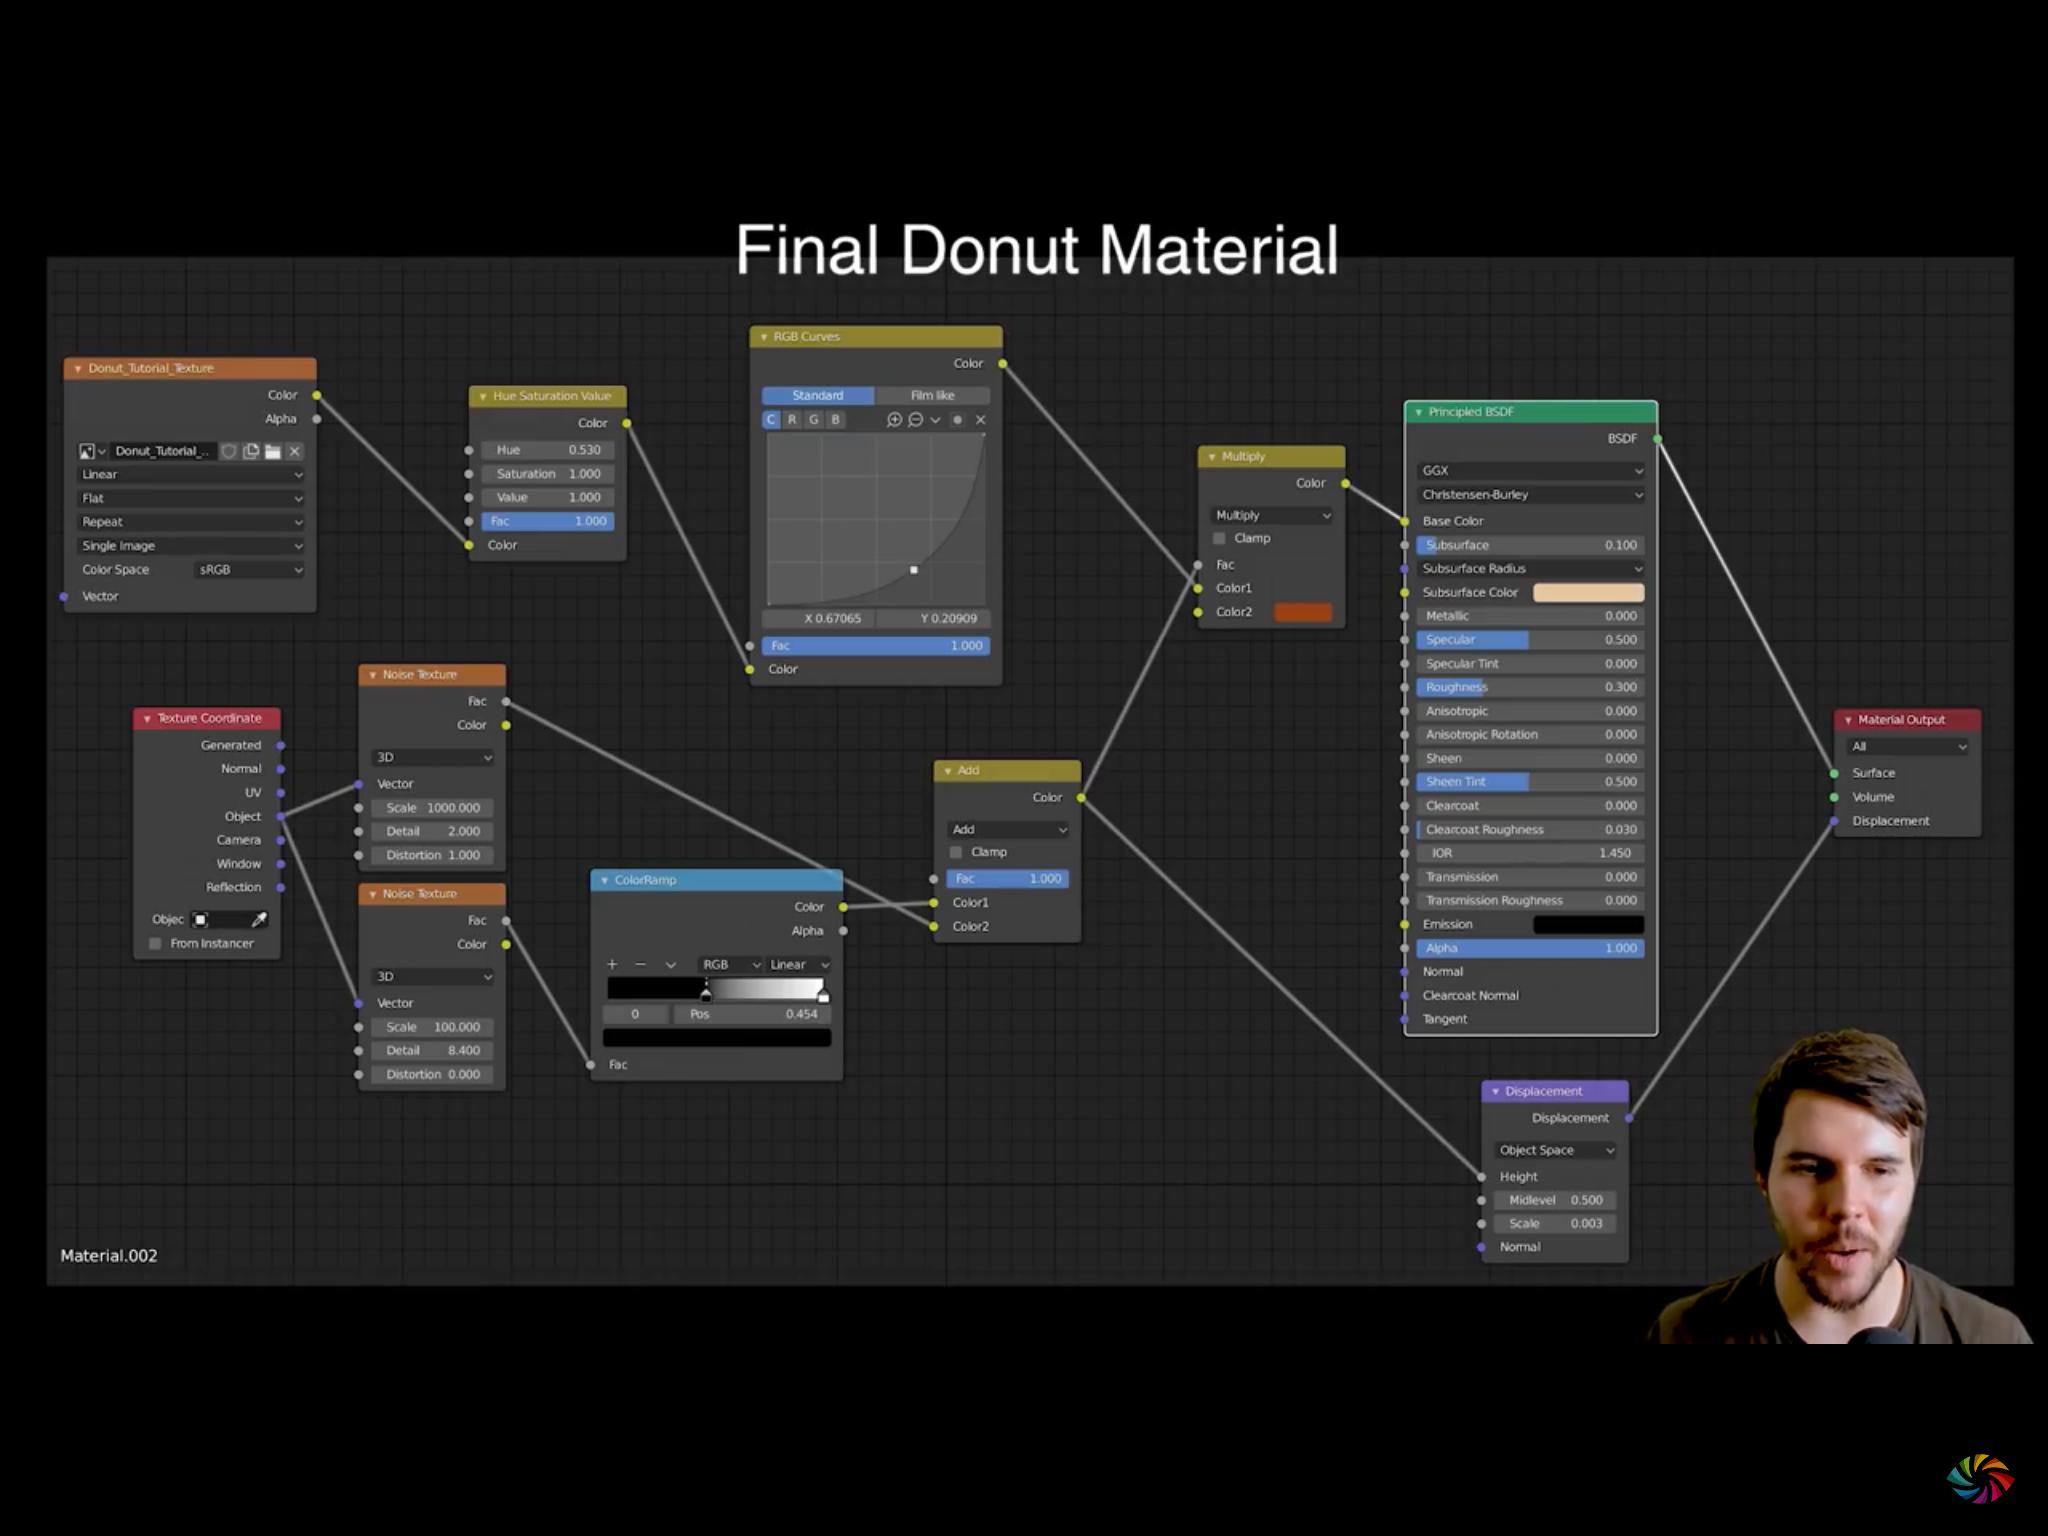
Blender Guru's node setup

$\endgroup$
3
  • $\begingroup$ We would like to help, but could you please put some images of your problem or put your .blend file here so we can get a better understanding? $\endgroup$ Commented Sep 30, 2021 at 17:05
  • $\begingroup$ I don't believe that displacement is available in 2.79, but if it is, you need to go to render settings and enable 'experimental'. If it is available it will work the same as 2.8 $\endgroup$ Commented Sep 30, 2021 at 17:14
  • $\begingroup$ For the displacement modifier, you can use the built-in textures or an image but no nodes. Which nodes does Blender Guru use? (maybe edit your question). You could bake the output of these nodes to an image (or paint one) and use that for the modifier. But that's another whole tutorial (Blender Guru's Anvil). $\endgroup$
    – Blunder
    Commented Sep 30, 2021 at 17:53

1 Answer 1

2
$\begingroup$

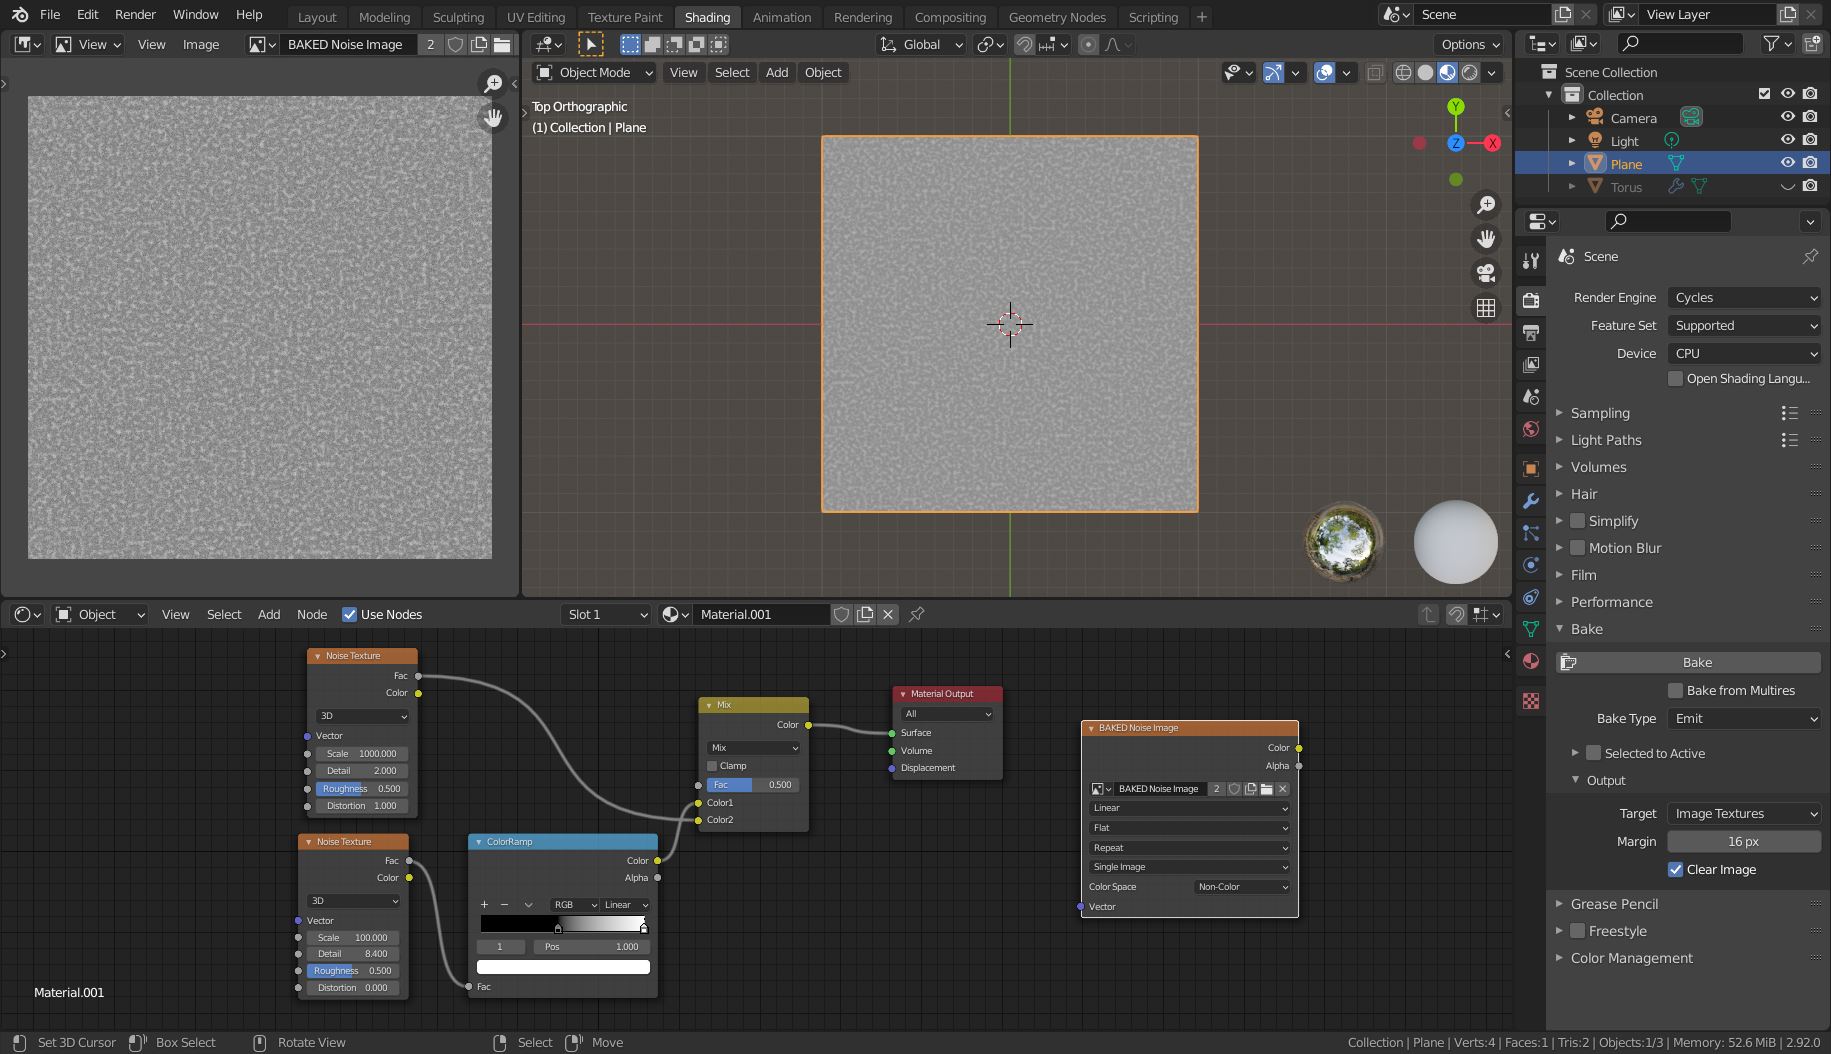
If you want to use an image for the Displace modifier you can bake the output of the node setup as seen in the video to an image.

Create a plane. Add a new material for it and create the nodes. Plug the output into the Material's output. This will automatically use a (not visible) Emission node.

Then add an Image Texture node and select it. It's the target for the baking process. In the Cycles settings look for the Bake section and bake the Emit bake type.

baked image

Save the image with help of the menu! Images are not saved when the blend file is saved!

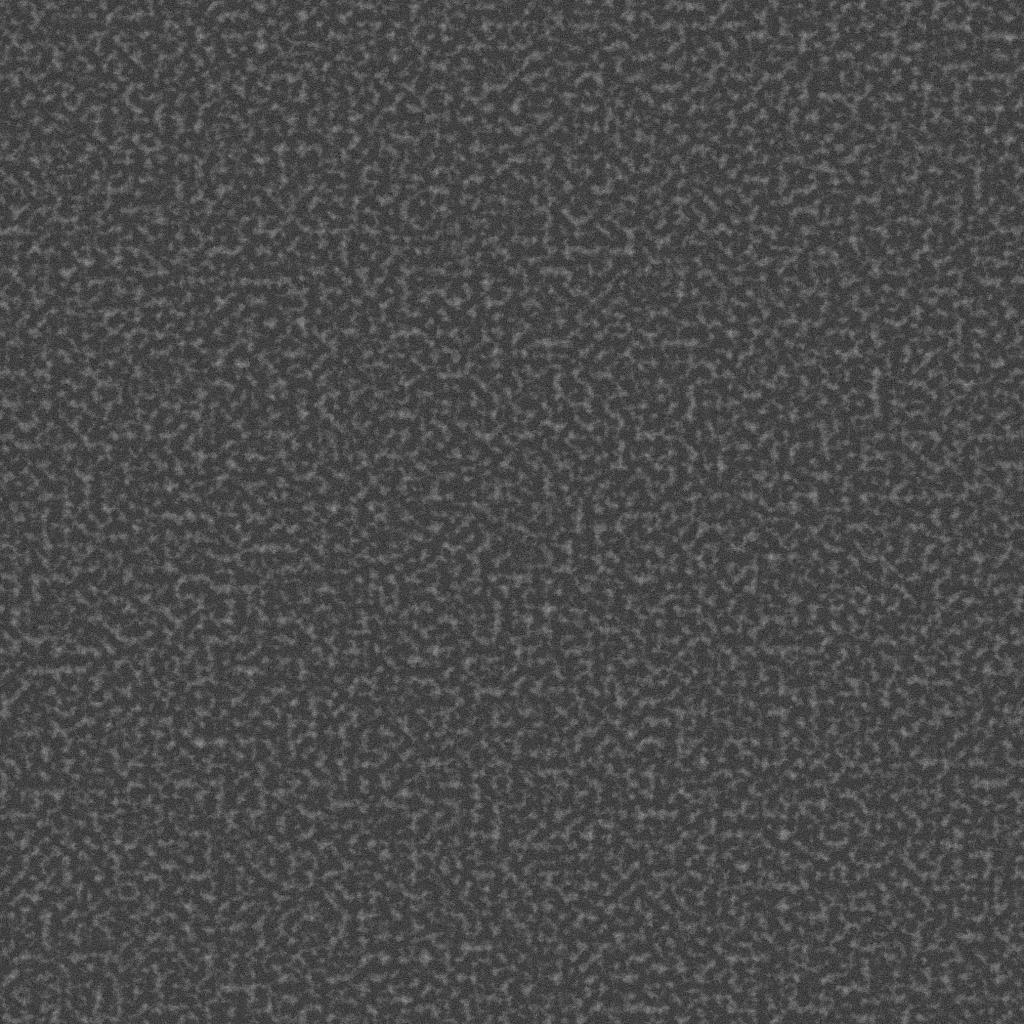
The result is something like this:

baked noise image

It looks darker because Non-Color was used for the Color Space.

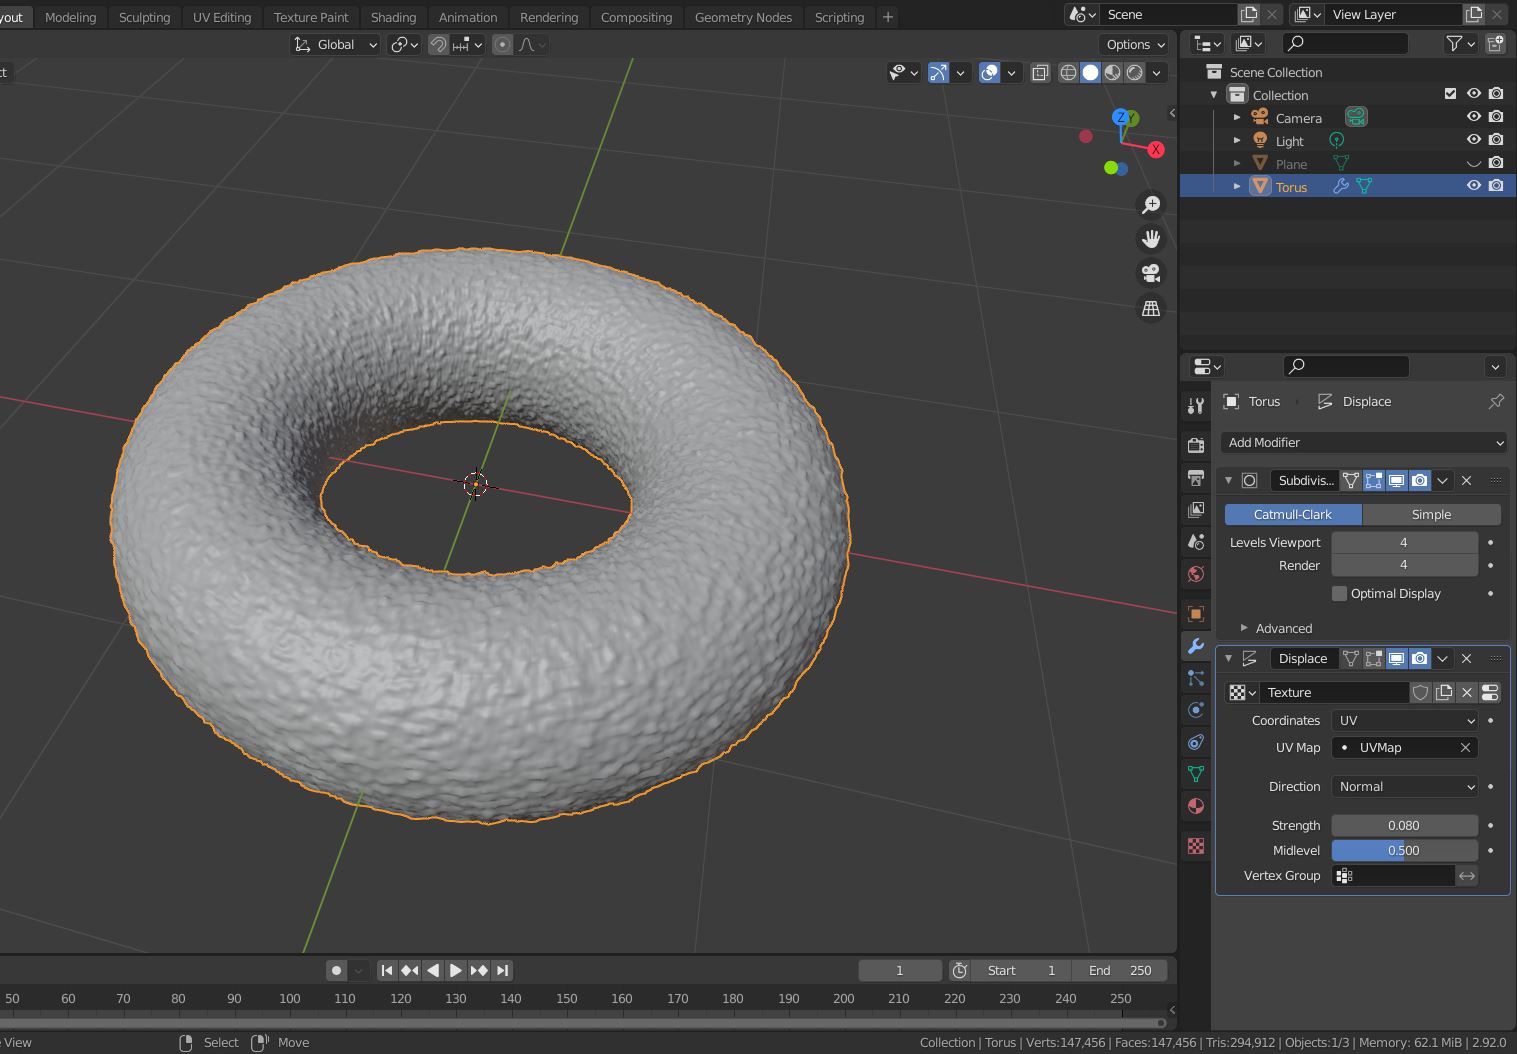
This image you can use for the Displace modifier. Create a new Texture, set the image, set the Color Space. In the modifier's settings use UV mapping.

If you want to scale the noise image you can create a new UV map and scale the UV island up or down.

Example with a torus:

torus with displacement

$\endgroup$

You must log in to answer this question.

Not the answer you're looking for? Browse other questions tagged .