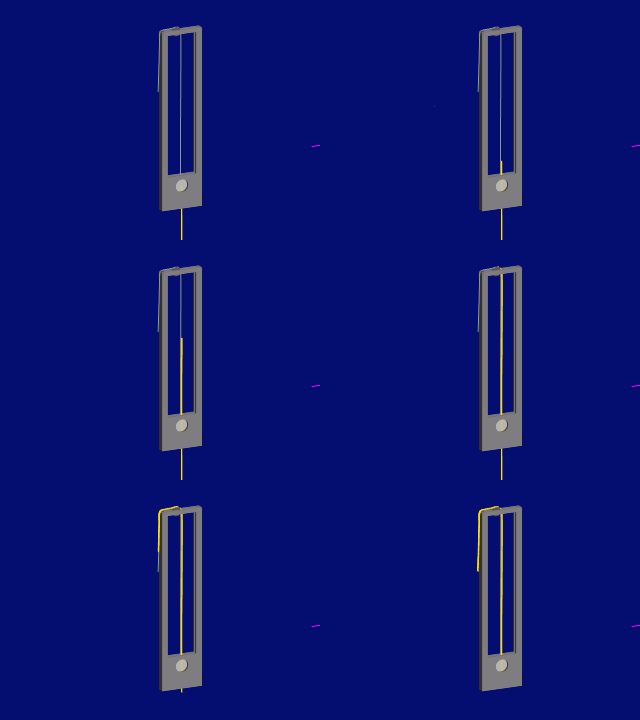
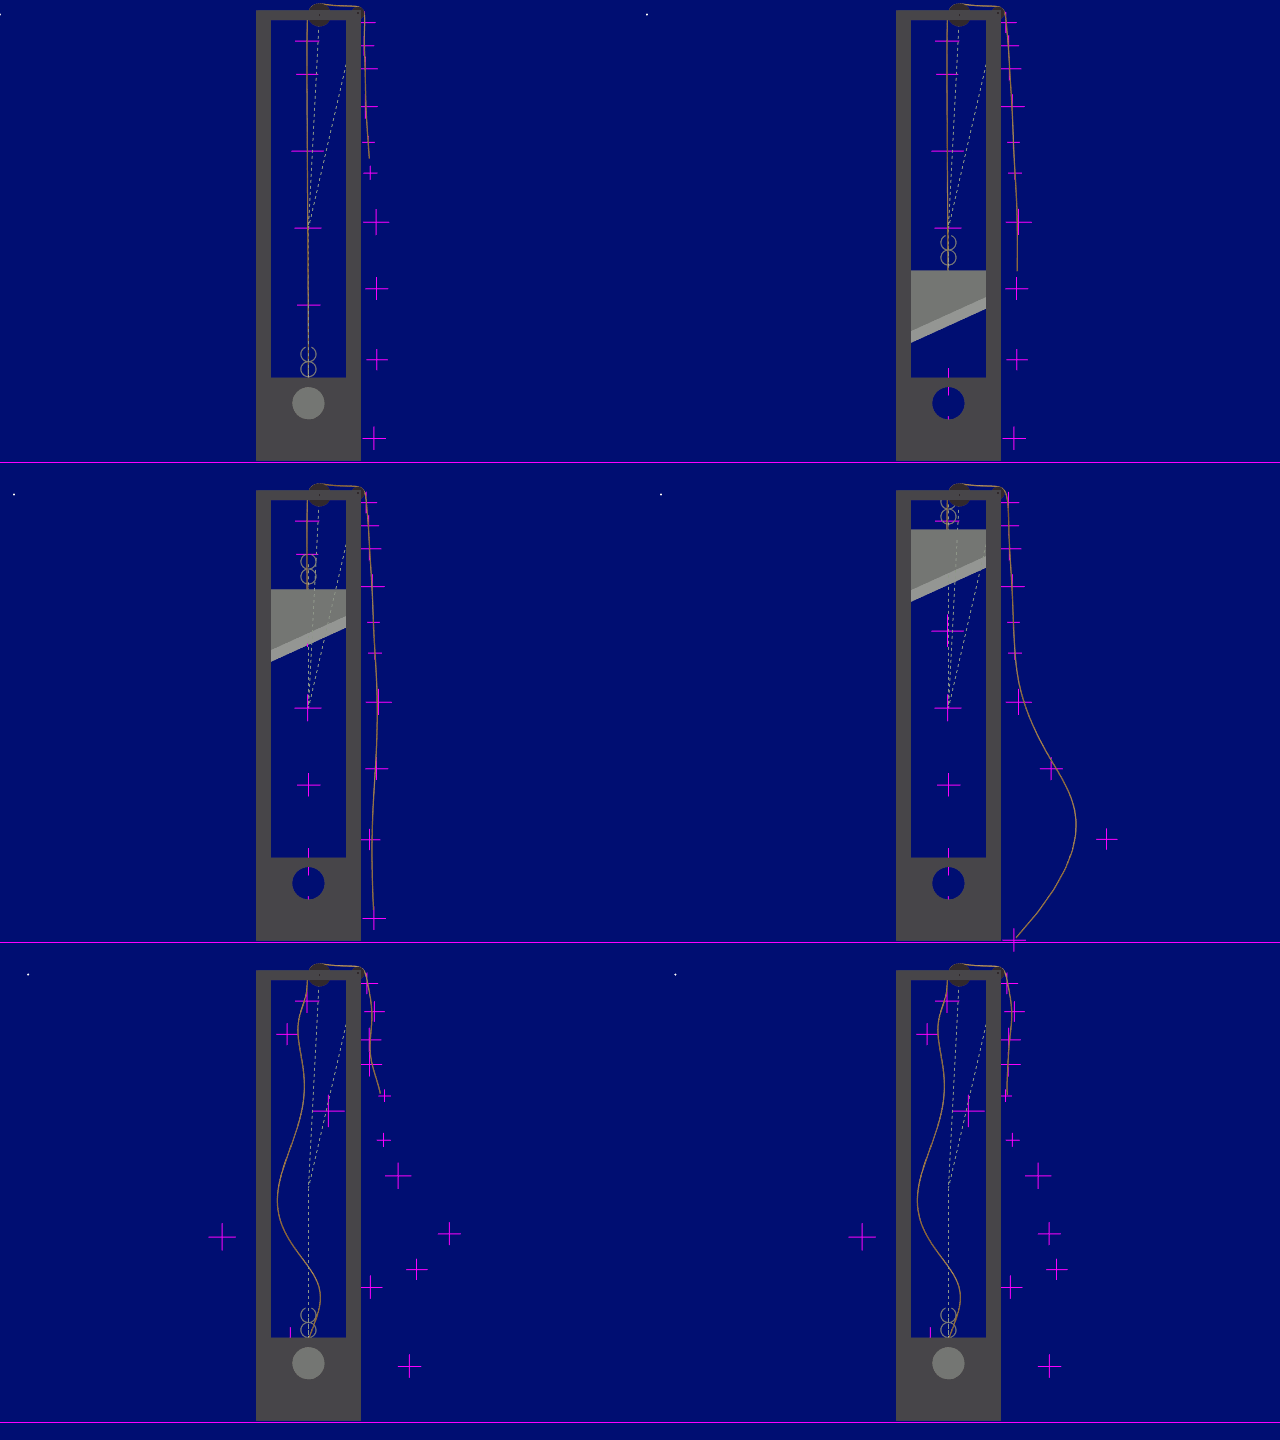
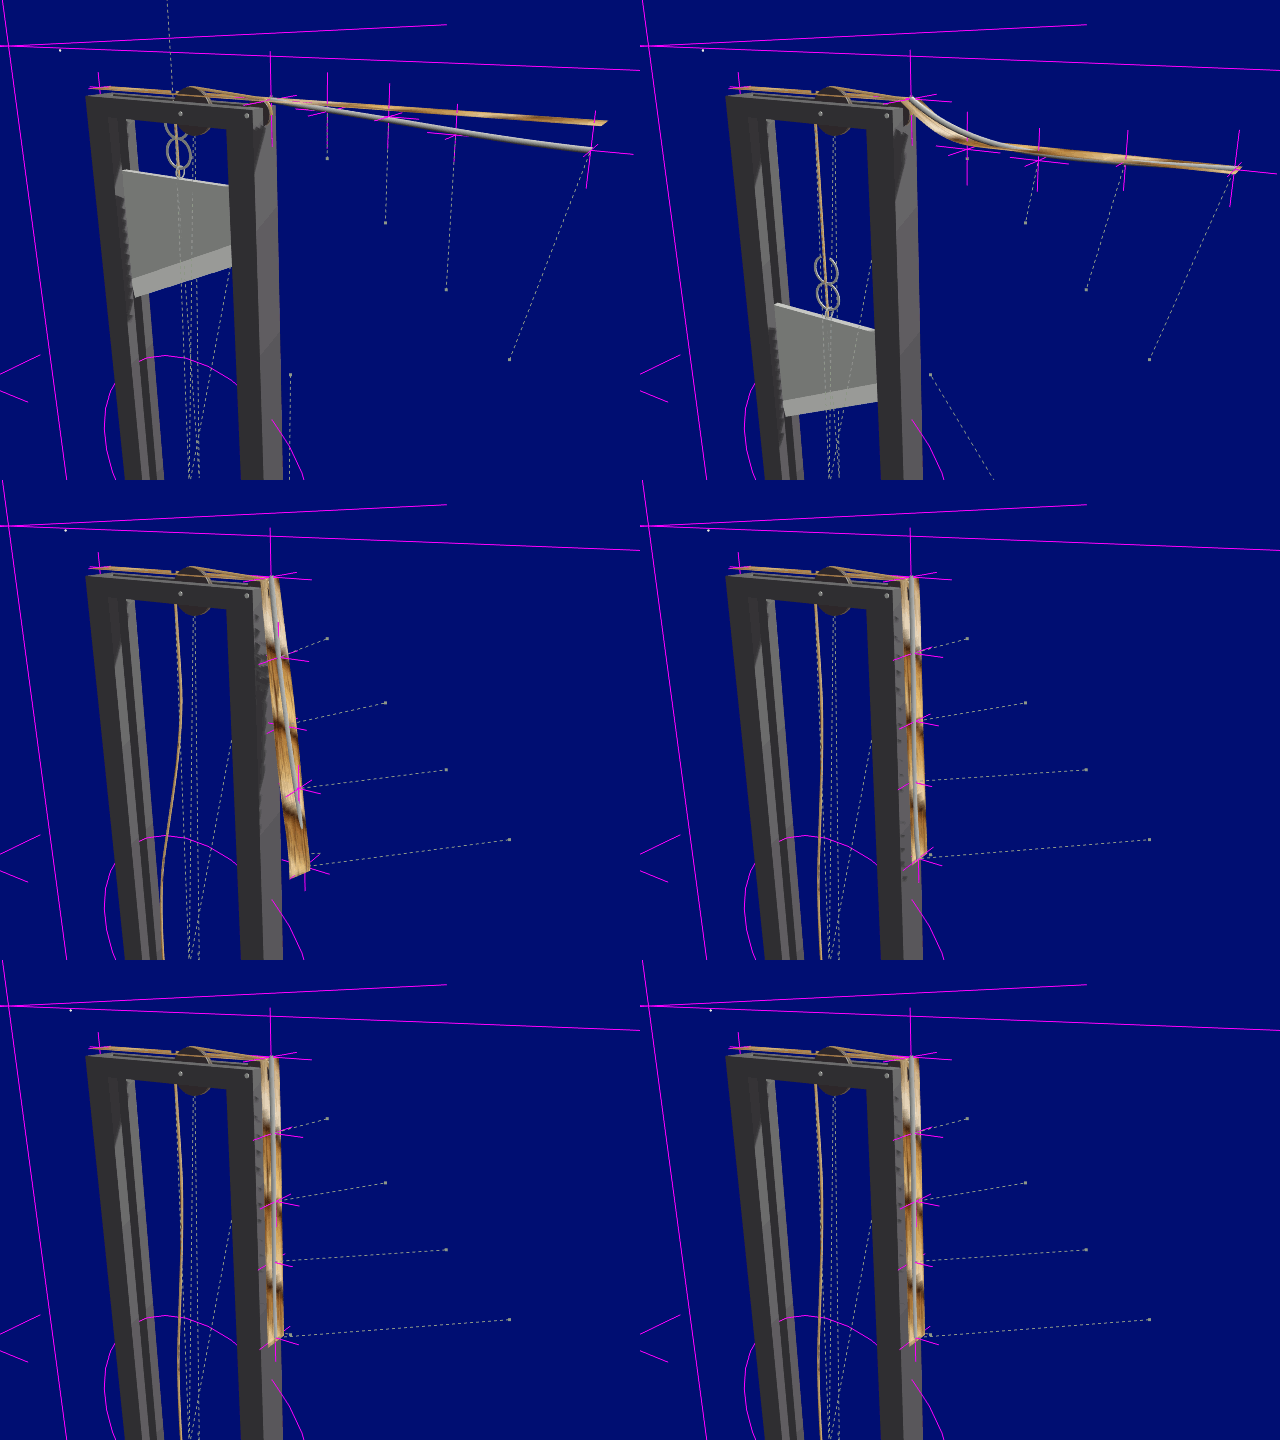
Using a curve/path to animate solid mesh rope - (Blend file below)

The blade doesn't use physics to fall. It is instead animated. That only involves two keyframes so it comes to a sudden stop at the end. (see the blade's curve shape in the graph editor)
A tiny bounce can be added if desired. (see that also in the Graph editor)
The rope is a hard mesh cylinder scaled to become long and thin. This is generously subdivided along it's length so when it's bent it's not going to appear blocky. (Typically x 128 to 200)
It is also deformed to bend over the pulleys using a Curve->Path and curve modifier.
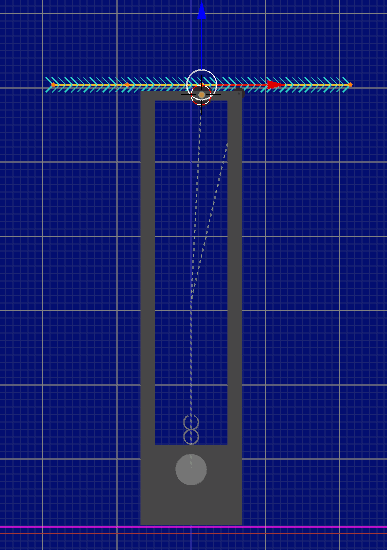
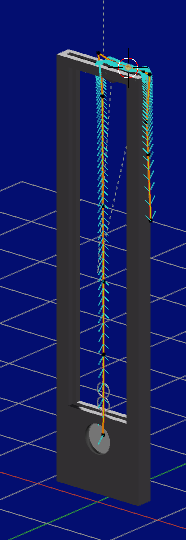
The easiest way to shape the path is to lay the curve over the top of the two pulleys and bend it down so it hangs down to the blade, the other end to dangle over the frame's side.
Subdivide between it's control points as often as necessary to get it flexible enough.


As for the rope's length, it isn't necessary to get that right initially. Extra path can be added or removed later.
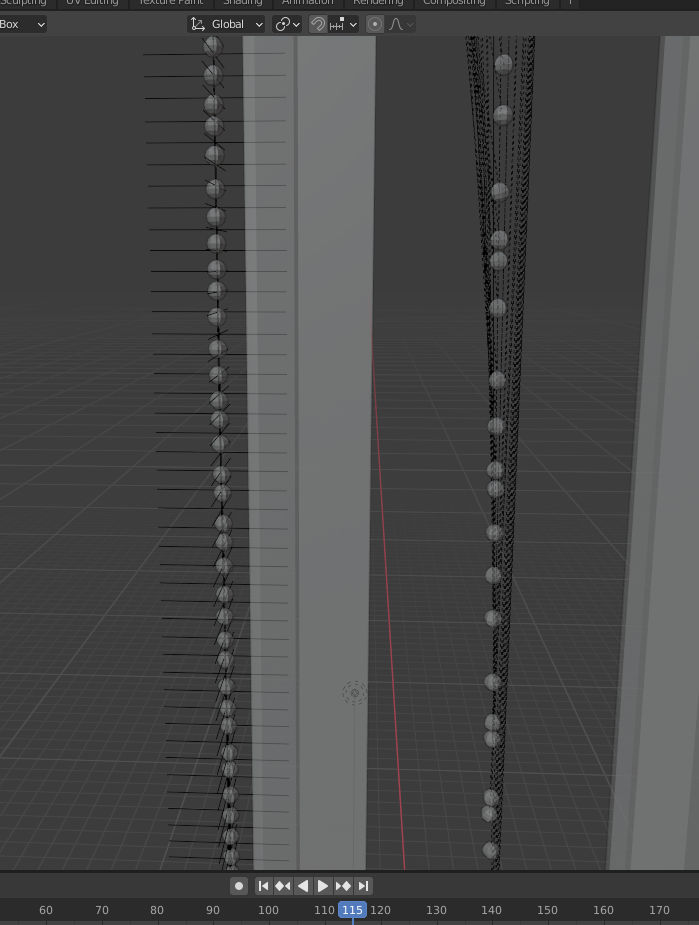
To drag these control points about so the rope can bend, hooks are placed at several (or all) of these control points. (CTL-H then "Hook to new object")
It's the hooks that are animated when bending is required. Shapekeys could be used but arguably, hooks are a lot easier to work with in these circumstances despite the extra work setting them up.
With the hooks installed, at this point you could simply use the curve as it is and beveled to suit, but if requiring meshed rope, read on... If not, skip down to "POINT A" .
-================-
Using meshed cylinder for the rope -
Once the path has been set up, it's used along with a curve modifier to shape the rope.
IMPORTANT - Be sure that both the curve and rope share precisely the same origin point. Press SH-S to achieve this. The modifier is added to the rope. Name the path as the curve object.
By default the X axis is used in the modifier, but when sliding the rope up along the curve, drag it up with the blue Z axis gismo. (Global orientation)
The rope will be forced to follow the curve's shape much like a plastic tube being pushed over one end of a shaped rod.

With the rope's curvature now following the path we need to animate the former individually so it stays in synch with the blade. (Parenting it to the blade sends it all over the place)
You can either copy the Blade's keyframes into the Rope's Z axis and once done, adjust them all as one in the graph editor, (raise/lower it's end inside the blade where you want it) or -
At the same frames as each step in the Blade's ascent, insert a frame for the rope also and take it's lower end back to the anchor location in the blade. What little variation (if any) will exist between the blade and rope's ascent, can easily be realigned between keyframes with the Graph editor's handles.
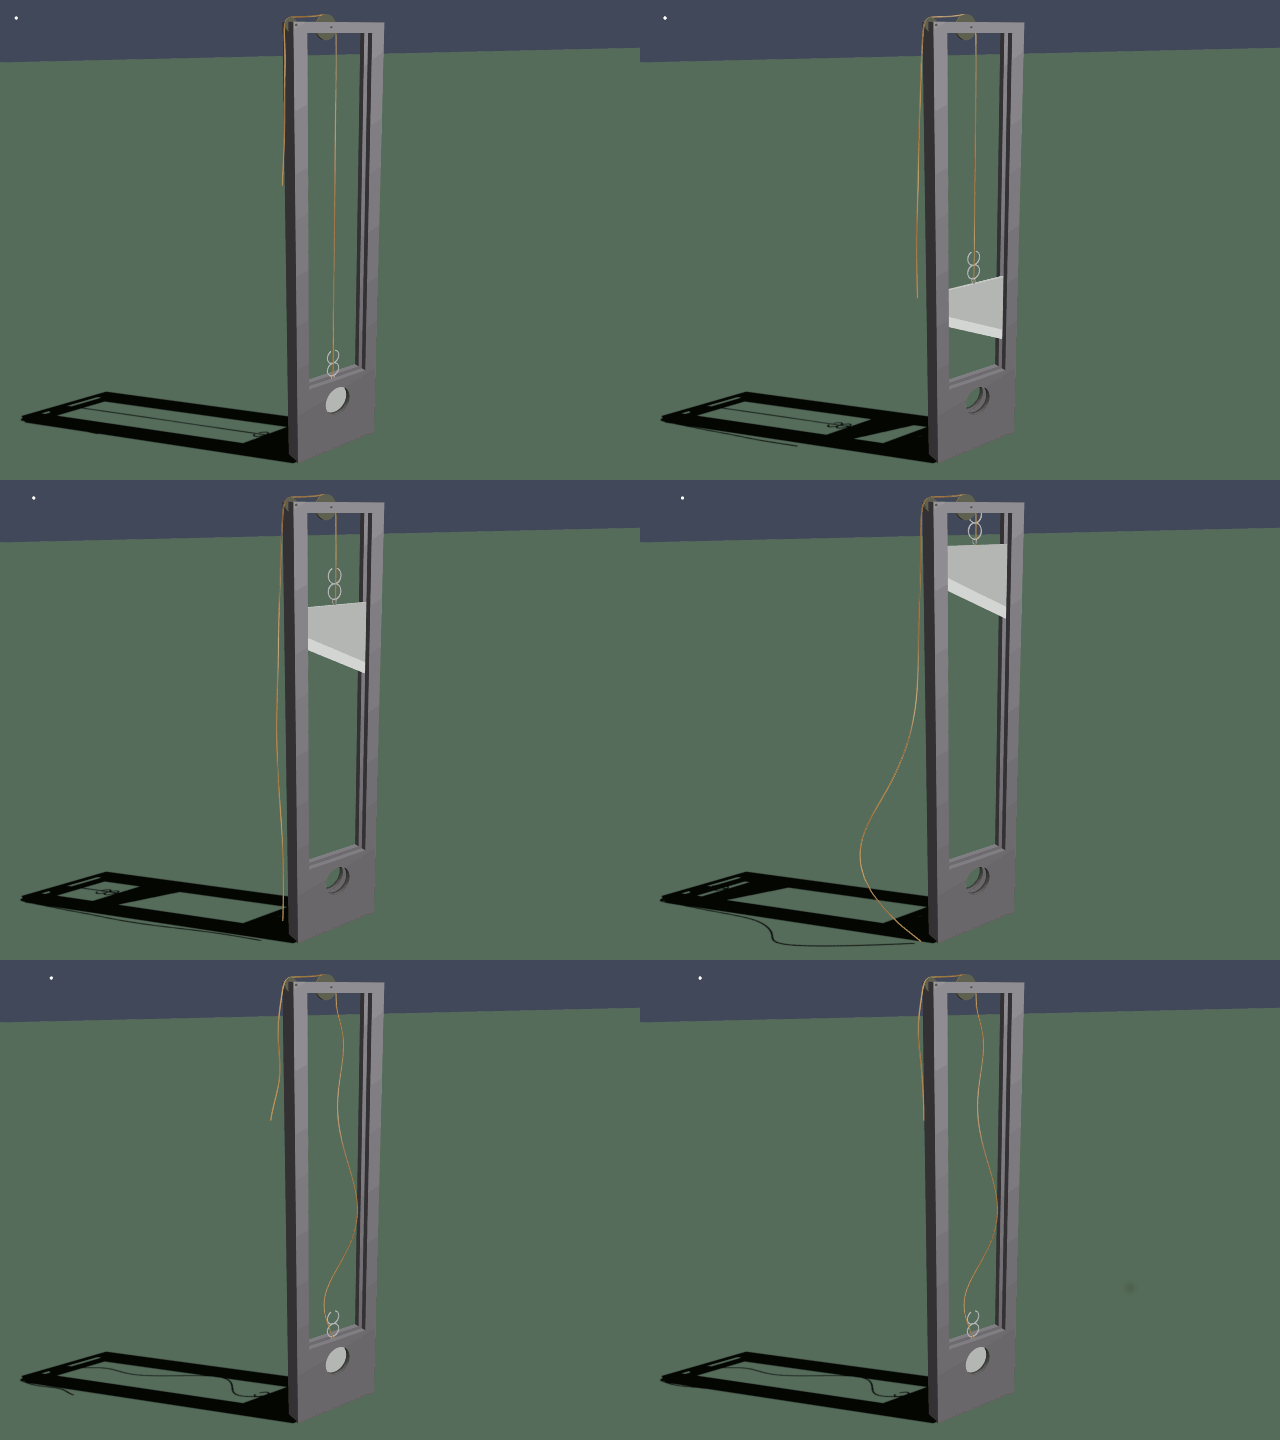
When done the rope will rise with the blade, it's loose end descending down the side the same distance.
Because it's mesh it won't stretch or shrink.
Sufficient path length will be needed at the side to accommodate the descent. If there isn't, the rope's end will extend beyond the path's end eventually and that section of rope would be no longer controlled by the path. Simply append extra control points to the path as needed and add hooks.
-=======================-
POINT A -
Thanks to the path, the rope's shaping has so far been automatic. When it's to appear loose and swinging about however, those mechanations are brought about by manually animating the path's control points. (keyframes)
See immediately below for a painless way to emulate physics.

To emulate rope physics, simply place a strip of 'cloth' (a plane) along the top of the guillotine frame and give it PLENTY of "Structure" in it's properties. (150 to 200)
Pin and parent the cloth if it wants to fall off.
Play the animation through at least once and watch it wrap down over the corner pulley to flop around and do it's thing.
Once settled, step it through again frame by frame and simply trace it's movements with the path's hooks so the rope more or less stays with the cloth and keyframe those changes. Indulge yourself and add a little bounce or swing at the end!

The circular empty - "Nav handle" is used to hold it all together. Move the guillotine about by this only.

