0
$\begingroup$

Blender 2.8-1 Addon Rigify Human (metarig) win10

I want to animate the Rigify Human (metarig)without 3dmodel.

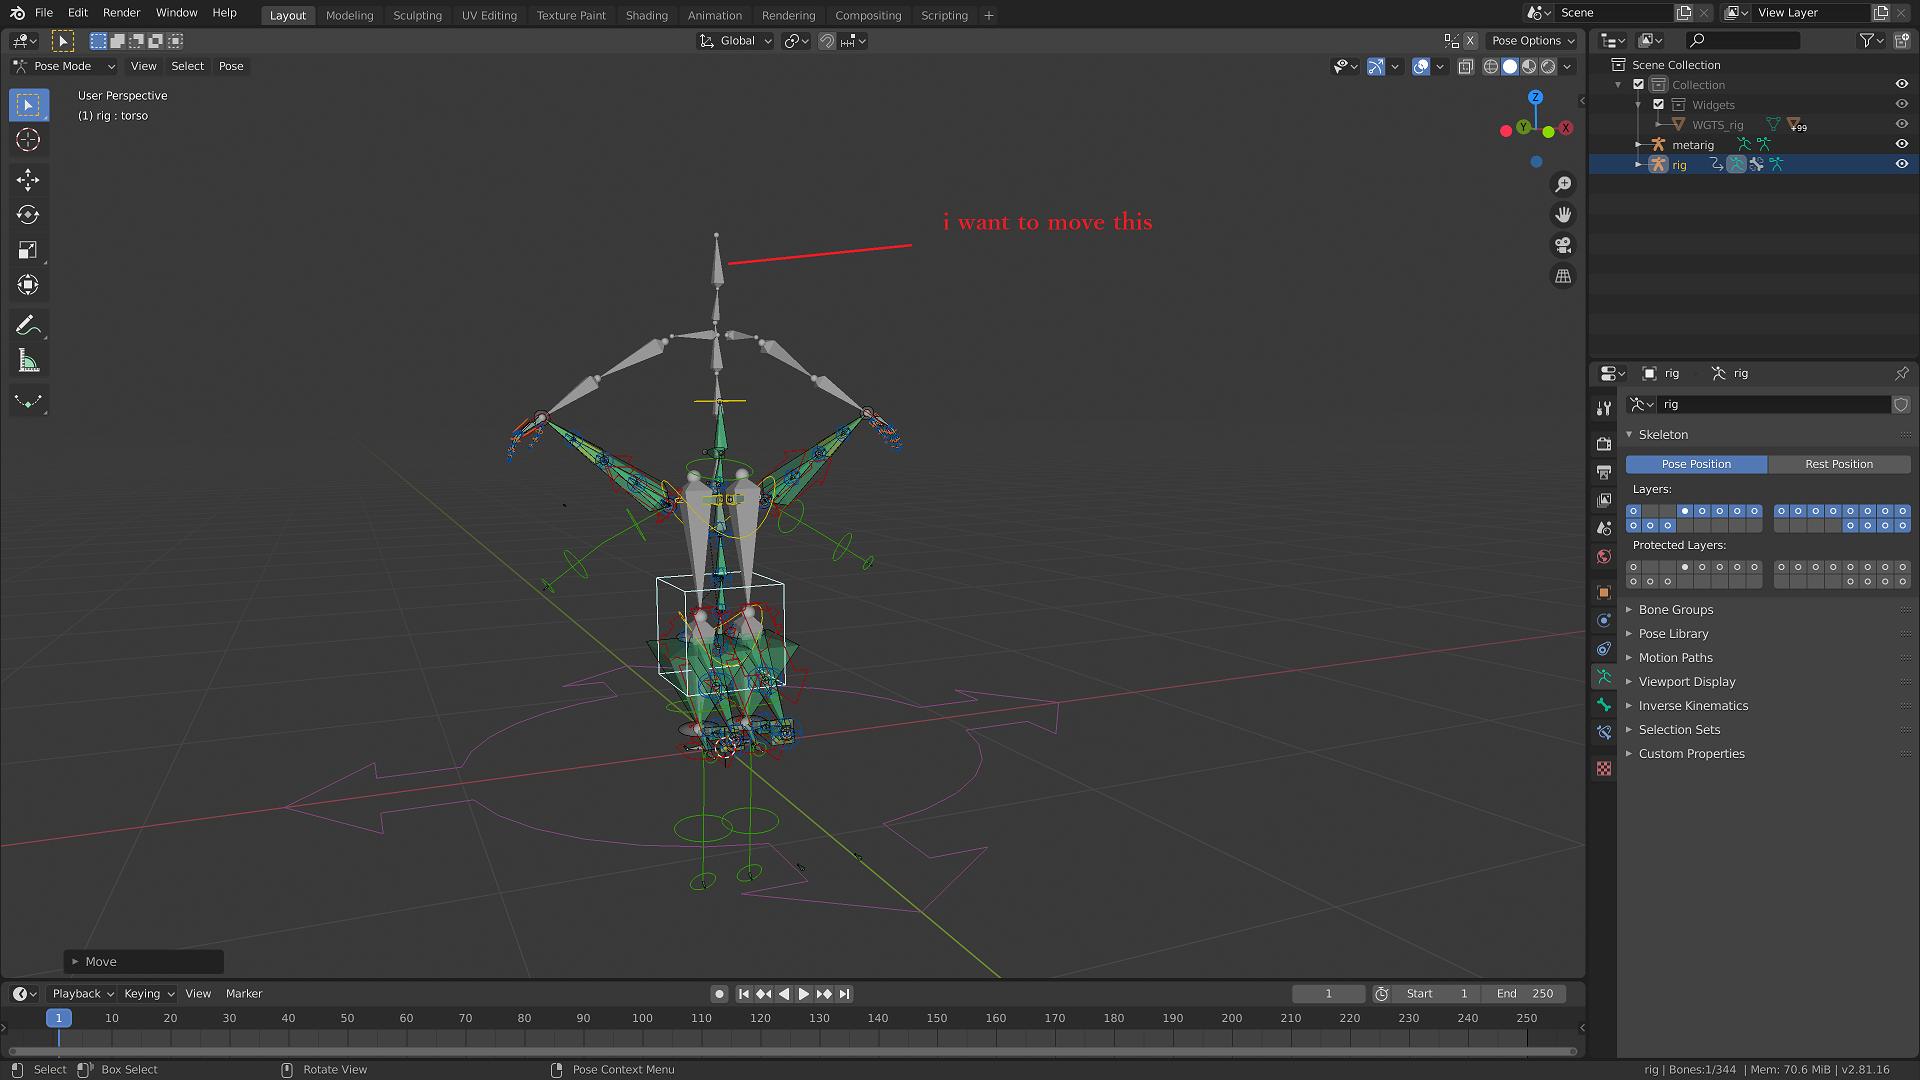
but default Human (metarig) cant do lower the pelvis.(If move the roots the whole body will go -Z)

Is there a best way to do it? enter image description here

enter image description here

enter image description here

Sorry. My question was bad. I wanted to use Rigify's Human metarig like Biped(3dsmax).

Biped(3dsmax) doesn't require any special setups, manipulations, or bones to be added, and You don't even need a character model. You don't even need a controller. Animations attached to it can be imported and baked into the model afterwards and can be customized in complex ways. IK and FK are supported by default.

There are a lot of tutorials on creating rigs and parenting characters in Rigify, but I haven't seen any on how to use them as described above. If there are any, please let me know.

I'd like to be able to do this kind of move using only the Human metarig in Rigify. https://www.youtube.com/watch?v=MAM7mF2v7dE ... This video has a character model. I want to do this in a .blend file.

I installed Rigify because it has a humanoid armature, like biped, and Paste X-flipped Pose was easy and easy to use. Blender is a fast-launching software and I thought I would be able to add a little bit of animation to it.

But I don't want to wait to import a rig for a character with a design, even if it' s a fast-launching software.

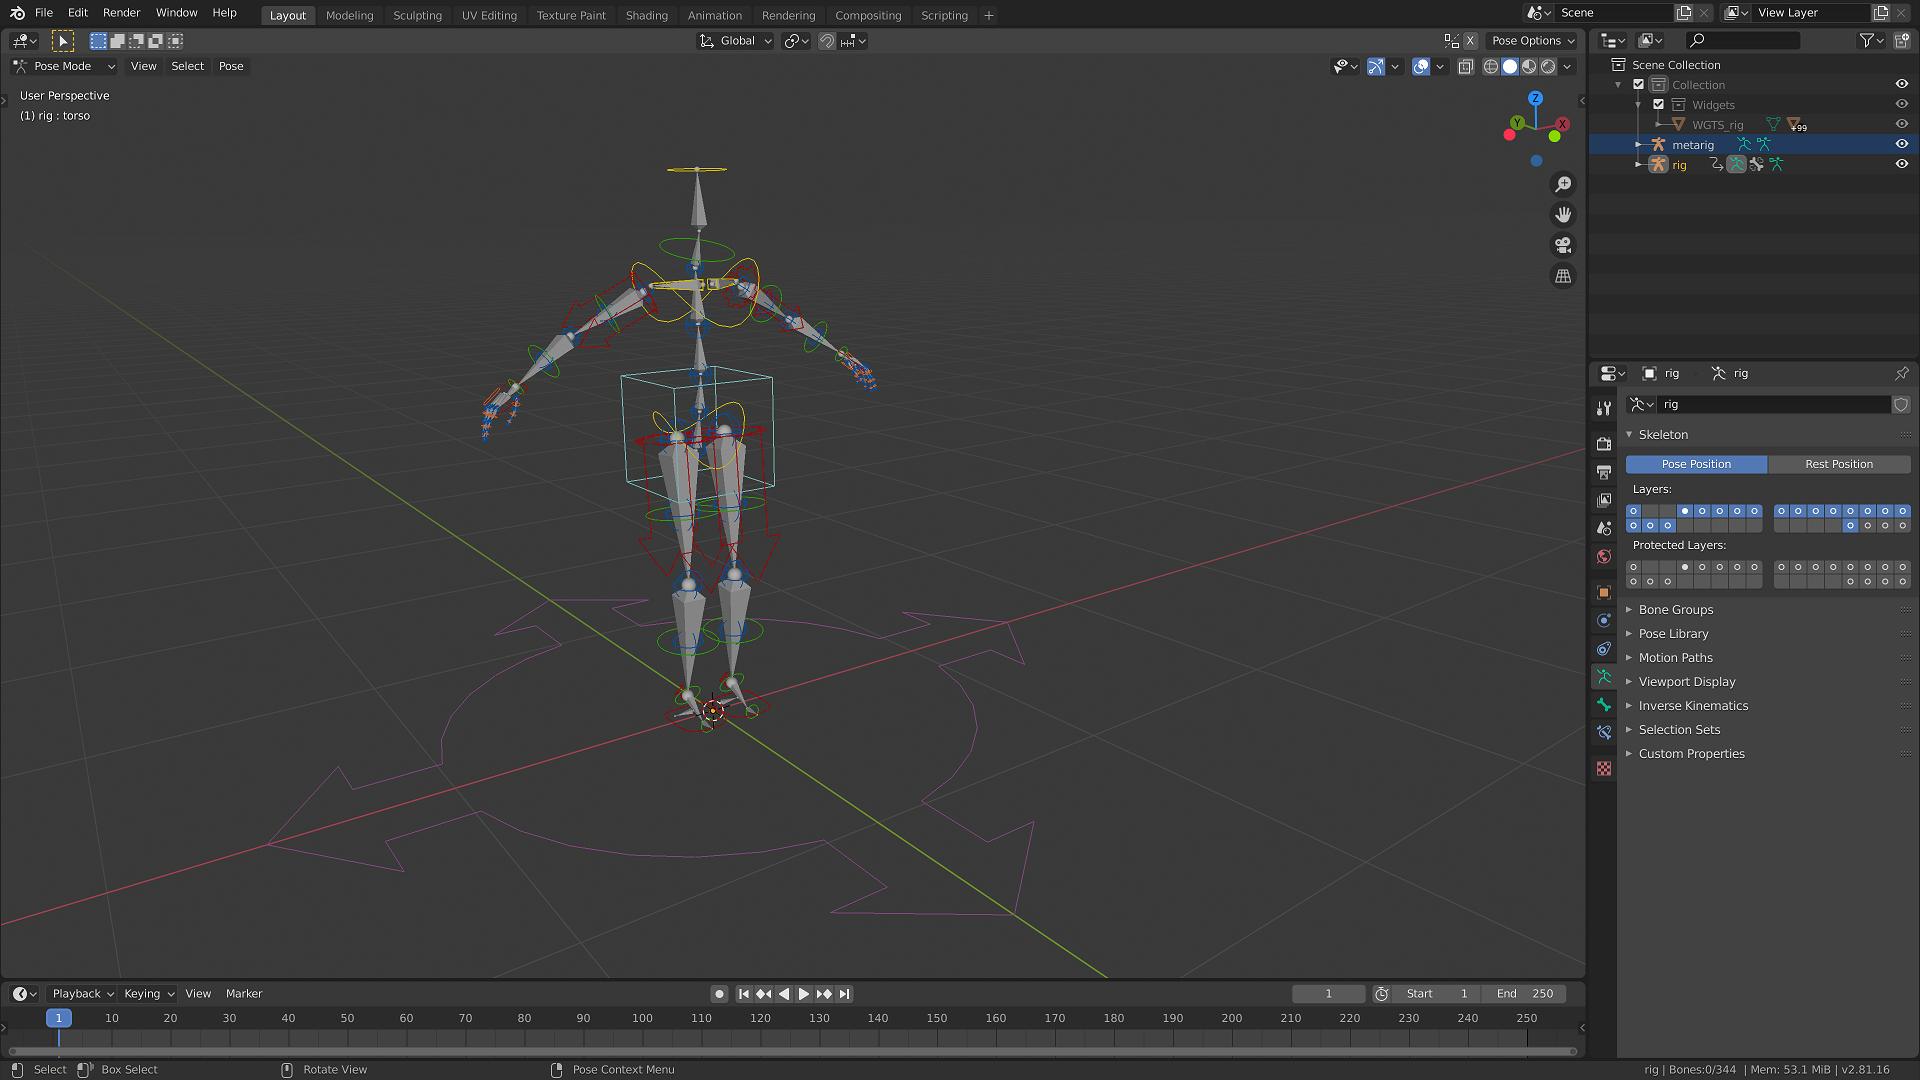
I don't know if the mechanism is the same, but in 3dsmax I can lower the Root when I Set Key my foot. What is the solution?

$\endgroup$
2
  • $\begingroup$ The root moves all bones, that's normal. Move the big box widget in the center. That's the pelvis. $\endgroup$
    – CGDive
    Commented Jul 11, 2020 at 14:33
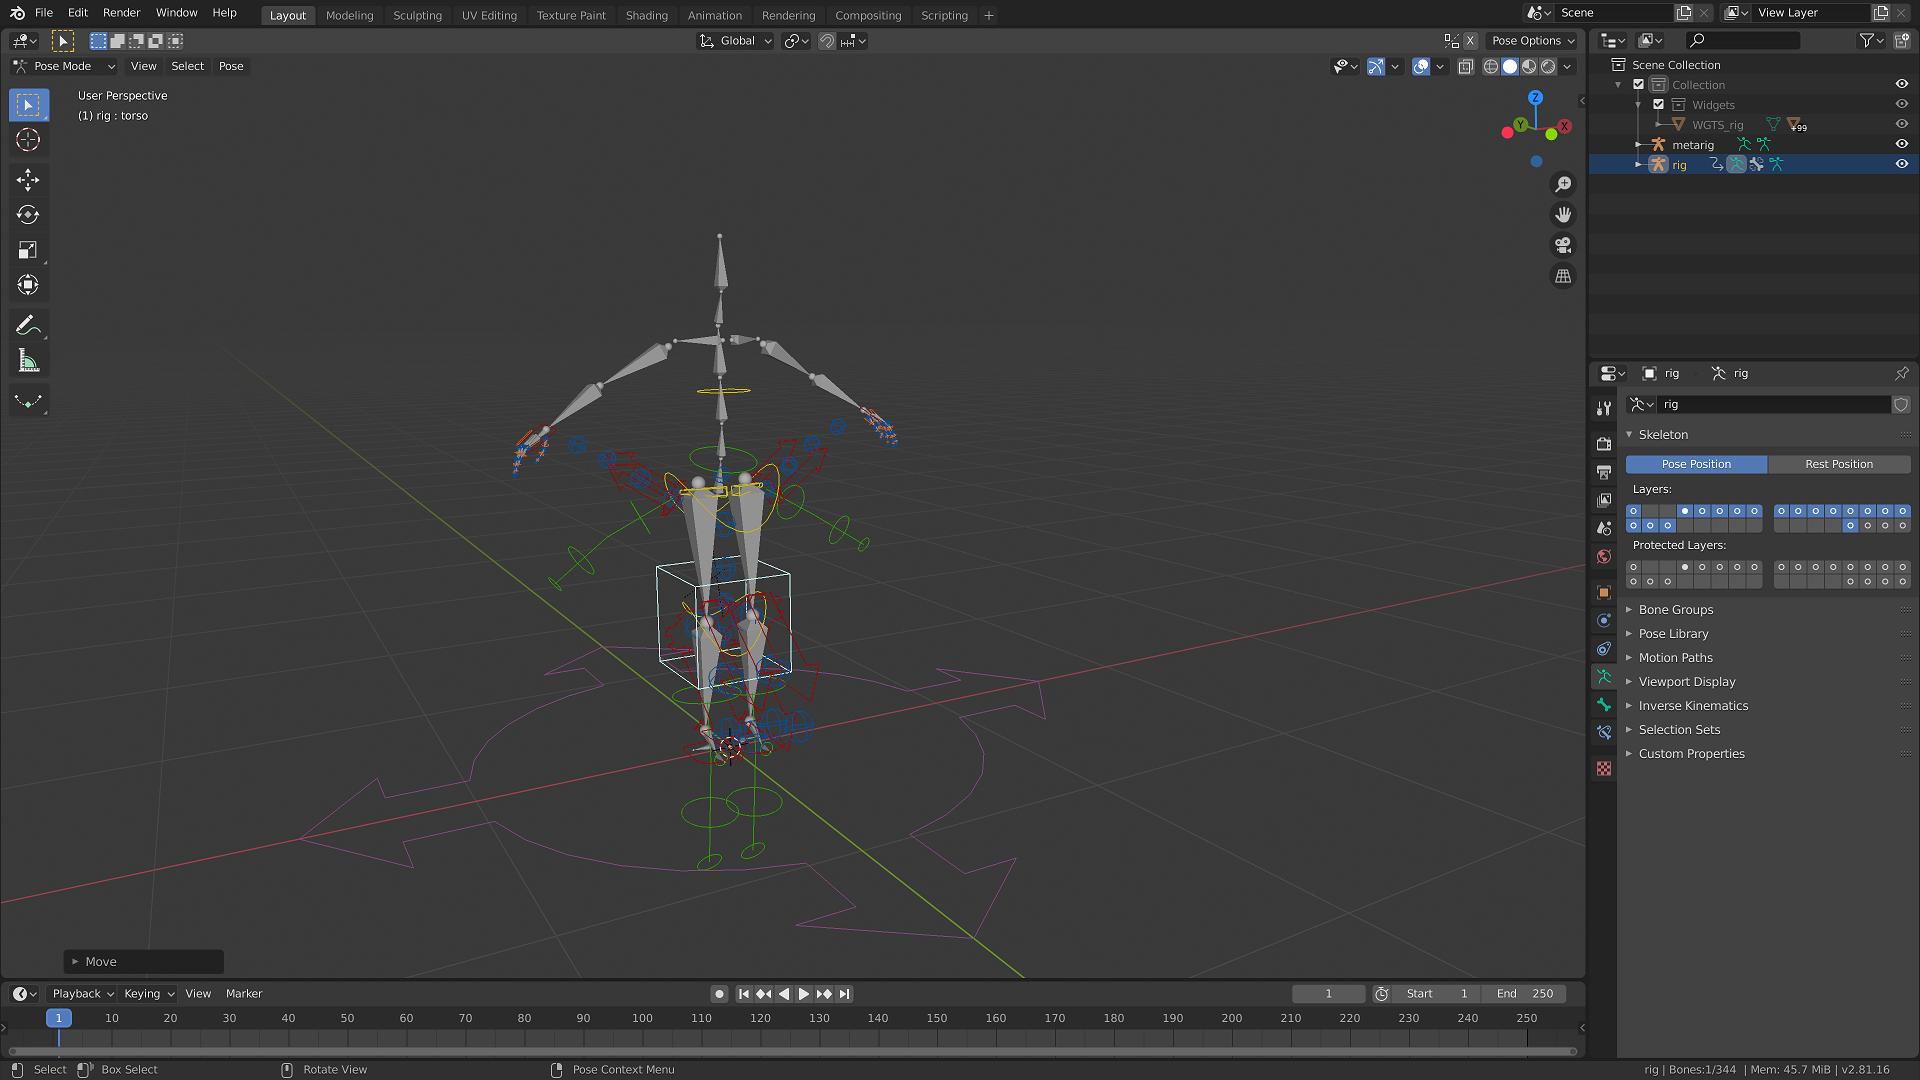
  • $\begingroup$ If i move the box only control moves(bones are not following).i post second image $\endgroup$ Commented Jul 11, 2020 at 17:17

2 Answers 2

0
$\begingroup$

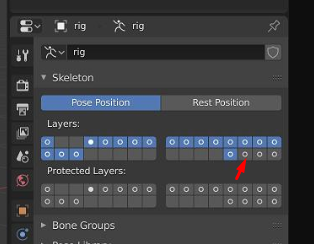
The object you're trying to move is the Meta Rig and it will not move. It's just used to generate the final rig. You can hide it or even delete it. Then you could unhide layer 29 in your final rig (see image). This will show the deforming bones which are very similar to the Meta rig bones.

enter image description here

$\endgroup$
2
  • $\begingroup$ i edited a post please check. $\endgroup$ Commented Jul 12, 2020 at 18:00
  • $\begingroup$ The second image is closer to the result I want. The reason is that the DEF bone (not actually a bone) in the rig is firmly following the controller. Is it possible to reflect this in the metarig? Also, why is the number of DEF bone joints more than the metarig? Is it set up somewhere else? While this is useful for squash & stretch, I don't think it's suitable for realistically inclined characters. $\endgroup$ Commented Jul 12, 2020 at 18:25
0
$\begingroup$

The number of bones is more than the Meta rig, because it is designed for realistically inclined characters. the extra bones are to control the twist of the arms and legs in areas like the forearm, which twists a lot along its axis. In actual humans, lots of parts twist as well as bend.

As for stretching, for some reason that is on by default on the arms and legs, although I feel that not to stretch should be the default. You need to turn this off for each arm and leg to prevent stretching.

The Meta rig is not for use and you should just ignore it. Turn off visibility on it after generating the rig. Use the rig for animation. There are bones in the rig, they are just hidden by default. Explore the inactive layers to find them. I'm still sorting that stuff out myself.

I have no experience with MoCap and Rigify, although I assume you can do it. someone with more specific knowledge will have to answer that one.

$\endgroup$

You must log in to answer this question.

Not the answer you're looking for? Browse other questions tagged .