3
$\begingroup$

So I'm very new to Blender, literally only days old. I never studied 3D modeling, I'm trying to learn by myself, I'm watching lots of tutorials to learn, my main use for Blender will be 3D printing my models. I have been trying to make a 3d model of this shield Rose Quartz's shield
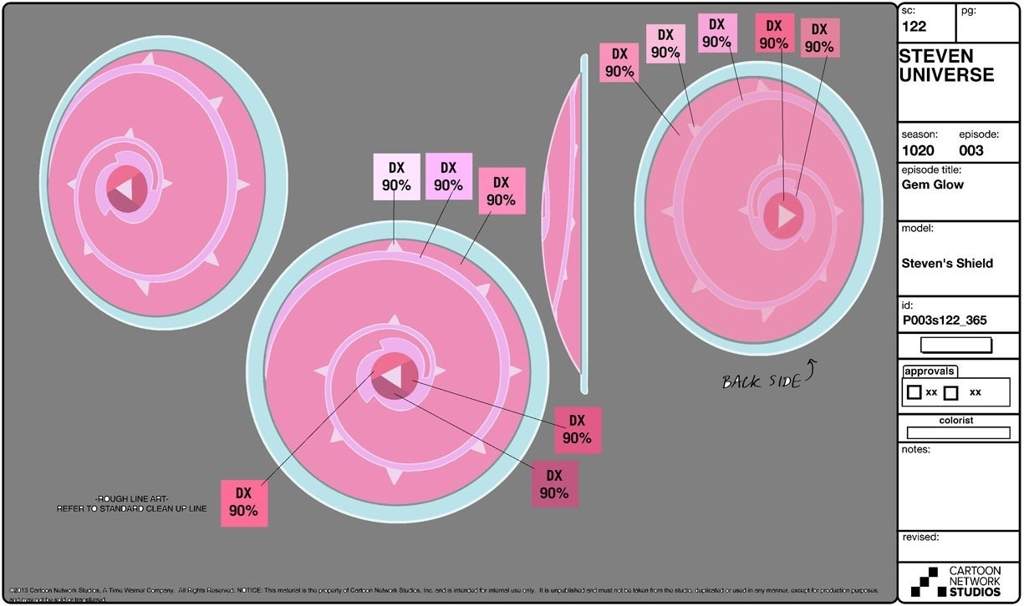
so I initially made a thin cylinder for the base, and for the curved area I made a UV sphere and bumped it down until it seems right, and deleted the parts that stuck out under the bottom. My issue is trying to model the thorny branch and gem in the middle. I finally managed making the branch itself with a bezier curve, but the thorns have stumped me because I can't figure it out, the gem impossible to make (tried making a sort of pyramid and rounding off, tried sculpting a sphere, nothing has worked). My first attempts were to directly sculpt on the curved base, instead of making everything separate objects. But the program refuses to sculpt anything, the brushes may as well do nothing. I'm aware there may be a setting I've missed that will solve it, but I try things I find on here for the same problem (sculpt not working) and nothing has worked. I've tried subdividing, tried NOT subdividing, tried changing strength, radius, tried pressing control, I don't know what else I could do.

Can someone please give me some pointers on how to efficiently go about this? I've seen such intricate detailed models from Blender and I cannot figure out why a seemingly "simple" shape is causing me grief. I'm willing to hear any answer, if I still cannot make this work I'll just 3d print the bare shield and sculpt the rest with real life air clay as a last resort.

Thank you for your time reading this and if you try to help. I'm really trying but I understand that when you're self-learning a lot of the obvious things fly over your head.

$\endgroup$

1 Answer 1

7
$\begingroup$

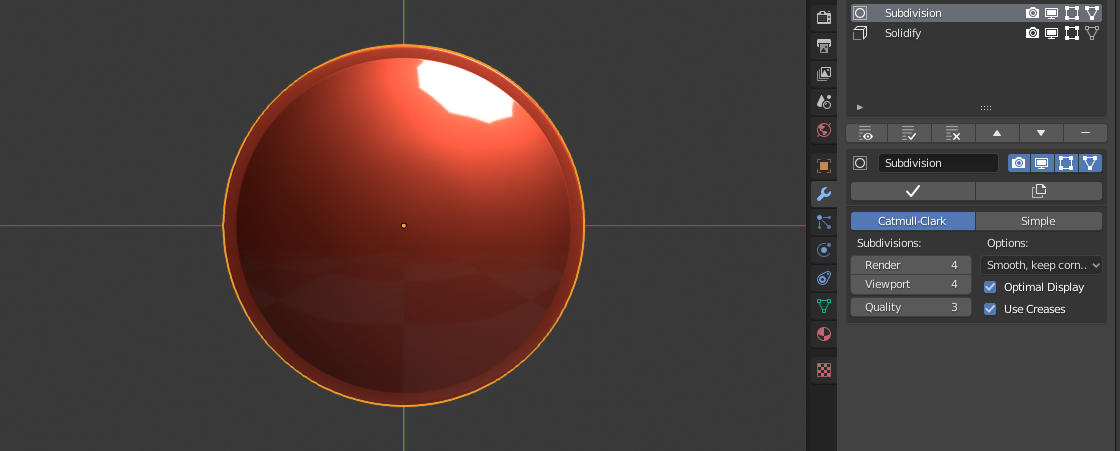
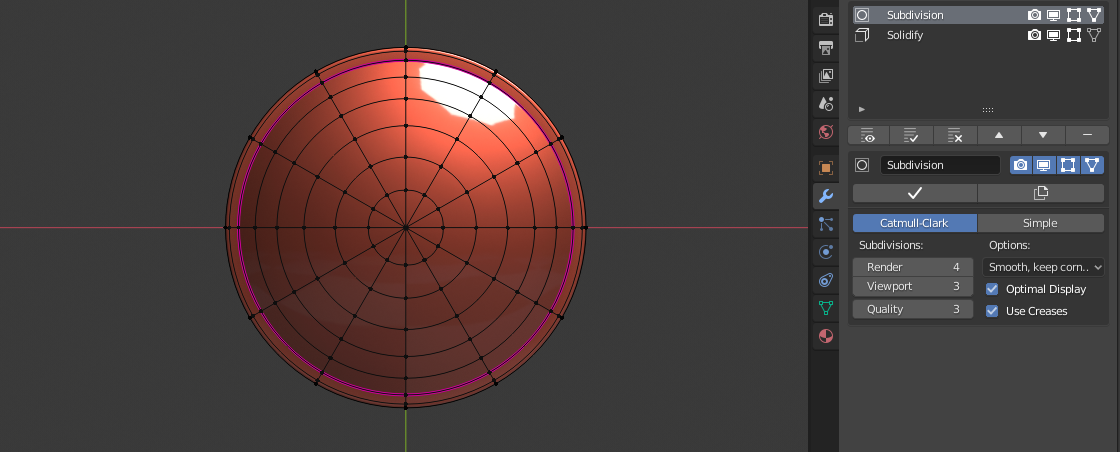
For a base mesh I would use Sphere (12 segments), upper part scaled on Z in Edit mode. If you don't like curvature, scale Z to 0, select centre vertex and with enabled Proportional Editing O (and chosen desired curvature) move up on Z axis.

enter image description here enter image description here

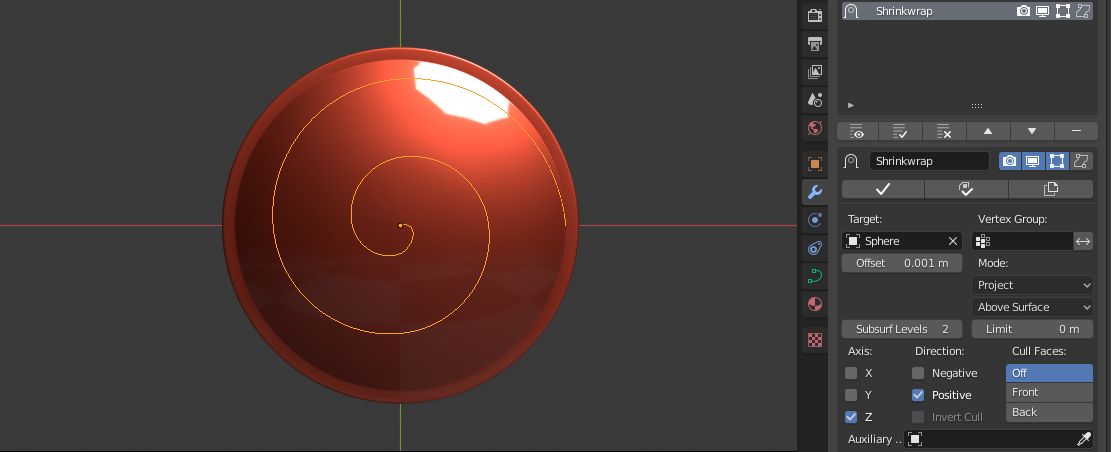
For spiral enable addon Extra Curve Objects. Add new object Spiral and tweek parametrs in properties. Add Shrinkwrapp modifier > Target your "base" mesh.

enter image description here

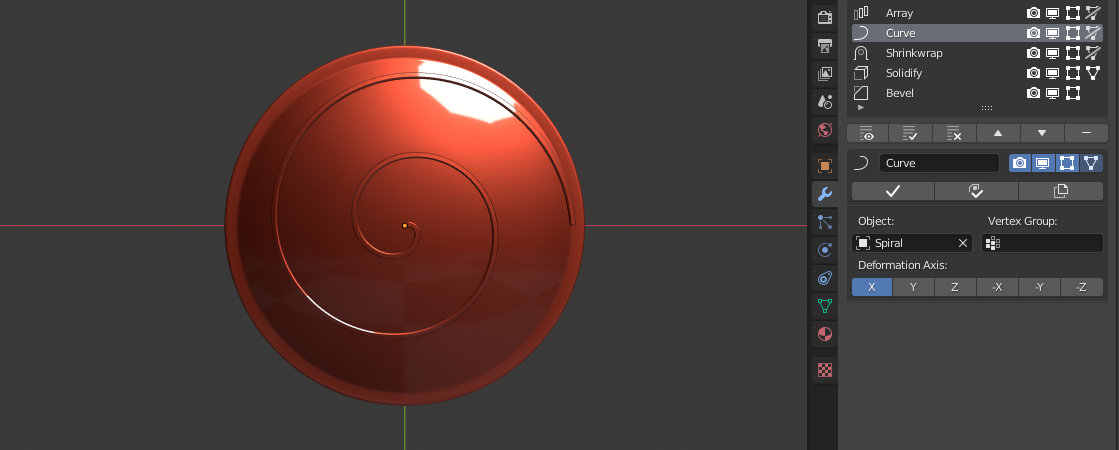
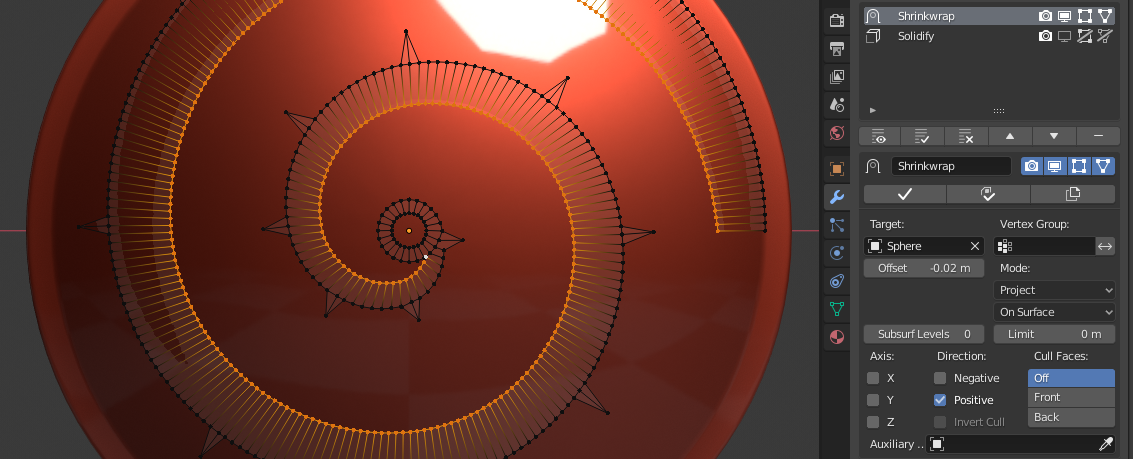
Add Plane, Scale it down into thickness os spiral shape, add Array > Fit Curve, Curve > Spiral, Shrinkwrap > Sphere, Solidify, alternatively Bevel modifiers (see screen).

enter image description here

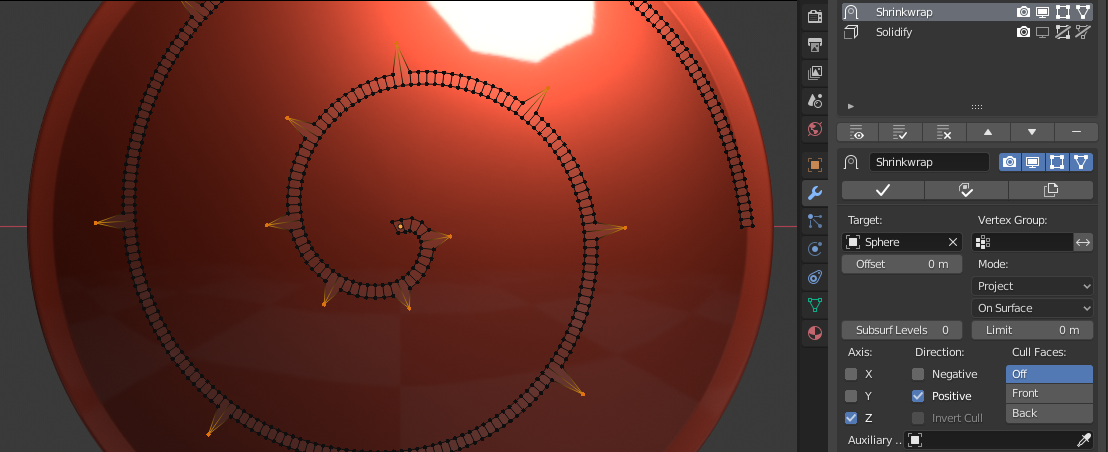
Thorns - I choose hand modelling, just apply Array and Curve modifiers, disable Shrinkwrap and extrude a few vertices for thorns. In screen I used move vertices, dont do that :)

enter image description here

Tip: just by selecting inner side and Scale you can get wide of spiral thinner at centre and thicker on outer side of shield.

enter image description here

For 3D print you will need manifold object. Blender has an add-on 3D Print Tool that can help to show problems. To get it right seems to me better extend spiral ornament and cover whole shield with shrinkwrap - like retopology, so you get nice wire for print. When I tried to Merge by Boolean or Remesh it comes with a lot of issues.


Another way

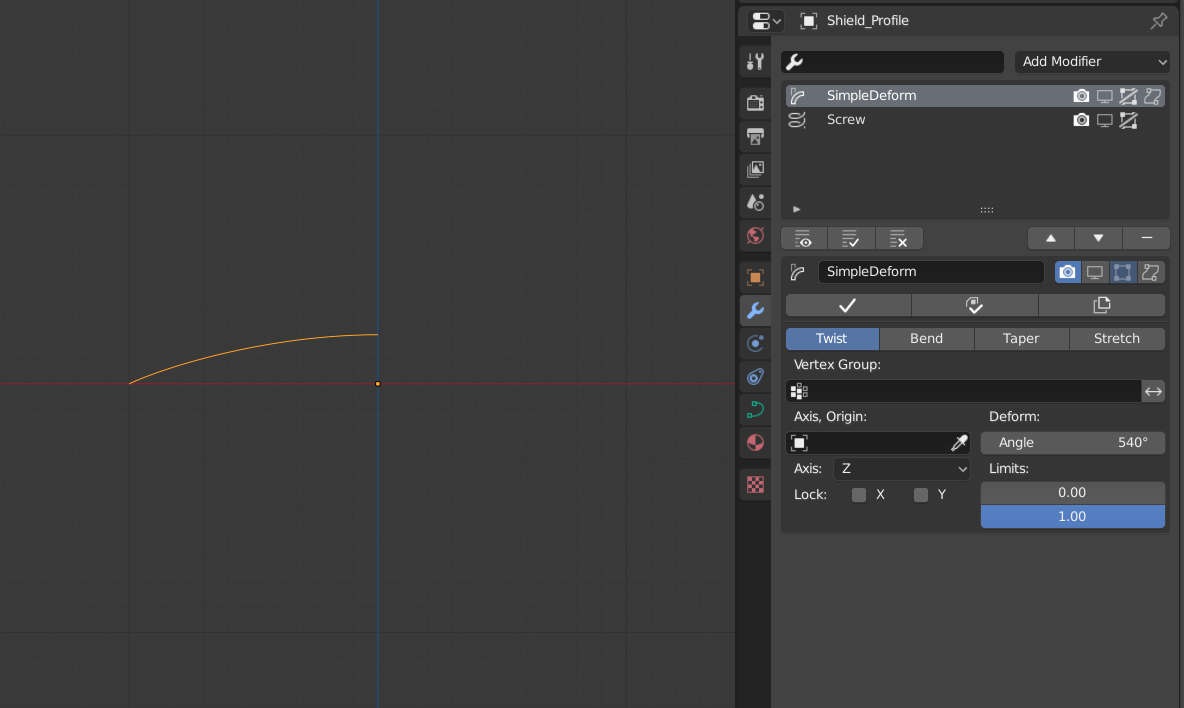
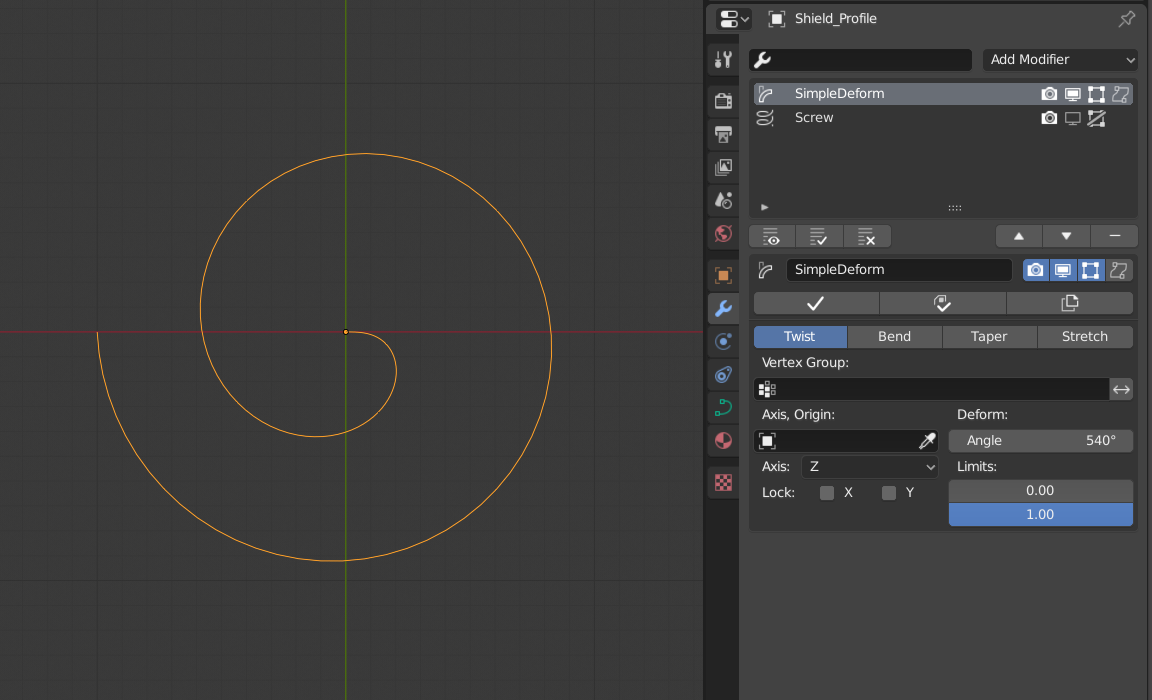
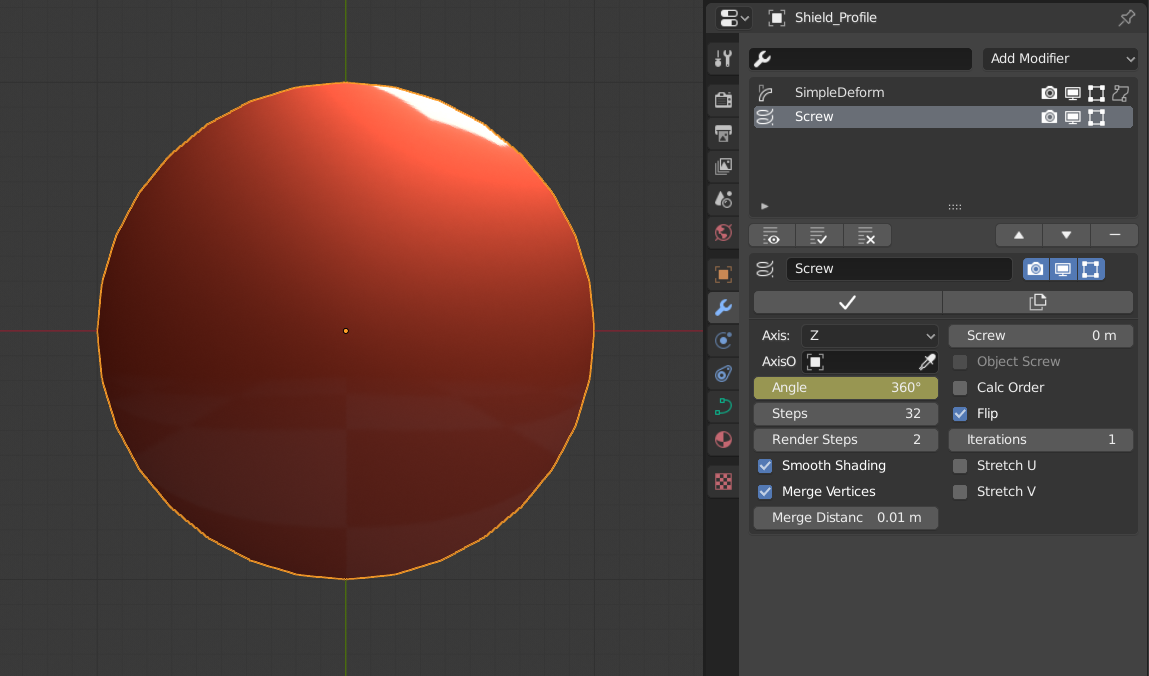
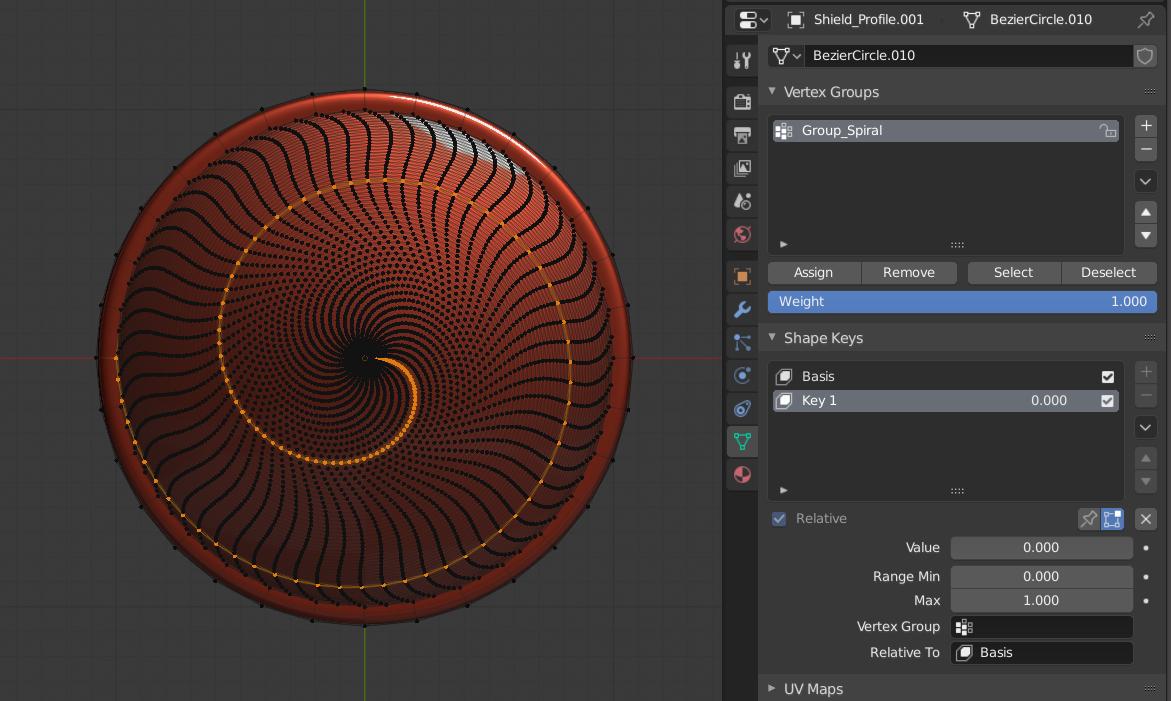
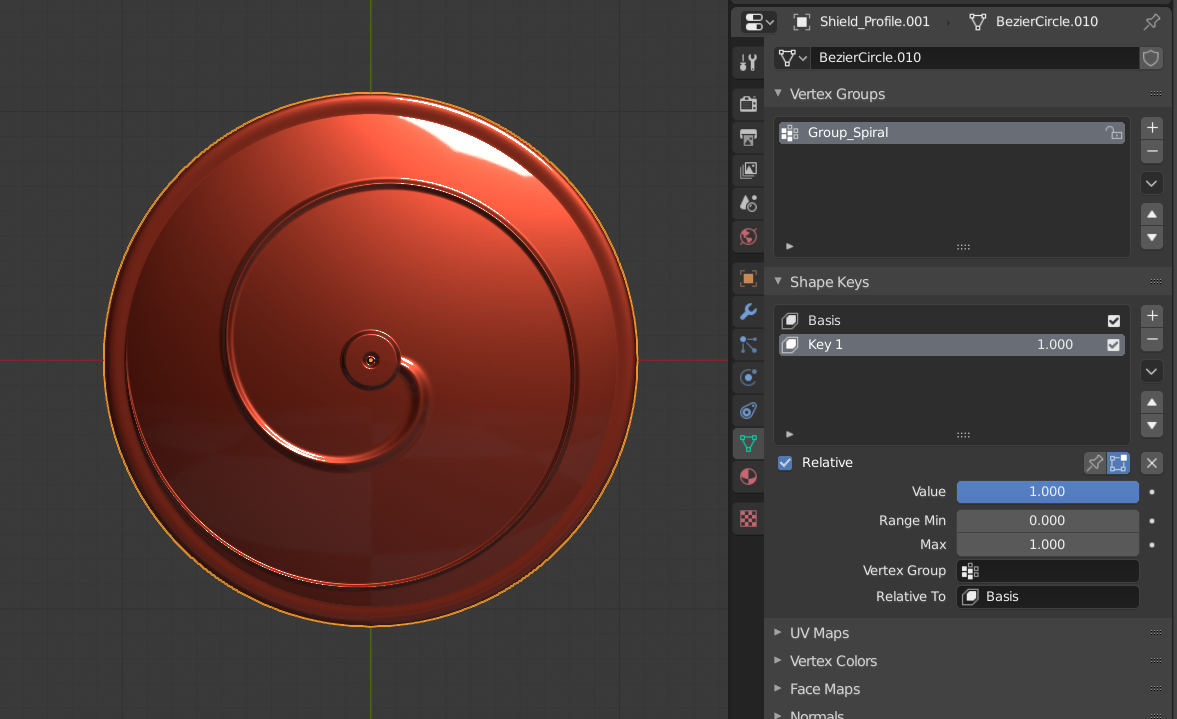
For 3D print would be ideal to start with Curve profile of shield. Add Screw modifier to create shield and use Simple Deform > Twist modifier to create spiral topo. Like that you will get shield shape with Spiral wire so simple extrude of one loop can does the job, but I wasnt able to create spiral in shape from your image. But you can try your luck with that.

enter image description here enter image description here enter image description here enter image description here enter image description here Mesh is quite dense so I just pushed vertices up here. You can also create Shape Key before you start, like that you can create more designs on shield or you can any time to get back into clean surface.

$\endgroup$
2
  • 4
    $\begingroup$ It's for printing, so these parts will have to be merged into a manifold surface. $\endgroup$
    – Robin Betts
    Commented Feb 23, 2020 at 18:54
  • $\begingroup$ thank you! I'm sorry for being late. I'm going to try these settings right now. It seems much more efficient than what I was trying to do. $\endgroup$
    – natkip
    Commented Feb 23, 2020 at 20:18

You must log in to answer this question.

Not the answer you're looking for? Browse other questions tagged .