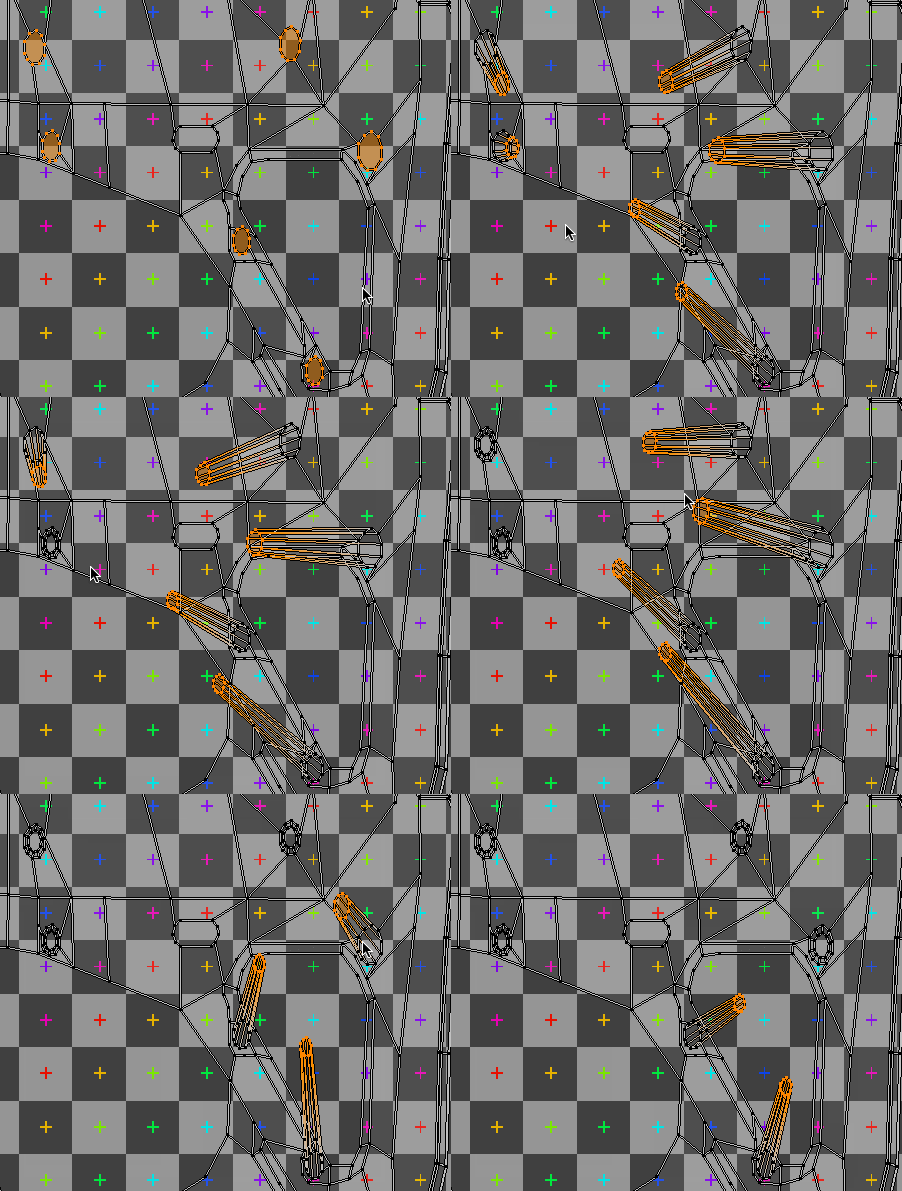
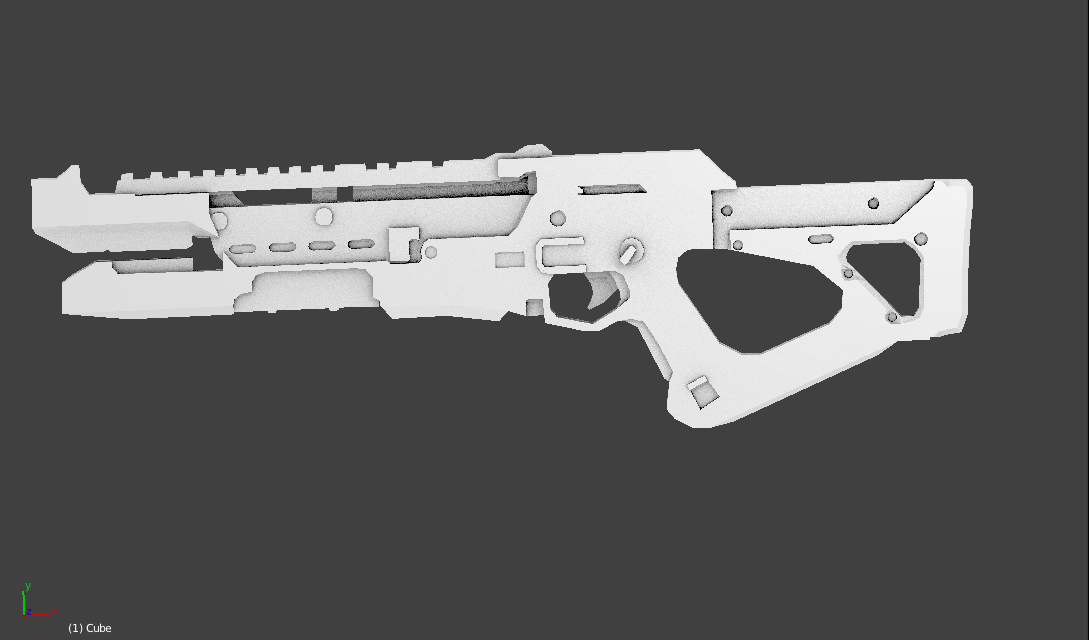
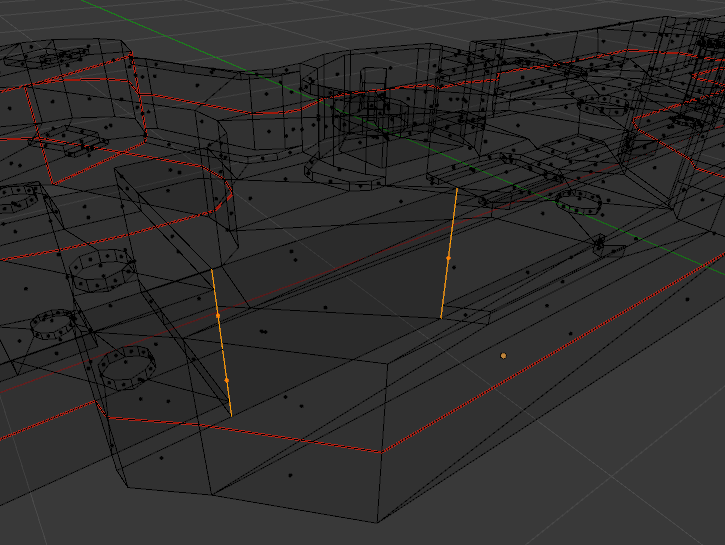
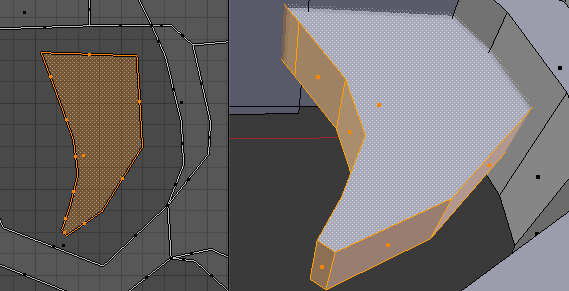
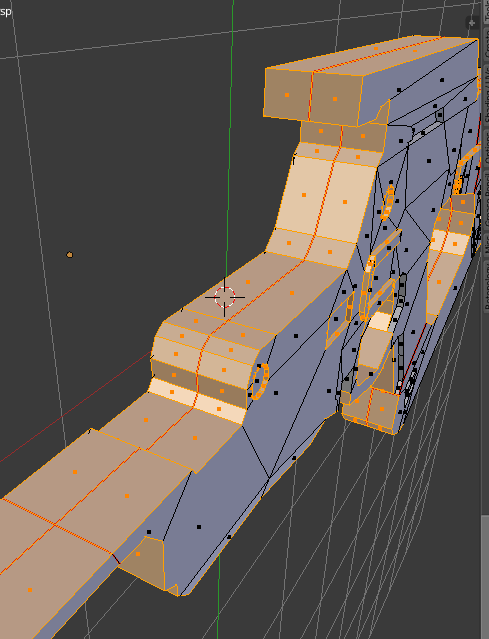
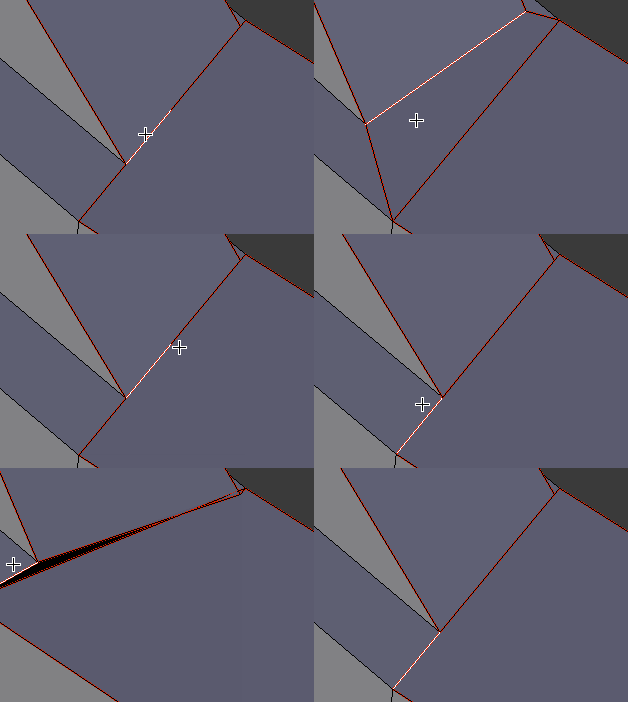
To start with, the tearing that you see is happening because the seams are not all marked properly using ctrl+e -> Mark Seam
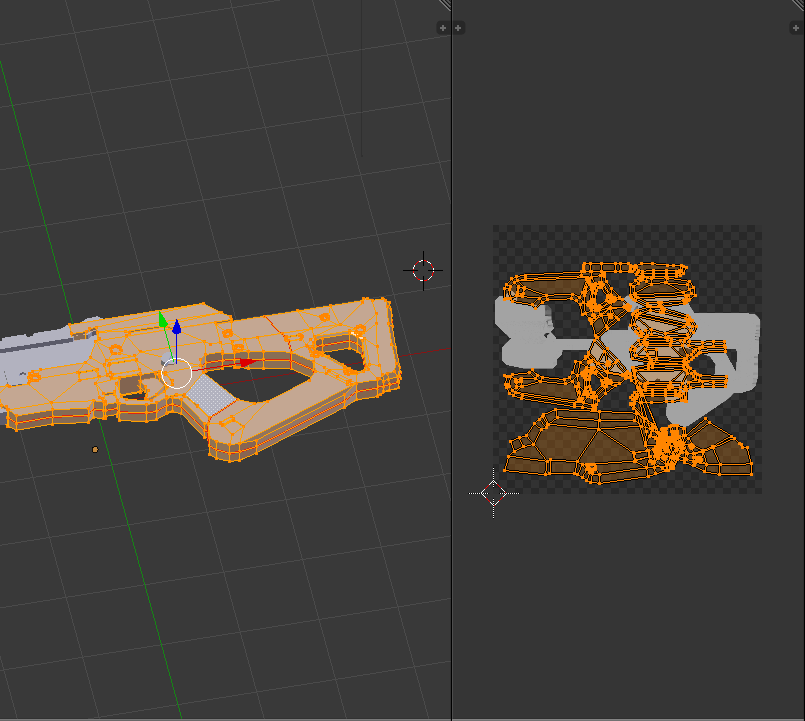
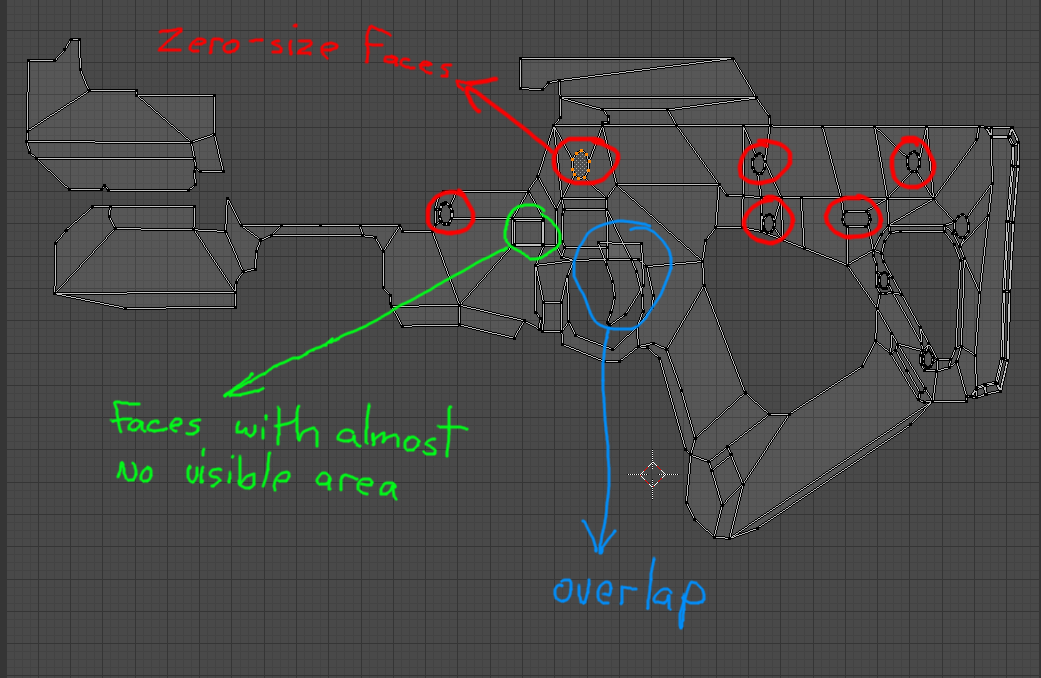
The UV coordinates for the posted .blend look like they were done with UV Mapping-> Project From View which I feel is a pretty good place to start with something like this. It does still require a lot of corrections for the faces that are parallel to the view since they are all 2-dimensional. Those faces are essentially Edges so far as the UV Texture is concerned, they will have zero texture resolution.
There are a few places that need fixing from what I can see. I've circled a few parts that stand out.

Next, to deal with the overlapping trigger pieces you can select the faces and move them. They can also be shrunk down a bit to fit in the area nearby to help with packing.

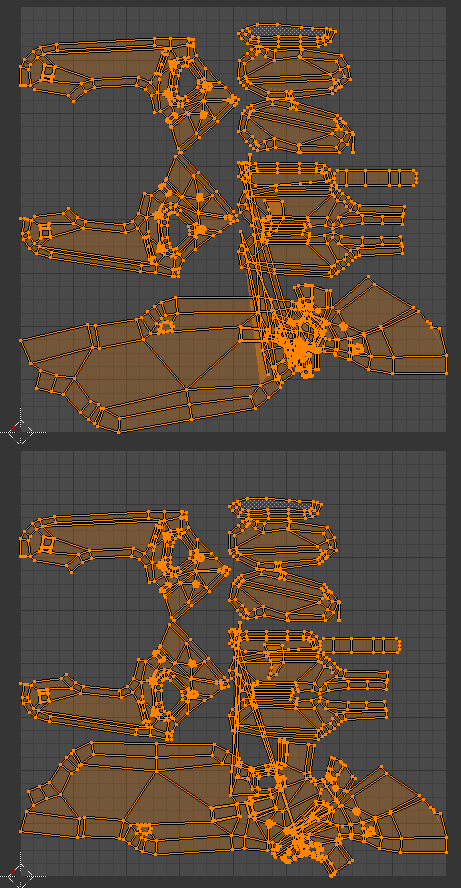
The next image shows many of the faces that have to be re-projected using another method.

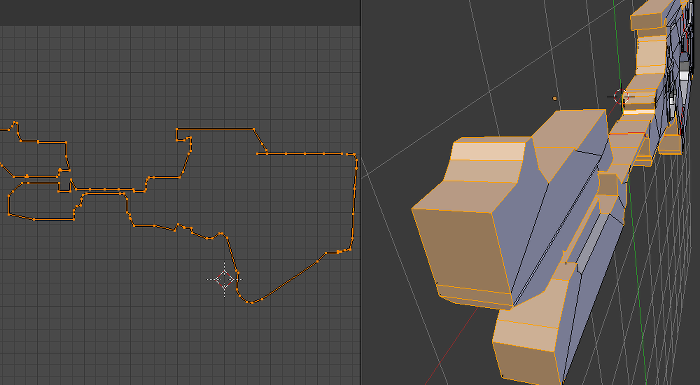
The seem which runs down the middle will help with mirroring but that may not be the best way to go here since mirroring something that thin will not only add more seems(which can show as artifacts) but the two thin bands that make of the rifle perimeter will have to be separated in the UV's in order to allow some room for padding. This extra space will use up texture resolution as well so there is not much gain here to mirroring those parts.
For the center line, I would just remove that entirely since now the geometry count should be about 20% less when exported. With all the center edges selected, you can use the keyboard shortcuts 'x' then 'g' for Delete->Edge Loops
*Note: so long as you do not do this to UV Island boundaries the UV's should be preserved and any textures that have already been baked should still be valid.

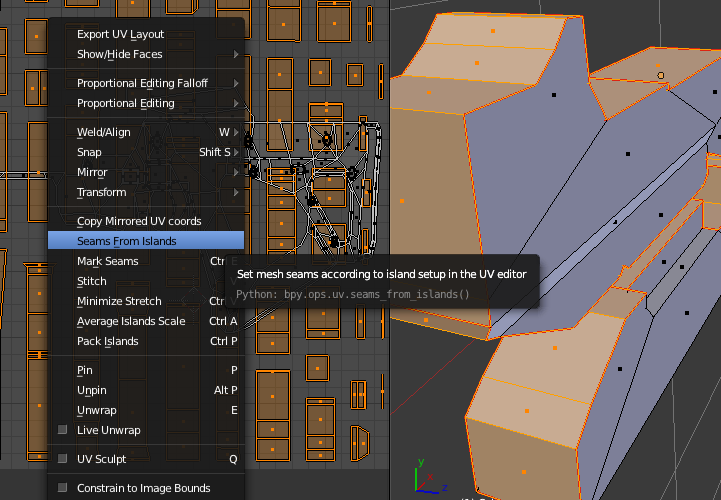
Now you can select all of the perimeter and use UV Mapping->Smart UV Project to quickly map them so they can be assessed quickly and also you can use UVs->Seams From Islands to quickly lock in the Islands. Sometimes it's easier to remove a few extra seams rather than to manually select them all in the 3D View for seam tagging.

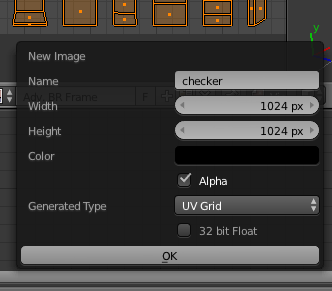
Now seems(pun) like a good time to add a texture that can help act as a guide and reference for the progress.

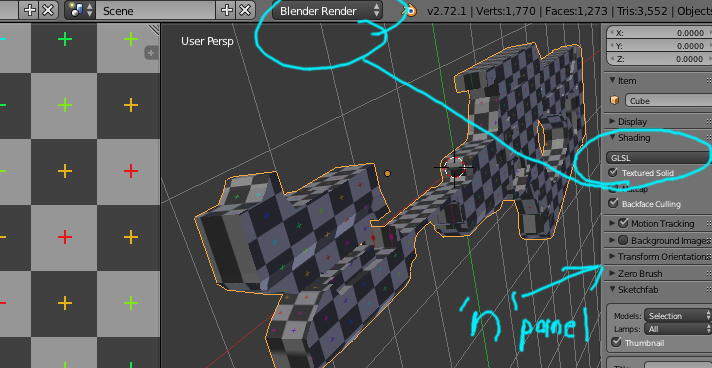
The following 3D Viewport settings help a lot when baking.
Note: this is not a Material view setup, the texture you see here is the texture that will be baked to. If you export this model, you will not see this texture unless you first setup a Material.

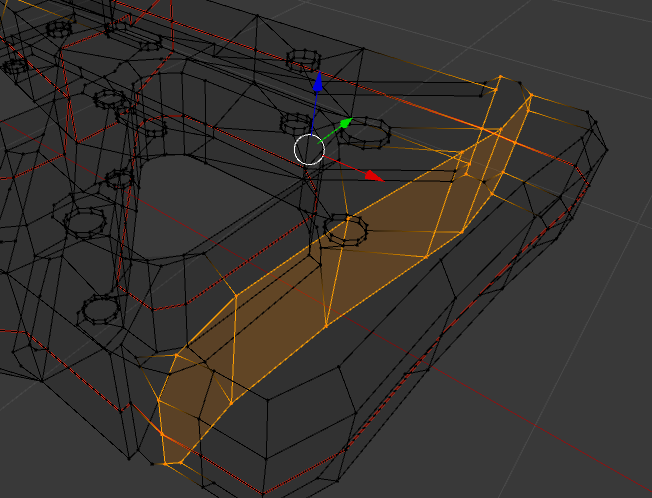
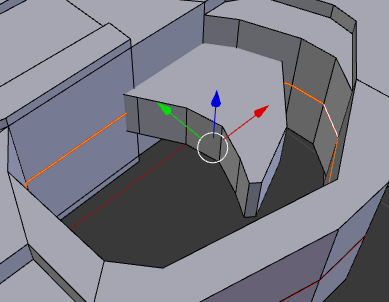
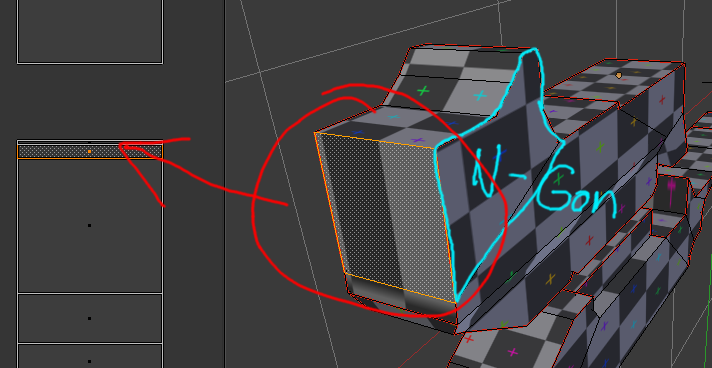
Next we see an obvious error, often when things go this wrong you will find an nGon adjacent to the problem area which I think is what's going on with the main point of your question.

Now at this point we can consider the removal of the main center a mistake since it's removal was pre-mature; we have to work on both sides of the model to clear up the remaining UV Coord zero-area faces. We'll just call this a lesson learned.
Once you have the overlapping vertices selected, you can use s with your cursor over the UV Image Editor to scale them and give the faces in that area some space in the UV map.


There are a few edges that overlap at nGon transistions which should be cleaned up. The baked texture will have errors at the areas.

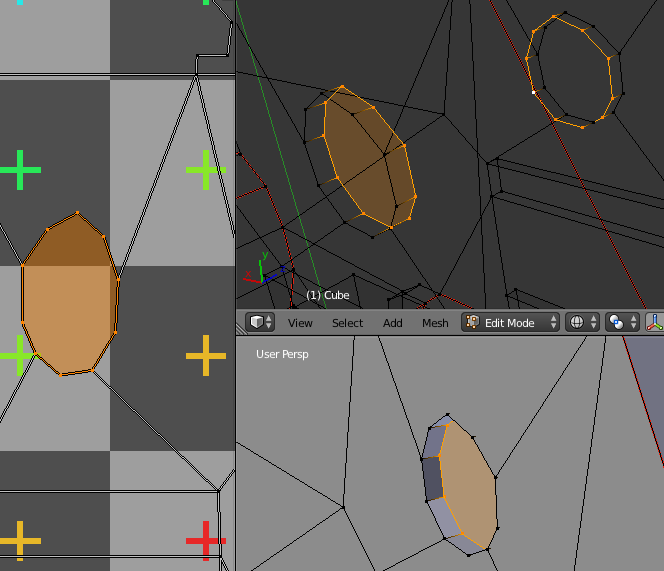
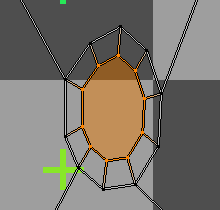
Next is an animation that shows a quick way to deal will all those little circle insets.
With them all selected, you can scale them all as a group and then move them into place one at a time using 'g' then circle select 'c' is used to remove the newly places areas from the selection, then grab again, then deselect...
