1
$\begingroup$

I exported an UV Layout from Blender 2.8 and imported in Photoshop in order to build a simple displacement map.

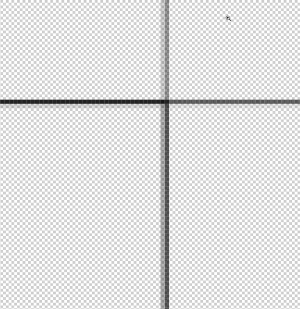
All the UV lines are not black but a kind of black to grey graduation.

The lines are not 1 pixel wide but 2 or three.

I have tried every setting I can do in the Export UV panel, but I got always the same.

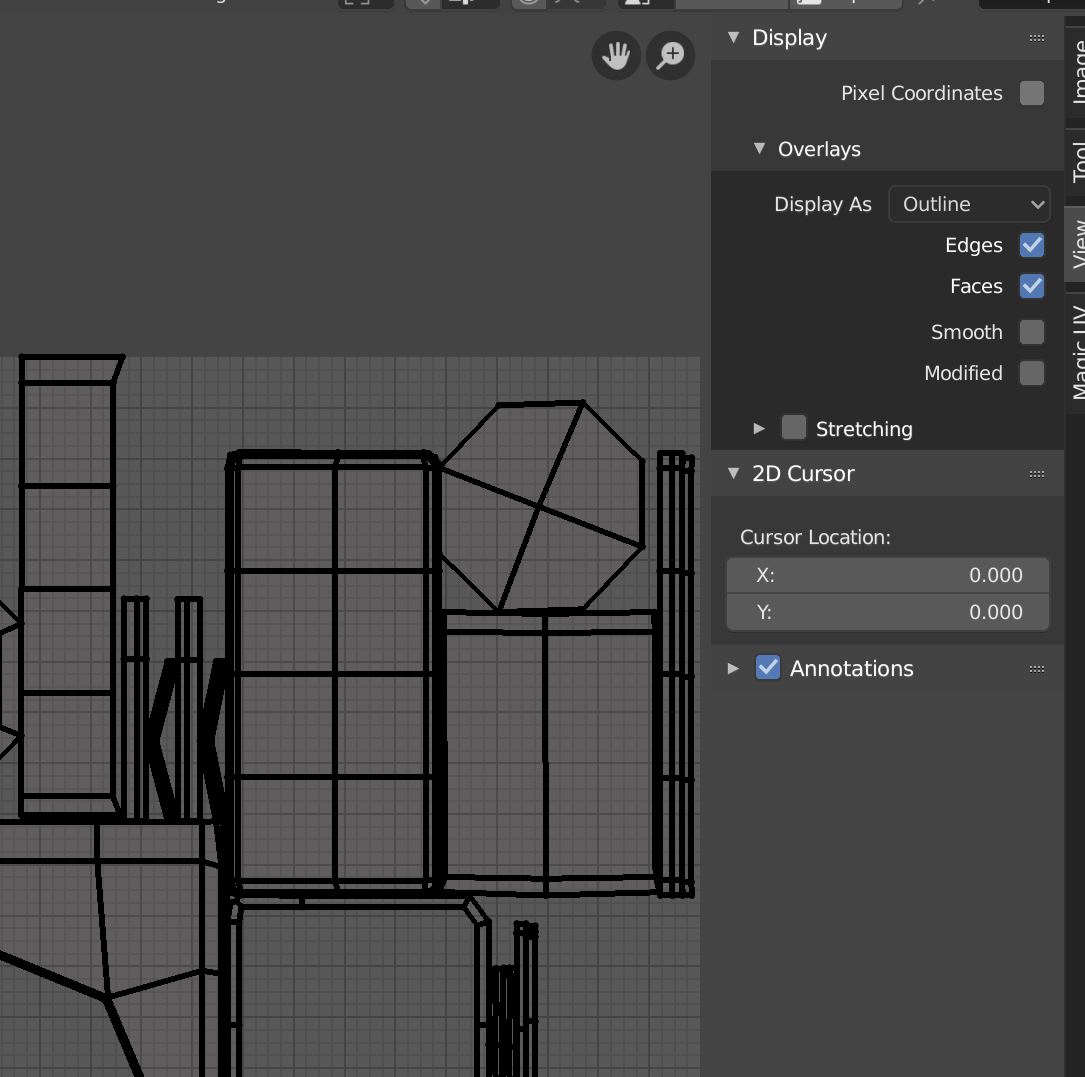
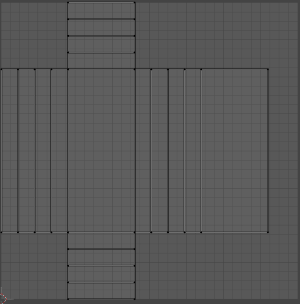
Here you find the original UV layout in Blender 2.8:

enter image description here

And here you will find the snapshot out of Photoshop with the strange grayish lines:

enter image description here

BTW, I have the same issue editing the same file in GIMP or other graphic programs. So it seems that the Blender 2.8 exporter is creating this behavior.

$\endgroup$

3 Answers 3

2
$\begingroup$

I had a similar issue with the edge being 4px. There are a couple of options but none I can see to fix this. Preferences > theme > UV Image editor. You can change the vertex size but not the edge. Also on the overlays there are no specific size options in the Display As

enter image description here

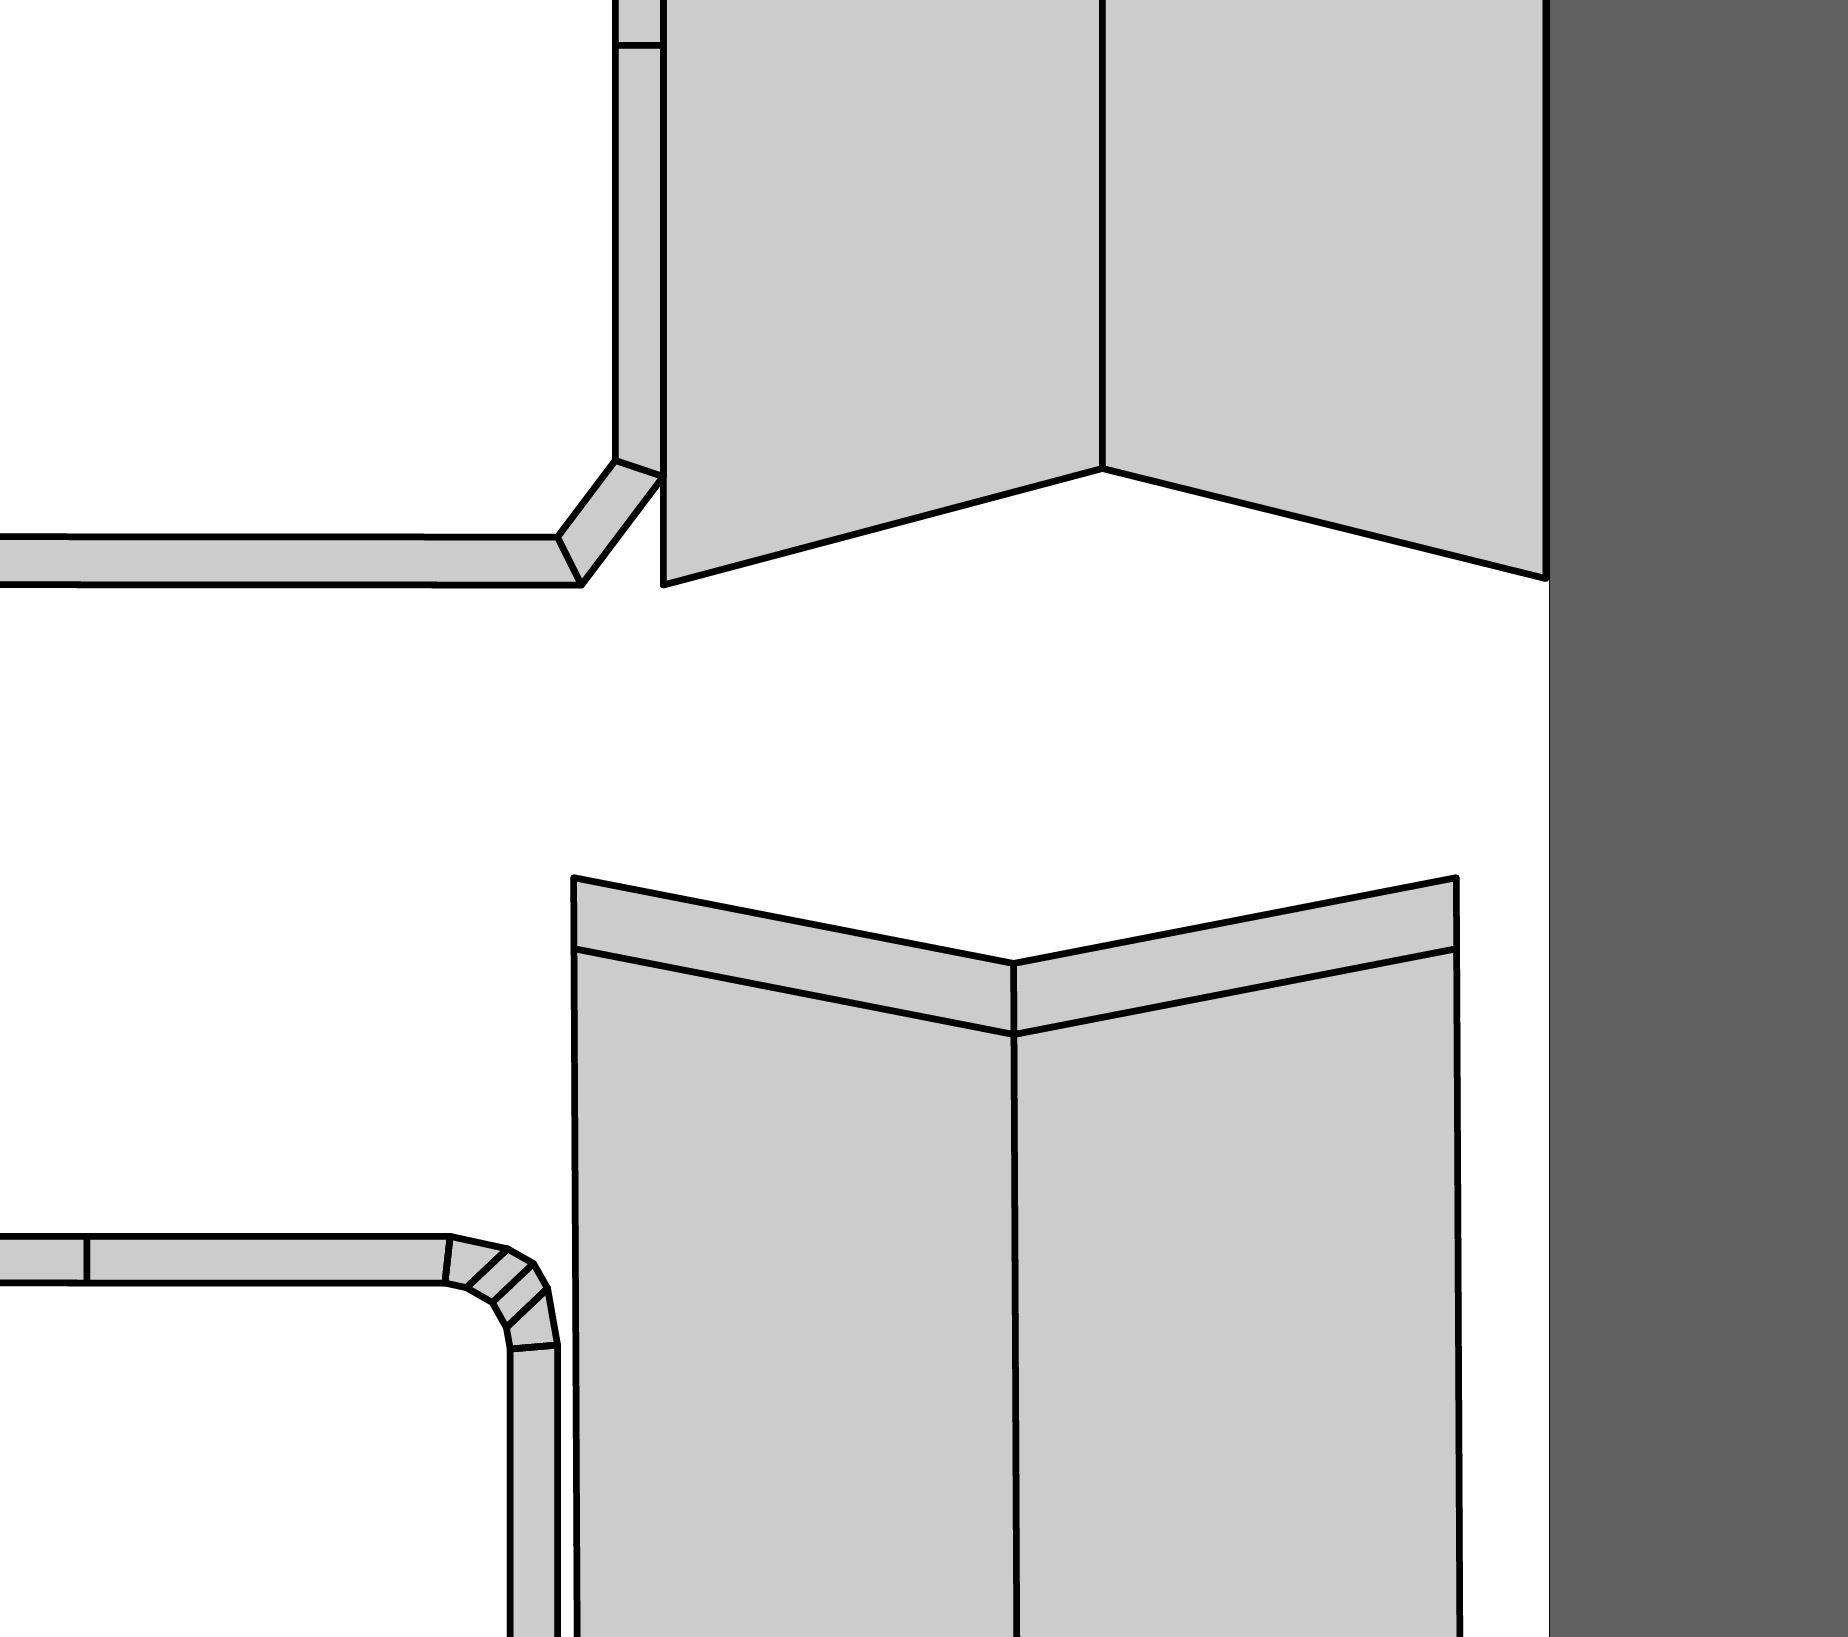
Instead I exported the UV Map as .svg or .eps from here you can open in Adobe Illustrator which gives a sharp vector path. I would set the fill opacity to 0 to make sure there is no bleed from the black edge. You could open either of these formats in Ps but the same issue persists.

enter image description here

In Illustrator you can then adjust the stroke width from 1pt to 0.1pt and copy into Photoshop to give a single pixel width. Not perfect but the best I can see unless there is another option I am missing in Blender

$\endgroup$
1
  • $\begingroup$ Thank you, this is a good workaround. It takes some more time but it works well. Many thanks for the hint! $\endgroup$ Commented Aug 16, 2019 at 12:42
1
$\begingroup$

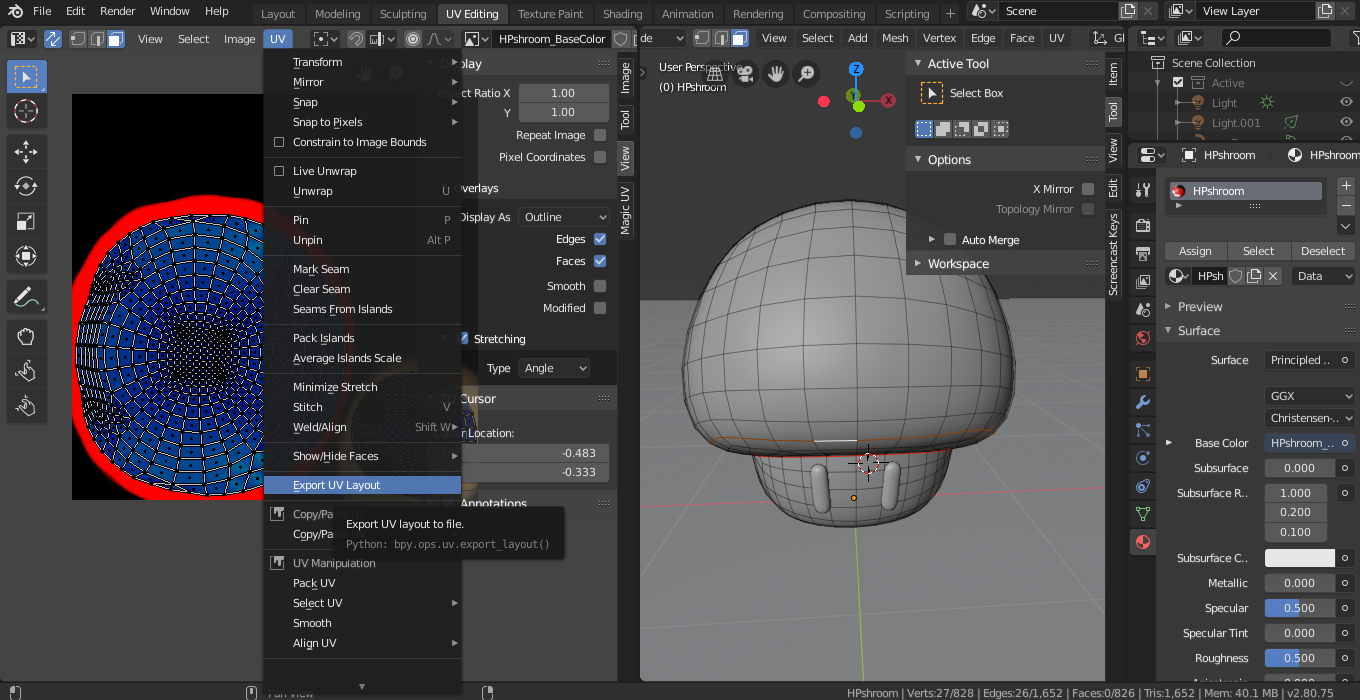
Make sure you are exporting the UV's from the menu and not saving what is on the screen (I trust this is not what is happening because you have transparency):

enter image description here

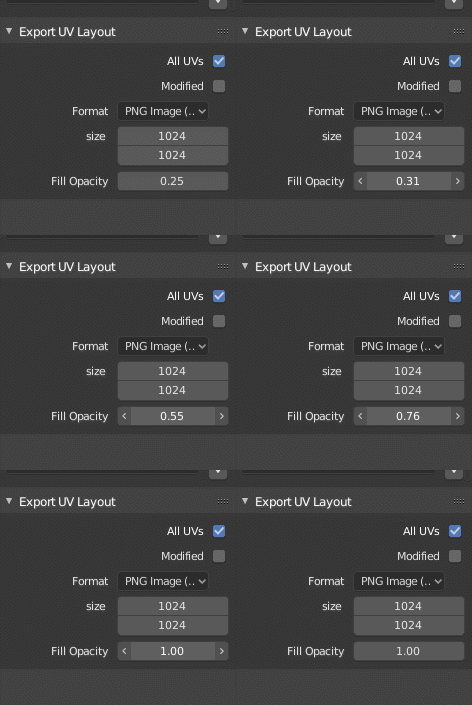
But then drag the opacity slider up and ensure that all UV's are being exported. Use PNG as your file format and choose dimensions that fit your texture 1-to-1 or are bigger by multiples of 2:

enter image description here

My output looks like garbage in the Windows Image Viewer (or whatever it's called now) but I still get 1px lines every time. I will be on the lookout for unpleasant surprises though.

$\endgroup$
2
  • $\begingroup$ Hi, Thank you for your input. I would like to have a transparent map without fill, having just the edges with solid black and 1 px while I want t o build a displacement map. VeloFX brought a possible workaround for this behavior. I'm just wondering if blender developers are aware of this fact as I was not able to see this behavior in other software like Maya 3ds Max or Cinema 4d. $\endgroup$ Commented Aug 17, 2019 at 14:11
  • $\begingroup$ "Fill Opacity" affects the transparency of the outlines. If it's left at 25% you can't really see anything. $\endgroup$ Commented Aug 17, 2019 at 17:08
0
$\begingroup$
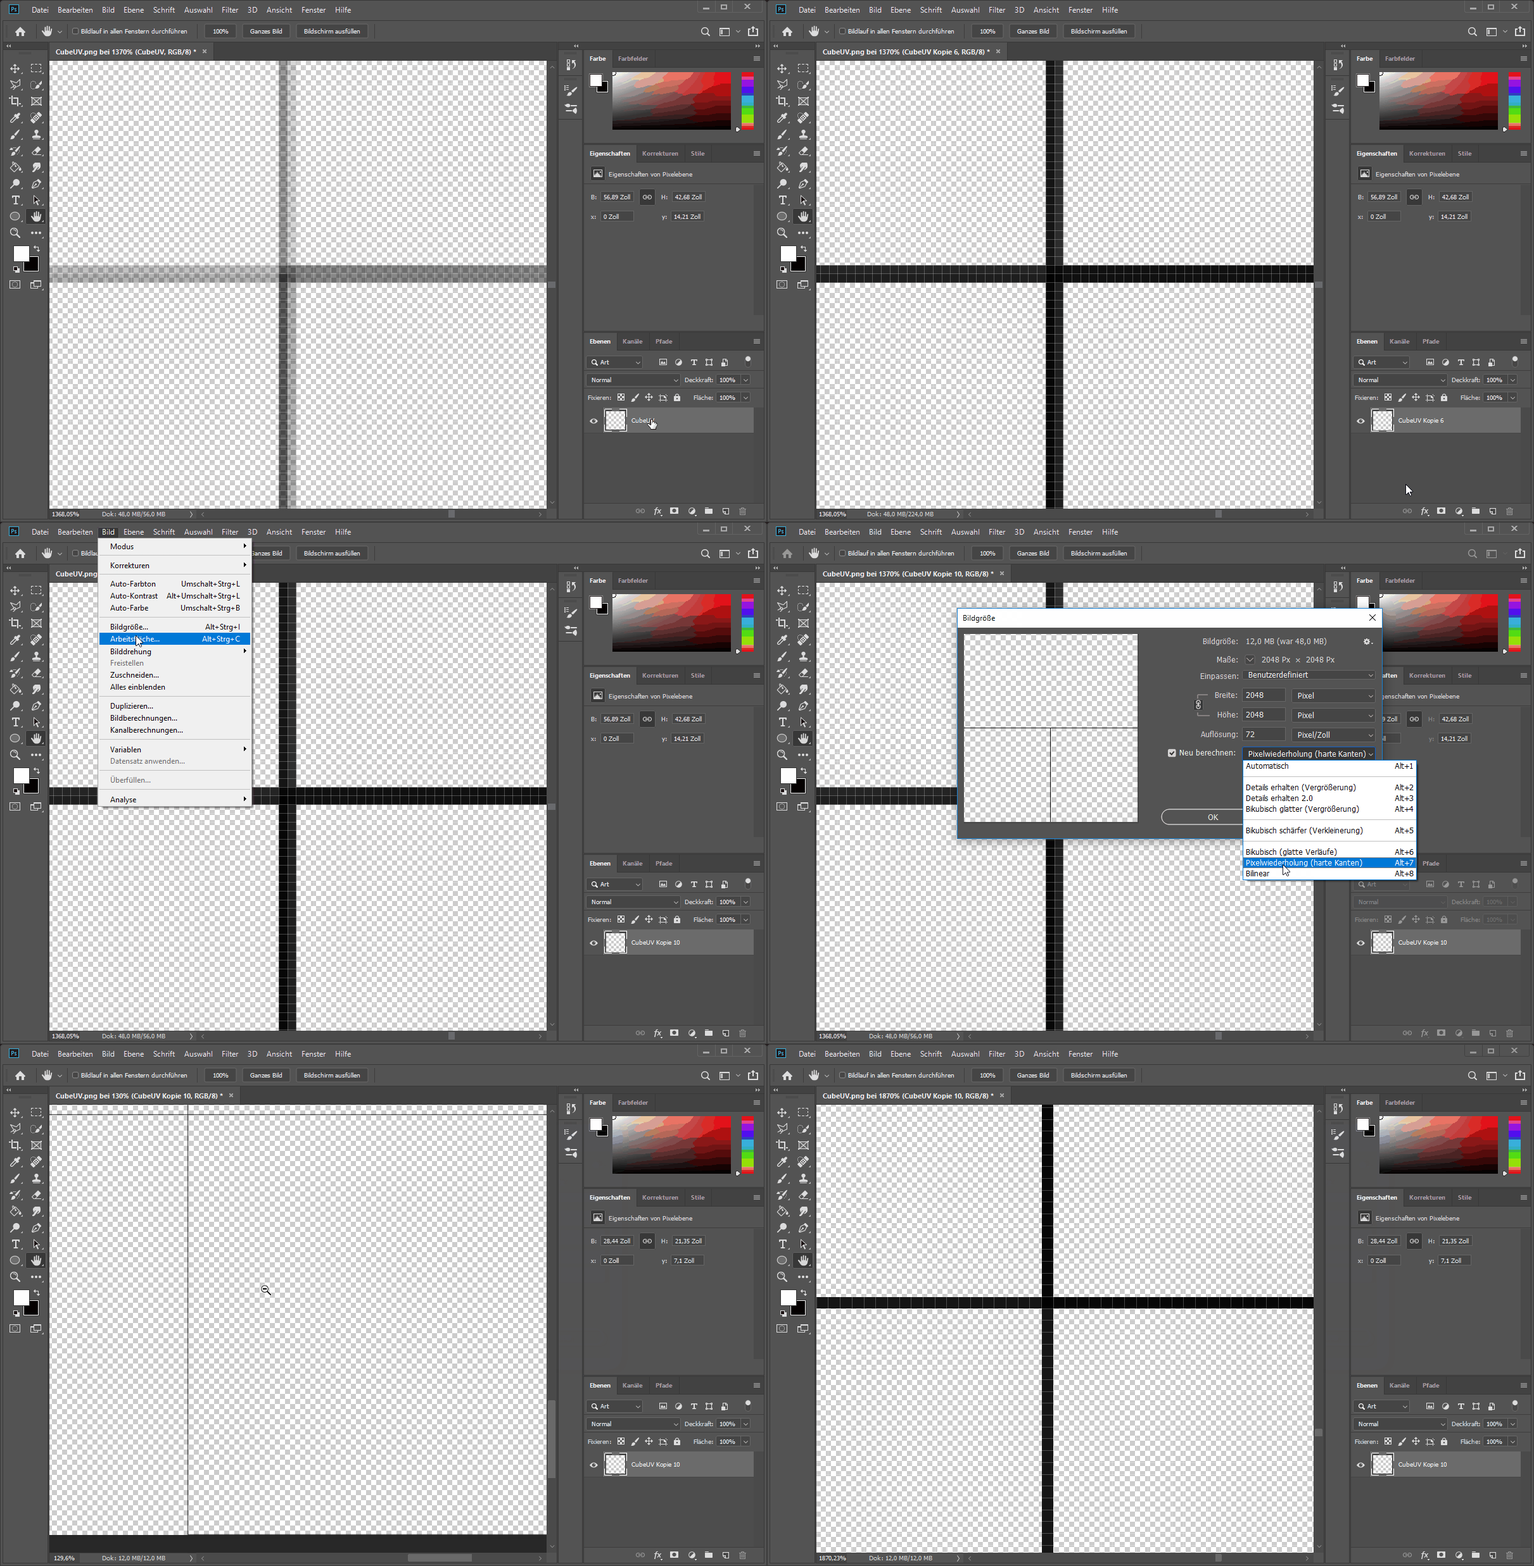
  1. Export the UV-map double the size you need (for 2048x2048px export it as 4096x4096px)

  2. Open it in photoshop and duplicate the layer and merge it multiple times. (to remove transparency)

  3. Resize the image to the wanted size (half the width and height) and check resample image with Nearest Neighbor (hard edges)

PS UV editing

$\endgroup$
2
  • $\begingroup$ Thank you for your answer and hint. Your method is working as long as you do not have some edges close to the others. In my case I have beveled one edge with 3 segments and with your method some of the edges went sharp and 1px wide, others are sharp but 2 pixels wide! Really strange! Thank you anyway for your support. Much appreciated. $\endgroup$ Commented Aug 16, 2019 at 12:41
  • $\begingroup$ I think you can further reduce the linewidth if you export it event bigger (maybe 4 times the size) and scale it down accordingly $\endgroup$
    – VeloFX
    Commented Aug 16, 2019 at 14:40

You must log in to answer this question.

Not the answer you're looking for? Browse other questions tagged .