I know this is old, but I'm going to necro this because I found a work-around. Be sure never to rescale (in part or in whole) your objects. Cut your objects to their general shape with boolean difference operations. This will maintain the uniformity of the mesh when you use the remesh modifier.
Example:
Let's say you want a slab.
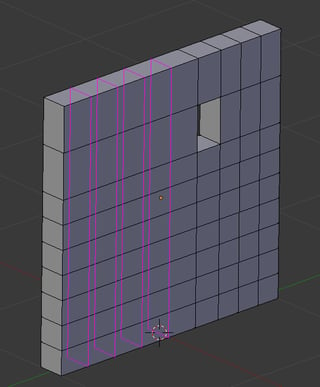
Ordinarily you would simply start with a cube and scale one dimension of the cube to the slab thickness. This, however, results in scaled mesh points. When you remesh this, it will remesh with squares on the unscaled sides and rectangles on the scaled sides.
Instead, start with a cube, but create a second, larger cube as well. Use the larger cube to cut the first cube into a slab using a boolean difference operation. Doing this will allow the remesh modifier to generate a uniform, square mesh on all sides regardless of the mesh size you choose.
Alternatively, you can begin with a plane and extrude it to the slab thickness. I've discovered that this kind of thing works too.
I don't know why Blender works this way, but it does.
Once again: My personal rule is to never scale an object until I am finished sculpting it. Every time I've violated this rule, I've suffered for it.
Here are some other tips I've found useful:
When working with multiple objects, always remesh them to the same Octree Depth. If you don't your boolean operations could go wonky on you. Following this rule will also guarantee the most uniform mesh on your final object.
Always remesh your objects immediately before you use them in boolean operations. Again inconsistencies in the mesh due to boolean or sculpting operations can cause unpredictable results.
When remeshing, use the "Smooth" option if you have used brushes to sculpt your objects and you plan to use boolean operations on them later.
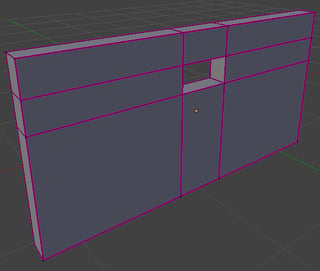
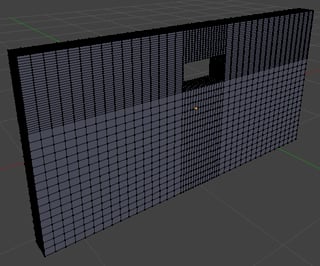
Unfortunately, once the quality of the mesh is compromised (e.g.: the object above) there's no way to "fix" it short of manually editing the mesh, in which case, you might as well just start over again.
Hope these help.


