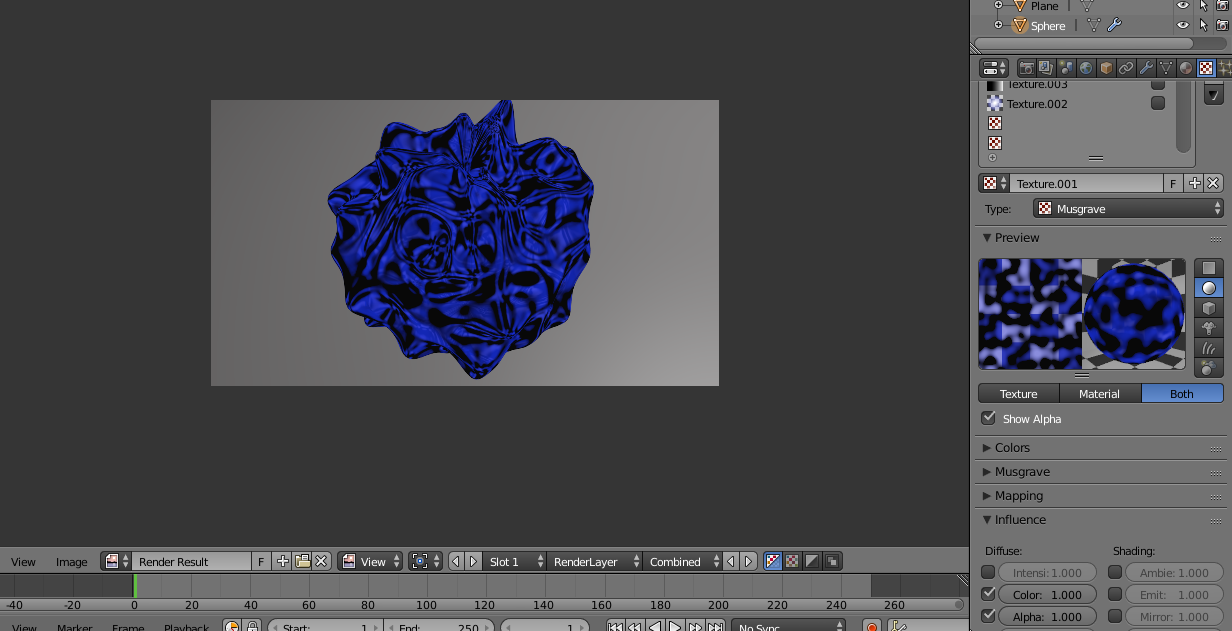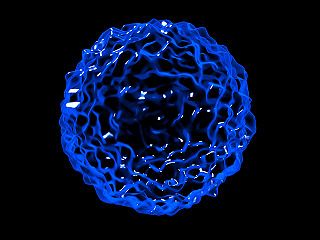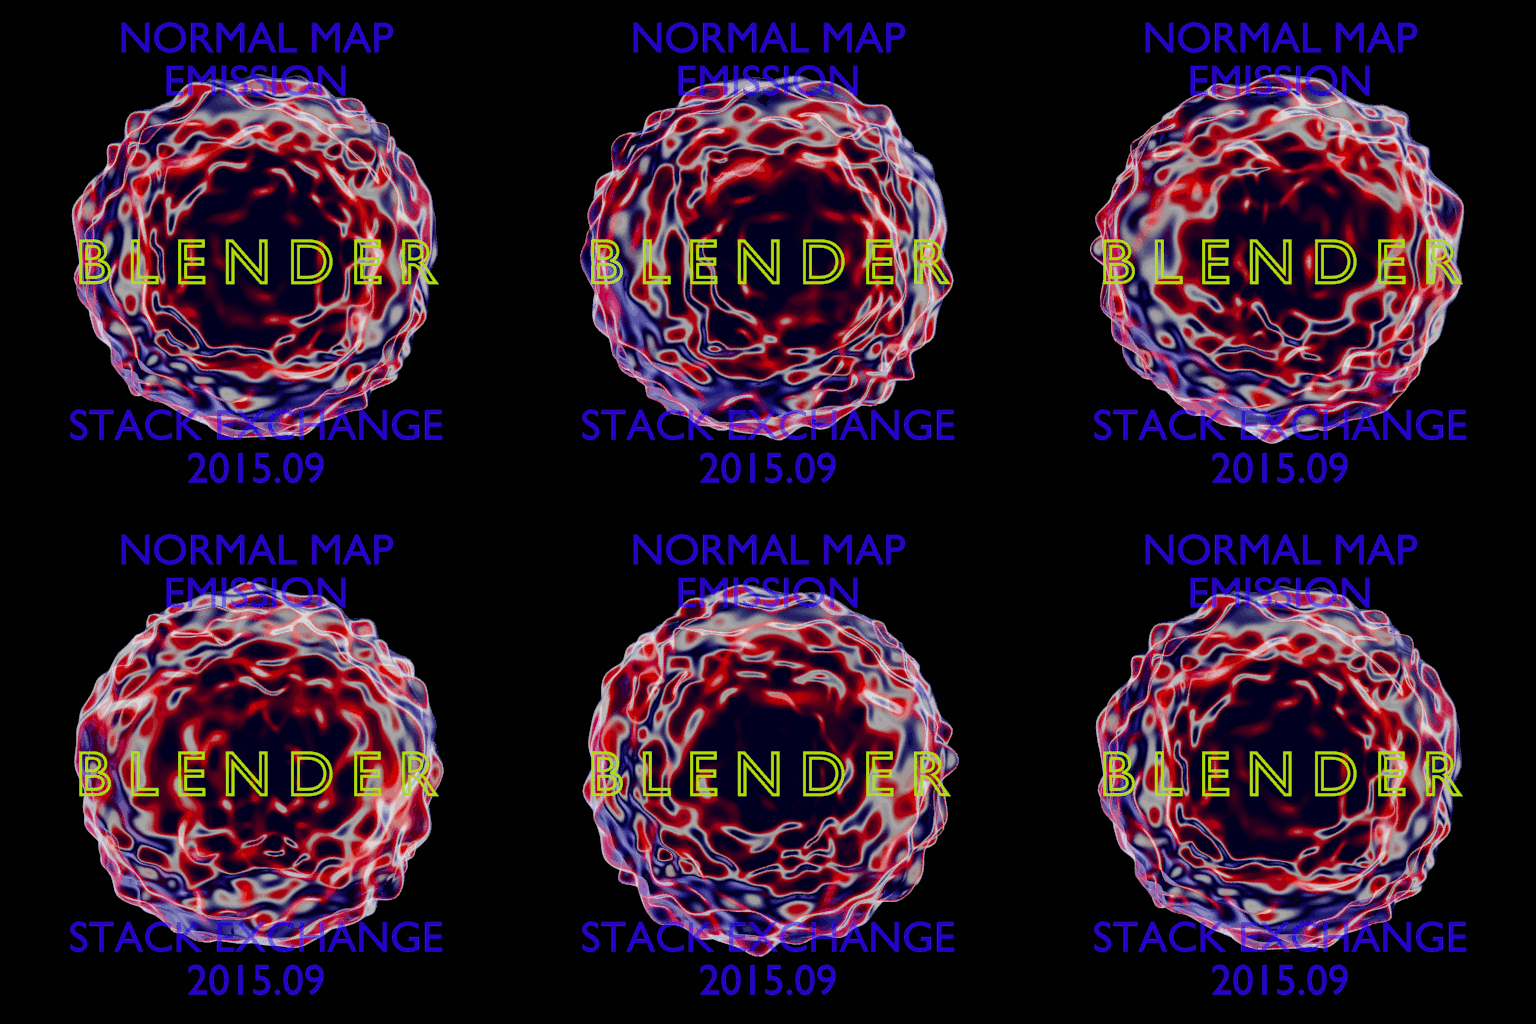
Here is a modest sloppy facsimile at the end of the post.
You must adjust to taste and artistry.
I am trying to show a technique and you can run free from there.
I am not using the exact same settings as the old manual.
I am not using Fresnel.
Blender Render. Please note there are no lights in the image below.
Shadeless Material and Texture Mapping Coordinates [Normal] with an Radial Gradiant Image.
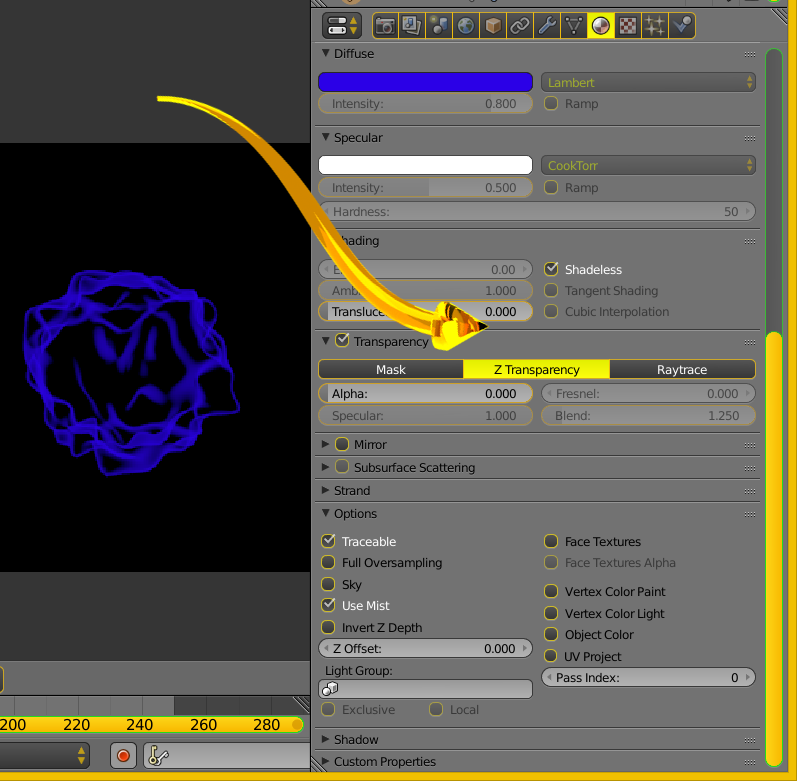
Here is a material setting
Note the shadeless and transparency

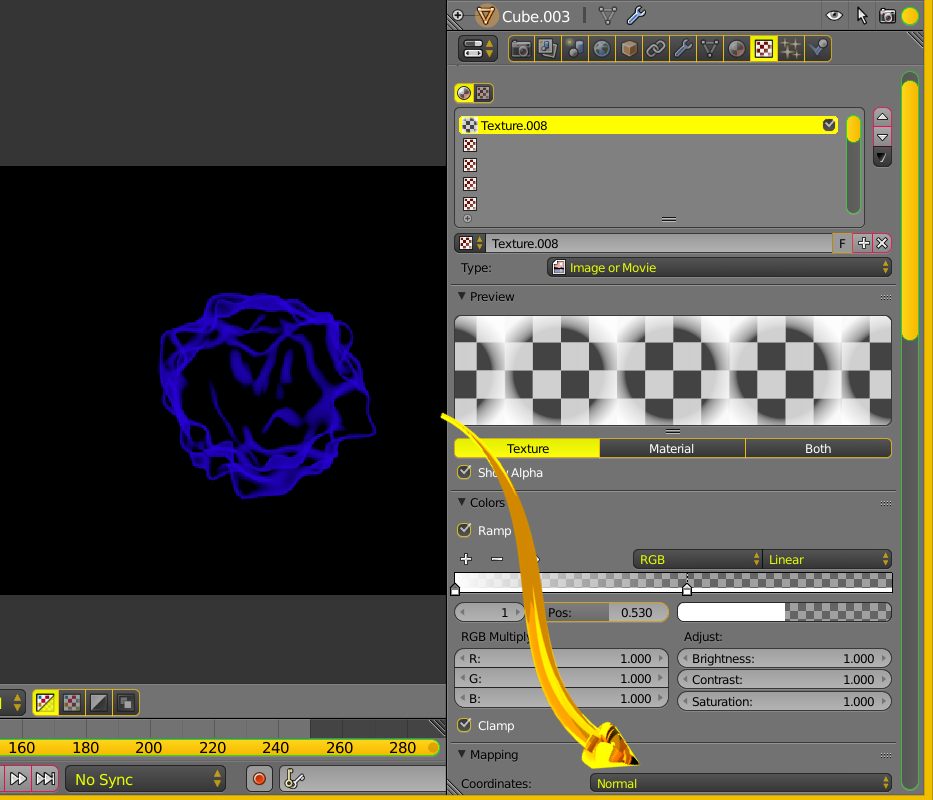
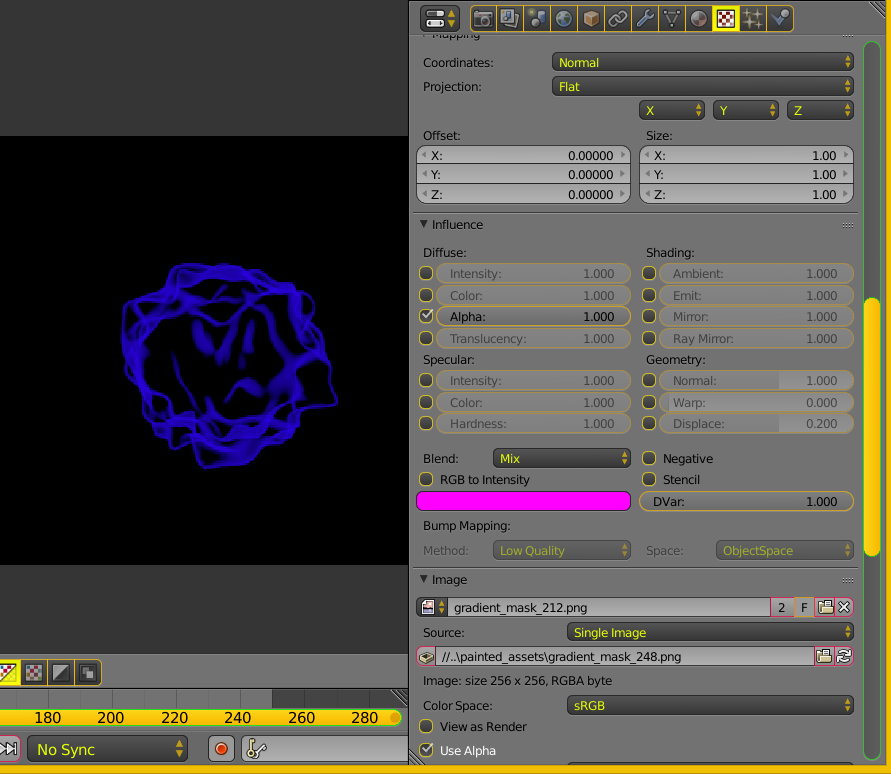
Here is a texture setting. Note the coordinates are [Normal]. The circular image with transparency. The color ramp to threshold color.

Note that the alpha is modified.

Note the circular image which is transparent in middle.
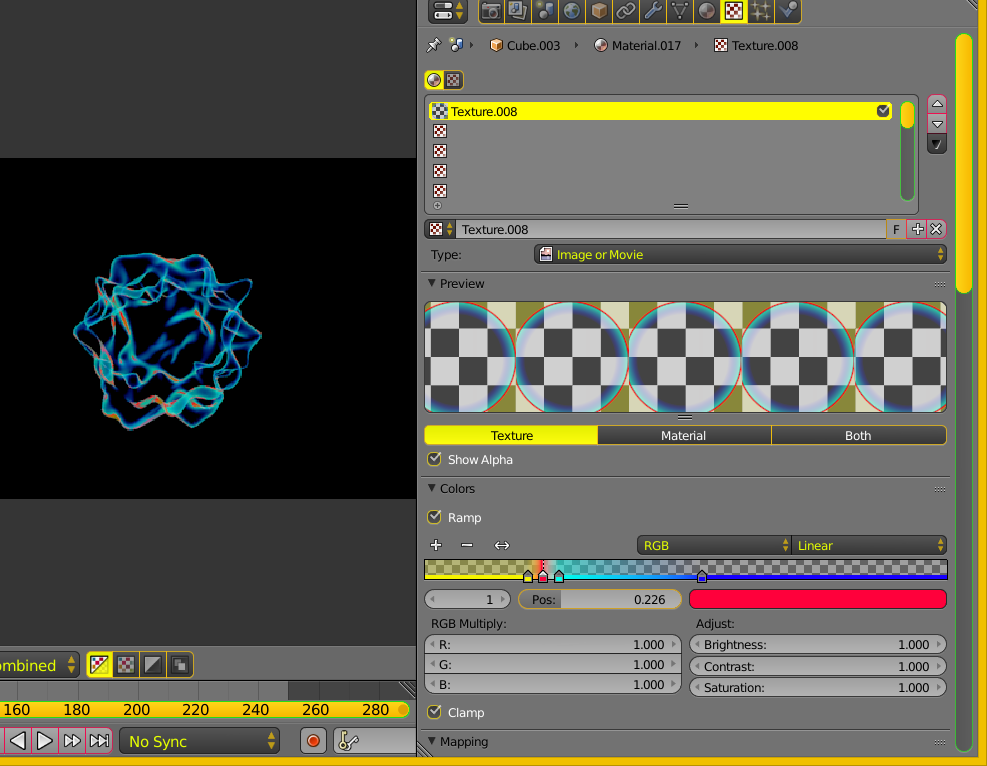
This can be created in GIMP or Blender. The color ramp modifies the intensity of this image. Modify all to suit your tastes.

Some experiments to show some use of the color ramp.

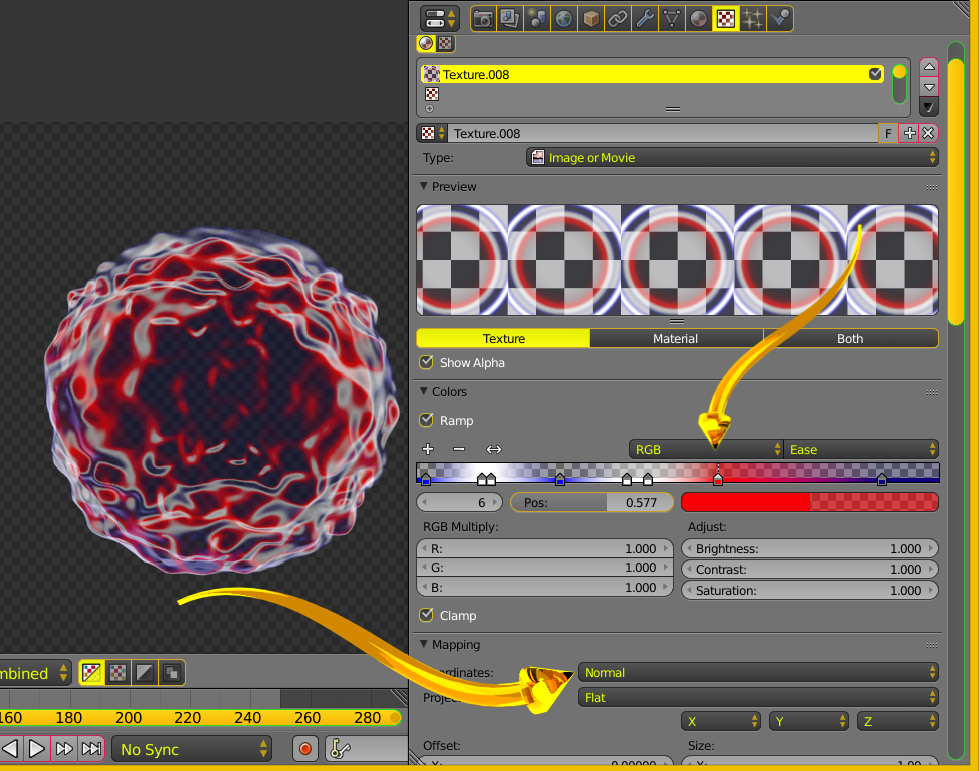
Below we see transparency. The Mapping Coordinates is (Geometric Surface) [Normal]. Exaggerated white colors.
Note the color ramp with the Red Marker. You may change that to blue.
 Please experiment and know my circular image could be simplified by you.
