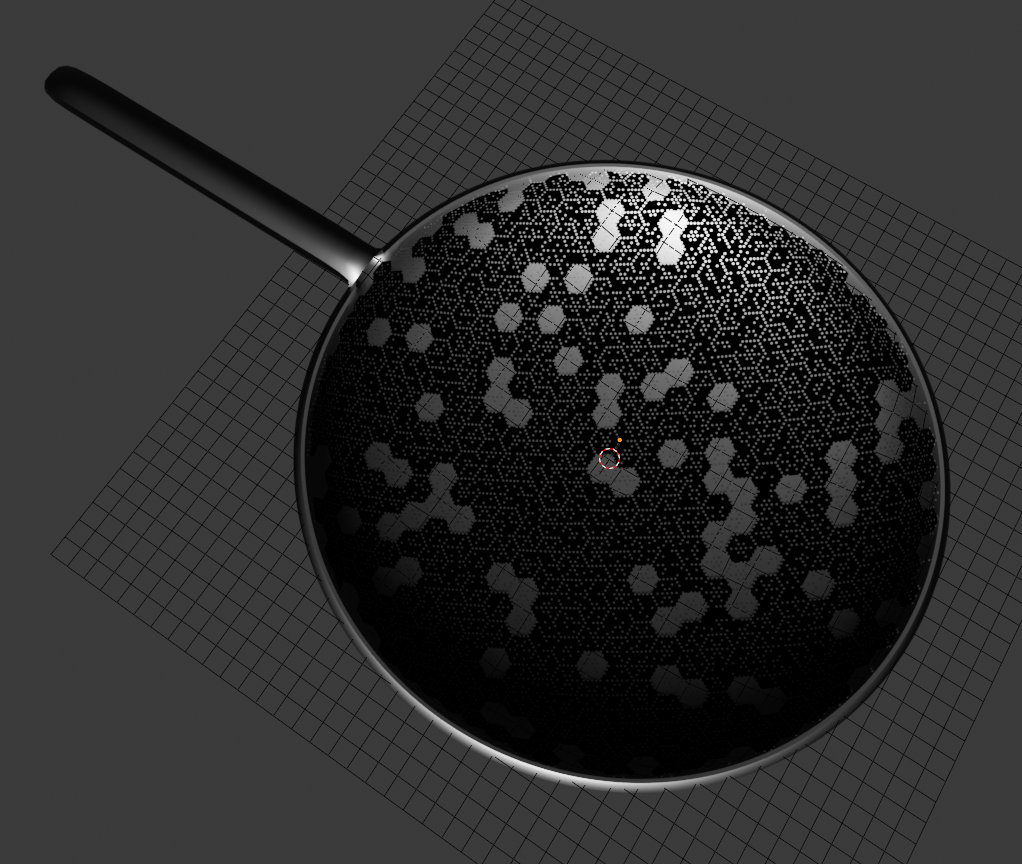
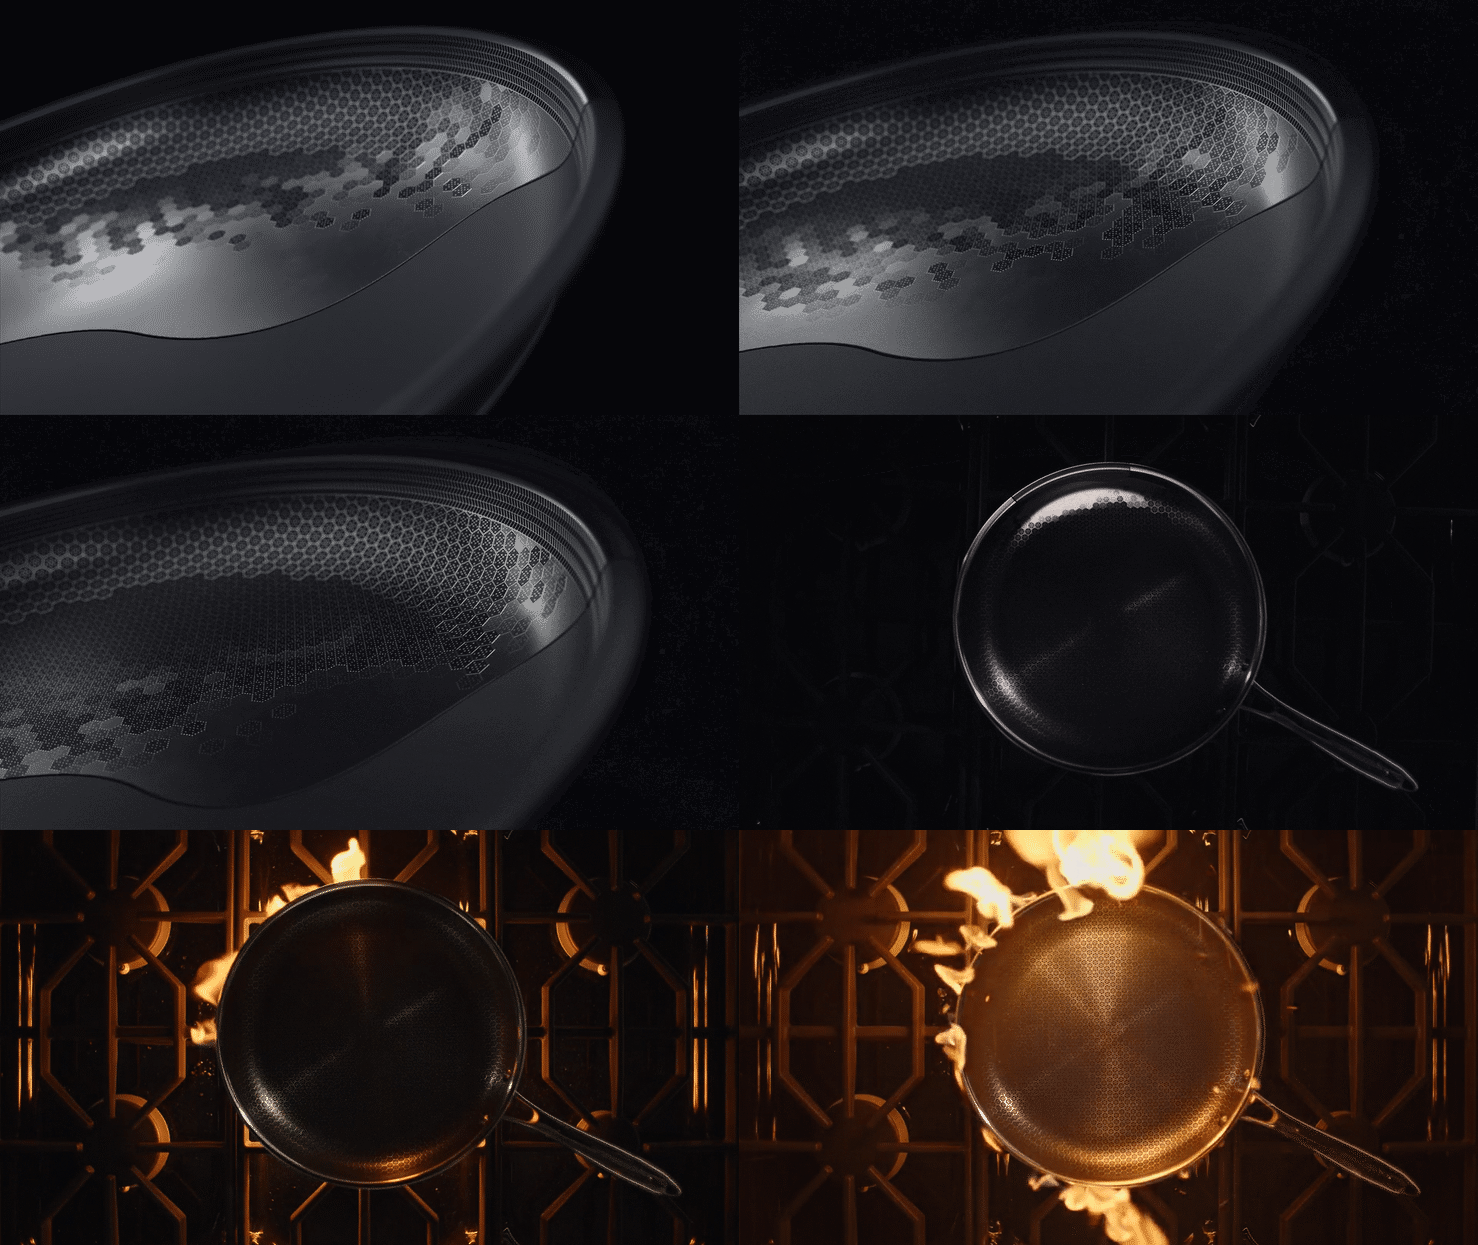
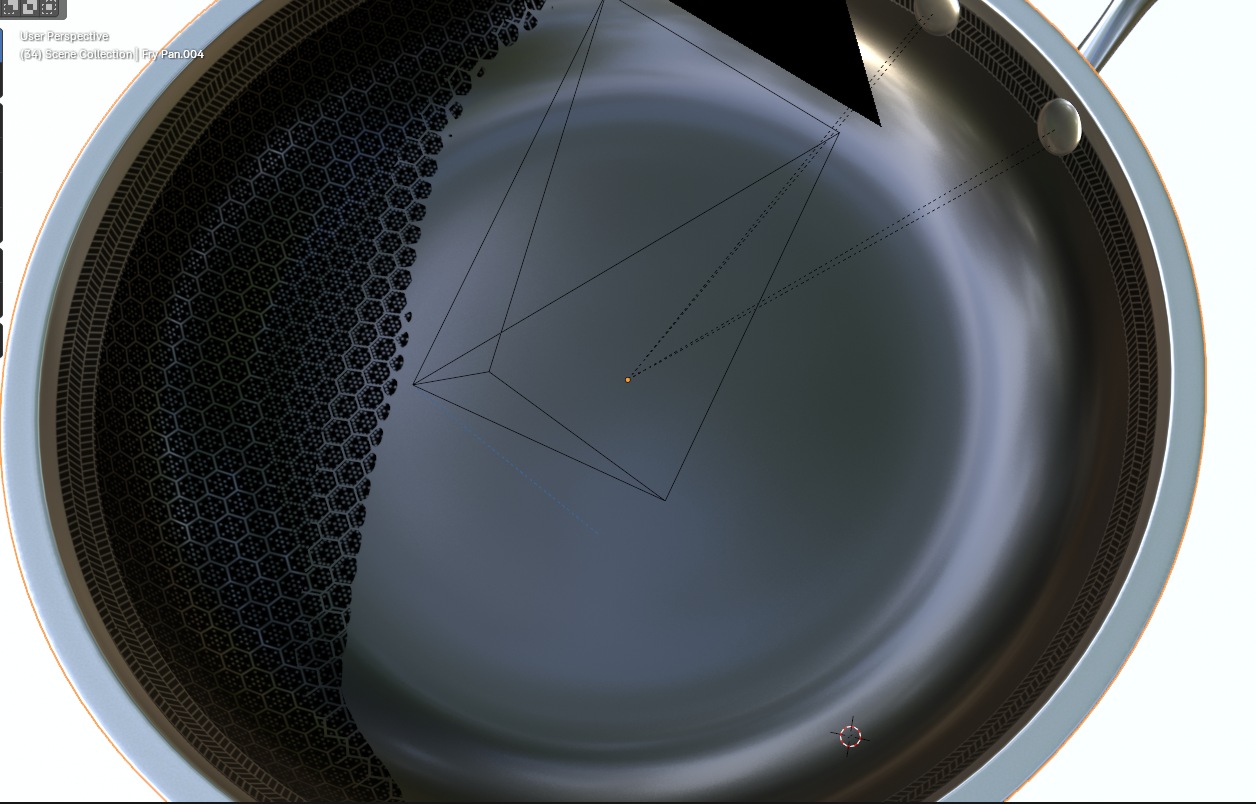
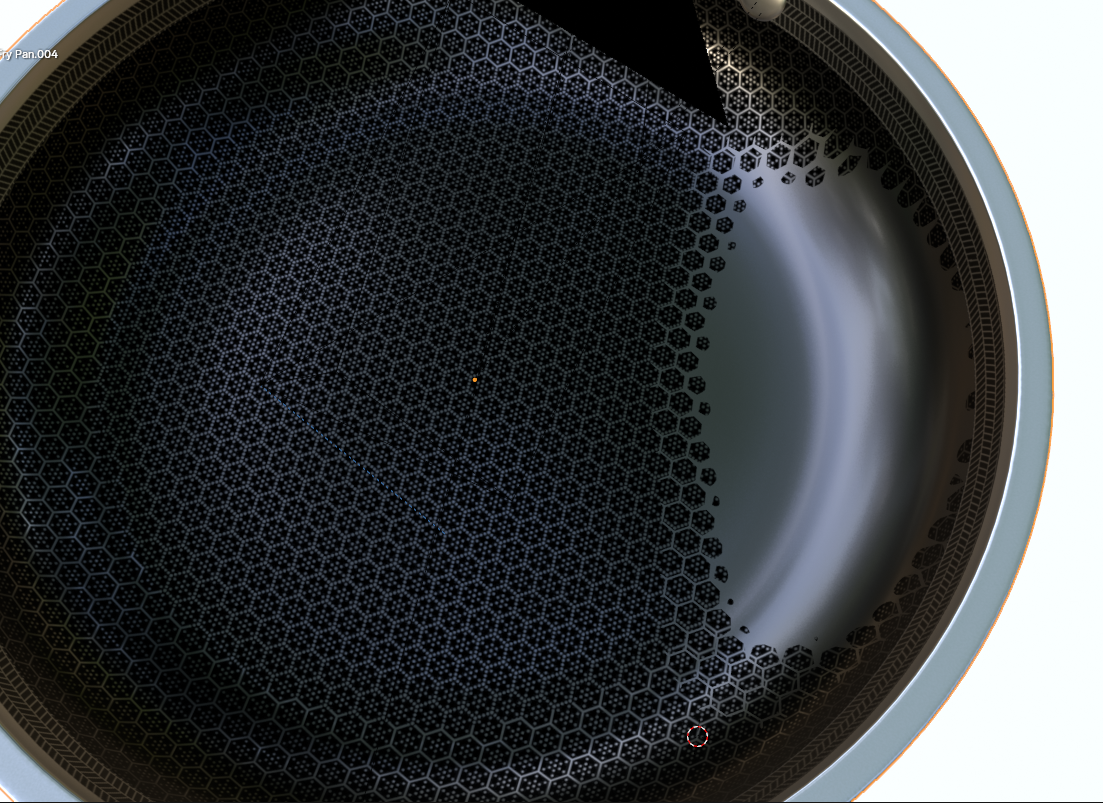
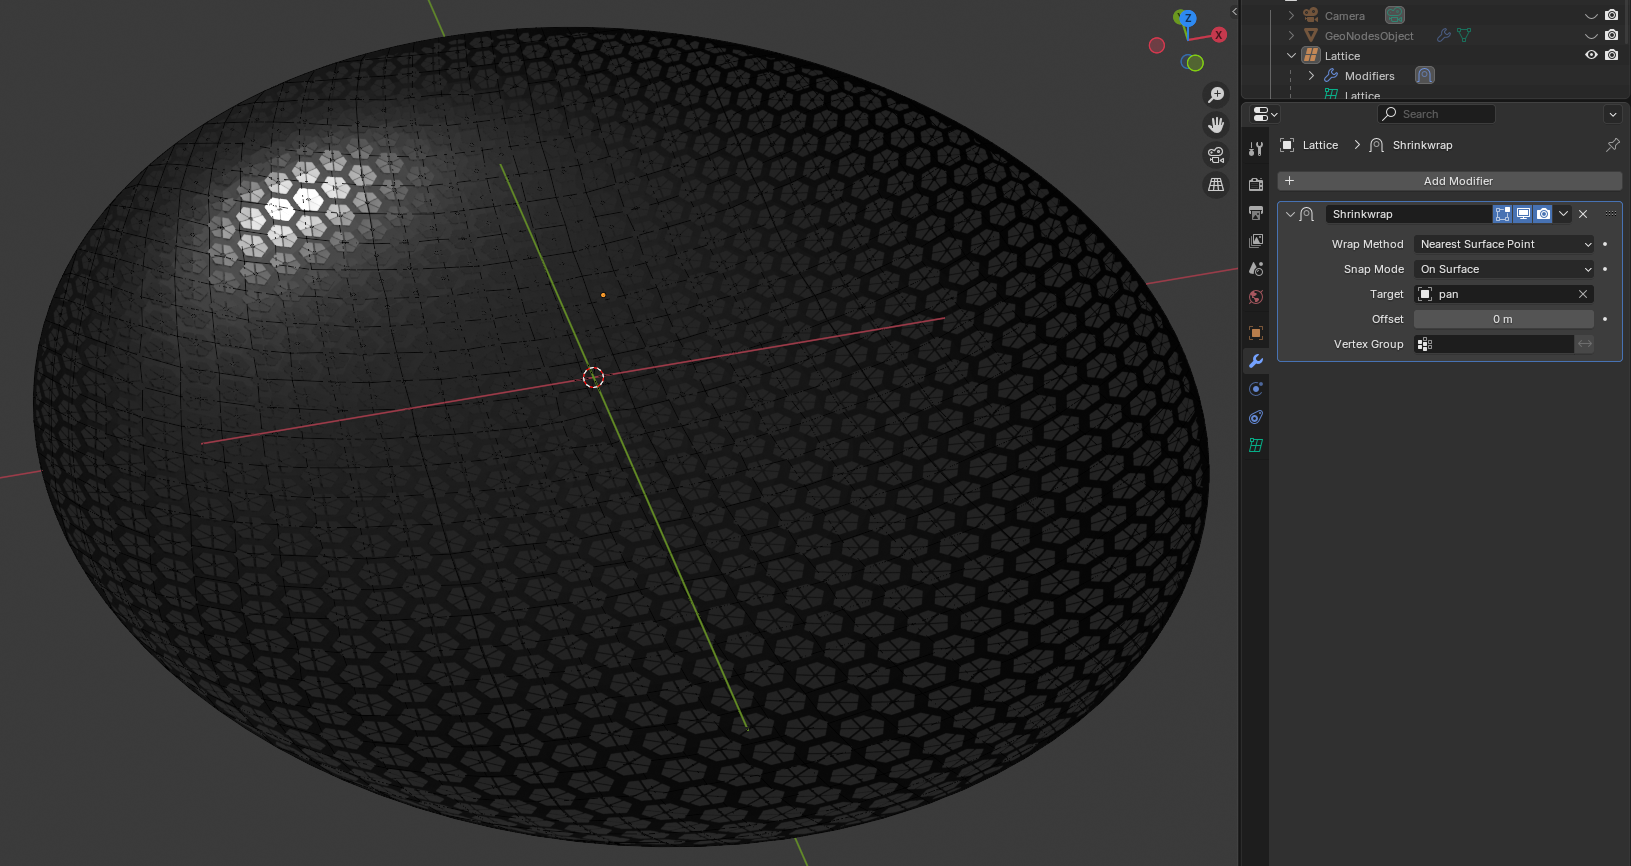
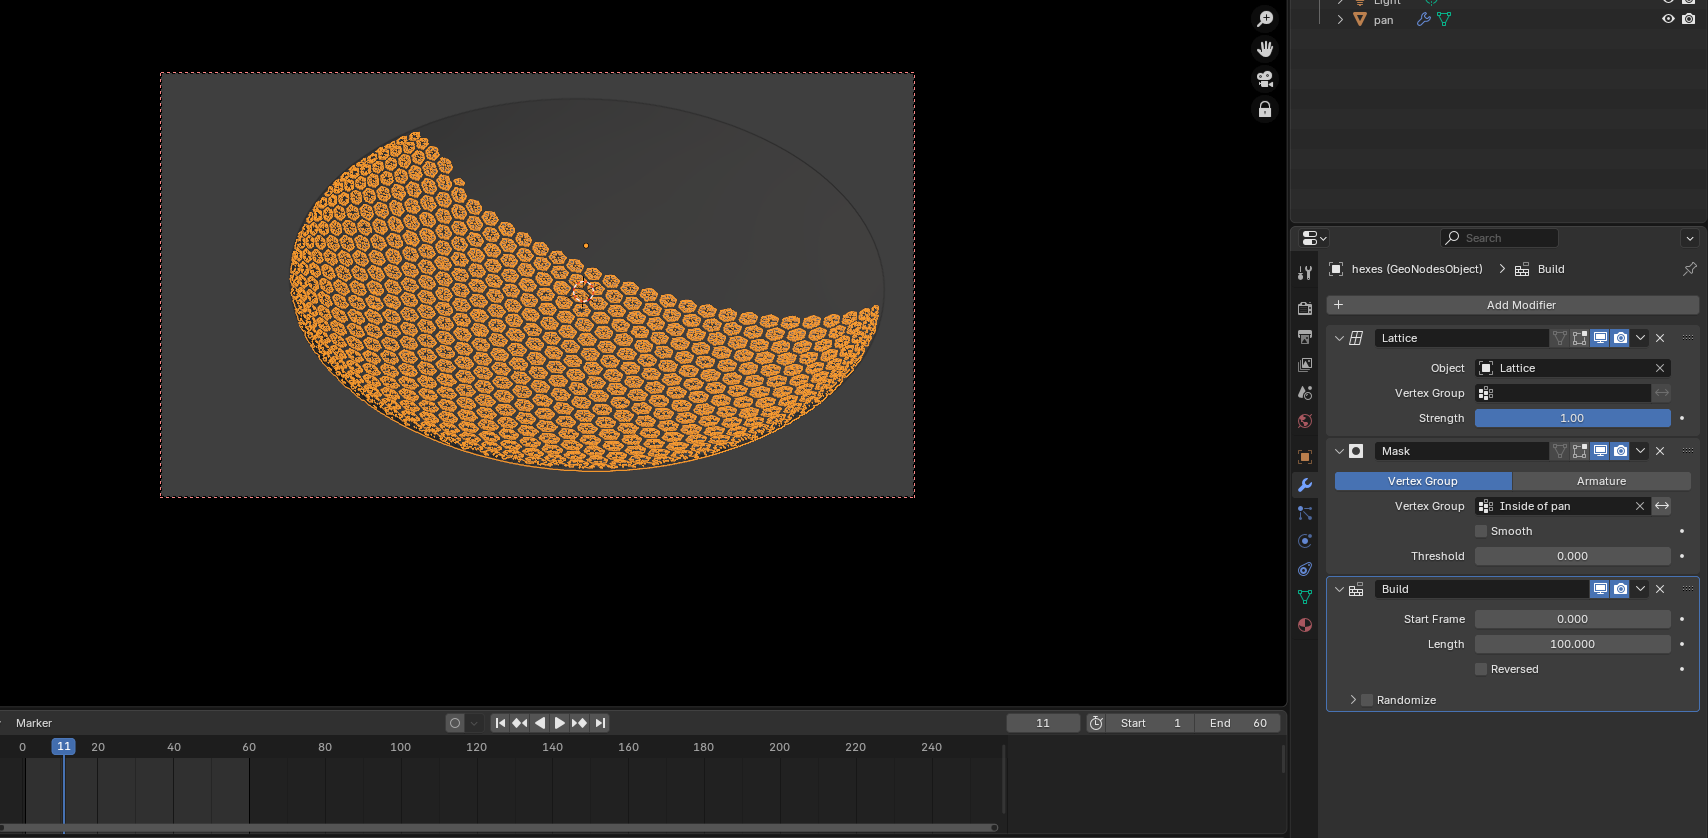
After a fairly even geometry has been made to create the pan, Geometry nodes can be used to create the pattern and both the Lattice and Shrinkwrap modifier can be used to attach the pattern without distortion. Build modifier can be used to animate the geometry very quickly.
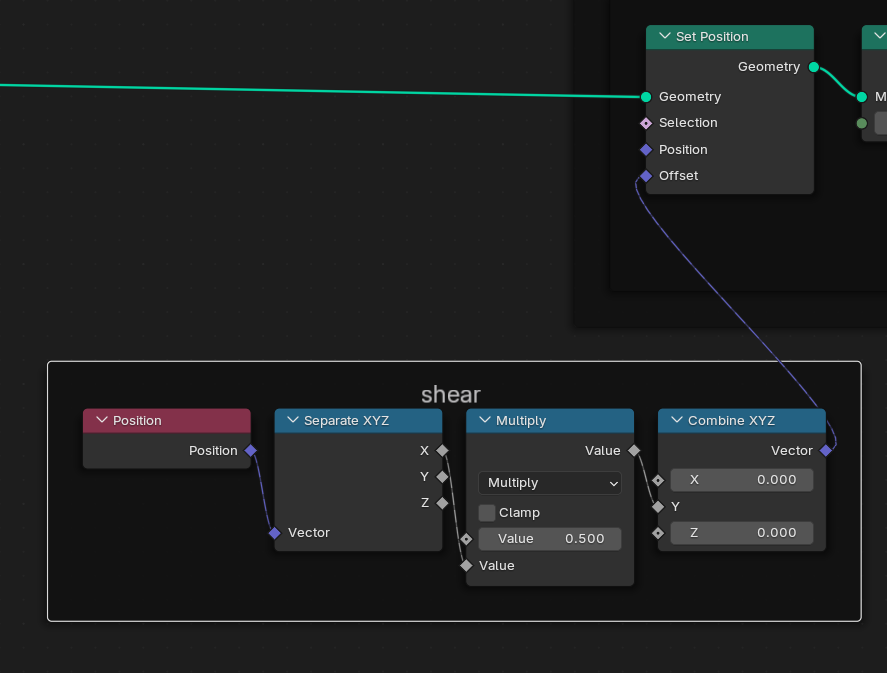
Create the hexes.

Shear the pattern to maintain hex height and width.

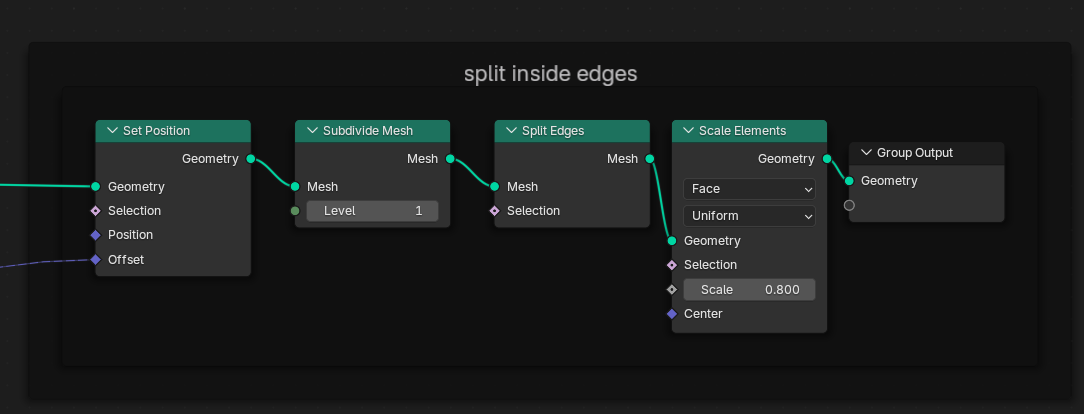
Split the edges.

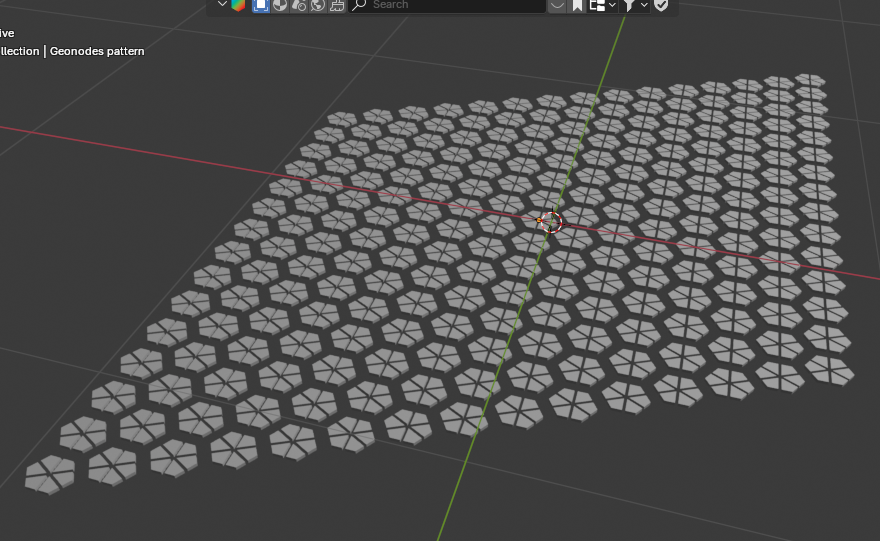
The finished tree looks like this when we connect it.

Now that we have our pattern, by changing the initial subdivide node, we can have a greater number of hexes.

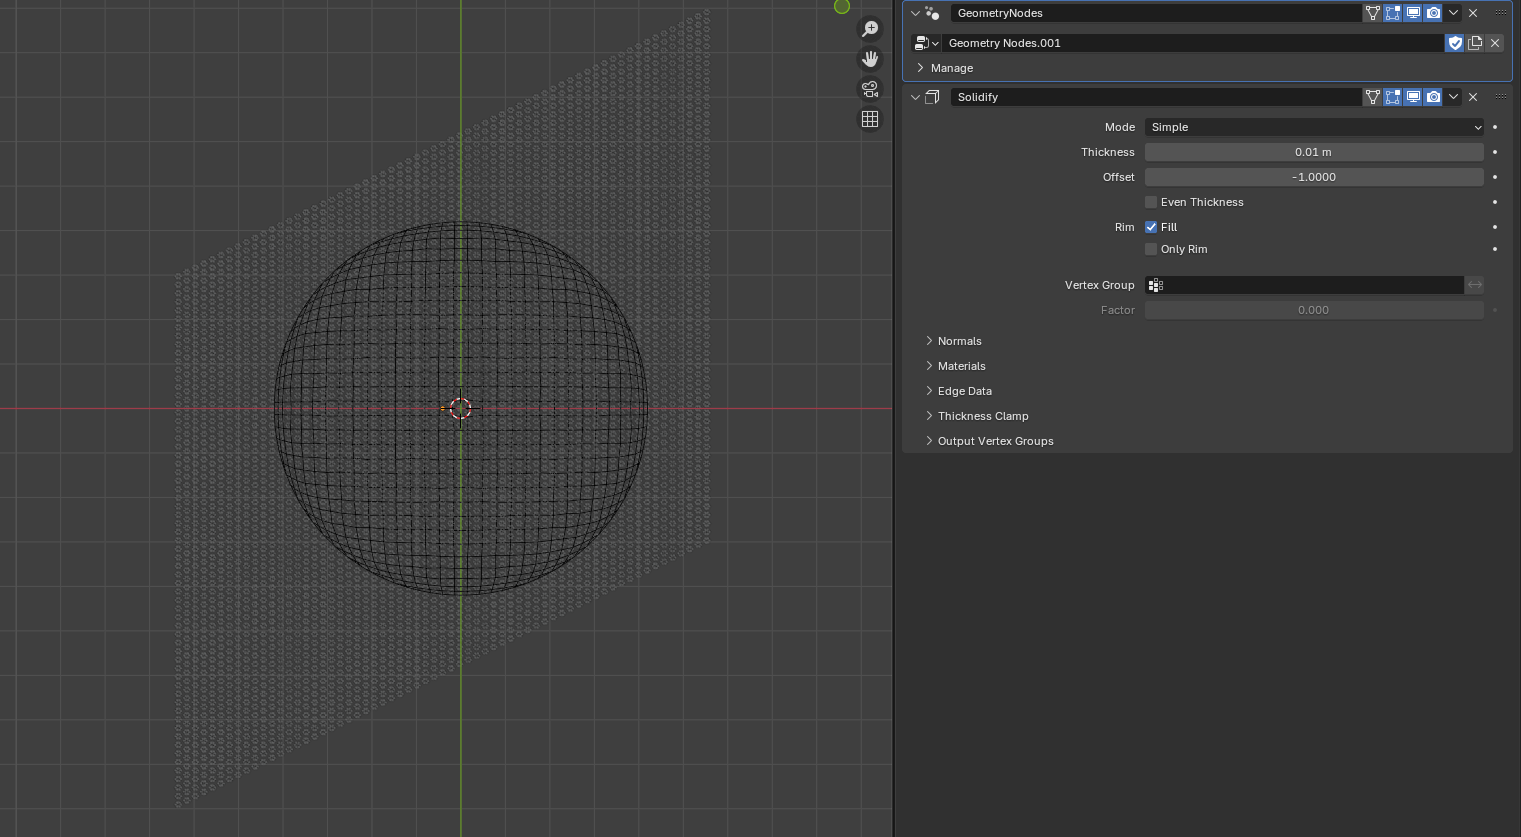
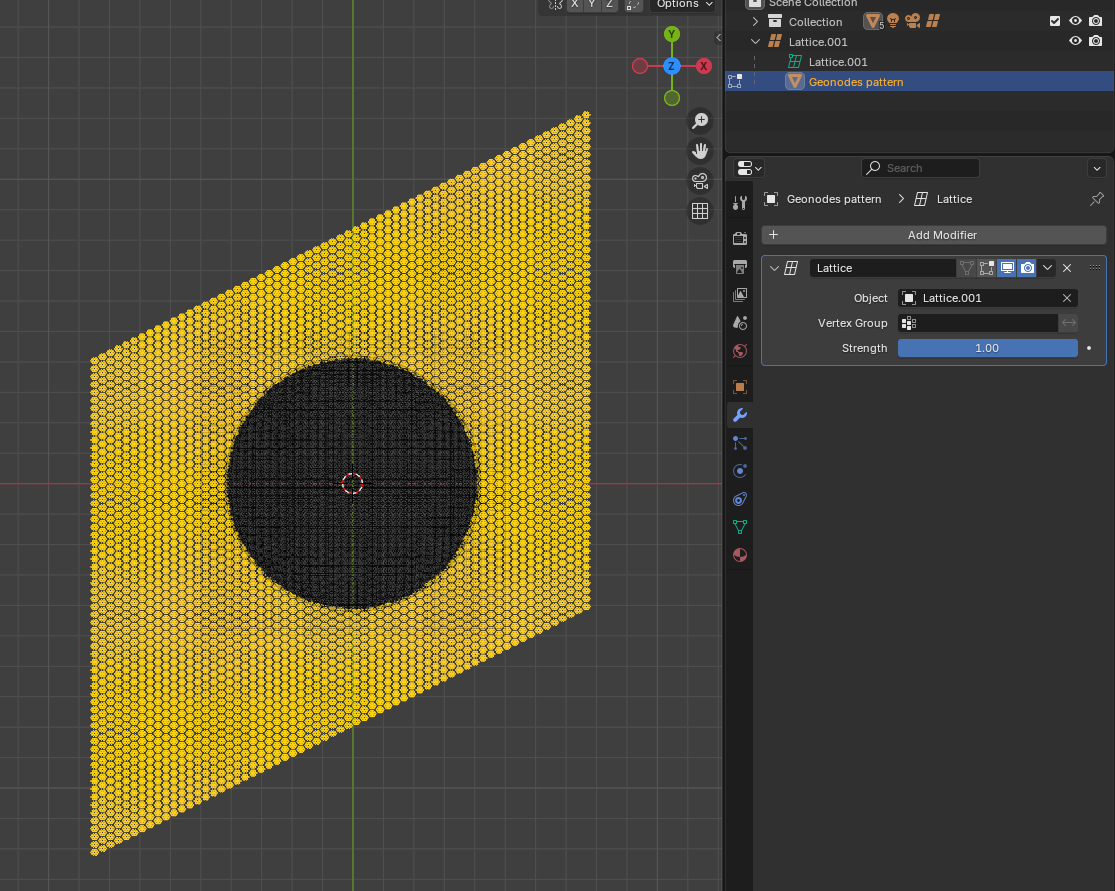
We need to resize and trim the diagonal sheet to fit over the pan. We can add a solidify modifier with a tiny offset to get the thinnest layer of depth.

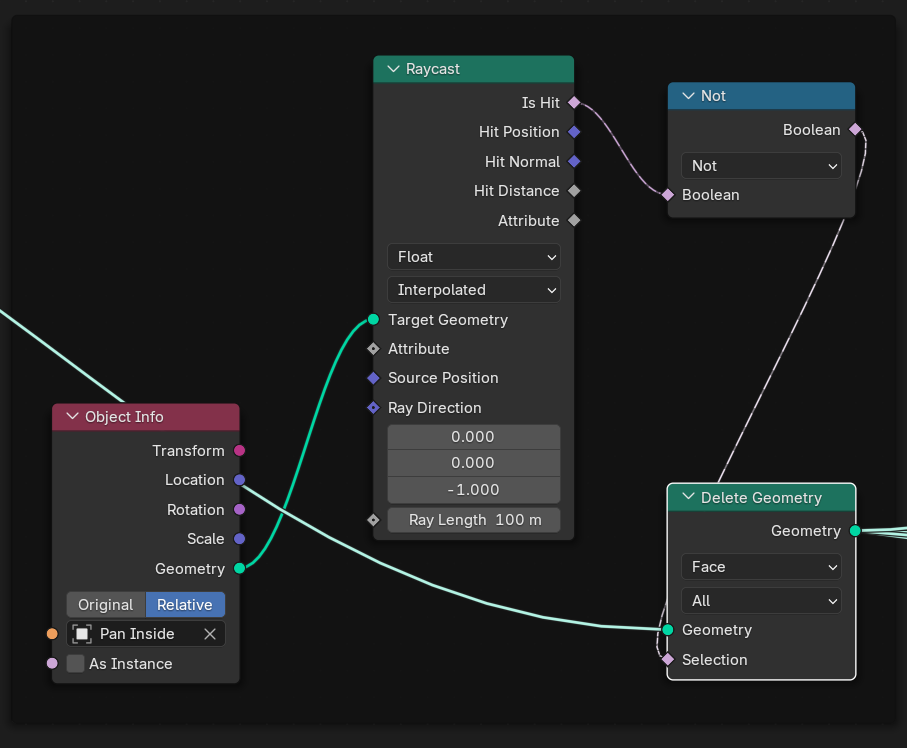
At this point we want to delete the part of our pattern that is beyond the rim of the pan. To do this we can use a Raycast Node before the group output which will cut all realized geometry outside the hit area.
Dots- If we want details, like the dots, we now can instance them on the hexagons. But they must come before this Raycast Node processes deletion of the outside edges. I will show one way this could be done in the example file.


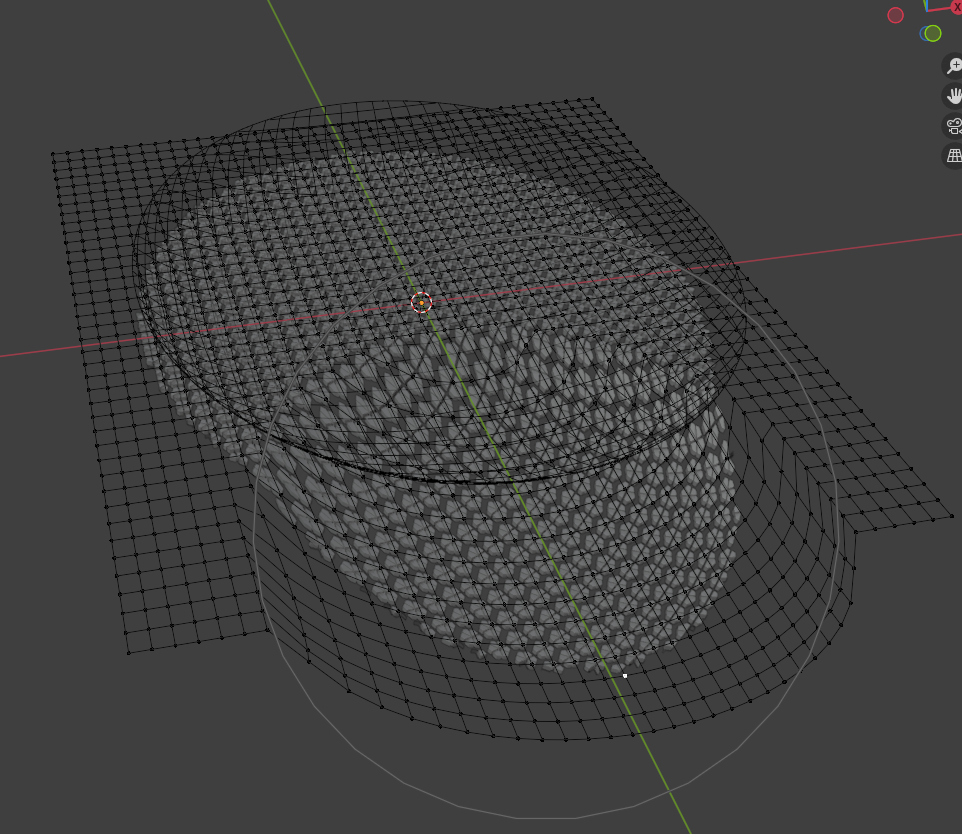
We can SHIFT+A to Create a Lattice object and give it a fair number of subdivisions but no width (40,40,1 for example.)
Make it the parent of the GeoNodes Object- CTRL+P.
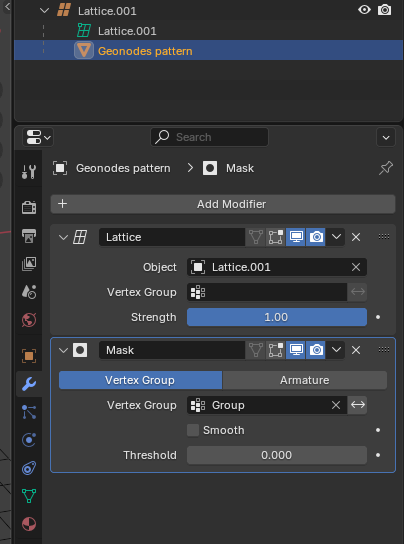
Now that the Lattice is parent of the pattern, the GeoNodesObject requires a Lattice modifier to work. Once it is paired with lattice object you will see it deforms along with the lattice.


At this point we have the pattern controlled by the lattice, but we want to use the Shrinkwrap Modifier to attach the lattice to the pan. By doing so the assembly is finished.

Add the Build Modifier to your hexes for about 70 frames during a camera move rotating around the object and you get a pretty convincing effect.
If we want less of a linear effect we can check the "Random" option in the Build modifier.

Moving point and area lights across the scene and the camera moves around the object to catch all the high lights and shadows will really sell the effect.
